How to Draw a Snake Head: Simple 10-Step Guide
Ready to bring a slithering friend to life? This tutorial is perfect for young artists ages 6+ looking to master reptile anatomy. You'll only need a pencil, an eraser, and a piece of paper to practice these essential line-drawing techniques.
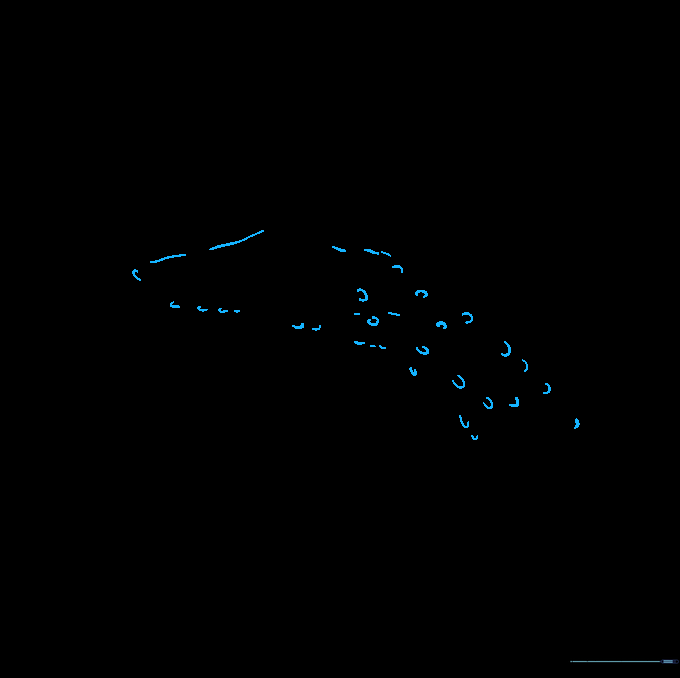
🎯 Final Result

Step-by-Step Instructions
Step 1: Sketching the Base Shape

Start by drawing a soft oval in the center of your page. Teacher's Tip: Keep this shape light and loose; it’s just a guide for the head's overall size.
Step 2: Defining the Snout

Outline the snout using a long, curved line. Notice the slight bumps—these represent the nostrils and give the snake a realistic profile.
Step 3: Forming the Jaw

Sketch the lower jaw and the beginning of the neck with a long, sweeping curve. Ensure the line connects smoothly to the snout.
Step 4: Adding the Eye Ridge

Use a long, curved line to outline the eye ridge and the back of the neck. This adds depth and makes the snake look more alert.
Step 5: Cleaning the Guide Lines

Carefully erase the original oval guide lines. Teacher's Tip: Use a soft eraser and gentle pressure to avoid smudging your work.
Step 6: Adding Facial Details

Draw an 'S' shaped brow ridge and a small triangle for the eye slit. Add a tiny oval for the nostril to give your snake personality.
Step 7: Creating Scales
Add texture by drawing small, curved lines that look like overlapping scales. Keep them varied in size for a more natural look.
Step 8: Drawing the Tongue

Extend a thick, curved line from the mouth area to form the tongue. Make sure it looks like it's flicking out!
Step 9: Finishing the Tongue

Add a second line along the tongue to give it thickness, and split the tip into a 'Y' shape. This is a classic snake feature.
Step 10: Adding Color

Bring your snake to life with color! Use greens, browns, or even bright yellows. Tip: Use darker shades between the scales to add 3D depth.
More Tutorials


