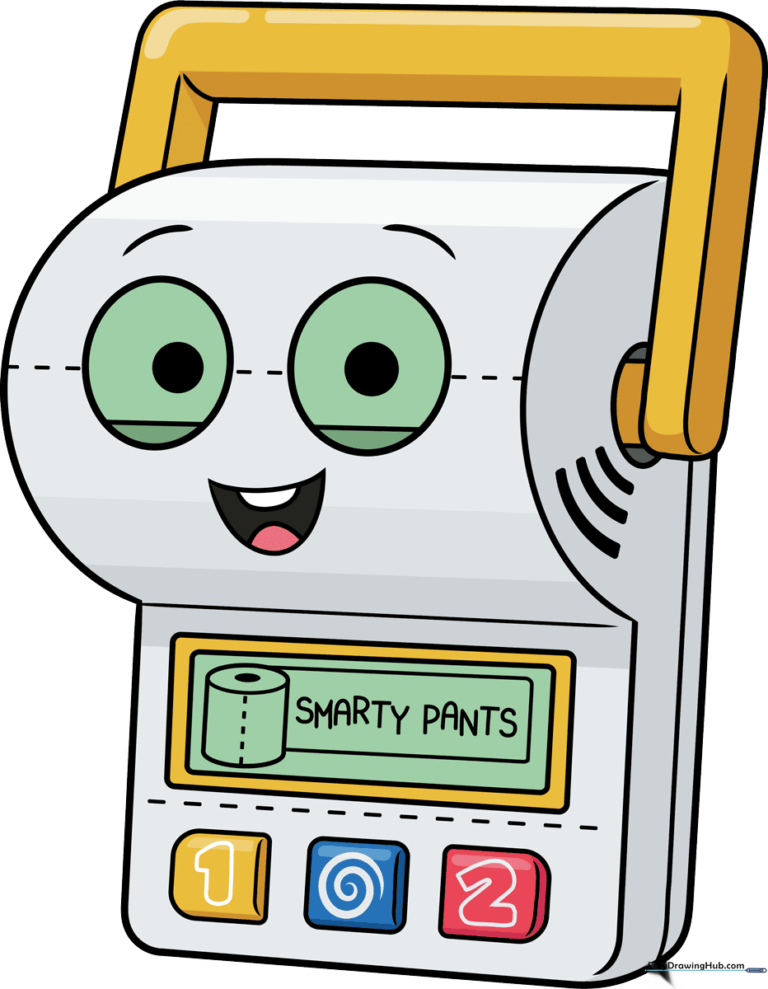
How to Draw Smarty Pants: Easy Step-by-Step Toy Story Guide
Ready to bring the clever Smarty Pants from Toy Story to life? This tutorial is perfect for young artists ages 6+ who want to practice drawing geometric shapes and character expressions. Grab your favorite pencil and eraser, and let's start sketching this iconic toy together!
🎯 Final Result
Step-by-Step Instructions
Step 1: Sketching the Expressive Eyes
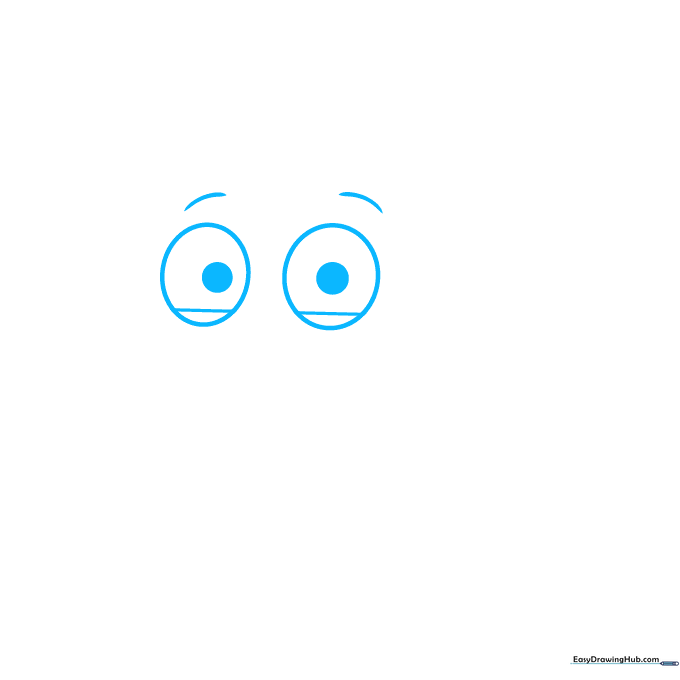
Start by drawing two large circles for the eyes, then add smaller circles inside for the pupils. Tip: Keep your pencil pressure light so you can easily adjust the size if they look a bit uneven!
Step 2: Defining the Face and Smile
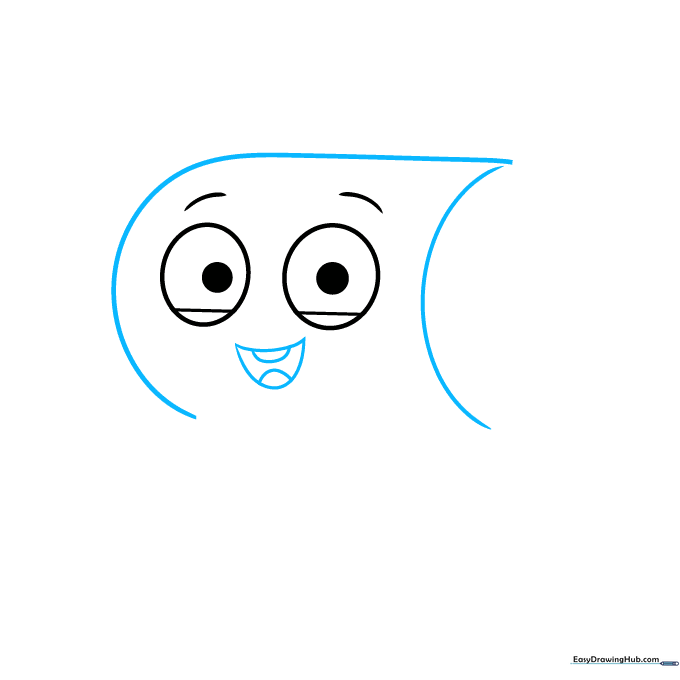
Draw a rounded rectangular shape around the eyes to form the head. Add a crescent-shaped mouth with teeth and a tongue inside. Tip: A big, wide smile makes the character look friendly and approachable.
Step 3: Building the Base Structure
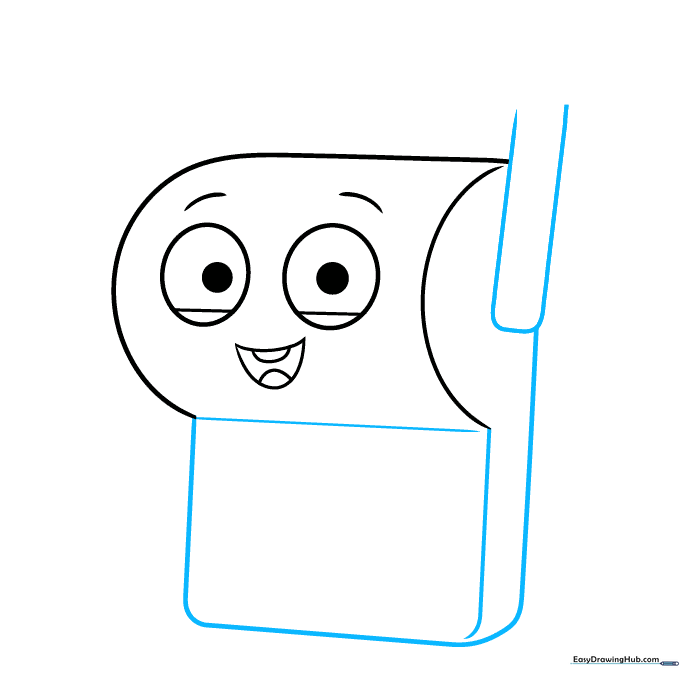
Sketch a rectangle below the face to start the body, adding a narrow rectangle to the side. Tip: Use a ruler if you want your lines to be extra crisp and toy-like.
Step 4: Adding the Handle
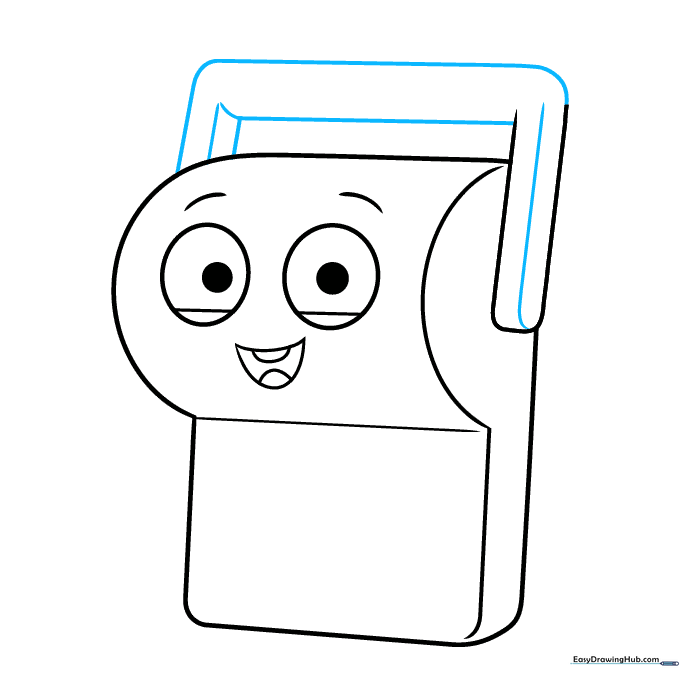
Use 'L' shaped lines to create the handle on the side of the body. Tip: Make sure the corners are sharp to give it that plastic, manufactured look.
Step 5: Detailing the Base
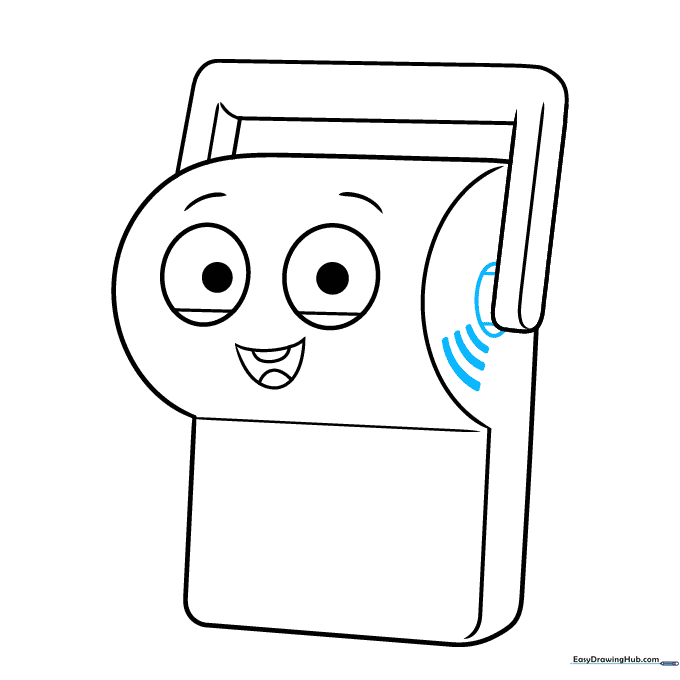
Add a partial circle at the bottom of the handle with two straight lines running through it. Tip: This adds a sense of depth and makes the toy look 3D.
Step 6: Drawing the Screen and Buttons
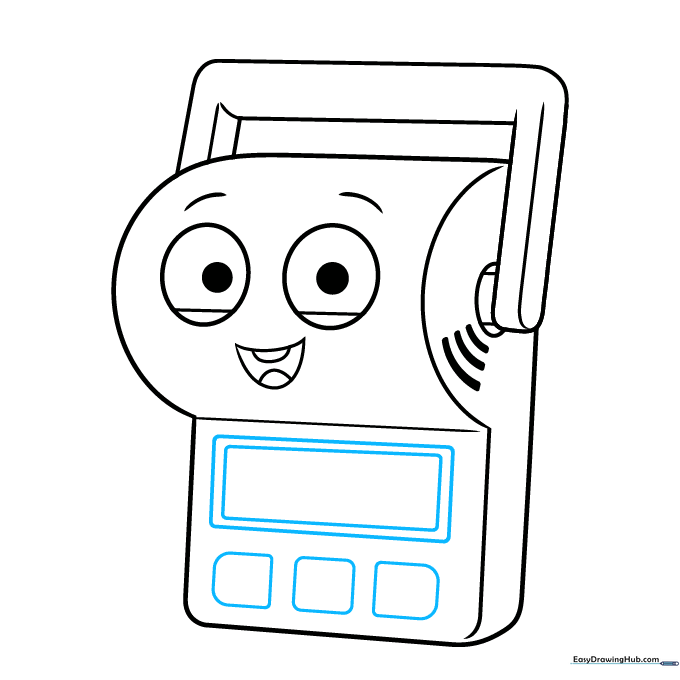
Draw a rectangle within a rectangle to create the screen, then add three smaller rounded rectangles for the buttons. Tip: Keep the buttons evenly spaced for a cleaner look.
Step 7: Adding Button Details
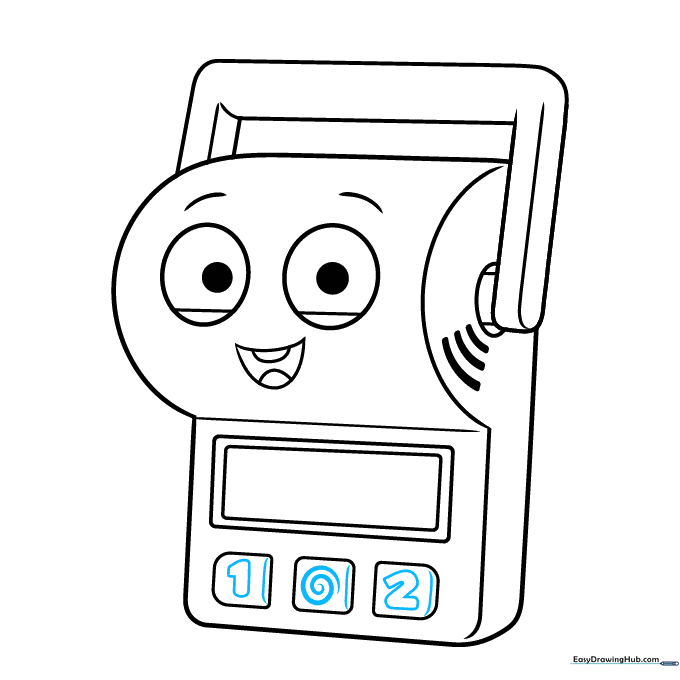
Draw a '1', a spiral, and a '2' on the buttons. Add a small curved line to the side of each button to make them pop. Tip: Use a fine-tip pen to make the numbers stand out clearly.
Step 8: Adding Screen Graphics
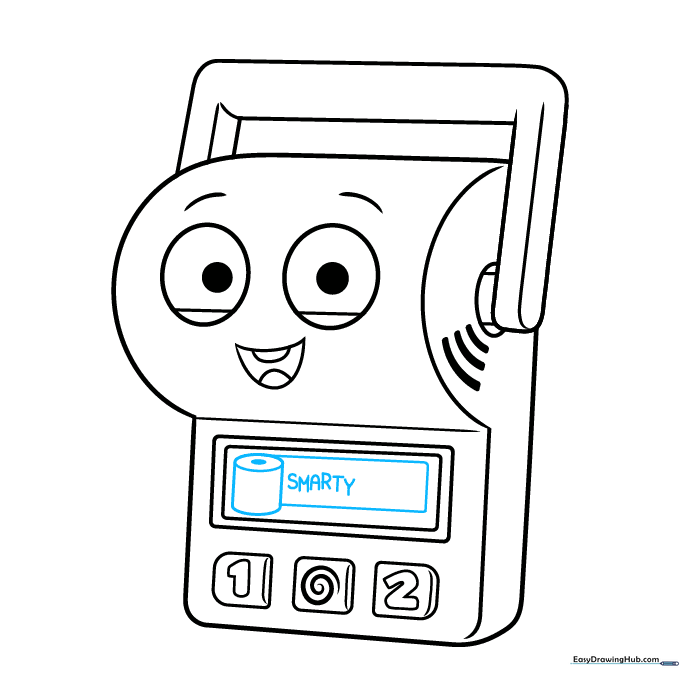
Draw a cylinder (toilet paper roll) on the screen and write 'SMARTY' in bold, block letters. Tip: Practice writing the letters on a separate piece of paper first to get the spacing right.
Step 9: Finalizing the Details

Write 'PANTS' on the screen and add dotted lines for texture across the face and body. Tip: Dotted lines are a great way to show where the plastic parts connect.
Step 10: Bringing It to Life with Color
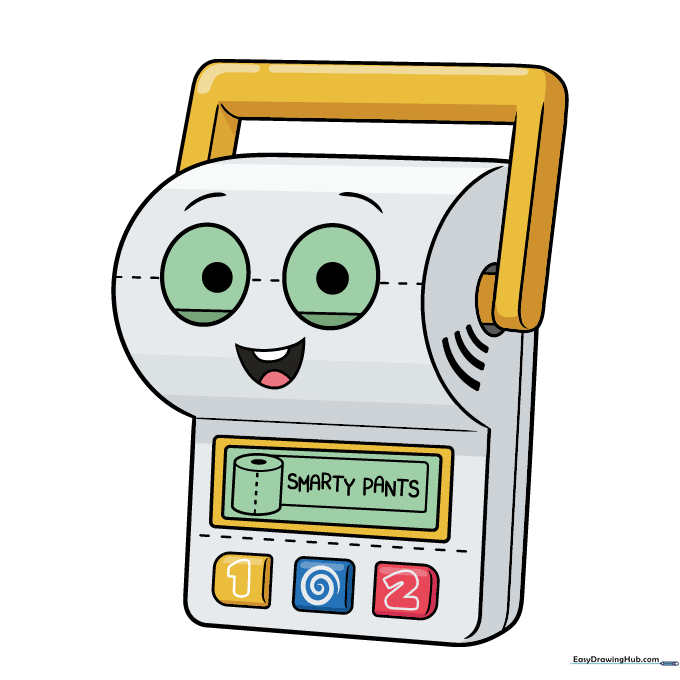
Time to color! Use white for the main body, light green for the eyes and screen, and bright yellow, blue, and red for the buttons. Tip: Use colored pencils for a soft, clean finish.
More Tutorials


