How to Draw Simba: Easy Step-by-Step Guide for Kids
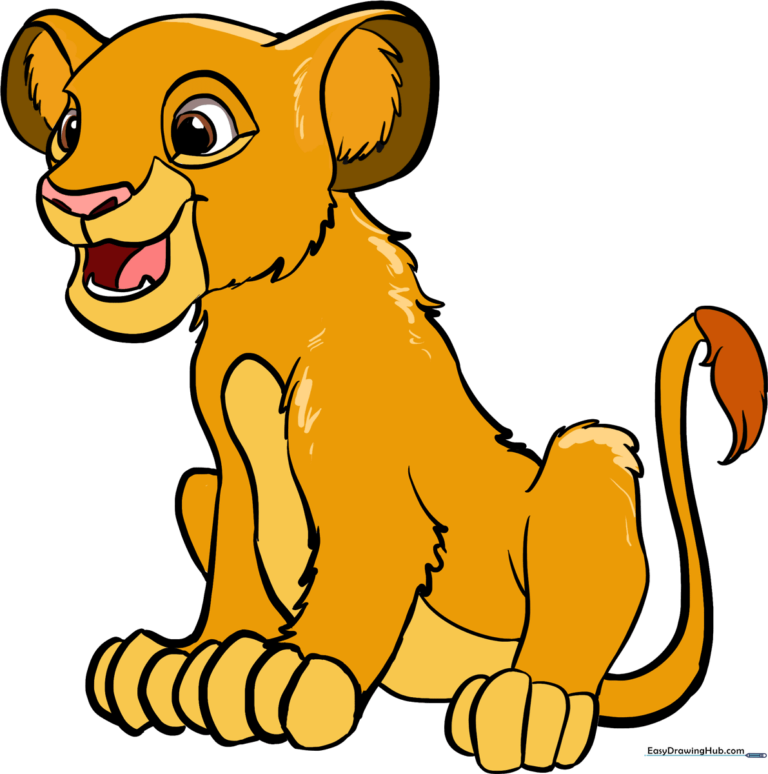
Bring the Pride Lands to life with this easy-to-follow guide, perfect for young artists ages 7+. You will only need a pencil, an eraser, and a sheet of paper to capture Simba’s curious expression. Follow these steps to build confidence in your character drawing skills while practicing basic geometric shapes.
🎯 Final Result
Step-by-Step Instructions
Step 1: Sketching the Head Shape

Start by sketching the outline of Simba's head. Focus on the pointed brow and the 'W' shape for the upper lip. Teacher's Tip: Use short, quick strokes at the base of the neck to create the look of soft fur.
Step 2: Adding Ears and Facial Features
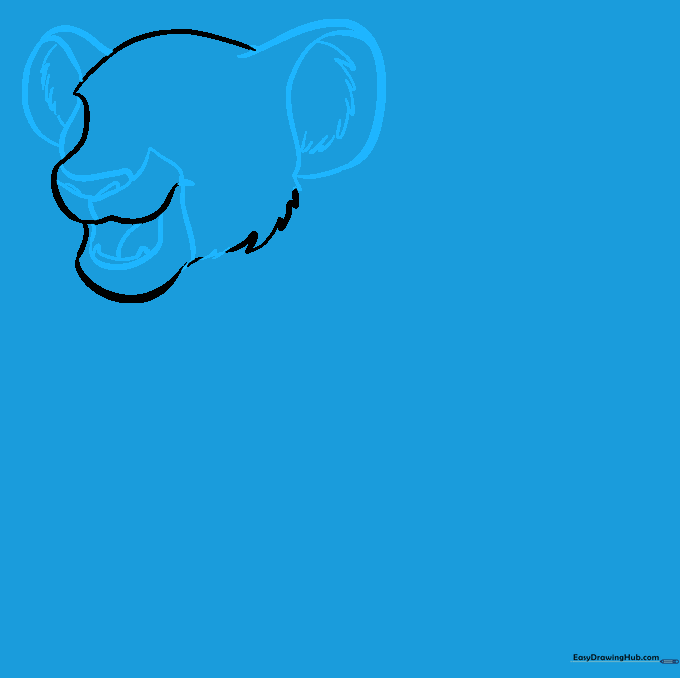
Draw wide 'C' shaped lines for the ears, adding a smaller inner shape for depth. For the mouth, sketch the lower jaw and teeth. Teacher's Tip: Keep the teeth small and sharp to maintain his cub-like proportions.
Step 3: Sketching the Forelegs
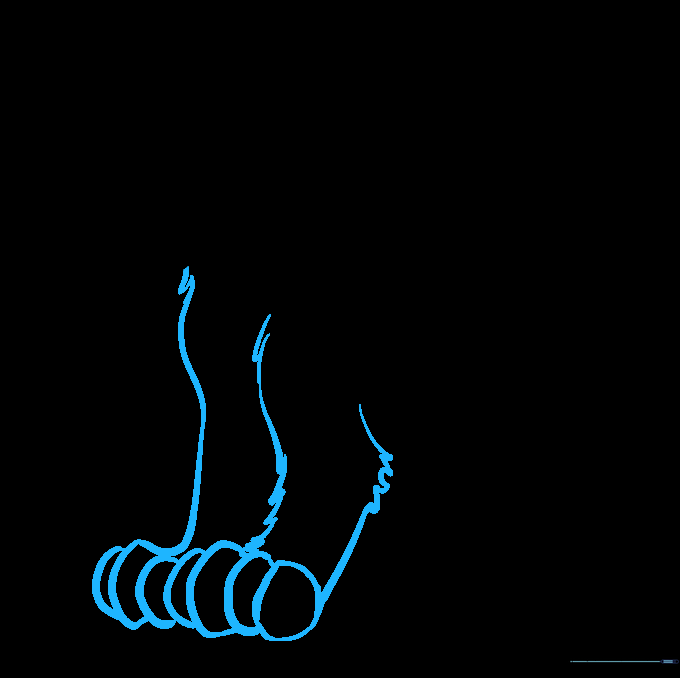
Draw the front legs using overlapping ovals for the toes. Connect them to the body with long, smooth curves. Teacher's Tip: Use a 'zigzag' motion for the back of the legs to represent tufts of fur.
Step 4: Defining the Back and Belly
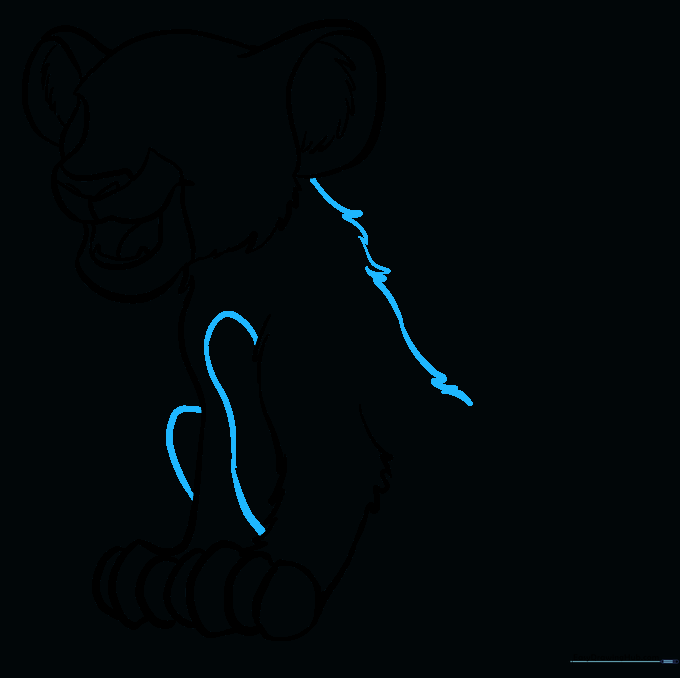
Create the back using a series of curved, jagged lines. Connect these to the rear leg and belly. Teacher's Tip: Imagine the spine line as a gentle arch to give Simba a playful, crouching posture.
Step 5: Shaping the Rear Leg
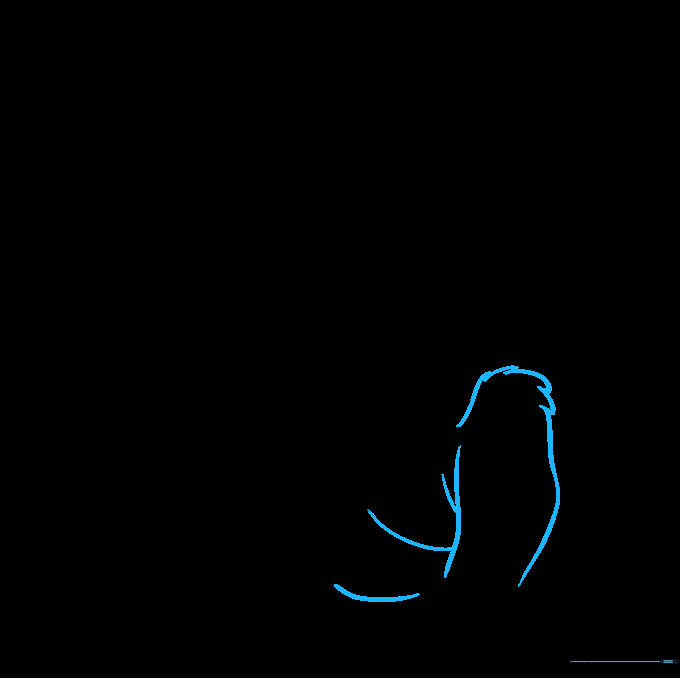
Use smooth, curved lines to define the structure of the hind leg. Teacher's Tip: Ensure the leg looks sturdy by making the top part wider than the bottom.
Step 6: Finishing the Paws
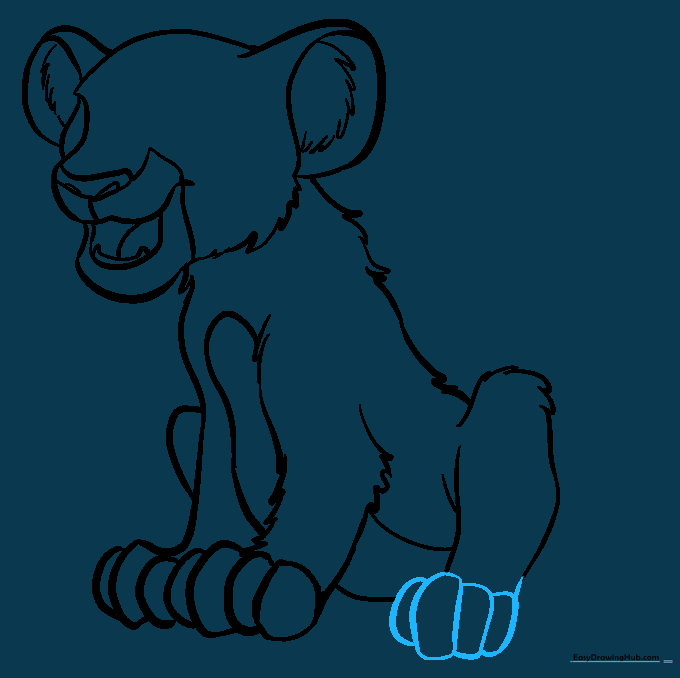
Complete the rear leg by drawing the rounded, irregular shapes for the toes. Teacher's Tip: Keep the toes slightly uneven to make them look more natural and organic.
Step 7: Drawing the Tail
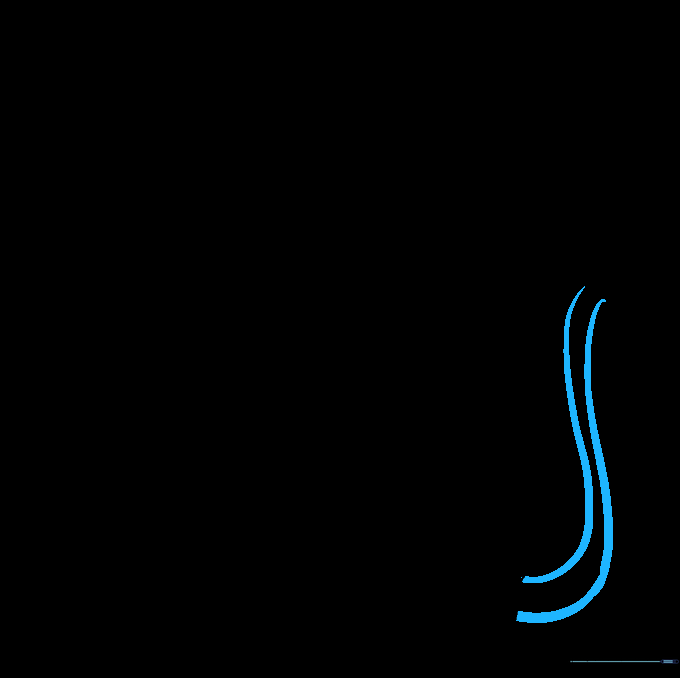
Extend two long, 'S' shaped lines from behind the rear leg to form the tail. Teacher's Tip: A flowing tail adds movement to your drawing, making Simba look like he's ready to pounce.
Step 8: Adding the Tail Tuft
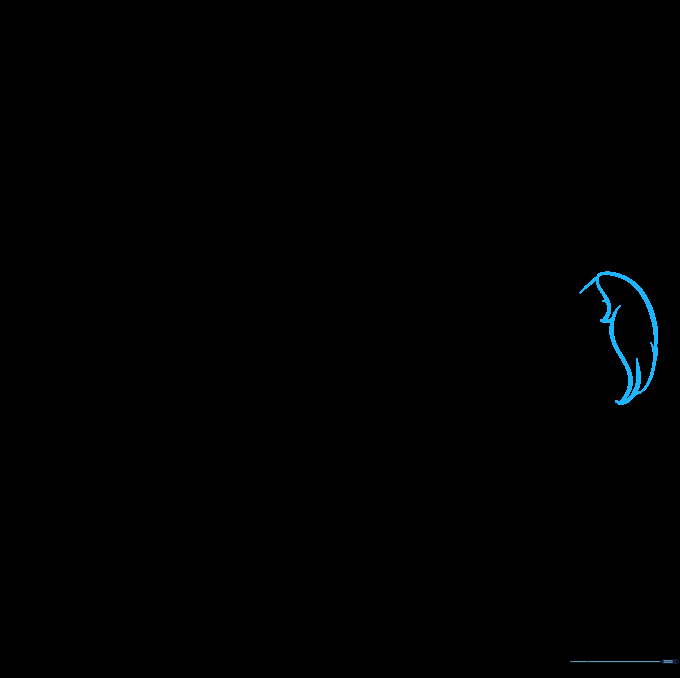
Add the tuft of fur at the end of the tail using short, jagged lines. Teacher's Tip: Vary the length of these lines to make the fur look fluffy.
Step 9: Drawing the Eyes

Draw the eyes with a pointed corner and a central oval. Shade the pupil carefully. Teacher's Tip: Leave a tiny white dot unshaded in the pupil to create a 'glint' or sparkle, making Simba look alive.
Step 10: Bringing Simba to Life with Color
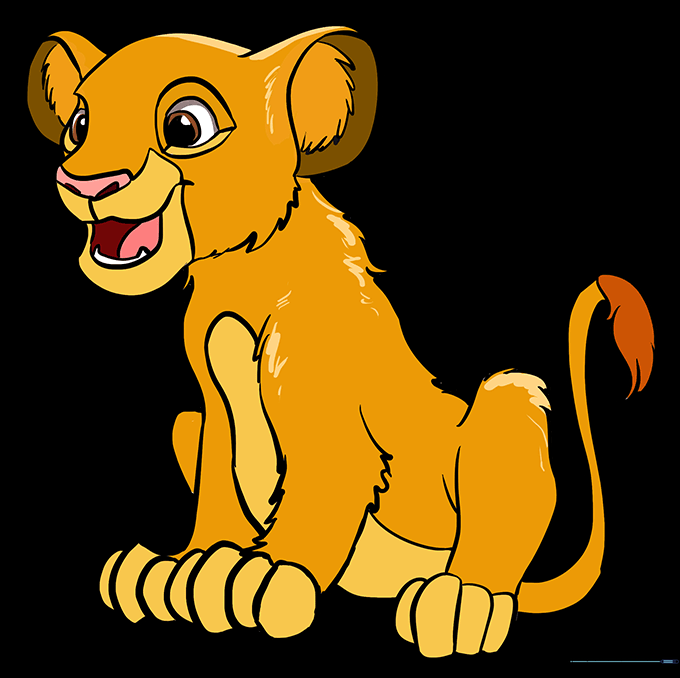
Color your Simba using sandy yellows and warm oranges. Teacher's Tip: Use a darker shade of gold for the shadows under his chin and legs to give him a 3D look.
More Tutorials


