How to Draw Shrek: Simple 10-Step Guide for Kids
Bring everyone's favorite swamp-dwelling ogre to life! This tutorial is perfect for artists ages 5 and up. All you need is a pencil, an eraser, and some paper to start building your own Shrek character.
🎯 Final Result

Step-by-Step Instructions
Sketching the Head Base

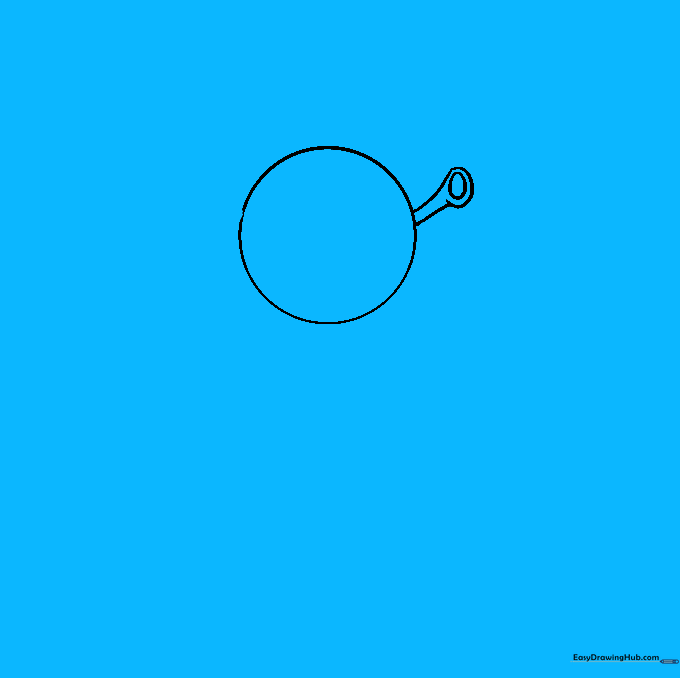
Draw a light circle to serve as the foundation for Shrek's head. Teacher's Tip: Keep this circle about the size of a golf ball; drawing it lightly makes it much easier to erase your guidelines later.
Forming the First Ear

Extend two curved, parallel lines from the side of the circle and cap them with a small oval. Add a tiny oval inside for detail. Teacher's Tip: Shrek's ears are shaped like trumpets, so make sure they flare out slightly at the ends.
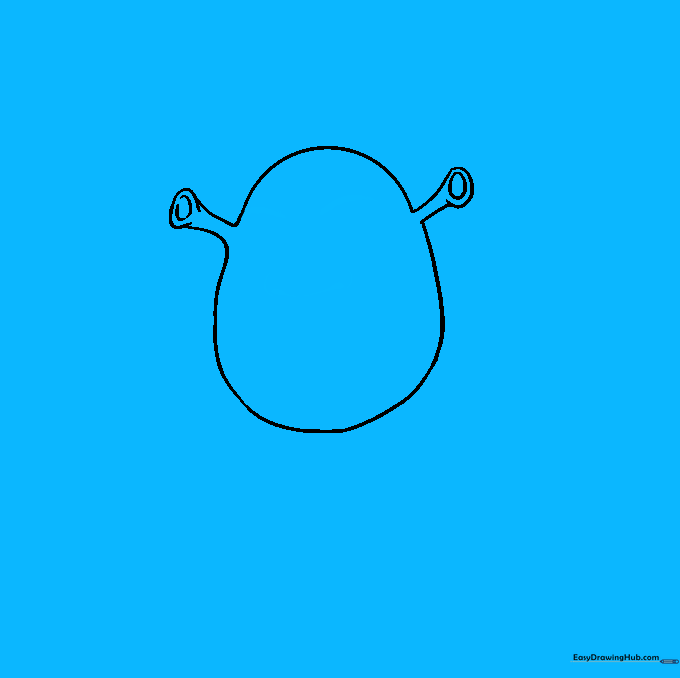
Adding the Second Ear
Connect the base of the first ear to the other side of the circle with a long, curved line to define the head shape. Repeat the ear-drawing process on the opposite side. Teacher's Tip: Symmetry is key here, so try to keep the ears at the same height.
Cleaning the Guidelines

Carefully erase the original circle lines inside the head shape. Teacher's Tip: Use a soft, white eraser and brush away the crumbs so you don't smudge your graphite.
Defining Brows and Nose
Draw thick, curved lines for the eyebrows and a wide, rounded nose with shaded nostrils. Teacher's Tip: Shrek's nose is quite large and bulbous—don't be afraid to make it nice and wide!
Eyes and Mouth Details
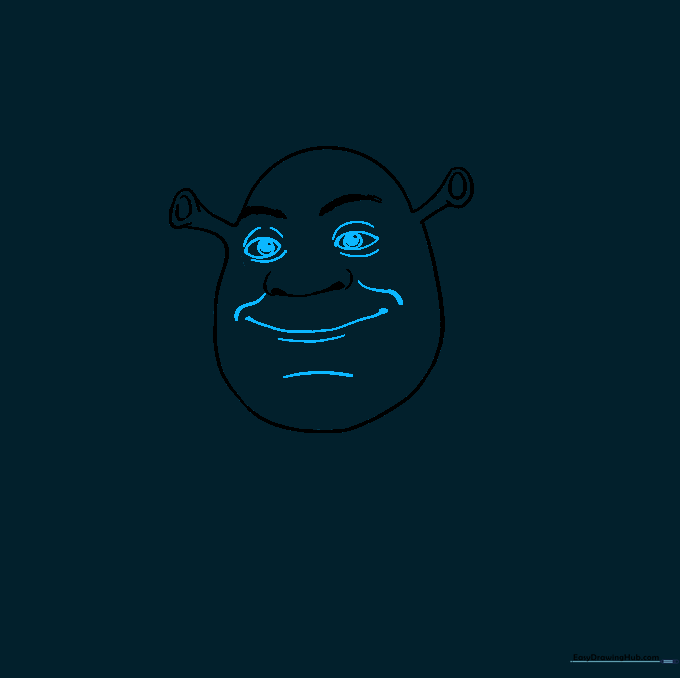
Draw the eyes with multiple circles for pupils and add a gentle, smiling mouth. Teacher's Tip: Adding the eyelids gives Shrek his classic, slightly sleepy expression.
Drawing the Collar

Sketch the collar of his tunic using small, connected, curved lines. Teacher's Tip: Keep these lines slightly irregular to give the fabric a natural, worn-in look.
Outlining the Vest

Extend curved lines from the neck to form the shoulders and vest. Teacher's Tip: Use long, sweeping strokes to make the vest look like it fits comfortably.
Arms and Vest Details

Draw the arms and add the vest clasp using three rounded shapes. Teacher's Tip: The clasp is a key detail, so make sure it sits right in the center of the vest.
Coloring Your Ogre

Bring Shrek to life with color! Use a bright green for his skin, a warm cream for his shirt, and a rich brown for his vest. Teacher's Tip: Use light, circular motions when coloring to keep the texture smooth.
More Tutorials


