How to Draw Shin-chan: Easy Step-by-Step Guide
Ready to bring the mischievous Shin-chan to life? This tutorial is perfect for young artists ages 6+ looking to practice their cartooning skills. Grab your favorite pencil, an eraser, and a piece of paper to follow along with these simple, confidence-building steps.
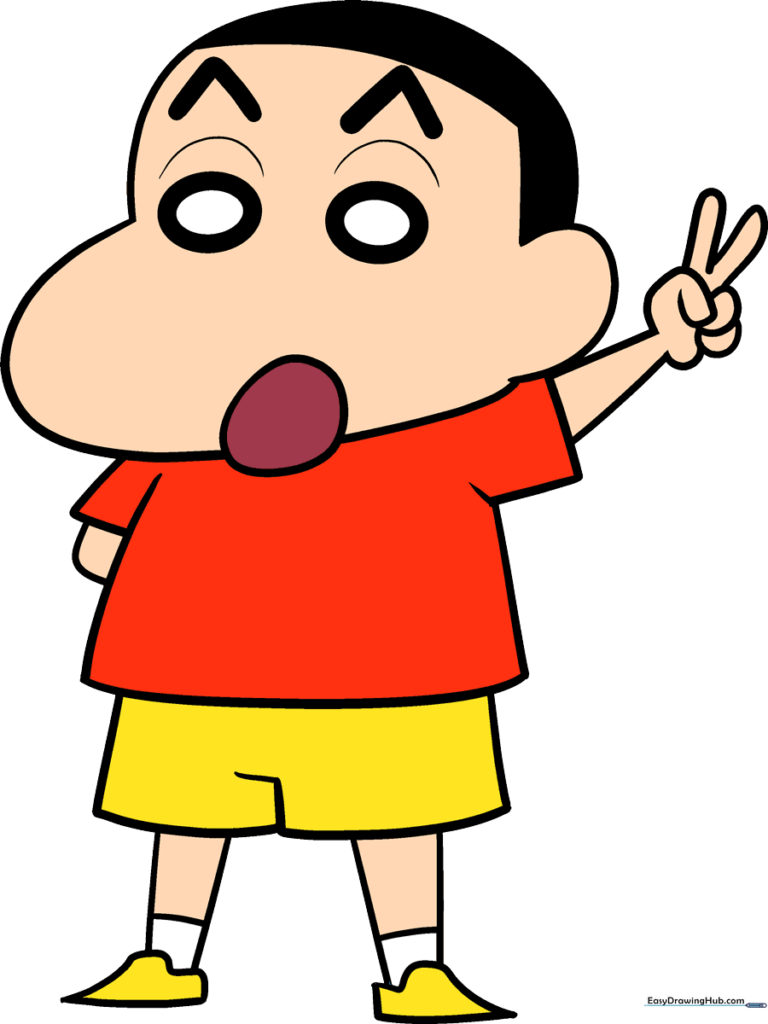
🎯 Final Result
Step-by-Step Instructions
Step 1: Sketching the Eyes

Start by drawing two large, bold ovals for Shin-chan’s iconic eyes. Teacher's Tip: Keep your pencil lines light at first so you can adjust the spacing before committing to the heavy, dark outline.
Step 2: Defining the Head and Brows

Draw a long, smooth curve for the top of his head. Add two inverted 'V' shapes above the eyes for his signature thick eyebrows. Tip: Make these 'V' shapes extra bold to capture his expressive look!
Step 3: Shaping the Face
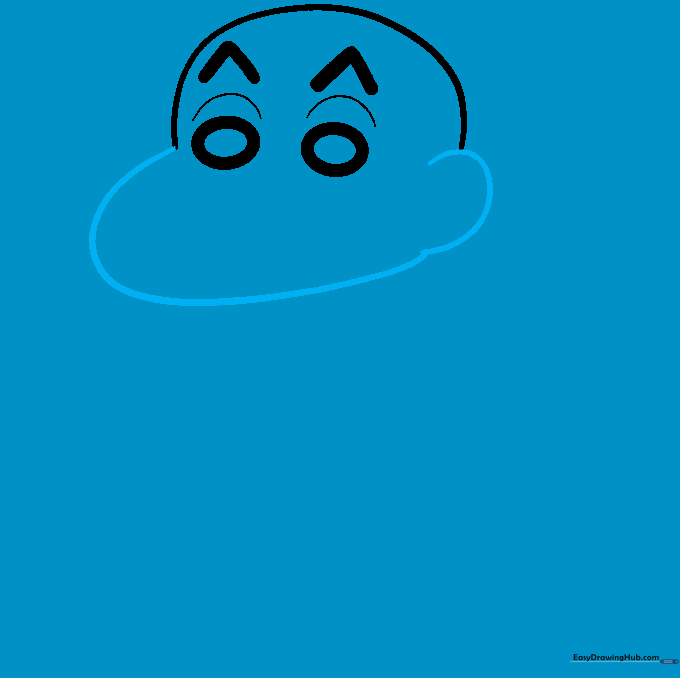
Use a small 'C' shape for his ear and a larger, rounded 'C' shape to form his jawline. Connect these to complete the face shape. Tip: Keep the jawline soft and rounded to maintain his cute, cartoonish appearance.
Step 4: Mouth and Hair
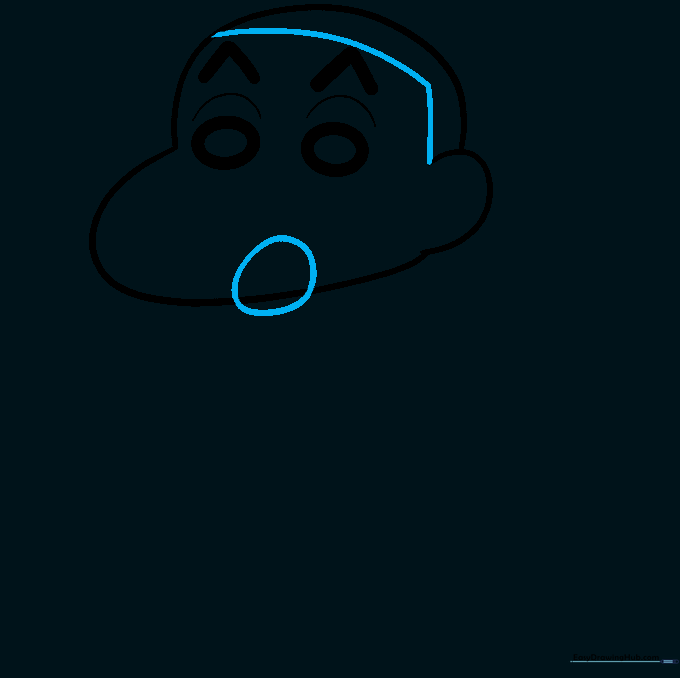
Draw an irregular circle at the bottom of the face for his mouth, then erase any overlapping lines inside. Add two curved lines meeting in an 'L' shape for his hair. Tip: Use a light touch when erasing to keep your paper clean.
Step 5: Sketching the Shirt

Draw his rectangular sleeves and the torso of his t-shirt using straight lines. Tip: Use a ruler if you struggle with straight lines, but freehand is great for practicing steady control!
Step 6: Arms and Hands
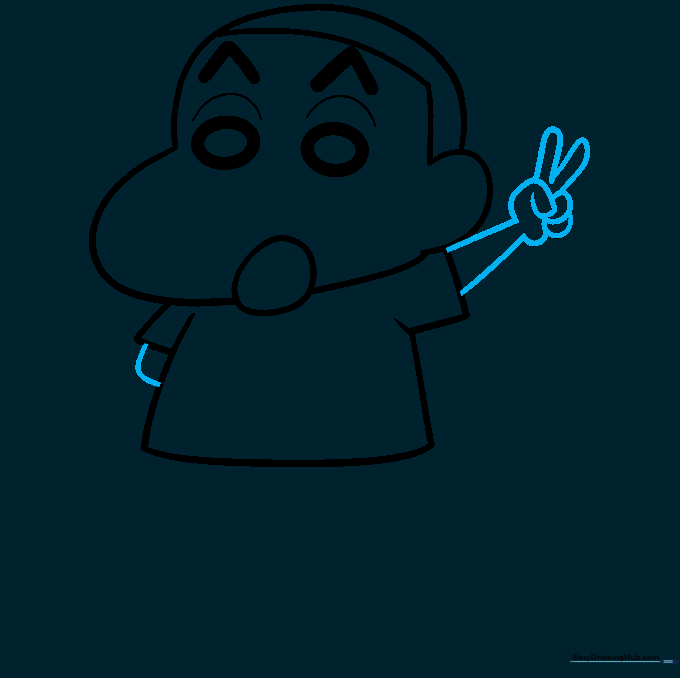
Draw one arm tucked behind his back. For the other, extend two lines and sketch a hand making a peace sign. Tip: Focus on the overlapping curves for the fingers to make them look natural.
Step 7: Adding Shorts
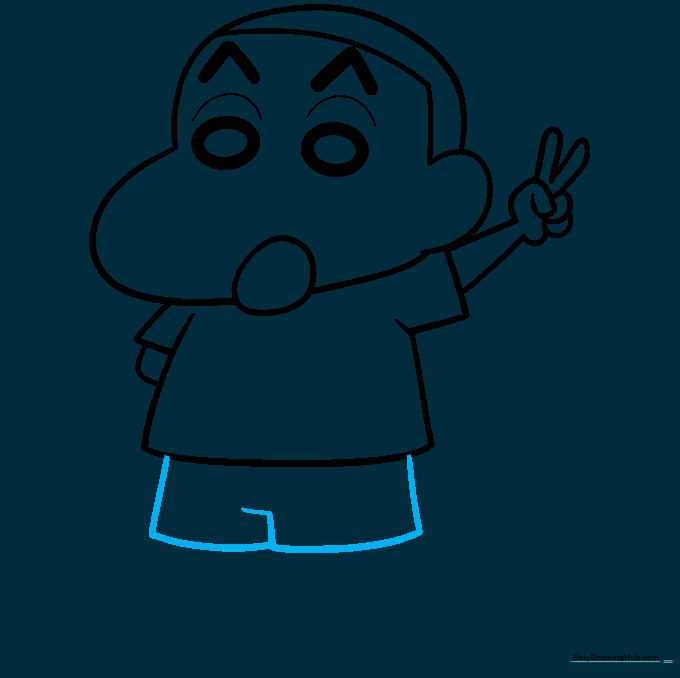
Draw his shorts using straight lines for the sides and curved lines for the leg openings. Tip: Keep the shorts slightly baggy to match his classic look.
Step 8: First Leg and Shoe
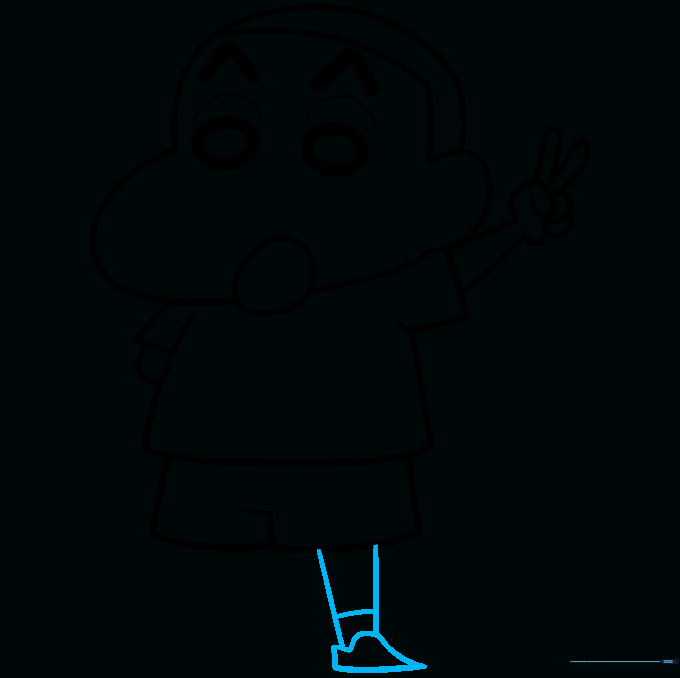
Extend two lines from the shorts for the first leg. Add a pointed shoe at the bottom and a horizontal line for the sock. Tip: Make the shoe shape sharp to give it that distinct cartoon style.
Step 9: Final Leg and Shoe
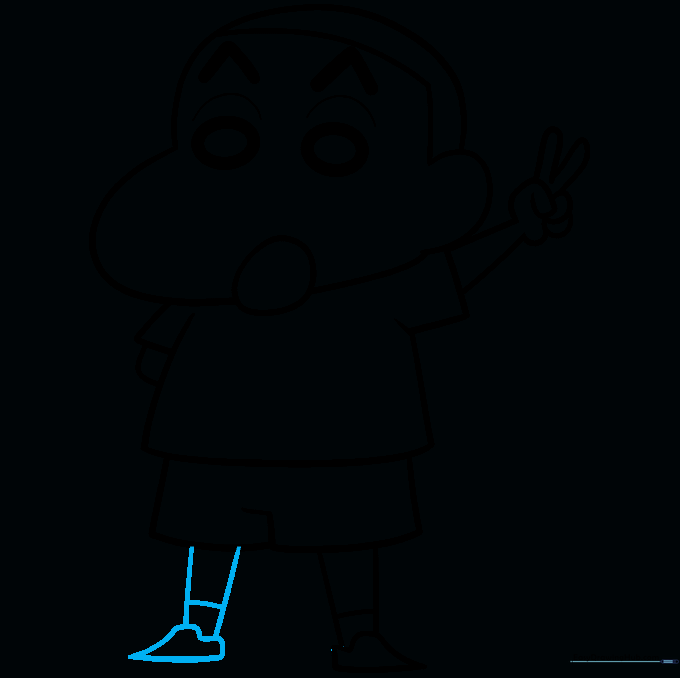
Repeat the process for the second leg and shoe. Ensure they are symmetrical to the first leg. Tip: Check that the length of both legs matches so your character looks balanced.
Step 10: Adding Color
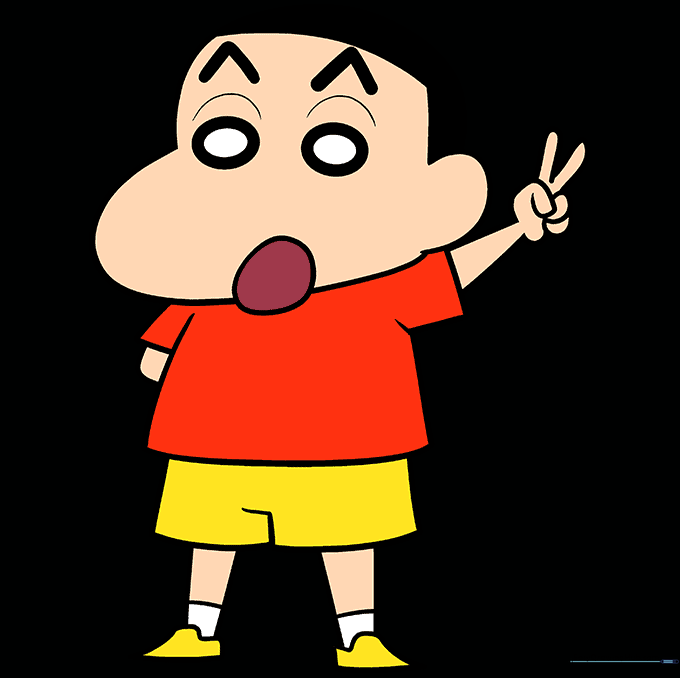
Bring Shin-chan to life with color! Use a bright red for his shirt and vibrant yellow for his shorts and shoes. Tip: Use light, even strokes with your crayons or markers for a smooth, professional finish.
More Tutorials


