How to Draw Seaweed: Easy 9-Step Ocean Art Guide
Bring the ocean floor to life with this fun, beginner-friendly seaweed drawing tutorial. Designed for young artists, this activity requires only a pencil, paper, and an eraser to create a vibrant underwater scene. Follow our guided steps to master organic, wavy lines and build your confidence in drawing natural shapes.
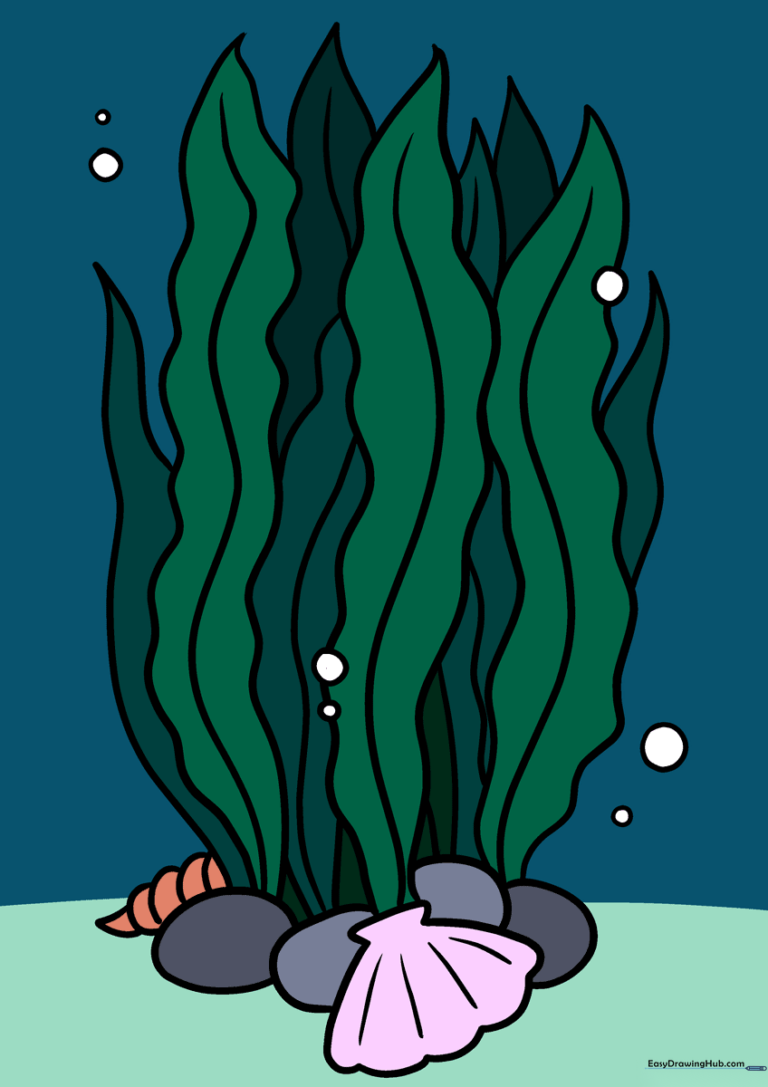
🎯 Final Result
Step-by-Step Instructions
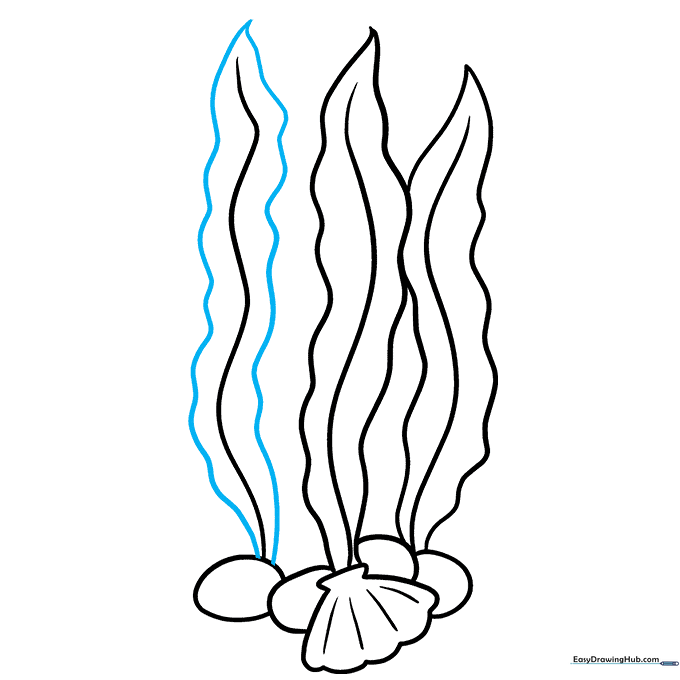
Step 1: Sketching the Base Shell
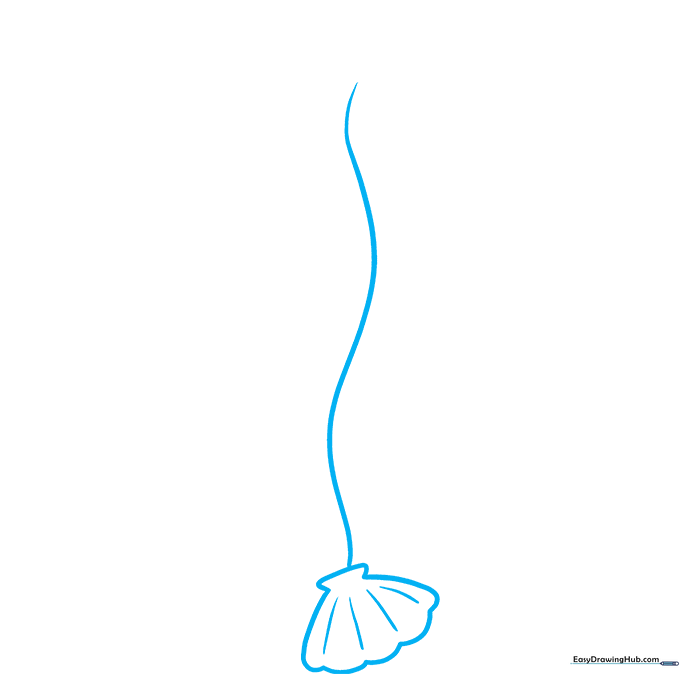
Start by drawing a small seashell at the bottom of your page. Use a trapezoid shape with scalloped edges for the base. Teacher's Tip: Keep your pencil strokes light so you can easily erase the overlap later when you add the seaweed stems.
Step 2: Forming the First Leaf

Draw two wavy lines on either side of your central stem, meeting at a point at the top to create a leaf. At the base, add two small circles to represent rocks. Teacher's Tip: Try to make your wavy lines flow like they are underwater!
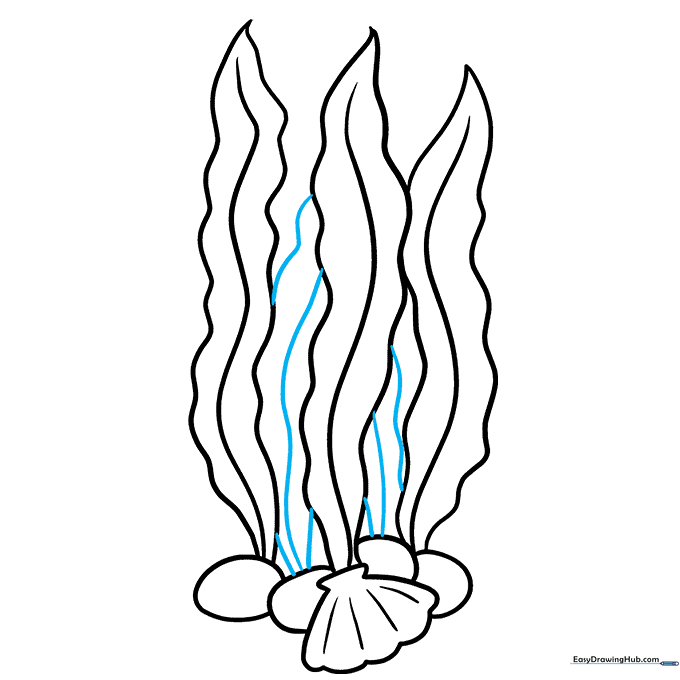
Step 3: Adding More Foliage
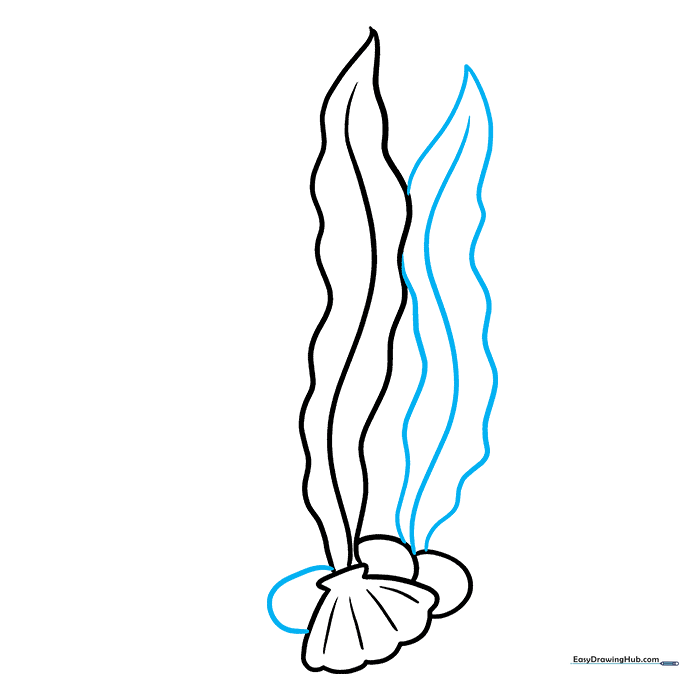
Repeat the process to draw a second leaf next to the first one. Add another irregular circle at the base for an additional rock. Teacher's Tip: Vary the height of your leaves to make the seaweed look more natural and less uniform.
Step 4: Expanding the Garden
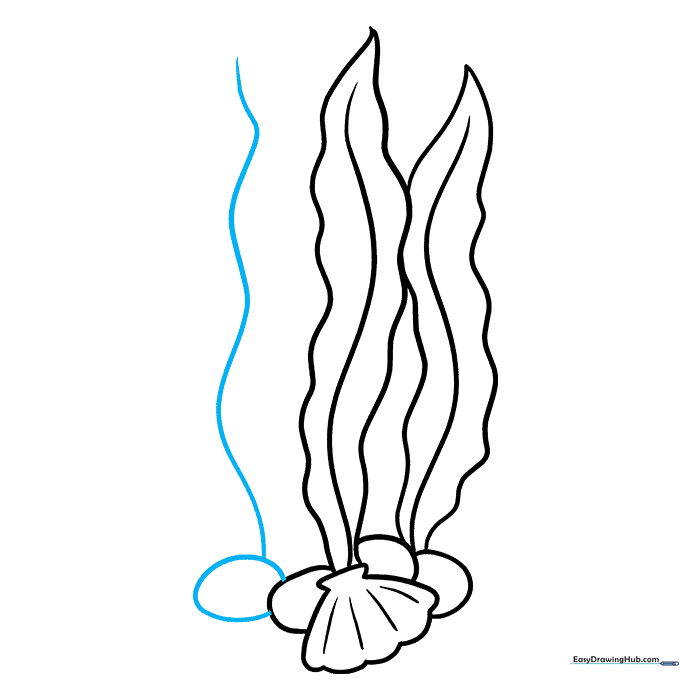
Draw an oval-shaped rock and extend a new wavy stem upward from it. This will be the foundation for your third leaf. Teacher's Tip: Think of these stems as the 'spine' of the plant.
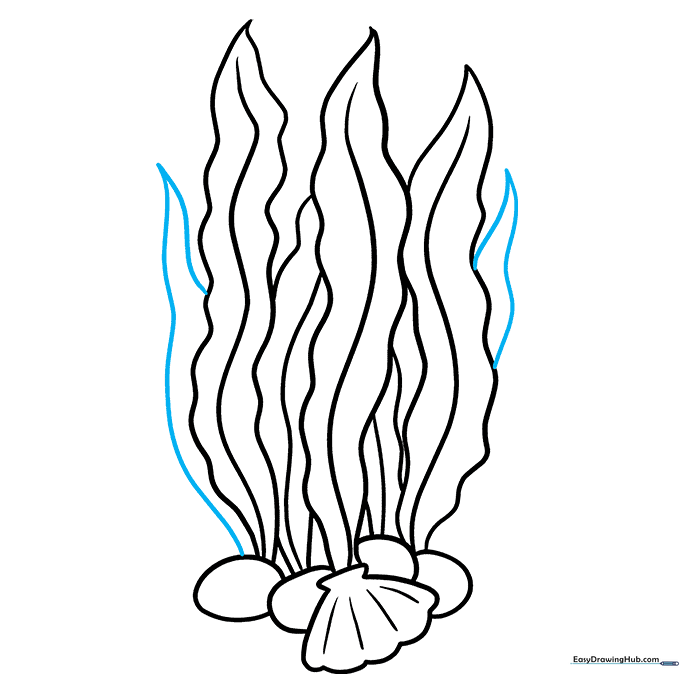
Step 5: Defining the Third Leaf
Outline the leaf using wavy lines that meet at a point at the top. Teacher's Tip: Ensure the lines are smooth to give the plant a soft, underwater appearance.
Step 6: Adding Depth
Draw more leaves tucked behind the ones you've already created. This adds depth to your drawing. Teacher's Tip: Use shorter, overlapping lines to make these leaves look like they are in the background.
Step 7: Filling the Space
Add a few more leaf tips peeking out from behind the main cluster. Teacher's Tip: Keep these shapes simple—just a few wavy lines meeting at a point.
Step 8: Final Foliage Details
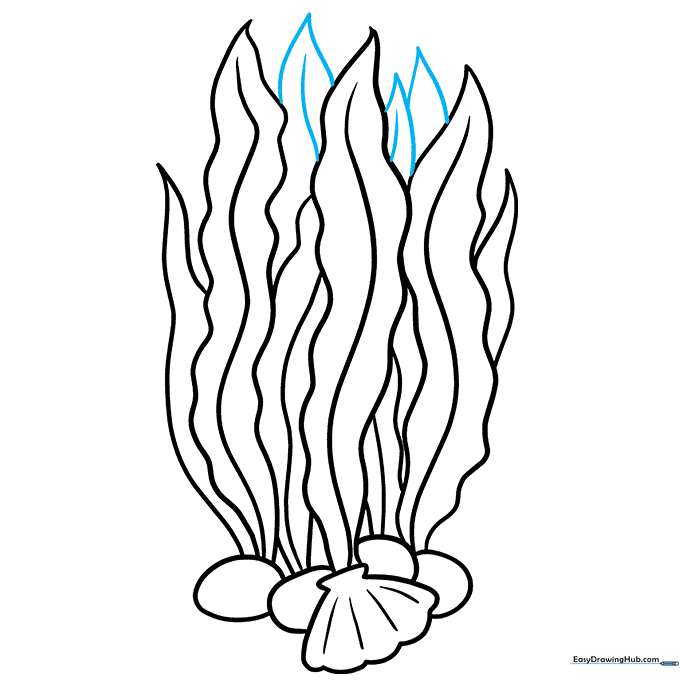
Draw the tips of a few more leaves at the very top of your grouping. Ensure each has a central vein. Teacher's Tip: This is the time to check your composition and add any extra leaves if you have empty space.
Step 9: Finishing Touches
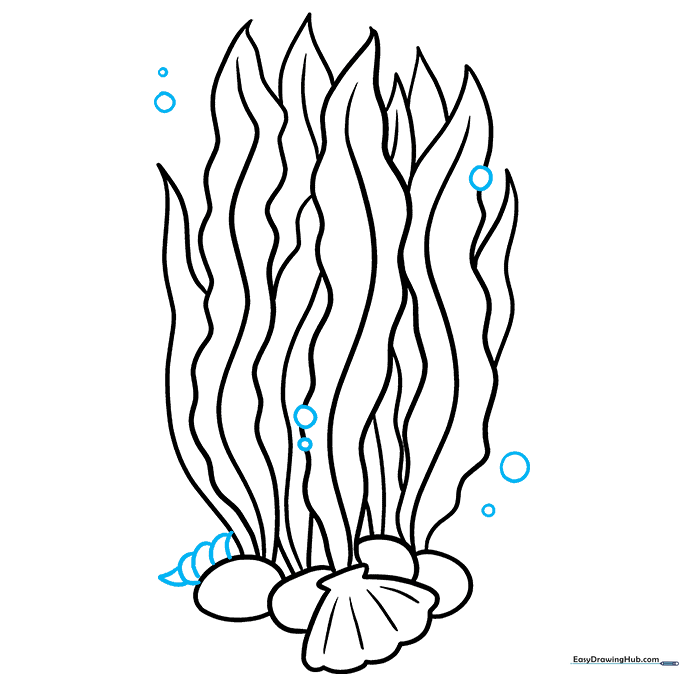
Draw a spiral-shaped shell at the base and add circular bubbles of various sizes floating around the seaweed. Teacher's Tip: Varying the size of the bubbles makes the drawing look more dynamic and alive.
Step 10: Color Your Masterpiece
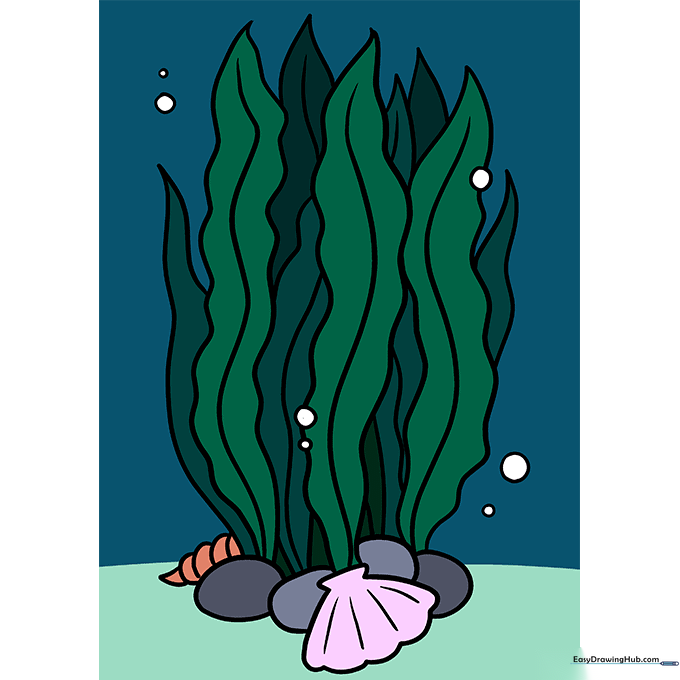
Your outline is complete! Use shades of green for the seaweed and earthy tones for the rocks and shell. Teacher's Tip: Use a darker green for the veins to add a bit of contrast and dimension.
More Tutorials


