How to Draw Scrooge McDuck: Easy 10-Step Guide
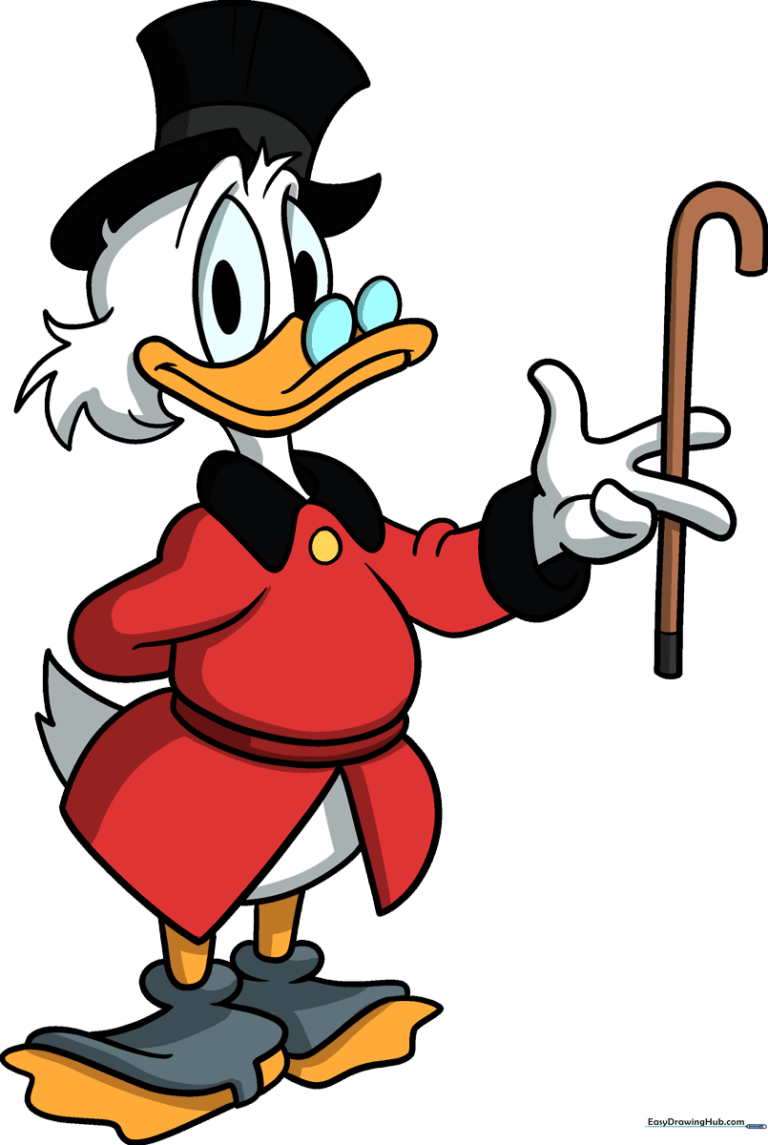
Ready to bring the world's richest duck to life? This tutorial is perfect for young artists ages 6+ who want to master cartoon proportions. Grab a pencil, an eraser, and a piece of paper to start building your character from the ground up.
🎯 Final Result
Step-by-Step Instructions
Step 1: Sketching the Eyes and Glasses
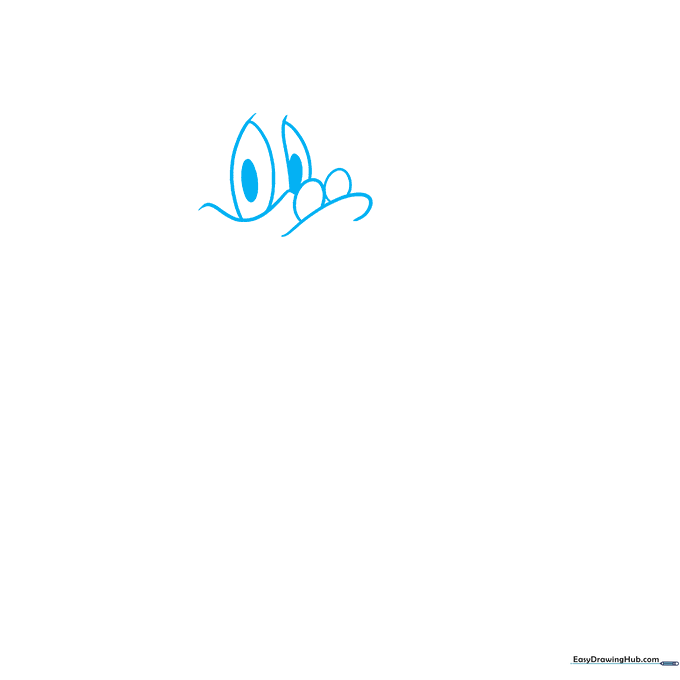
Start by drawing the signature spectacles. Sketch two partial circles for the frames, then place the oval eyes inside. Teacher's Tip: Keep your pencil lines very light here so you can easily adjust the shape of the beak in the next step.
Step 2: Defining the Beak and Feathers
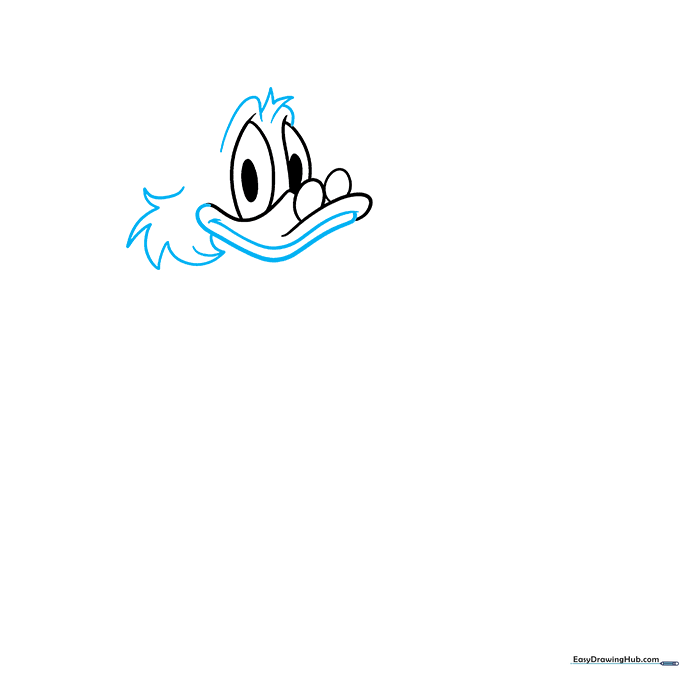
Connect the beak with two long, curved lines and add a small dash for his grumpy mouth. Use short, jagged strokes to create the tufts of feathers above his eyes. Tip: Use quick, flicking motions with your wrist to make the feathers look soft and natural.
Step 3: Adding the Iconic Top Hat
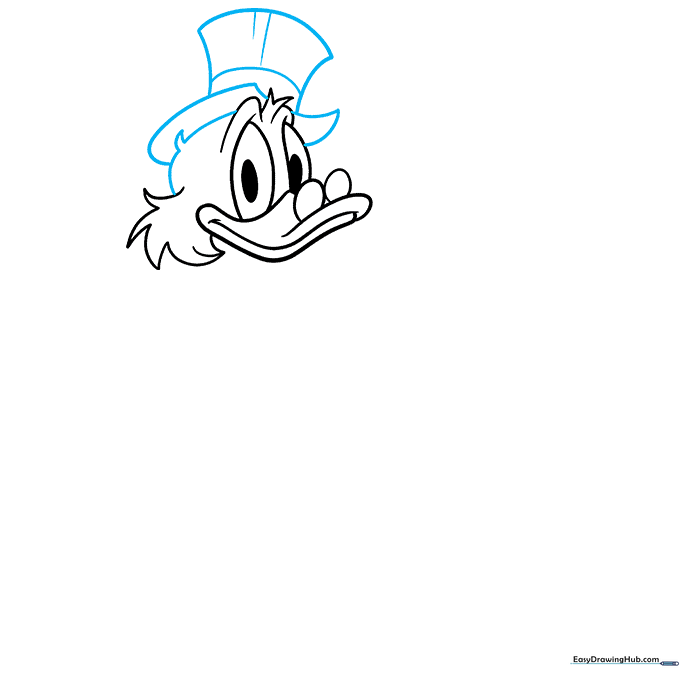
Complete the head shape and draw his tall top hat. Don't forget the slight crescent indentation on the brim! Tip: Draw the hat band as a separate rectangle to make coloring easier later.
Step 4: Sketching the Collar and Shoulders
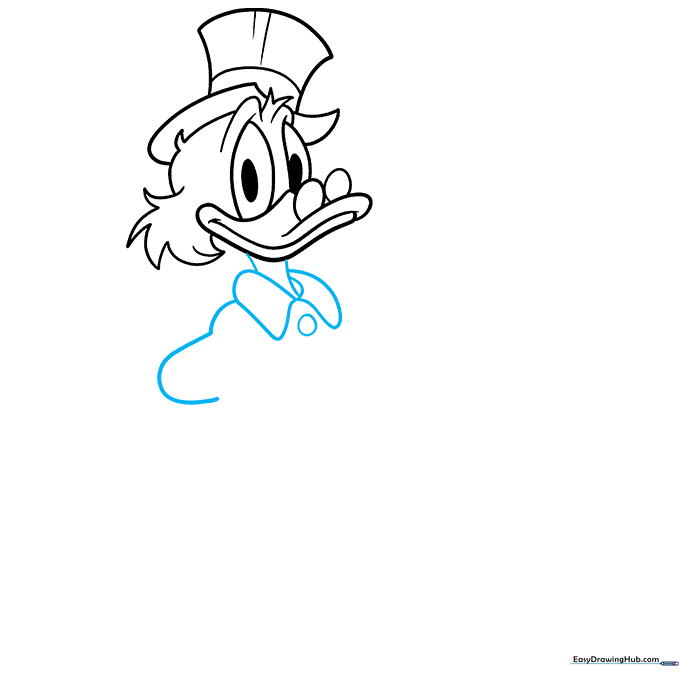
Draw two lines down for the neck, then add the collar using simple rectangles and triangles. Add a single circle for the button. Tip: Ensure the collar is centered under the chin to keep the character balanced.
Step 5: Drawing the Arms and Hands
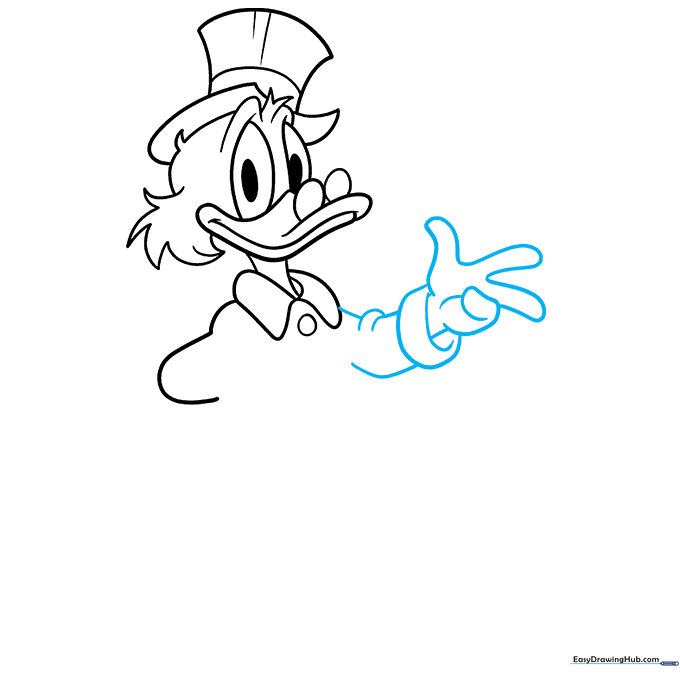
Use overlapping curves to create the sleeve, ending in a 'C' shape for the cuff. Draw the hand simply by focusing on the thumb and fingers. Tip: If the hand feels tricky, draw a small mitten shape first and then refine the fingers.
Step 6: Adding the Walking Cane
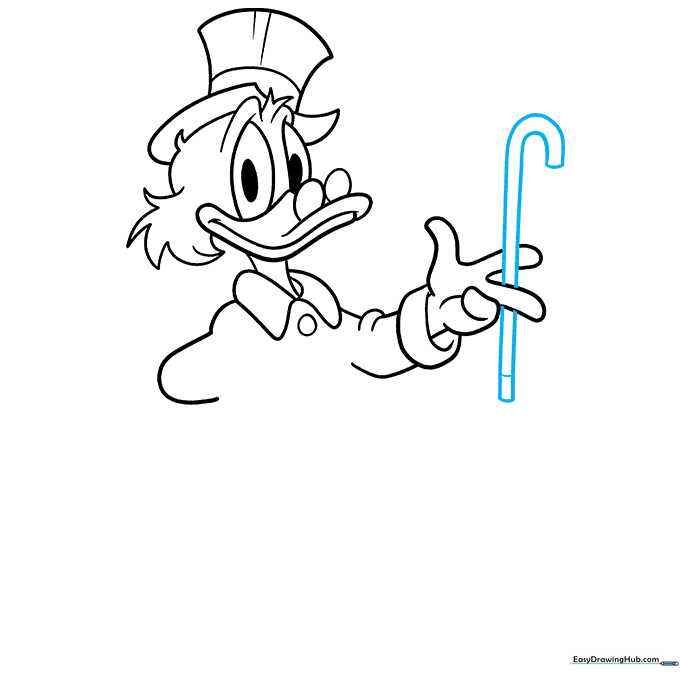
Draw a long 'J' shape held by his hand to create the cane. Erase any overlapping lines inside the cane to make it look like he's gripping it. Tip: Use a ruler if you want the cane to be perfectly straight, or keep it slightly curved for a more organic cartoon look.
Step 7: Shaping the Torso
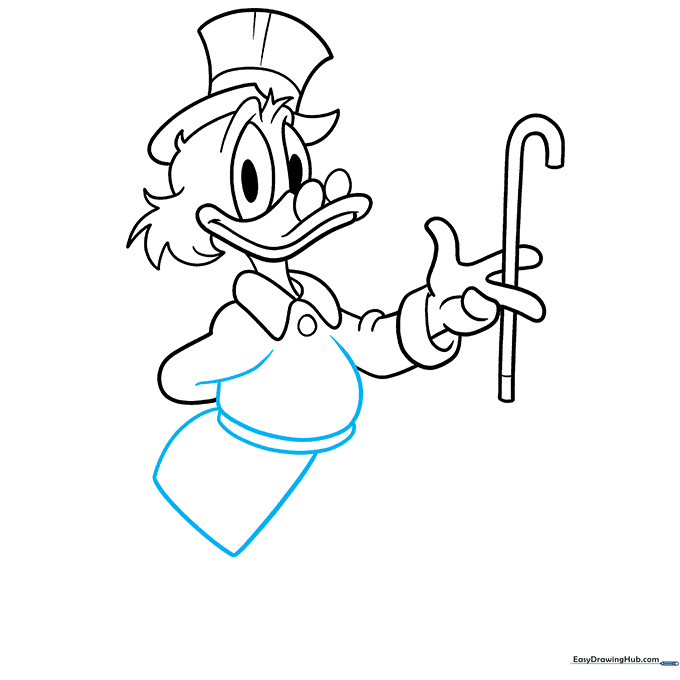
Connect the arm to the body, sketching the belt and the tail of his coat. Tip: Keep the coat lines flowing to suggest movement and fabric weight.
Step 8: Adding Legs and Tail Feathers
Draw the coattail and the tops of his legs. Add the tail feathers using jagged, overlapping lines. Tip: The tail feathers should look like a small fan behind him.
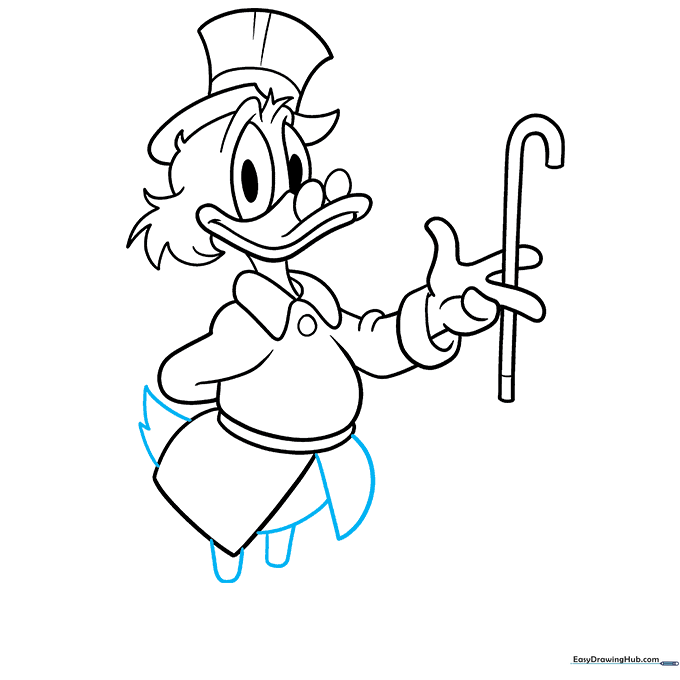
Step 9: Drawing the Webbed Feet
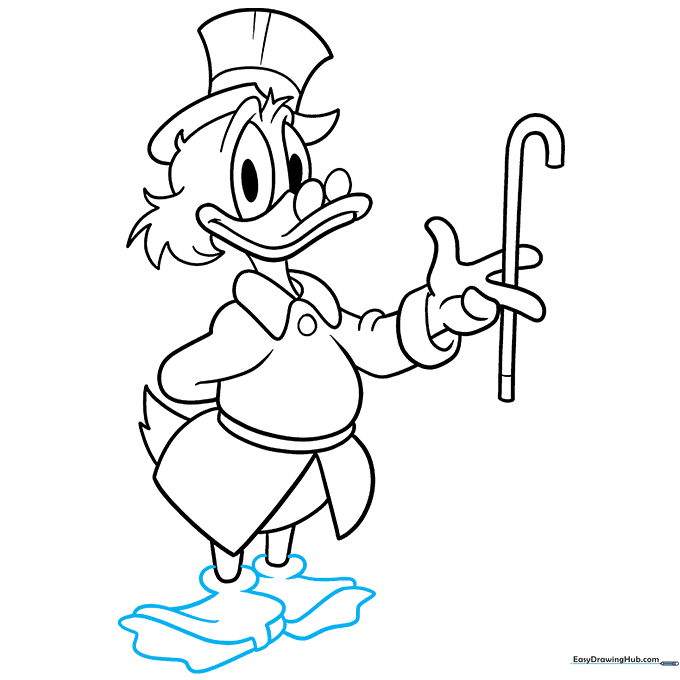
Finish the drawing by adding his shoes and webbed feet. Use rounded shapes to give them a classic cartoon look. Tip: Make sure the feet are wide enough to support his body weight in the drawing.
Step 10: Bring Him to Life with Color
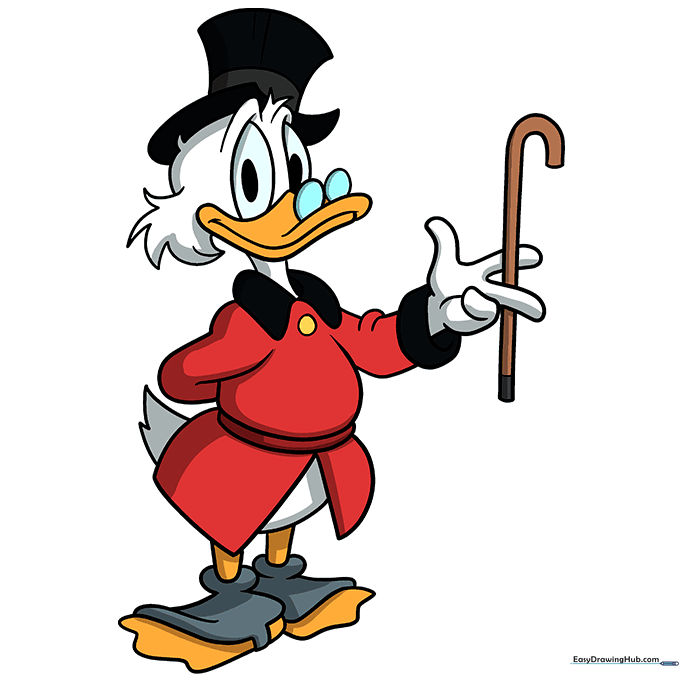
Time to color! Use white for his feathers, a bright orange for his beak and feet, and a deep black for his top hat and coat. Tip: Use light pressure with your colored pencils to create smooth, even layers.
More Tutorials


