How to Draw Scorpion: Easy 10-Step Mortal Kombat Guide
Ready to bring the iconic ninja Scorpion to life? This tutorial is designed for fans and young artists looking to practice character proportions and costume detailing. You will need a pencil, an eraser, and a fine-liner pen to complete this legendary warrior.
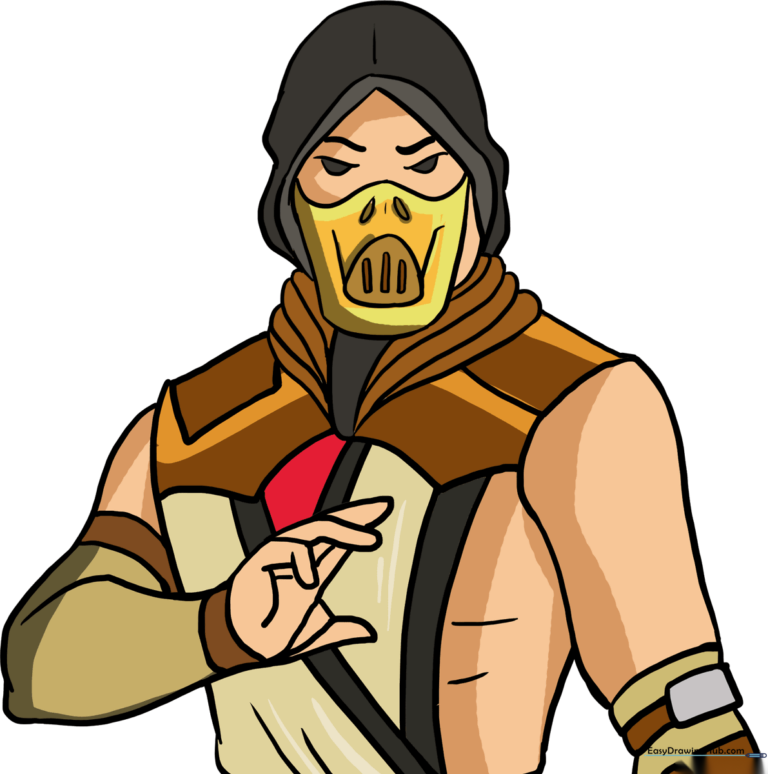
🎯 Final Result
Step-by-Step Instructions
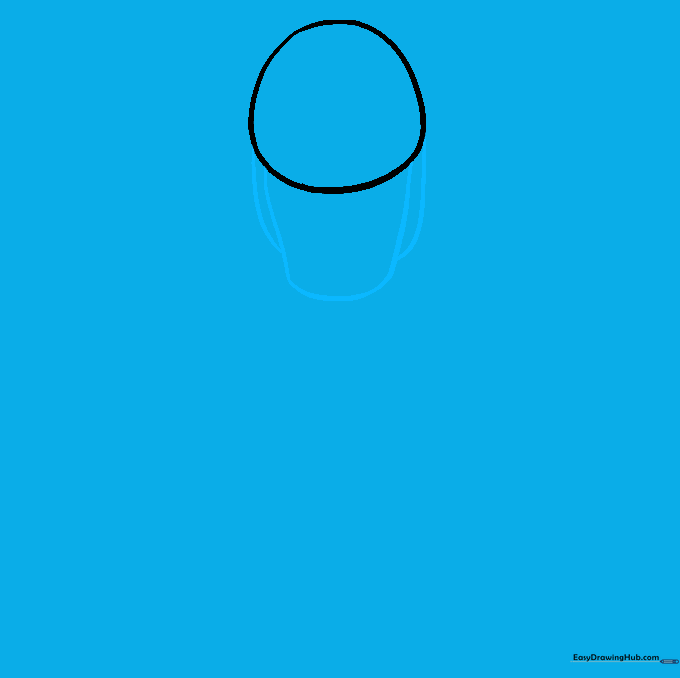
Step 1: Sketching the Head Base

Draw a light circle to serve as the foundation for the head. Teacher's Tip: Keep this circle small and centered near the top of your paper to leave room for the rest of his body.
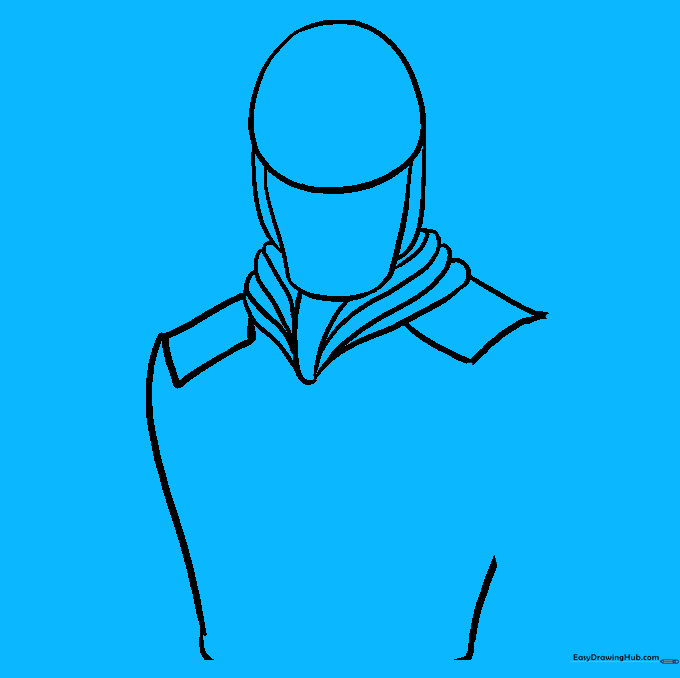
Step 2: Defining the Mask Shape
Add a rounded shape beneath the circle for the jaw, and draw narrow curved lines on the sides of the head. Teacher's Tip: These side lines will eventually become the edges of his ninja hood.
Step 3: Adding Neck Fabric

Draw an inverted triangle under the chin and add curved lines connecting it to the head. Teacher's Tip: These lines represent the fabric folds of his collar; keep them loose and organic.
Step 4: Outlining the Shoulders
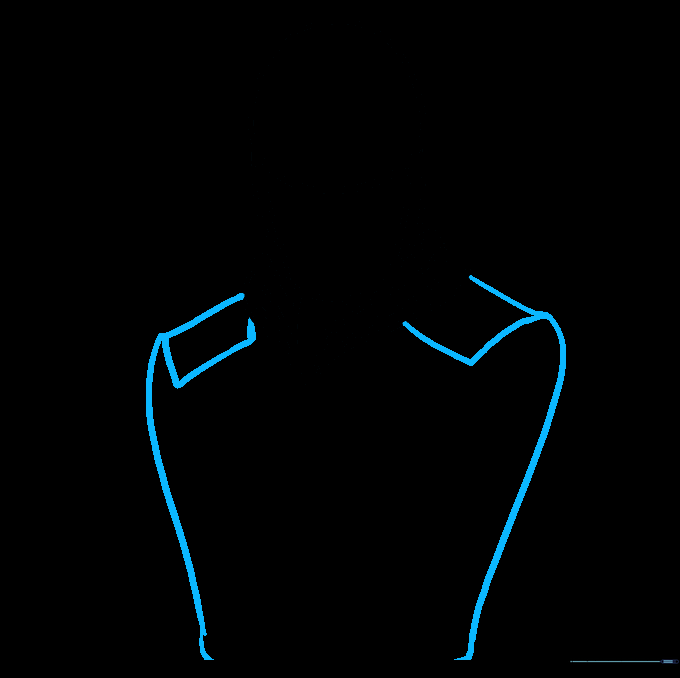
Extend 'L' shaped curves from the neck to create the shoulders and add rectangular shapes for armor plates. Teacher's Tip: Ensure the shoulders are wide enough to give him that strong, warrior appearance.
Step 5: Sketching the First Arm
Draw the arm using curved lines, adding rectangular bands for his gauntlets. Teacher's Tip: If you make a mistake, use your eraser to gently lift the graphite before moving on.
Step 6: Drawing the Second Arm
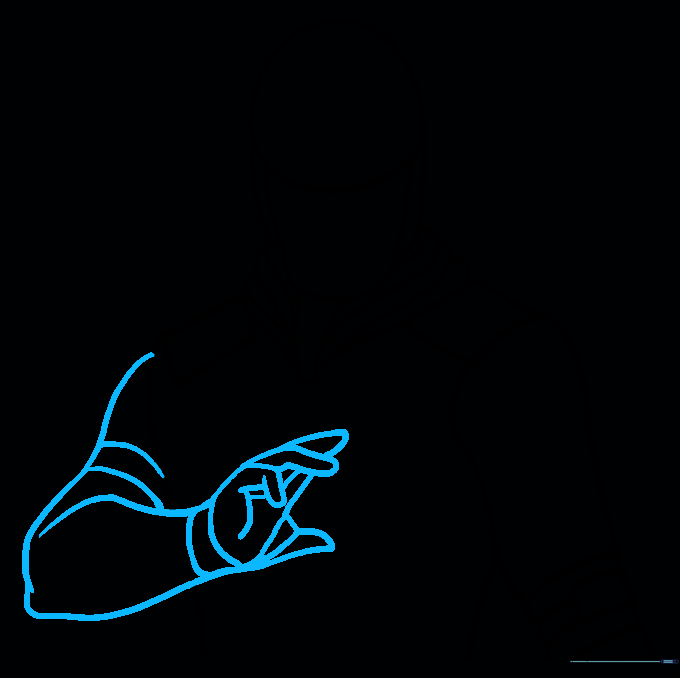
Draw the bent arm and add 'U' shapes for the fingers. Teacher's Tip: Use overlapping lines to show the bend at the elbow, which adds depth to your drawing.
Step 7: Adding Torso Details
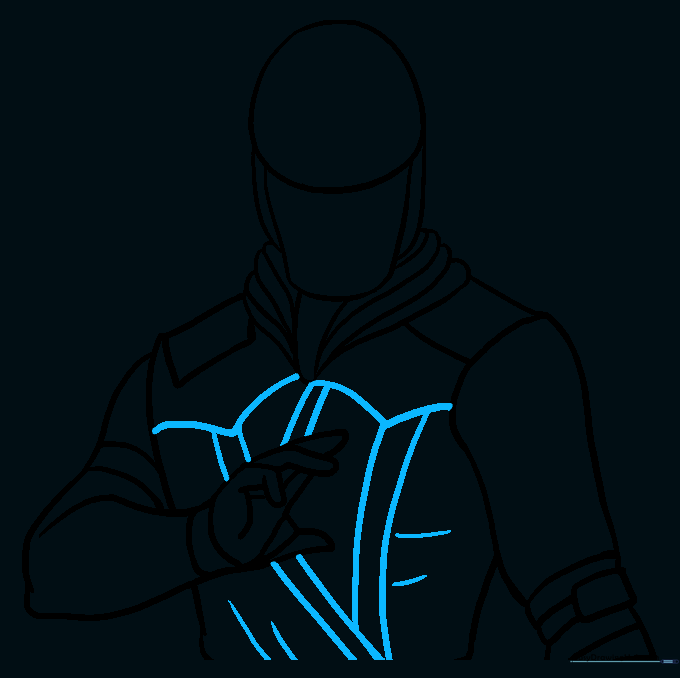
Add diagonal lines across the torso to represent his chest armor and muscular definition. Teacher's Tip: Vary the angles of the lines to make the armor look more realistic and segmented.
Step 8: Refining the Hood
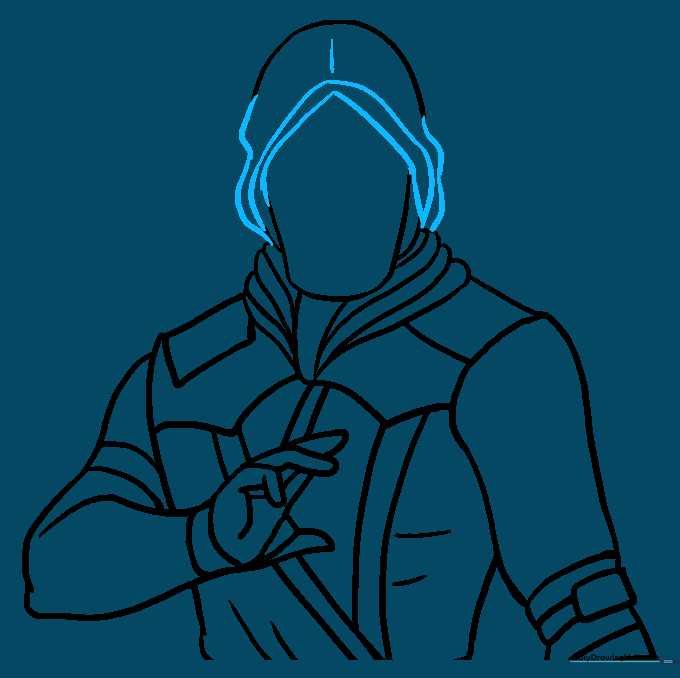
Use wavy lines to define the hood and add parallel 'U' shapes across the forehead. Teacher's Tip: The wavy lines give the fabric a sense of movement, as if he's in the middle of a fight.
Step 9: Finalizing the Face Mask
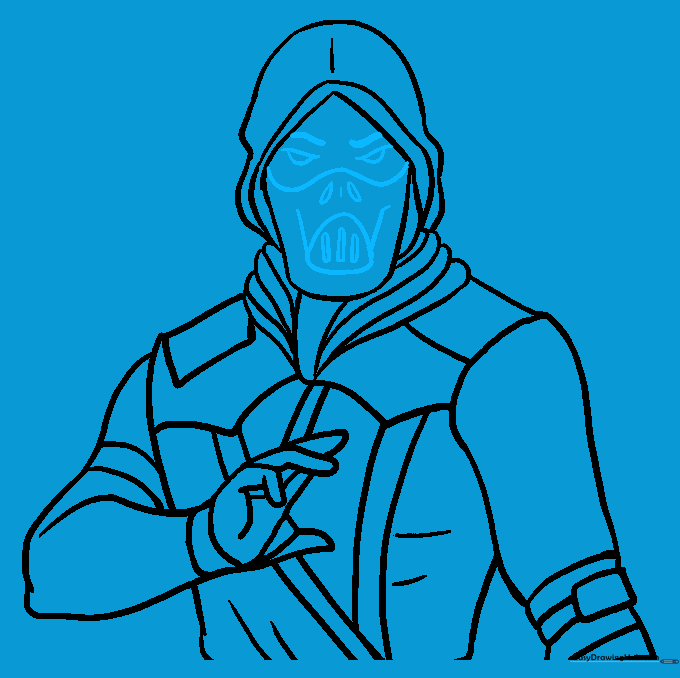
Draw the eyes, eyebrows, and the intricate details of his mask. Teacher's Tip: Take your time on the mask; it's the most recognizable part of Scorpion's design.
Step 10: Coloring Your Masterpiece
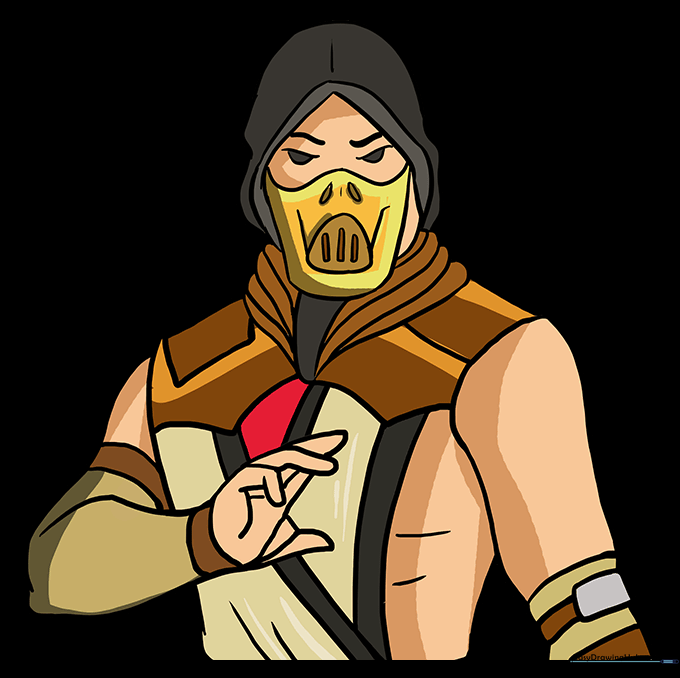
Fill in your drawing with Scorpion's iconic yellow and black colors. Teacher's Tip: Use a darker shade of yellow for shadows to give your drawing a three-dimensional look.
More Tutorials


