How to Draw a Landscape: Easy 9-Step Guide for Kids
Bring your imagination to life with this simple landscape drawing guide, perfect for artists ages 5 and up. You will only need a pencil, an eraser, and a sheet of paper to create a charming riverside scene. This activity is a fantastic way to practice spatial depth and basic geometric shapes.
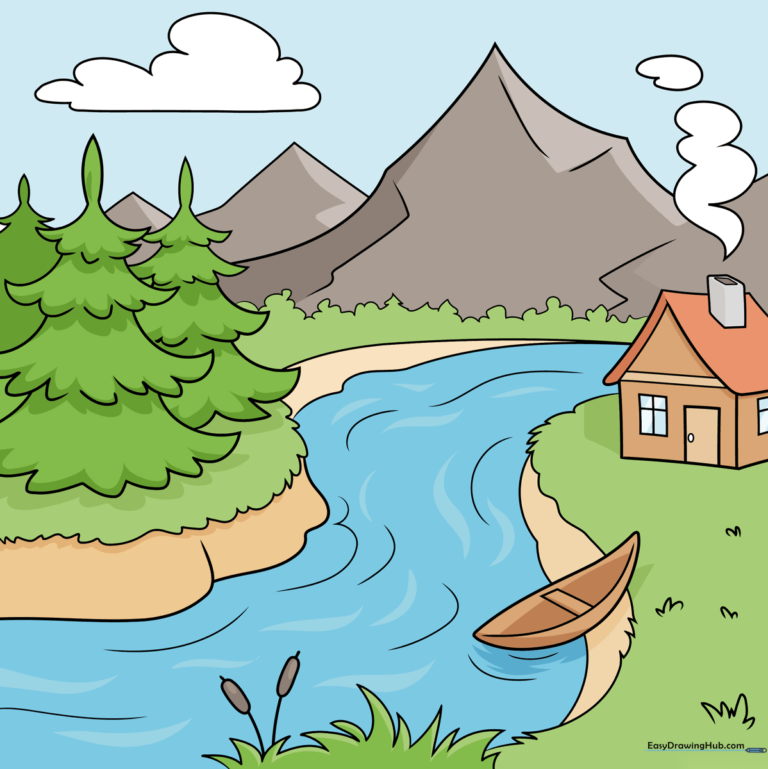
🎯 Final Result
Step-by-Step Instructions
Step 1: Sketching the First Pine Tree
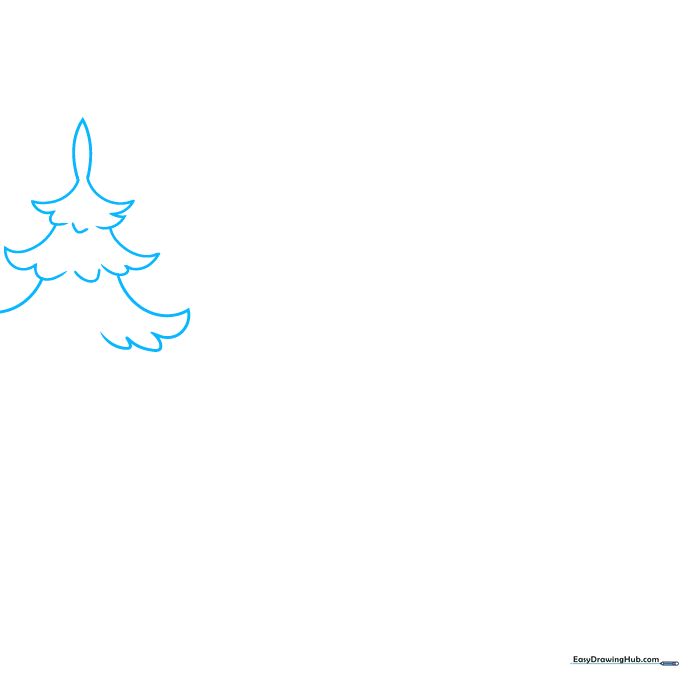
Start by drawing the top of a pine tree using two curved lines that meet at a point. Below this, add two more curved lines extending outward with scalloped edges. Teacher's Tip: Keep your pencil pressure light so you can easily adjust the shape later.
Step 2: Adding Depth with Background Trees
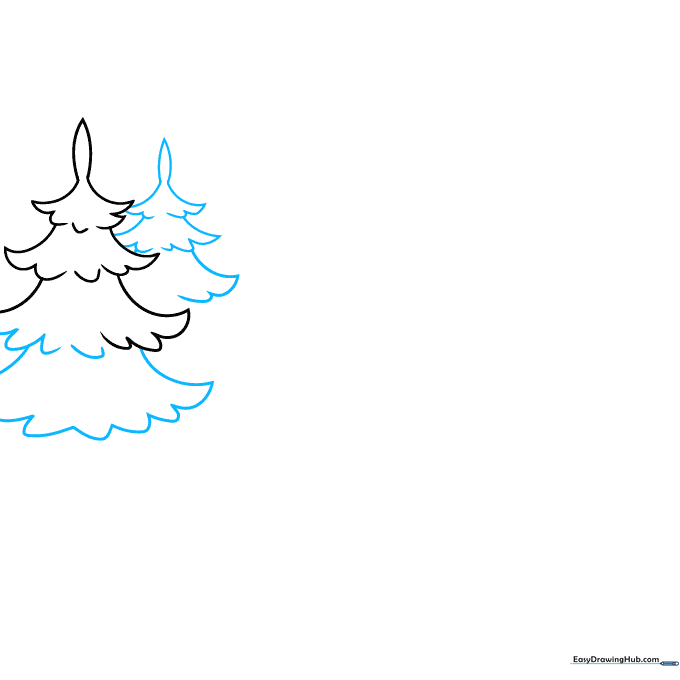
Continue the scalloped pattern to finish your first tree. Then, draw a second, smaller tree nearby. Teacher's Tip: Drawing the second tree smaller is a classic artist's trick to show that it is further away in the distance.
Step 3: Defining the Riverbank
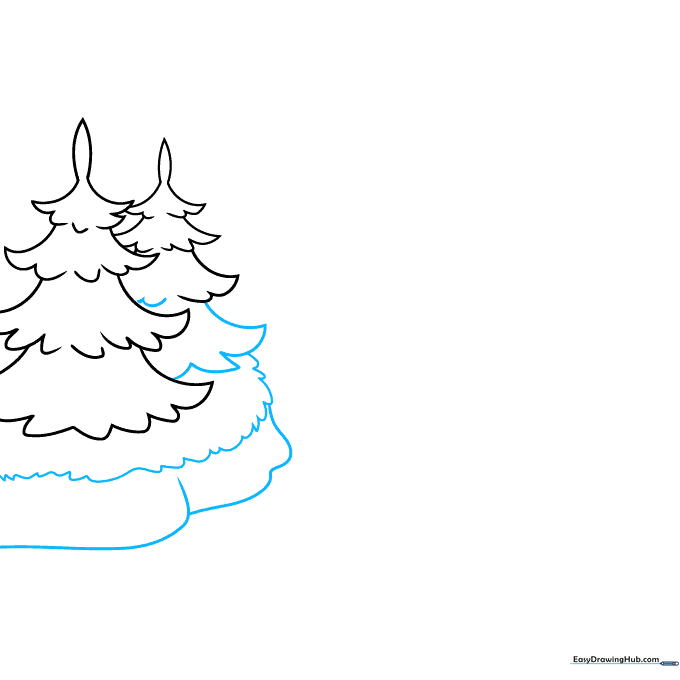
Complete your second tree, then draw a series of long, overlapping curved lines at the base to represent the riverbank. Teacher's Tip: Use a wavy motion with your hand to make the grass look natural and soft.
Step 4: Sketching the Cabin
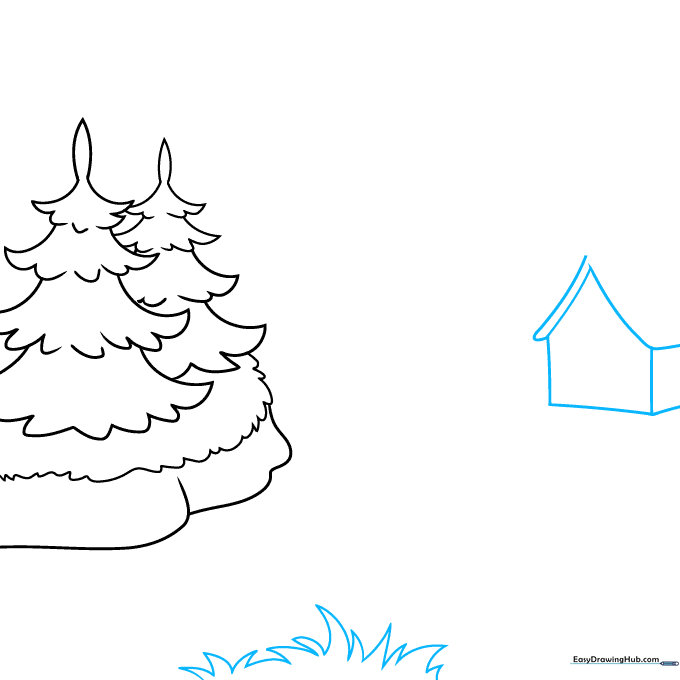
Add some jagged grass in the foreground. Then, draw a pentagon shape on the opposite bank to serve as the front of your cabin. Teacher's Tip: Use a ruler if you want the cabin walls to be perfectly straight, or keep it freehand for a rustic look.
Step 5: Adding Cabin Details
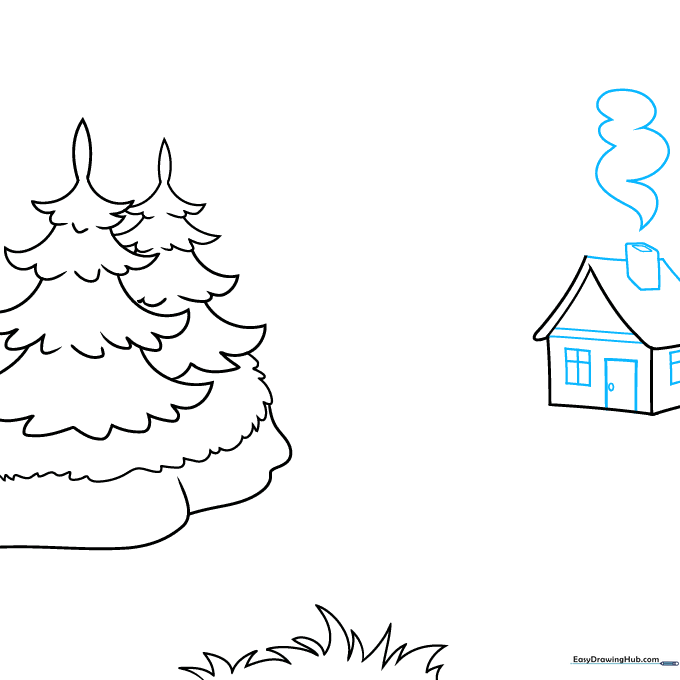
Draw rectangular windows and a door, and add a chimney using a hexagon shape. Don't forget to draw some fluffy, cloud-like smoke rising from the top! Teacher's Tip: Use small circles or ovals for the smoke to make it look light and airy.
Step 6: Drawing the Canoe
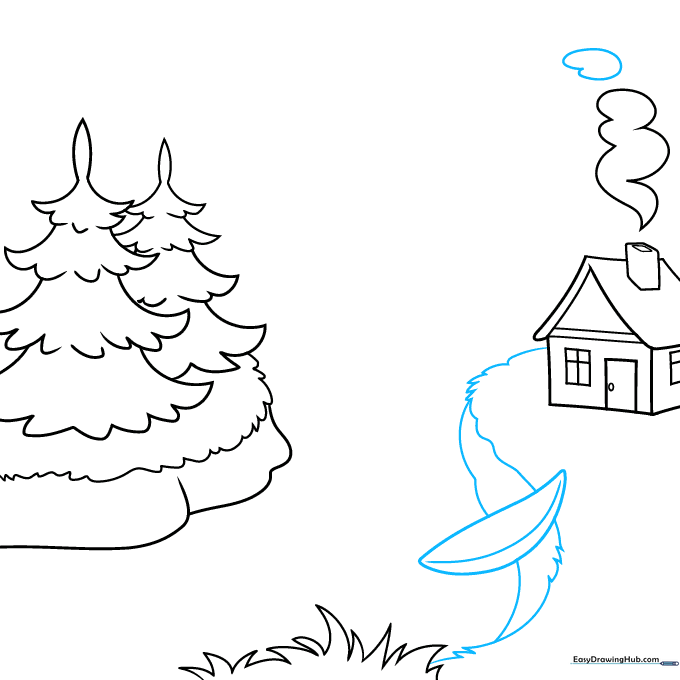
Draw a banana-shaped boat near the riverbank. Add a line inside to show the depth of the canoe. Teacher's Tip: Think of the boat as a long, curved smile shape.
Step 7: Adding Cattails and Distance
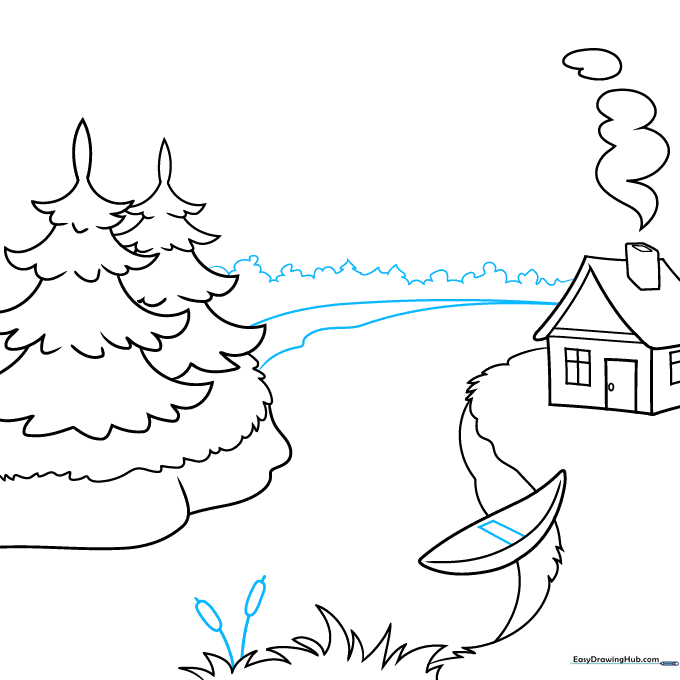
Draw tall, slender cattails in the foreground and sketch the bend of the river in the distance. Teacher's Tip: Use short, vertical strokes for the cattails to make them look realistic.
Step 8: Mountains and Background
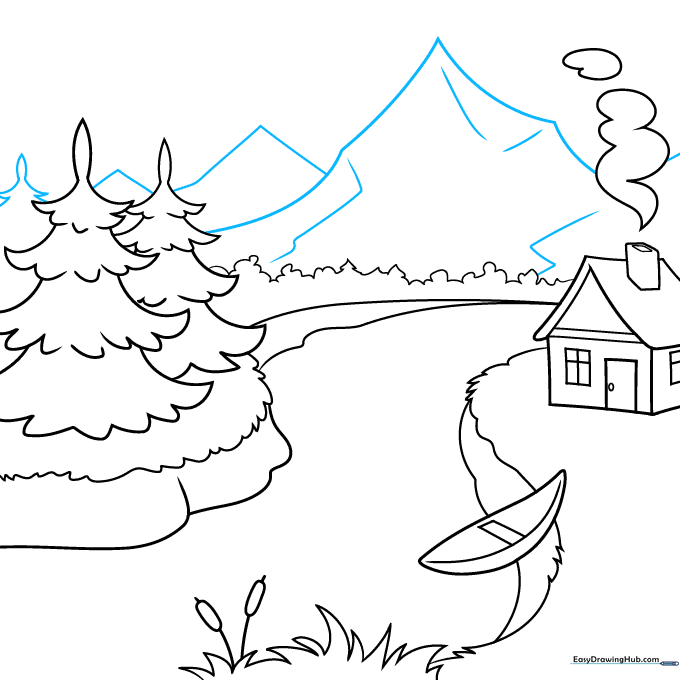
Draw jagged mountain peaks in the distance using pointed lines. Add one more pine tree behind the others to fill the space. Teacher's Tip: Mountains look best when they have different heights and sharp, uneven peaks.
Step 9: Final Touches
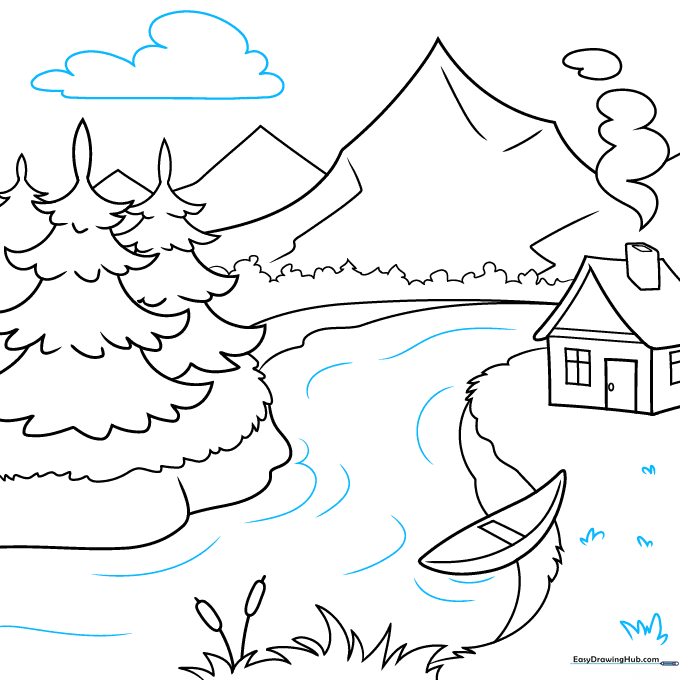
Add a cloud in the sky and use small 'U' shaped lines to create patches of grass. Draw horizontal lines on the water to show it is flowing. Teacher's Tip: Keep your water lines straight and parallel to the riverbank.
Step 10: Bring It to Life with Color
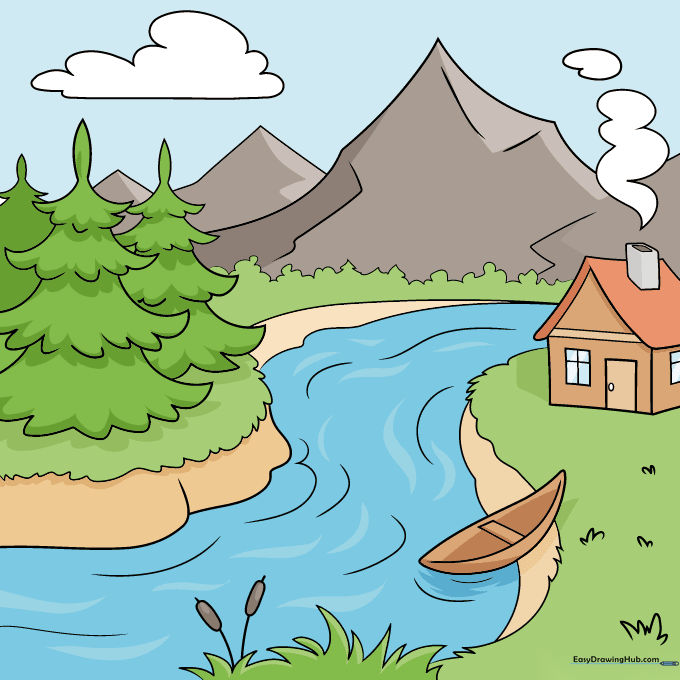
Now for the fun part! Use greens for the trees and grass, blues for the water and sky, and earthy tones for your cabin and mountains. Teacher's Tip: Try using two shades of green to give your trees more depth.
More Tutorials


