How to Draw a Scarecrow: Easy 10-Step Guide for Kids
Bring the harvest season to life with this friendly scarecrow drawing! Designed for artists ages 5 and up, this project requires only a pencil, paper, and an eraser. Follow these simple steps to build confidence in your sketching skills while creating a charming character for your fall art collection.
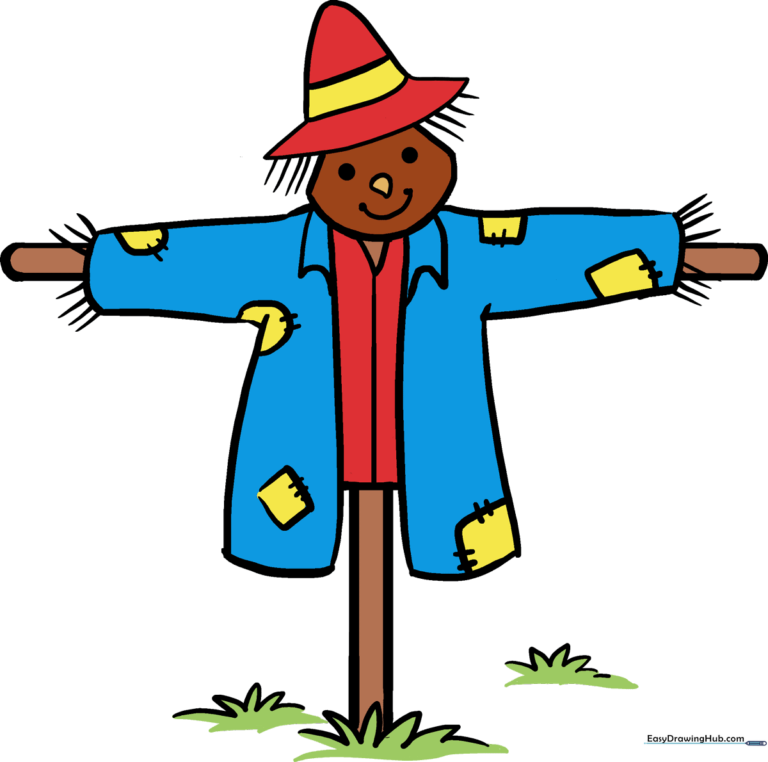
🎯 Final Result
Step-by-Step Instructions
Step 1: Sketching the Support Frame

Start by drawing a cross shape using two sets of parallel lines. These represent the wooden post and crossbeam. Tip: Keep your pencil pressure light so you can easily erase the overlapping lines later.
Step 2: Shaping the Head

Draw a diagonal line near the top of the crossbeam and enclose the space below it with a curved line. This creates the rounded shape of the scarecrow's head. Tip: Don't worry about perfect symmetry; scarecrows are meant to look a bit lumpy and handmade!
Step 3: Cleaning the Guidelines

Gently erase the lines inside the head and the top of the crossbeam that are now hidden. Tip: Use a soft eraser to avoid smudging your paper.
Step 4: Outlining the Jacket
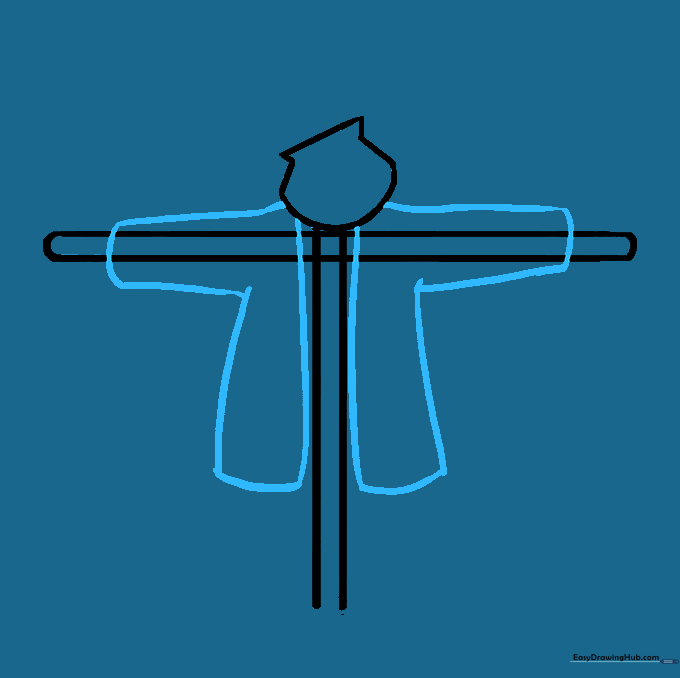
Use long, curved lines on either side of the upright beam to draw the jacket sleeves. Tip: Think of these as sideways 'L' shapes to help get the proportions right.
Step 5: Adding the Hat
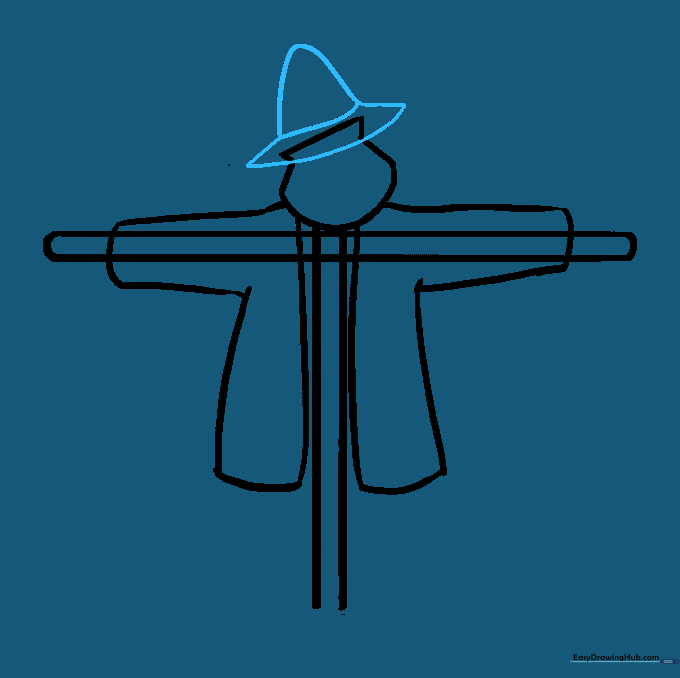
Draw a curved line across the top of the head, then add a bell-shaped brim above it. Tip: Add a horizontal line to separate the brim from the crown of the hat for a more realistic look.
Step 6: Refining the Silhouette
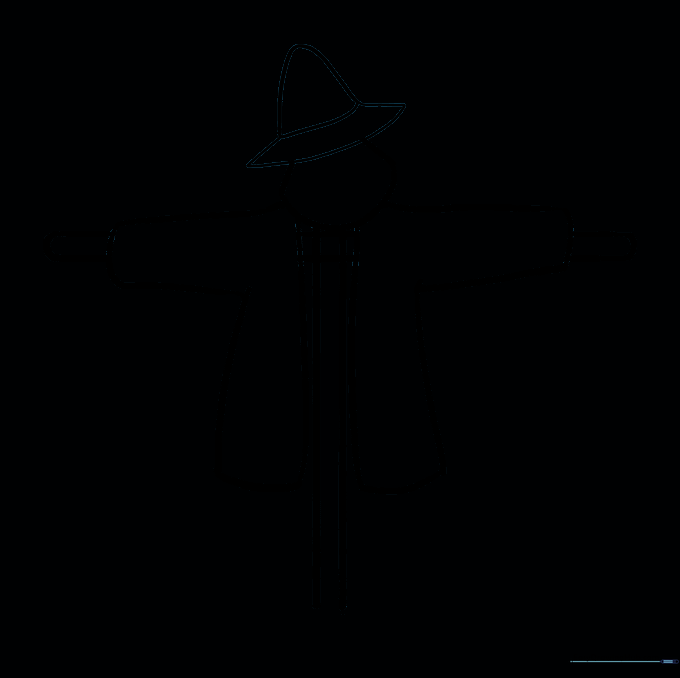
Clean up your drawing by erasing any overlapping guide lines inside the hat and jacket. Tip: A clean drawing makes it much easier to add details later!
Step 7: Adding Texture and Patches
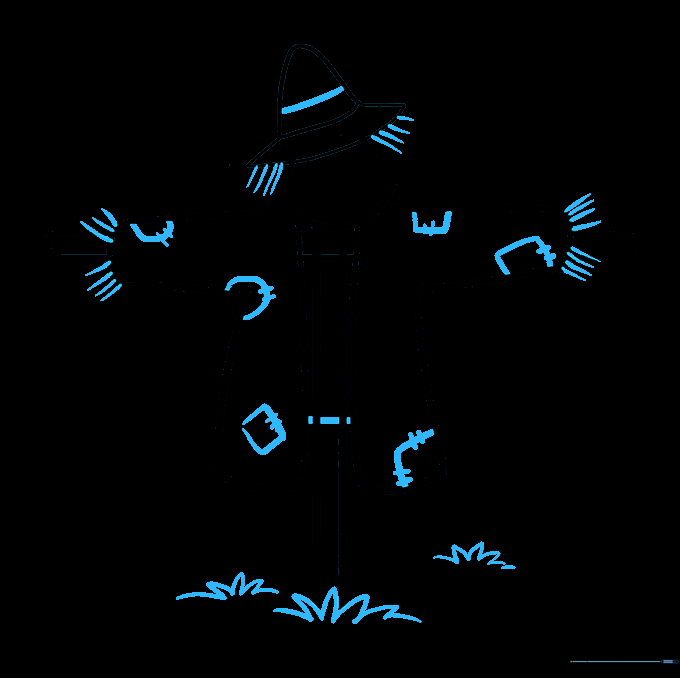
Draw straw poking out from the hat and sleeves using short, quick lines. Add patches to the jacket with squares and circles, using tiny dashes for stitches. Tip: Vary the length of your straw lines to make it look messy and natural.
Step 8: Final Cleanup

Do a final check and erase any remaining stray pencil marks. Tip: Hold your paper up to the light to see if you missed any faint lines.
Step 9: Drawing the Face
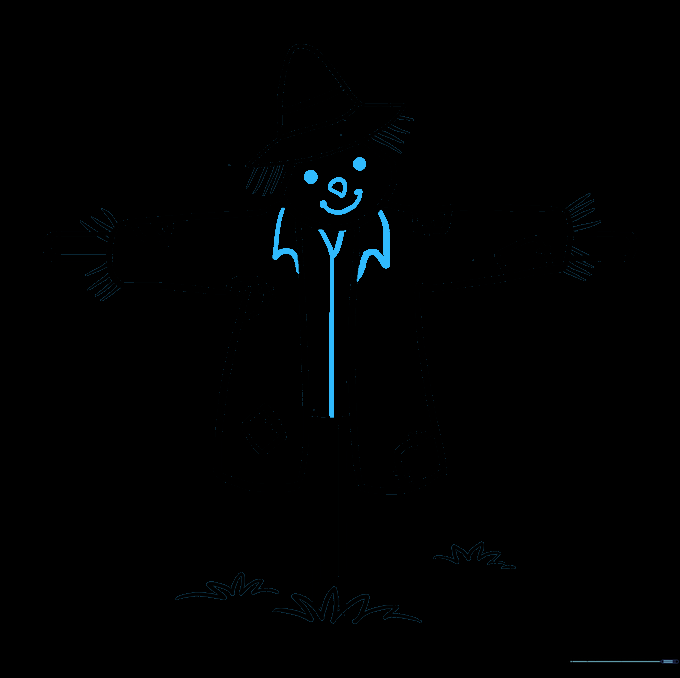
Give your scarecrow personality! Add two shaded circles for eyes, a triangle nose, and a curved line for a friendly mouth. Add a collar to the jacket to finish the look. Tip: Try different mouth shapes—a wide smile or a silly grin—to change the scarecrow's mood.
Step 10: Bring It to Life with Color
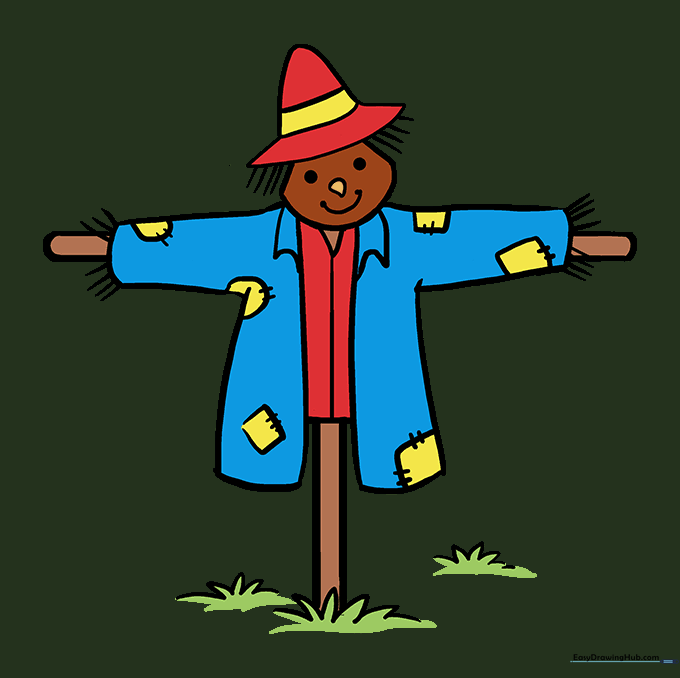
Time to color! Use warm autumn tones like orange, brown, and yellow. Tip: Add a few crows nearby using our raven guide to complete your harvest scene!
More Tutorials


