How to Draw Sailor Moon: Easy 10-Step Anime Guide
Ready to bring the Guardian of Love and Justice to life? This tutorial is designed for young artists and anime fans who want to master Sailor Moon’s iconic look. Grab your pencil, eraser, and paper, and follow these steps to build her character from the ground up.
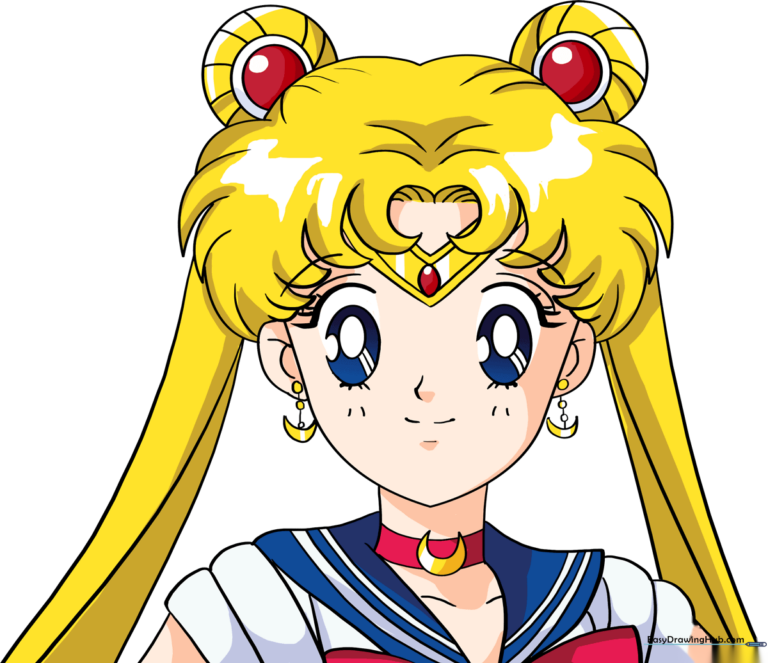
🎯 Final Result
Step-by-Step Instructions
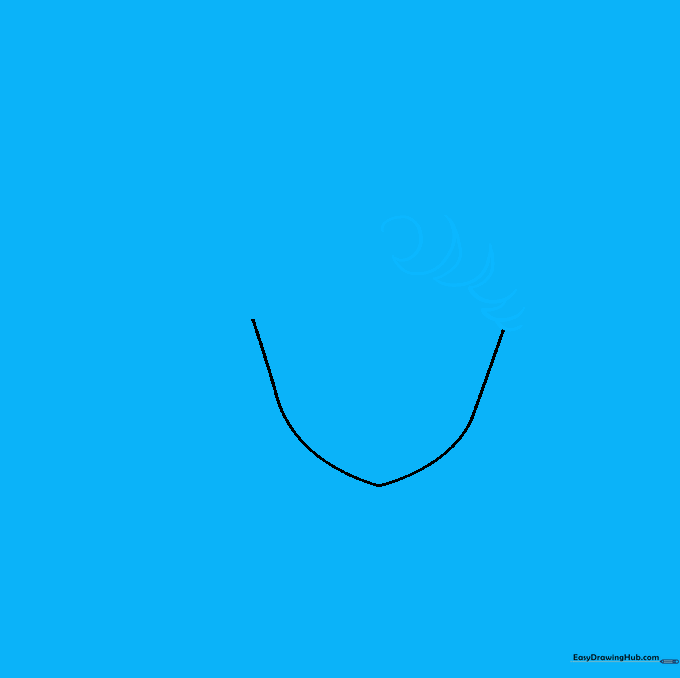
Step 1: Sketching the Face Shape

Sketch the outline of Sailor Moon’s face using soft, curved lines that taper to a gentle chin. Teacher's Tip: Keep your pencil strokes light and airy so you can easily adjust the shape if it looks a bit lopsided.
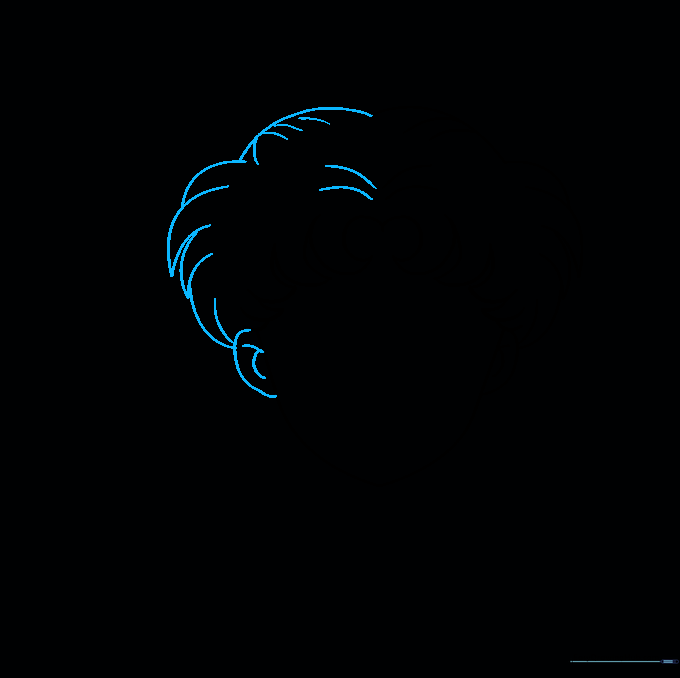
Step 2: Starting the Hairline
Begin drawing the hair using curved lines that meet at sharp points. Focus on the central lock on the forehead; it should look like a delicate crescent moon. Tip: Think of these as 'V' shapes that are slightly rounded.
Step 3: Defining the Bangs
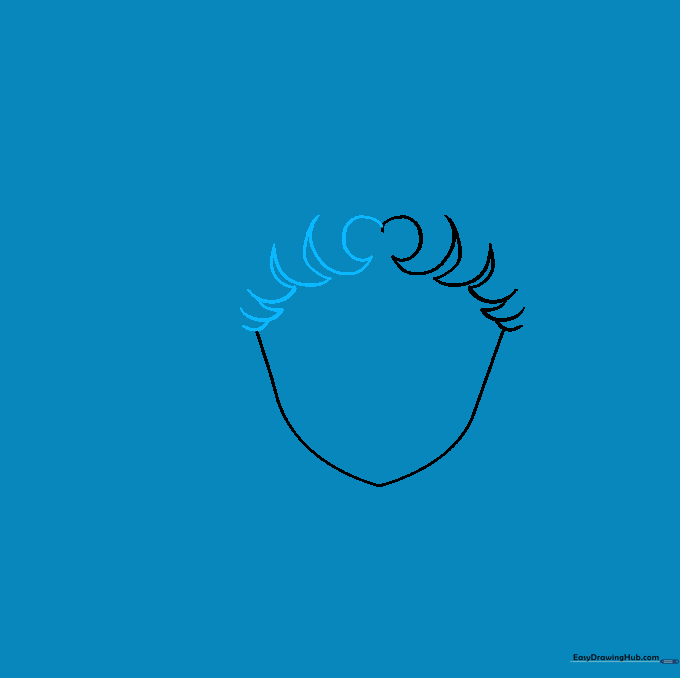
Continue adding layers of hair around the forehead using curved, pointed strokes. Keep the lines flowing in the same direction to make the hair look natural. Tip: Don't press too hard; anime hair is all about smooth, flowing movement.
Step 4: Adding Ears and Texture
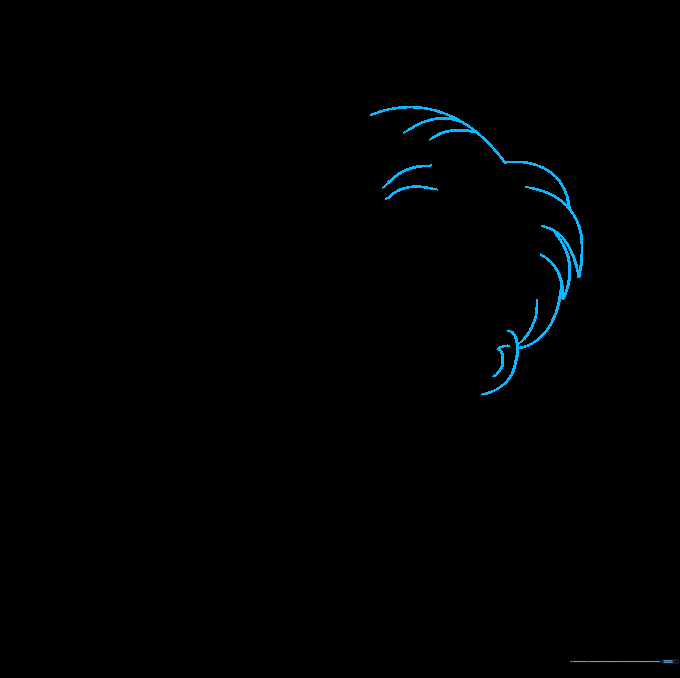
Draw the ear on the side of the head and add small curved lines inside for detail. Continue sketching the hair on top of the head with pairs of curved lines to create volume. Tip: Use short, quick strokes to give the hair a 'layered' look.
Step 5: Finishing the Hair Outline
Draw the second ear and complete the outline of the hair by connecting your lines. Ensure the hair looks full and rounded. Tip: Check that the hair shape is symmetrical on both sides of the head.
Step 6: Drawing the Odango Buns
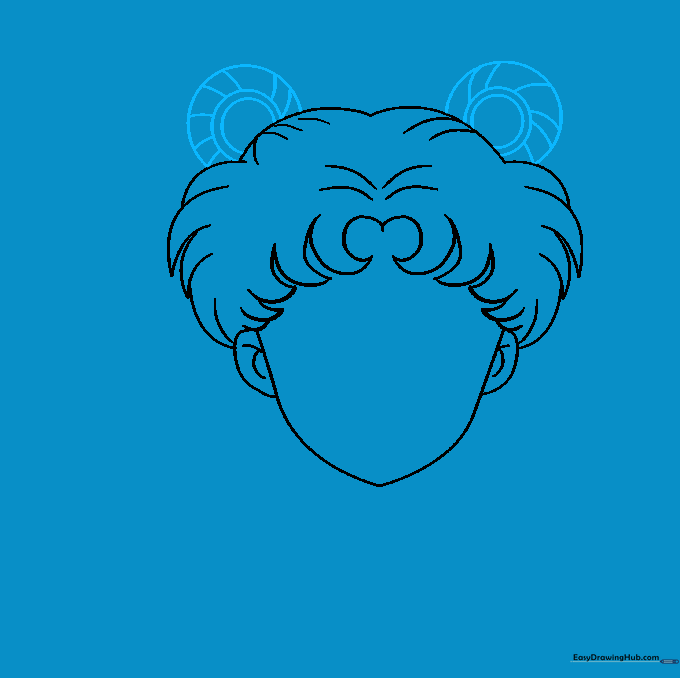
Draw a partial circle on each side of the head for her signature 'odango' buns. Add smaller circles inside and connect them with banded lines. Tip: Imagine these as little spheres sitting on top of her head—keep them round!
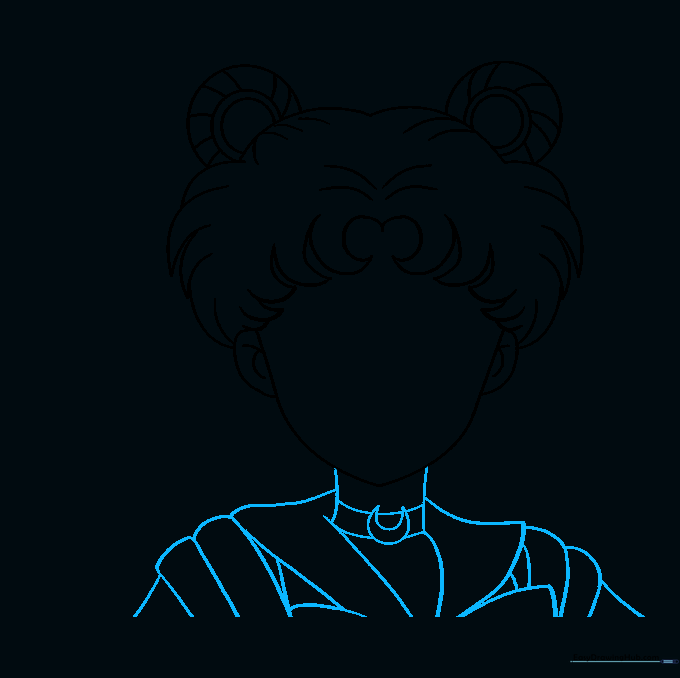
Step 7: Neck and Sailor Collar
Extend two lines for the neck and draw the sailor collar using curved triangles. Add rectangular shapes across the shoulders. Tip: Use a ruler or the edge of a book if you struggle to keep the collar lines straight.
Step 8: Adding Long Hair Strands
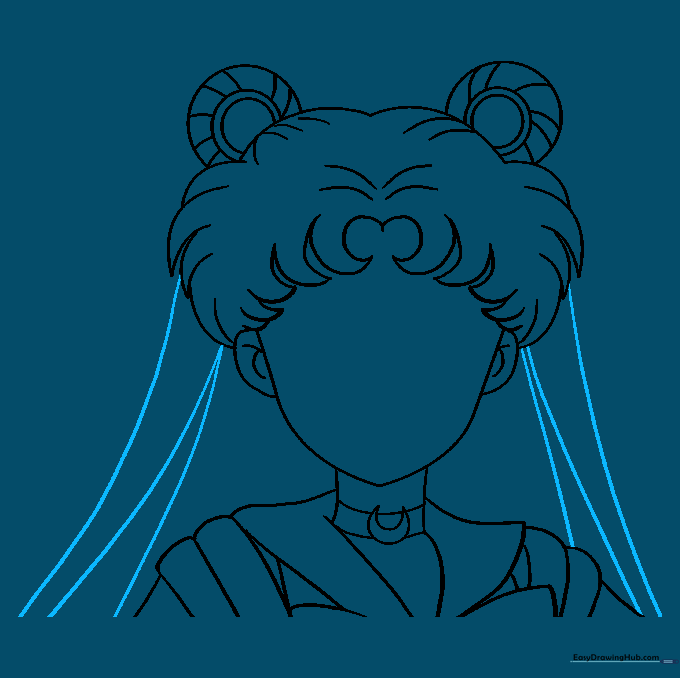
Draw long, flowing lines down from the head to create her iconic long hair. Add a diagonal line between each pair of strands for depth. Tip: Let your wrist move naturally to create those long, sweeping curves.
Step 9: Facial Features and Details
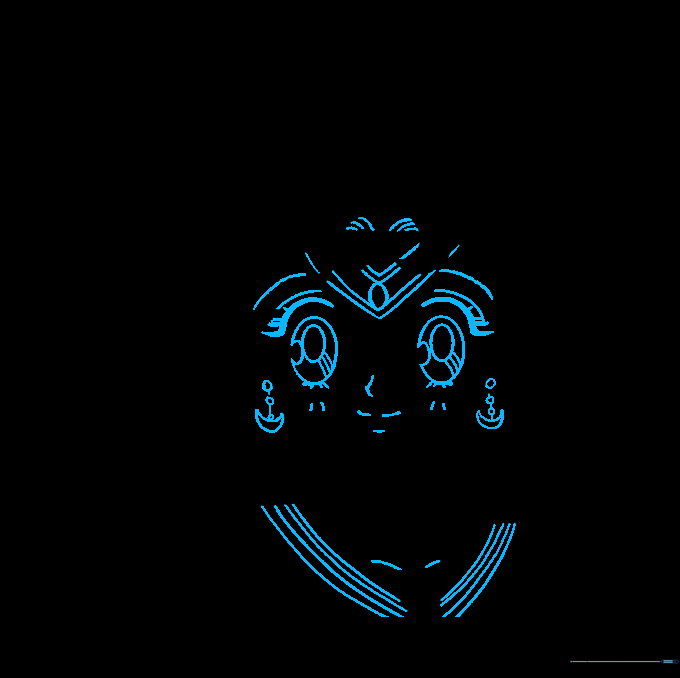
Draw the large anime eyes, nose, mouth, and earrings. Add the 'V' shapes on her forehead. Tip: Take your time with the eyes—they are the most important part of her expression! Use three ovals for each eye to get that classic look.
Step 10: Bringing it to Life with Color
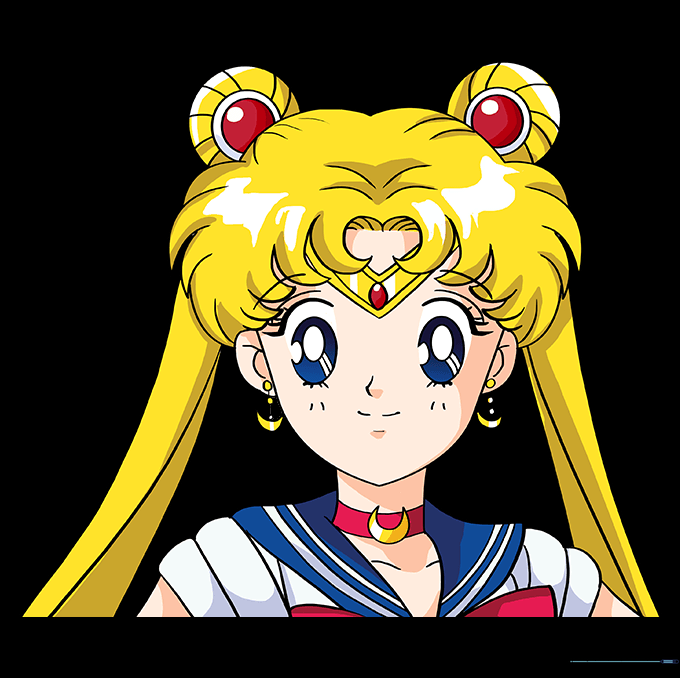
Time to color! Use bright blonde for her hair and her signature red, white, and blue for the outfit. Tip: Use light pressure with your colored pencils to blend colors smoothly, and don't forget to leave a small white spot in the eyes for a 'sparkle' effect.
More Tutorials


