How to Draw Ryder from PAW Patrol: Easy 10-Step Guide
Ready to bring the leader of the PAW Patrol to life? This tutorial is designed for young artists ages 6+ to practice character proportions using simple shapes. All you need is a pencil, an eraser, and your favorite markers to complete this screen-free creative activity.
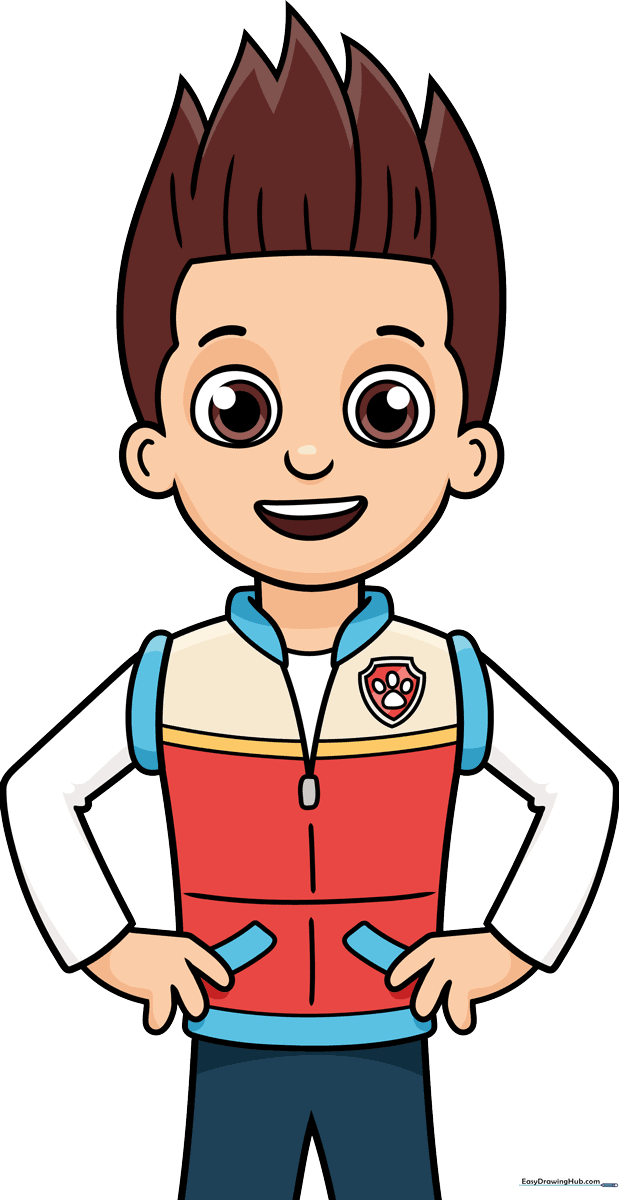
🎯 Final Result
Step-by-Step Instructions
Step 1: Sketching the Facial Features
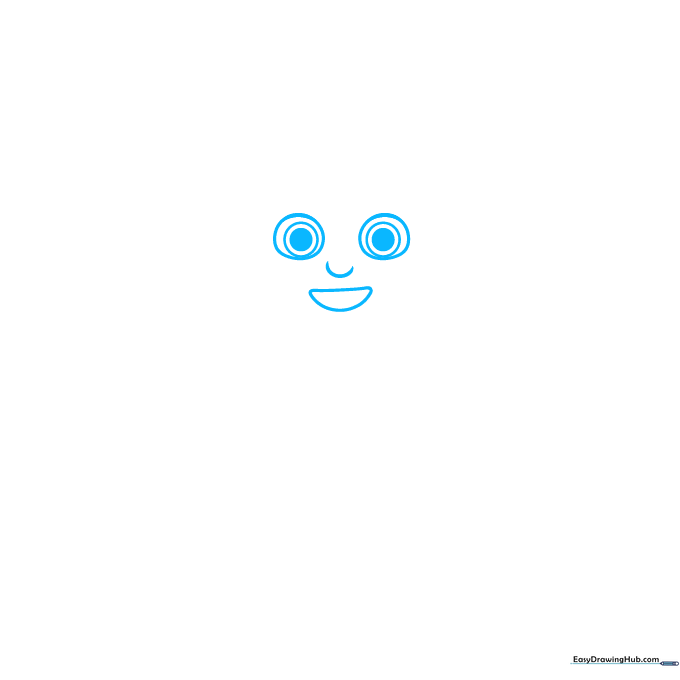
Start by drawing the eyes using three circles of decreasing size, shading the smallest one for the pupil. Add a small 'C' curve for the nose and a half-circle for his friendly smile. Teacher's Tip: Keep your pencil lines light so you can easily adjust the expression later.
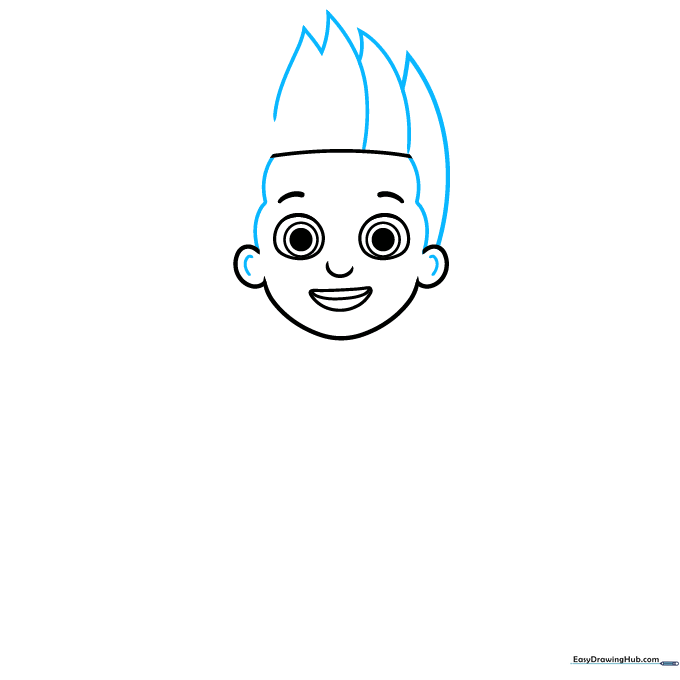
Step 2: Defining the Face Shape

Outline the face using 'C' shaped lines for the ears and smooth curves for the chin and forehead. Add a horizontal line through the mouth to show his teeth. Teacher's Tip: Focus on symmetry here to make Ryder look balanced.
Step 3: Adding the Spiky Hair
Add detail to the ears and begin sketching the hair using pairs of curved lines that meet at sharp, jagged points. Teacher's Tip: Think of the hair as a series of triangles to get that signature 'Ryder' look.
Step 4: Drawing the Collar and Shoulders
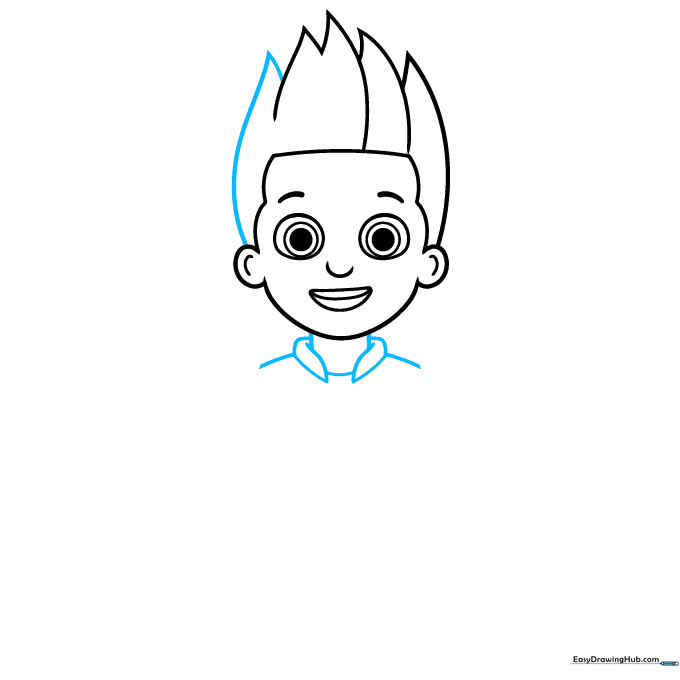
Complete the hair and extend two lines down for the neck. Draw the collar using irregular curved shapes, then extend lines outward to form the shoulders. Teacher's Tip: Ensure the collar sits wide to give him a sturdy, heroic posture.
Step 5: Sketching the First Arm
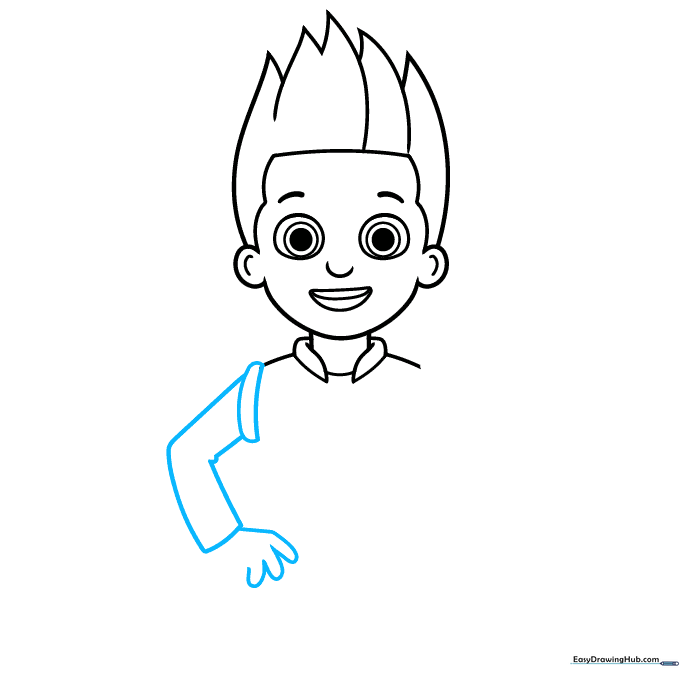
Draw a rounded rectangle for the sleeve opening. Extend curved lines to form the arm and use 'U' shaped lines to outline the hand. Teacher's Tip: Keep the hand simple; focus on the overall shape rather than individual fingers.
Step 6: Sketching the Second Arm
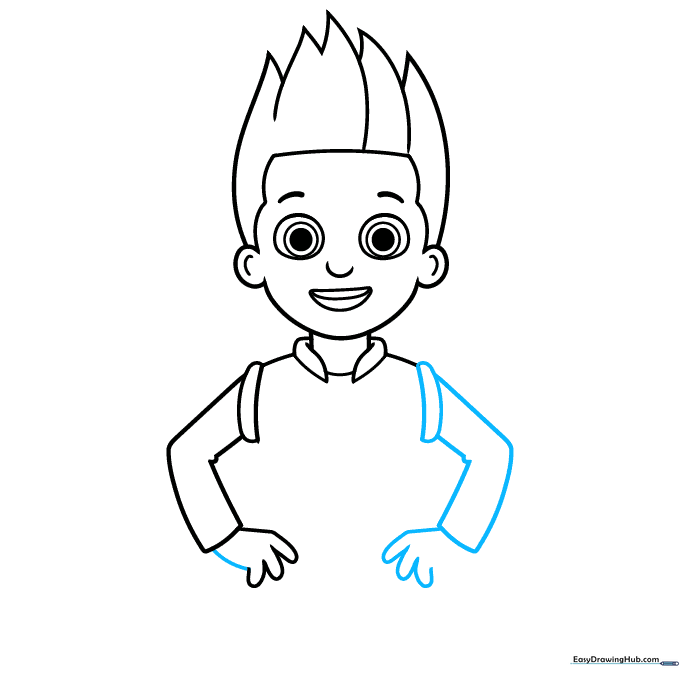
Repeat the process for the opposite side, drawing a curved rectangle and 'L' shaped lines for the sleeve. Connect the lines and sketch the second hand. Teacher's Tip: Check that the arms are roughly the same length to keep the drawing proportional.
Step 7: Adding the Vest and Torso
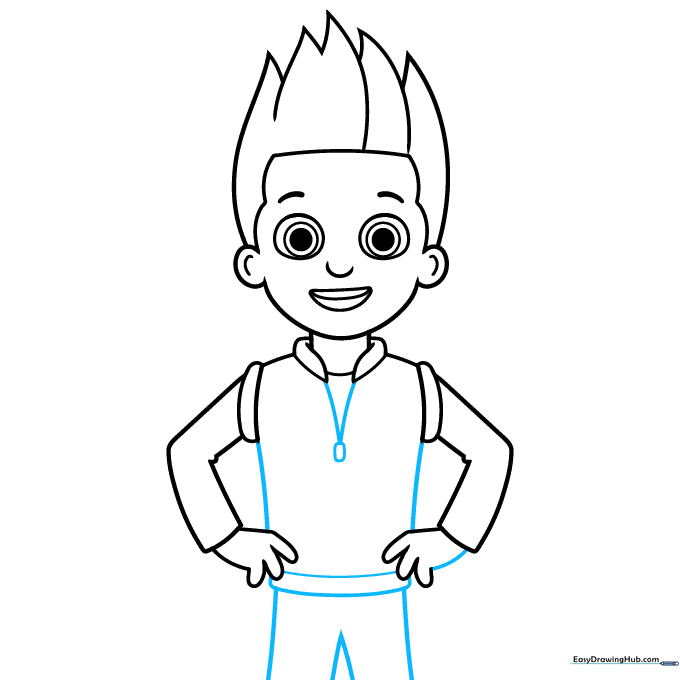
Draw a 'V' shape and a small rectangle for the zipper. Use curved lines to define the torso and the hem of his vest. Teacher's Tip: Use a ruler if you struggle with straight lines, but freehand is great for practice!
Step 8: Adding Vest Details
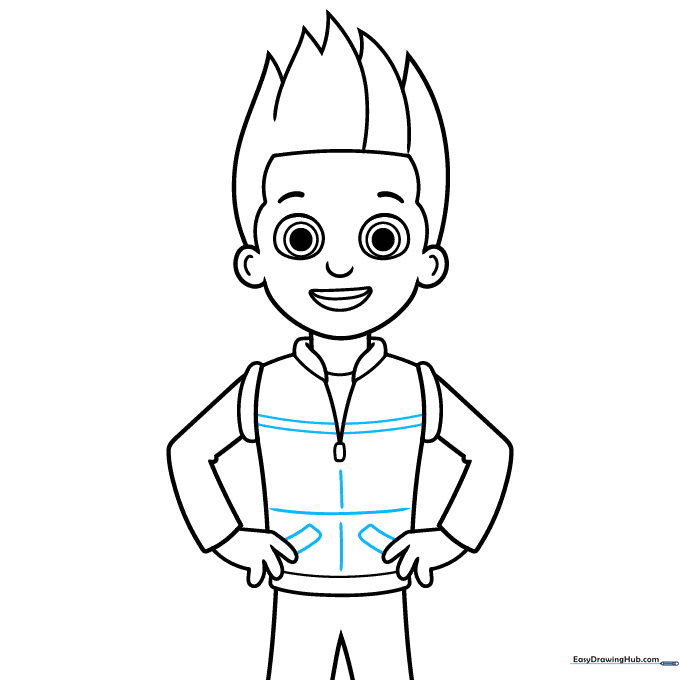
Embellish the vest with horizontal and vertical lines and two diagonal rectangles for the pockets. Teacher's Tip: These small details make the character look authentic, so take your time.
Step 9: Final Touches and Logo
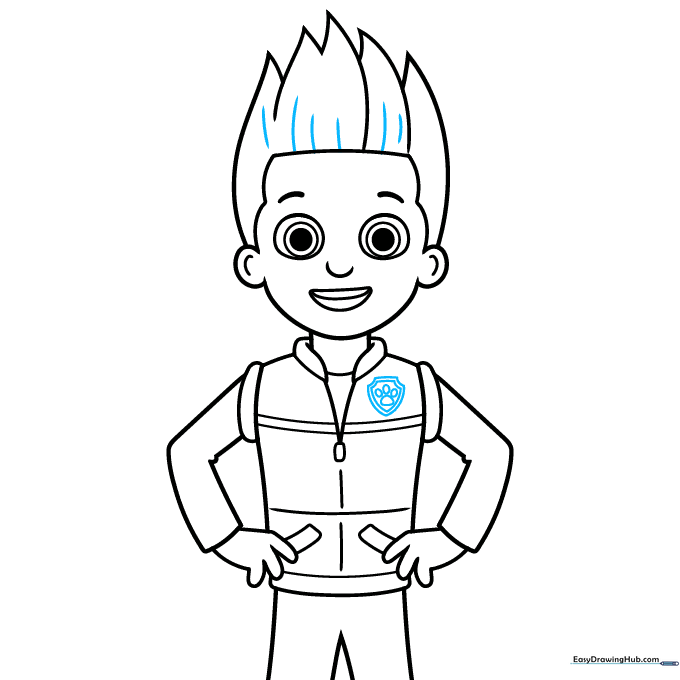
Add texture to the hair with light curved lines. Draw the PAW Patrol shield on the vest with a smaller shield and a paw print inside. Teacher's Tip: Use a fine-tip pen to outline the logo for a professional look.
Step 10: Color Your Masterpiece
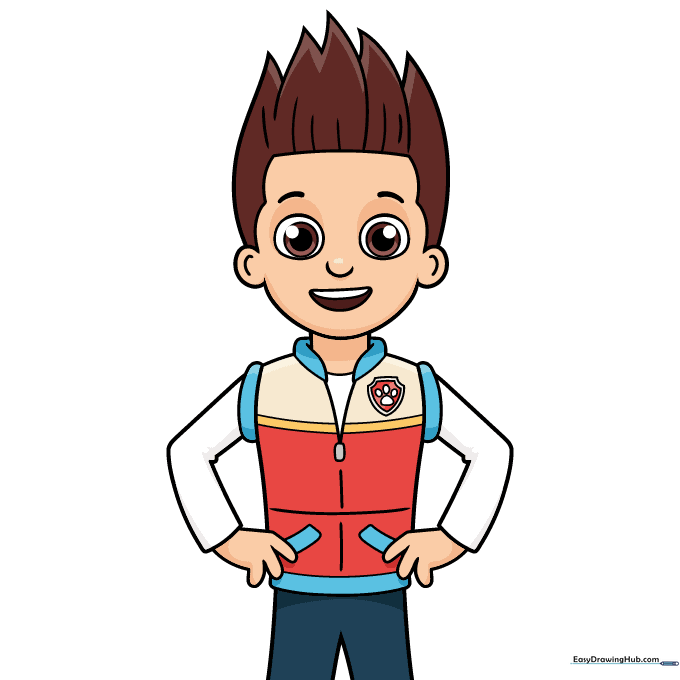
Bring Ryder to life with color! Use brown for his hair and eyes, and vibrant blue, red, yellow, and cream for his vest. Teacher's Tip: Try using colored pencils for a soft, blended finish.
More Tutorials


