How to Draw Rosa Parks: Easy Step-by-Step Portrait Guide
Celebrate history through art with this guided portrait tutorial of Rosa Parks, designed for students and budding artists ages 8 and up. You will need a pencil, an eraser, and a piece of paper to capture her likeness. Follow these steps to build confidence in facial proportions and honor a true hero of the civil rights movement.
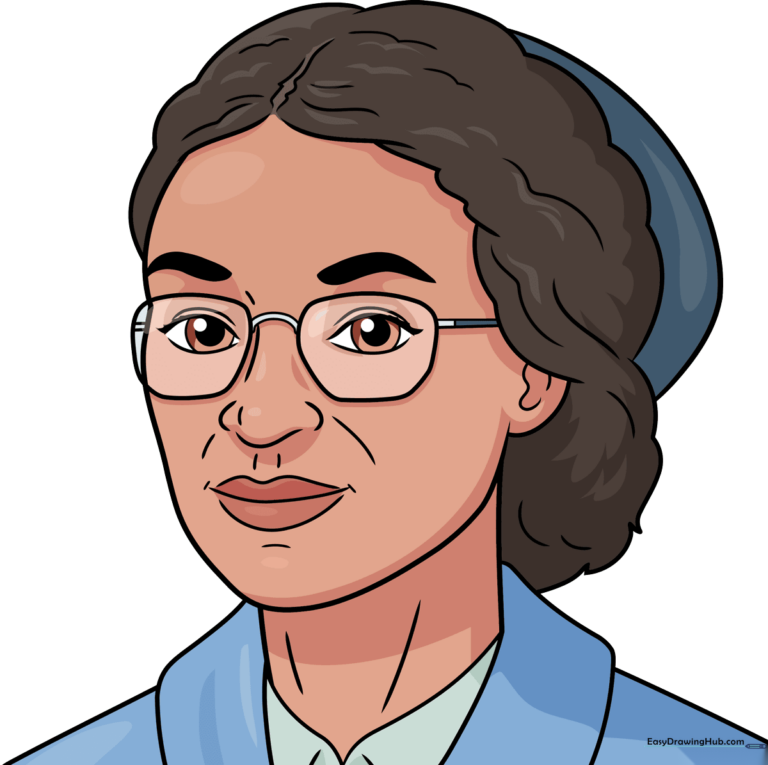
🎯 Final Result
Step-by-Step Instructions
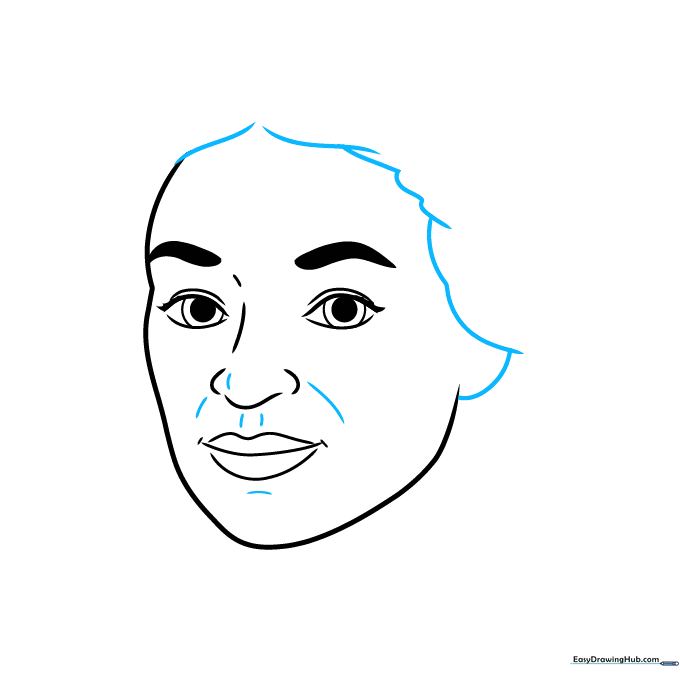
Step 1: Sketching the Eyes
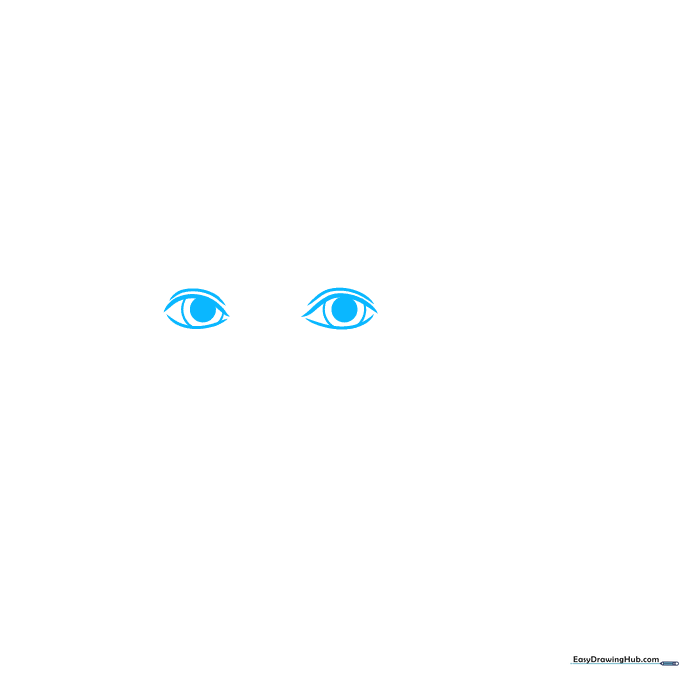
Draw two almond-shaped outlines for the eyes. Add two smaller circles inside each for the pupils and shade them in. Teacher's Tip: Keep the eyes level with each other by drawing a very faint horizontal guideline across your paper first.
Step 2: Brows and Nose
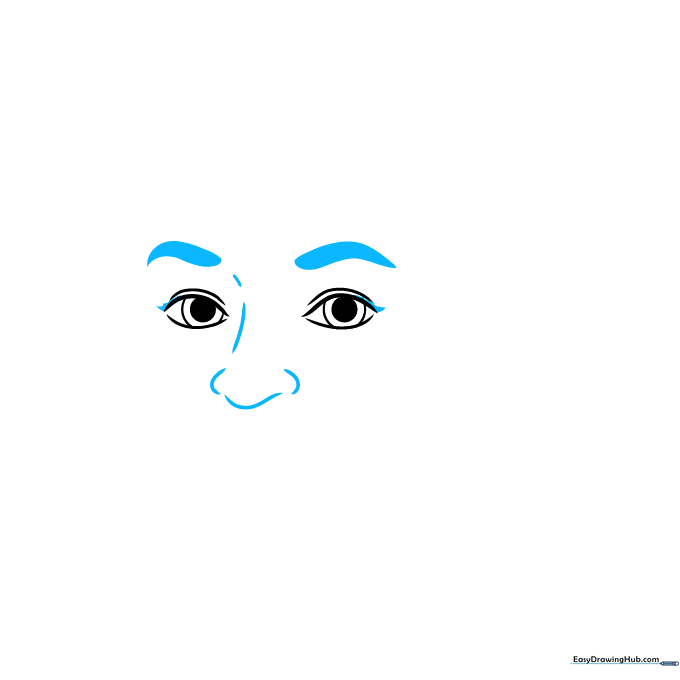
Sketch thick, arched eyebrows above the eyes and add simple curved lines for the nose. Teacher's Tip: Use short, flicking pencil strokes for the eyelashes to make them look natural rather than stiff.
Step 3: Defining the Face and Mouth
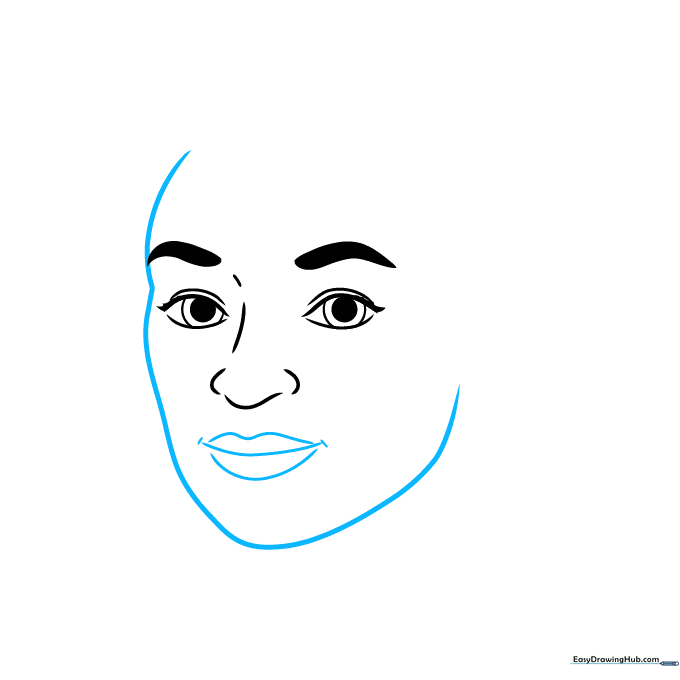
Outline the jawline with a long, smooth curve. Use three horizontal lines to define the lips. Teacher's Tip: A small dot or tiny line at the corners of the mouth helps create a gentle, realistic expression.
Step 4: Adding Hair and Chin Details
Draw the hairline and ear using overlapping curves. Add small details to the nose and chin to give the face depth. Teacher's Tip: Don't press too hard; keep these lines soft so they blend well later.
Step 5: Hairline and Neck
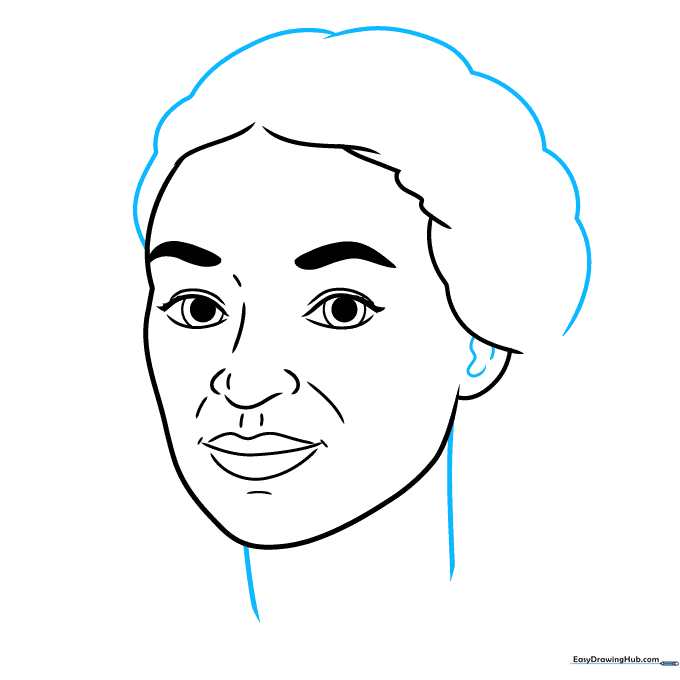
Use a scalloped line for the top of the hair and two vertical lines for the neck. Teacher's Tip: The neck should be about as wide as the distance between the eyes for proper proportion.
Step 6: Clothing and Shoulders
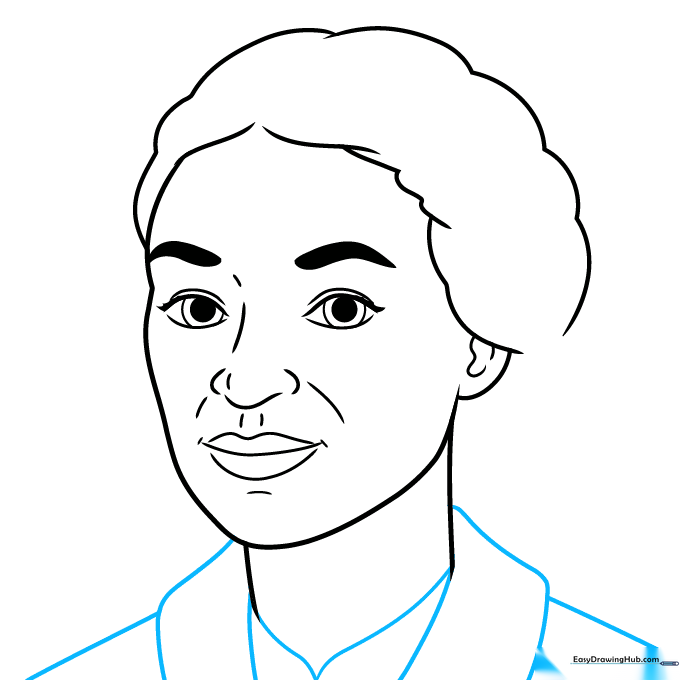
Sketch the collar of her shirt and jacket using geometric shapes. Teacher's Tip: Keep your lines clean and sharp here to contrast with the softer curves of the face.
Step 7: Completing the Hair and Hat
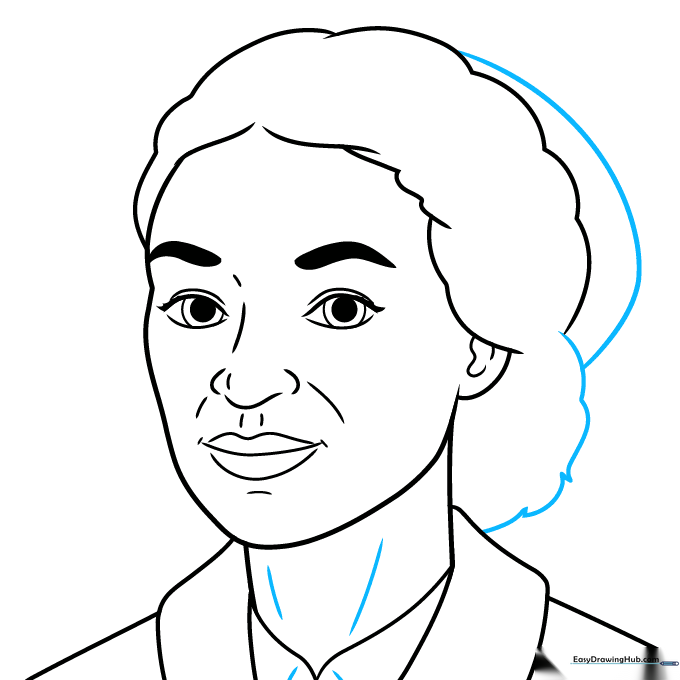
Finish the hair at the back of the neck and add the outline of her hat. Teacher's Tip: Use a series of small, overlapping 'C' shapes to give the hair a textured, realistic look.
Step 8: Adding Glasses
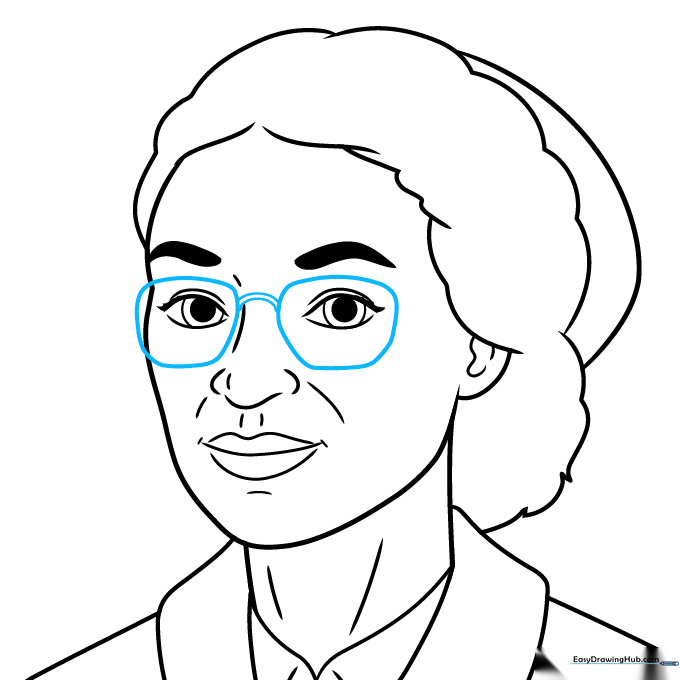
Draw two rounded shapes over the eyes and connect them with a bridge. Teacher's Tip: Make sure the glasses sit evenly on the bridge of the nose so they don't look lopsided.
Step 9: Final Texturing
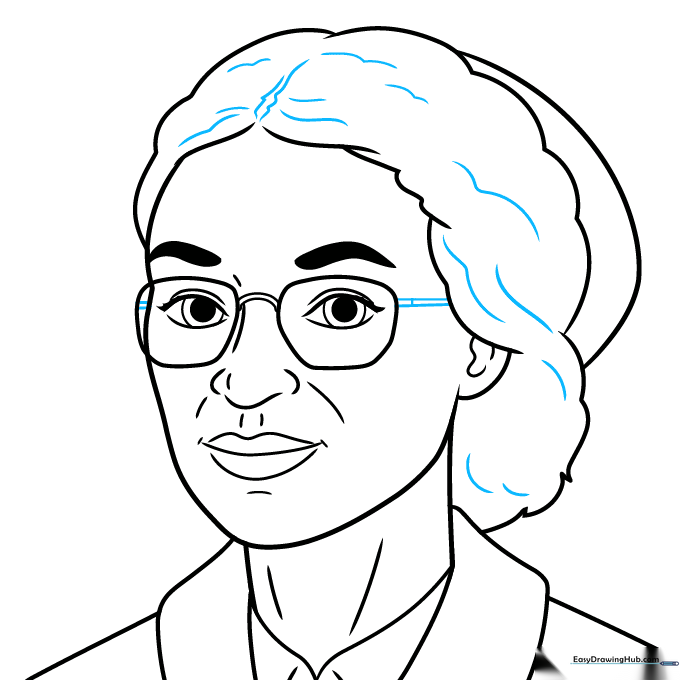
Add wavy lines to the hair to show texture and movement. Teacher's Tip: Vary the thickness of your lines to make the hair look more voluminous.
Step 10: Bringing it to Life with Color
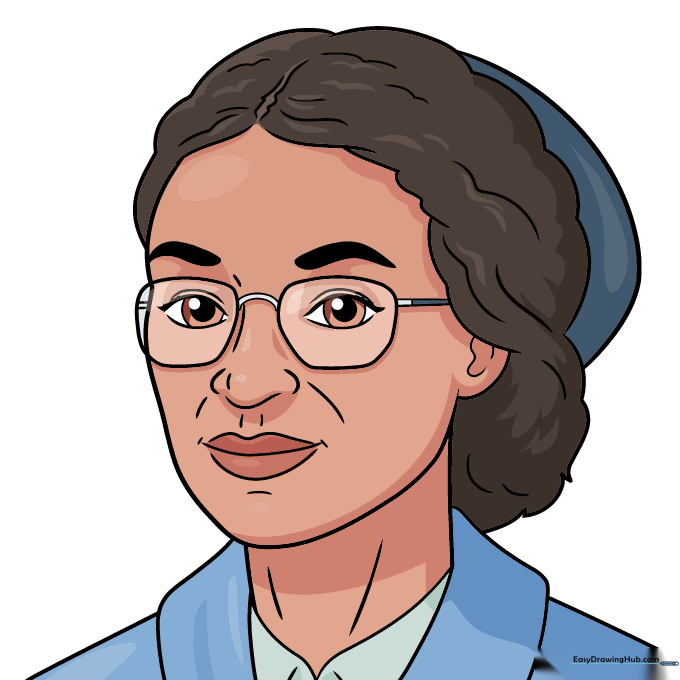
Color your portrait using warm brown tones for the skin and dark brown or black for the hair. Teacher's Tip: Use light pressure with your colored pencils to create smooth, even skin tones.
More Tutorials


