How to Draw Ron Weasley: Easy 10-Step Wizard Guide
Bring Hogwarts to your sketchbook with this easy, step-by-step Ron Weasley drawing tutorial. Designed for young fans and budding artists, this lesson uses basic geometric shapes to build character proportions. Grab your pencil, eraser, and paper to start practicing your wizarding world portraits today.
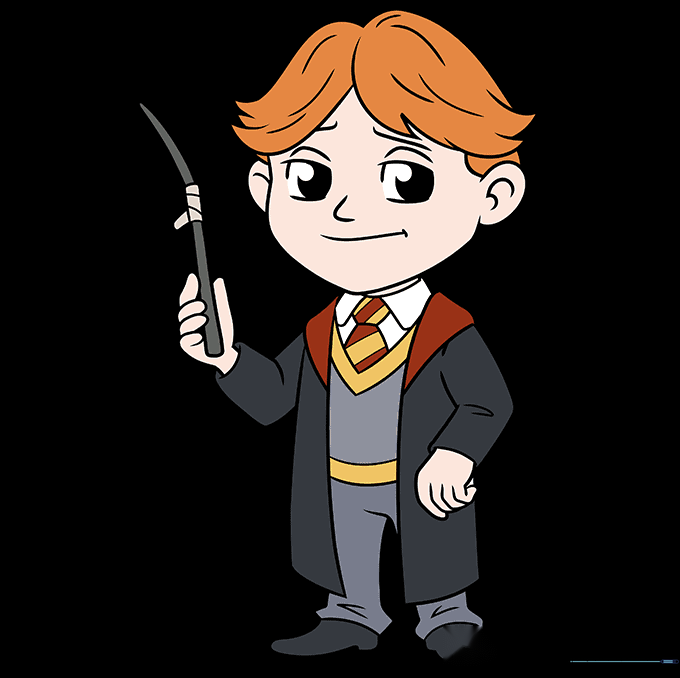
🎯 Final Result
Step-by-Step Instructions
Step 1: Sketching the Eyes and Face

Draw two curved lines for the upper eyelids, then add the lower curves and pupils. Sketch two light triangles above the eyes for brows and a small triangle for the nose. Teacher's Tip: Keep your pencil strokes very light here so you can easily adjust the expression later.
Step 2: Defining the Jaw and Hairline
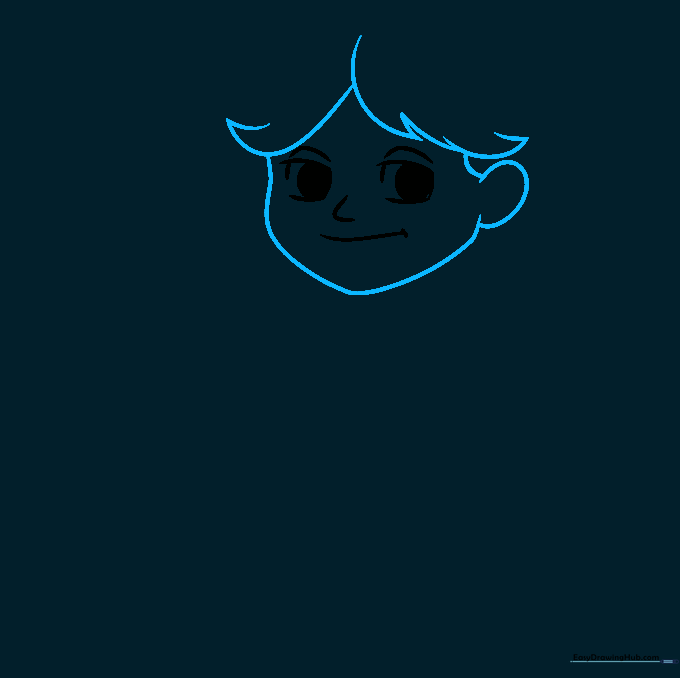
Draw broad, swooping lines across the top of the head to map out Ron's messy hair. Sketch a curved triangle shape for the jawline and add a small oval on the side for the ear. Teacher's Tip: Don't worry about perfect symmetry; Ron's hair is naturally tousled!
Step 3: Adding Hair Texture and Detail
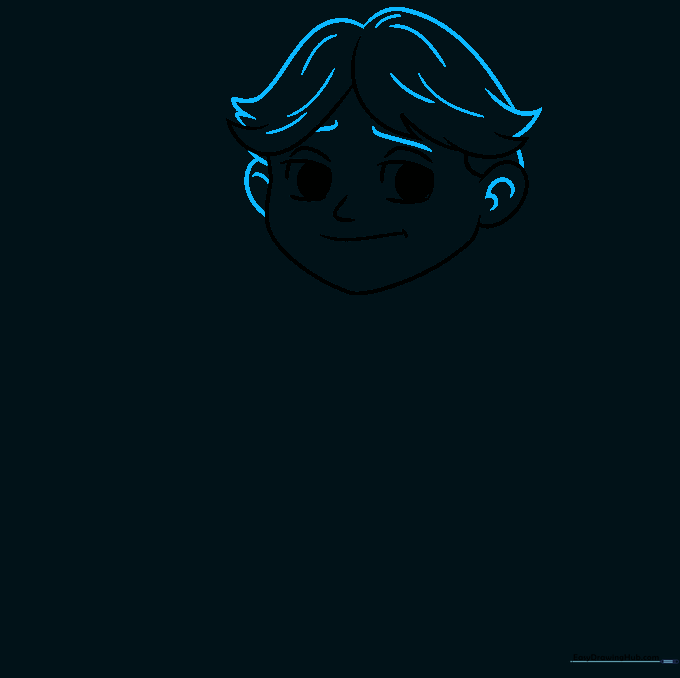
Add two arches at the top of the hair to give it that signature volume. Use short, curved lines to create texture throughout the hair. Teacher's Tip: Vary the length of your lines to make the hair look more natural and less like a solid block.
Step 4: Sketching the Collar and Tie
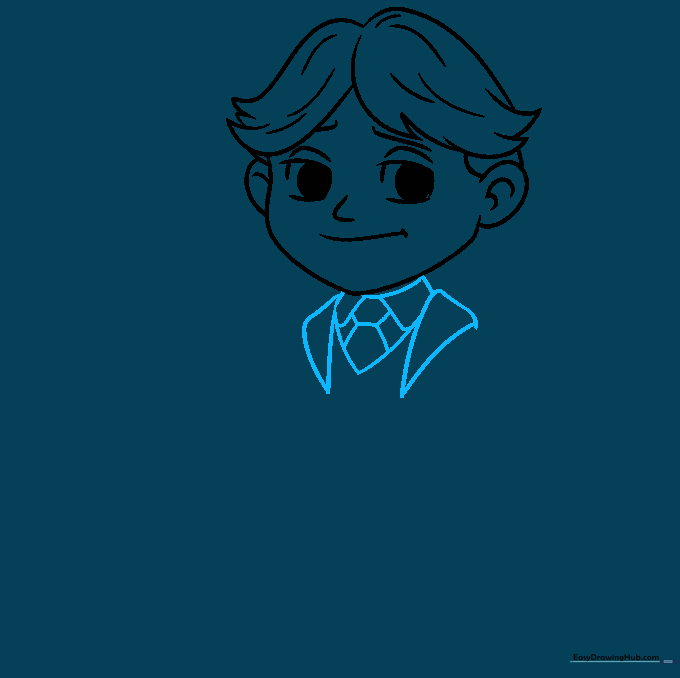
Draw two triangles under the chin to represent the collar, with a downward-pointing triangle between them. Add a hexagon shape in the center for the knot of the tie. Teacher's Tip: Use a ruler if you struggle with straight lines, but freehand is better for practice!
Step 5: Forming the Arms
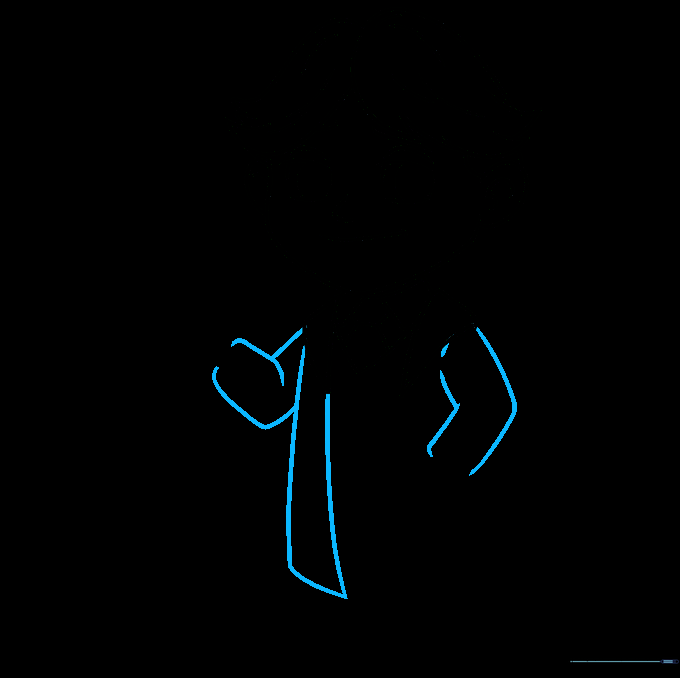
Draw two parallel triangles on the right for the sleeve and a narrow rectangle on the left. Use a curved line to connect the shoulder to the arm. Teacher's Tip: Think of the arm as a tube—keep the lines smooth to show the fabric of the robe.
Step 6: Drawing the Wand Hand
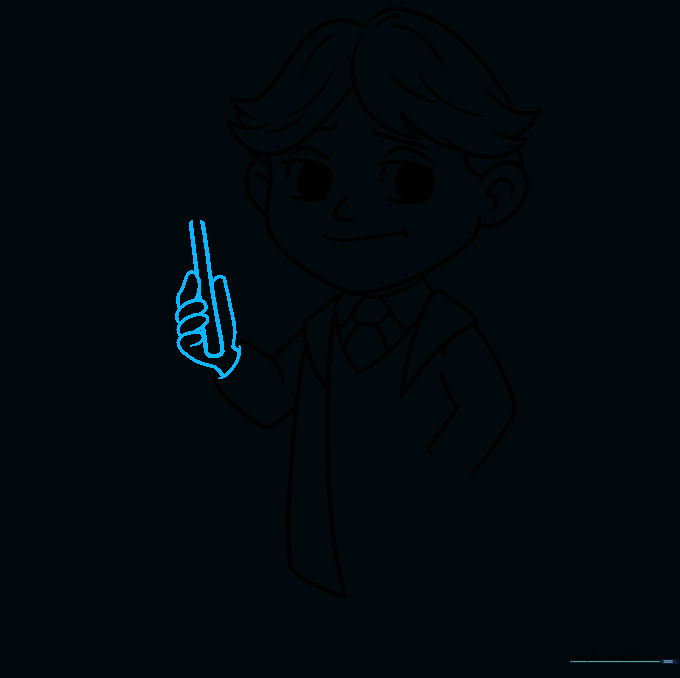
Sketch long, thin ovals for the fingers gripping the wand. Draw a rectangle in the center for the wand itself. Teacher's Tip: Make sure the fingers overlap the wand to create a realistic 'holding' effect.
Step 7: Refining the Wand and Robe
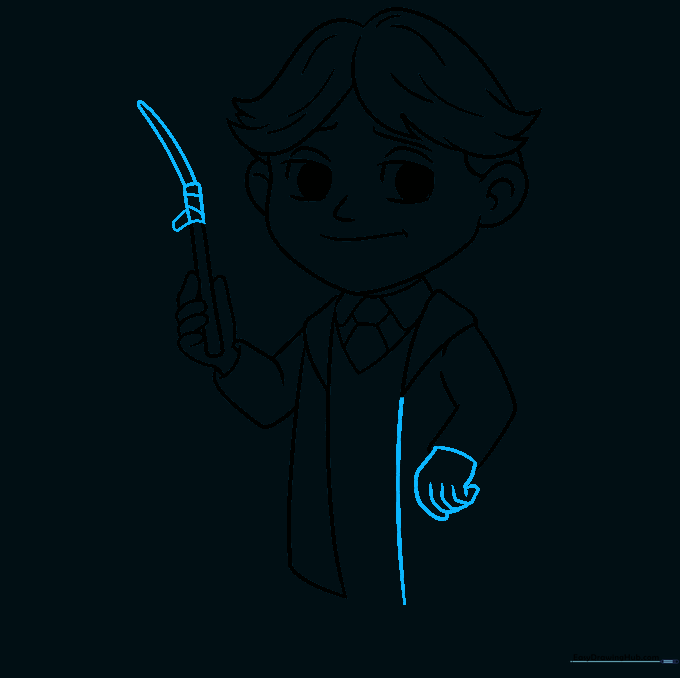
Add detail to the wand with small rectangles and a triangle tip. On the right, continue the robe line and draw the second hand using overlapping ovals. Teacher's Tip: Keep the hand shapes simple; focus on the gesture rather than individual knuckles.
Step 8: Adding Uniform Details
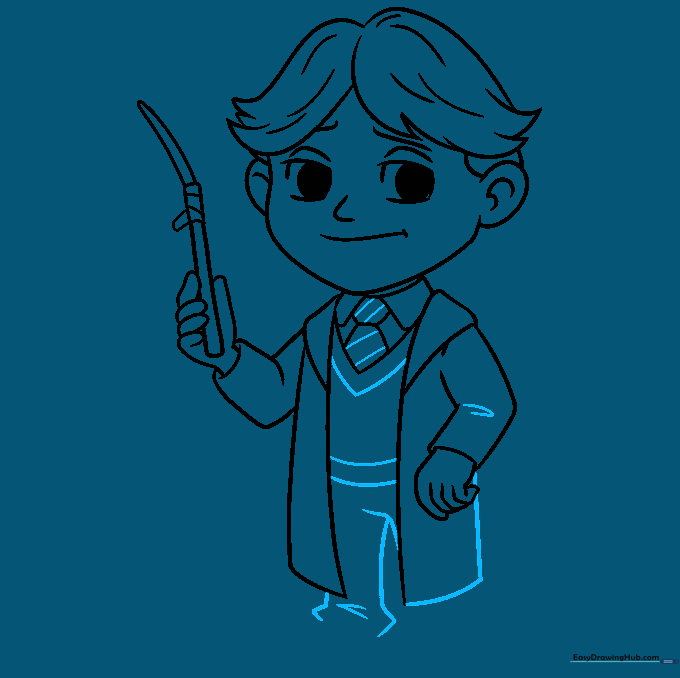
Complete the robe outline. Add stripes to the tie and draw a loose arrow shape on the vest to represent the sweater detail. Teacher's Tip: Use short, clean lines for the stripes to keep the drawing looking tidy.
Step 9: Finalizing the Outline

Draw the shoes using elongated ovals and rectangles for heels. Complete the pants with simple curved lines. Finally, trace your drawing with a black marker and erase the pencil marks. Teacher's Tip: Let the ink dry for a few seconds before erasing to prevent smudging!
Step 10: Bringing Ron to Life with Color
Time to color! Use light tan for the skin, bright orange for the hair, and dark grey for the robes. Add red and gold accents to the tie and vest to represent Gryffindor colors. Teacher's Tip: Use light, circular motions with your colored pencils for a smooth, even finish.
More Tutorials


