How to Draw Romeo and Juliet: Easy Step-by-Step Guide
Bring literature to life with this fun, beginner-friendly drawing guide. Designed for ages 6 and up, this activity requires only a pencil, paper, and an eraser to create a charming scene of the famous pair. Follow these steps to practice character proportions and storytelling through art.
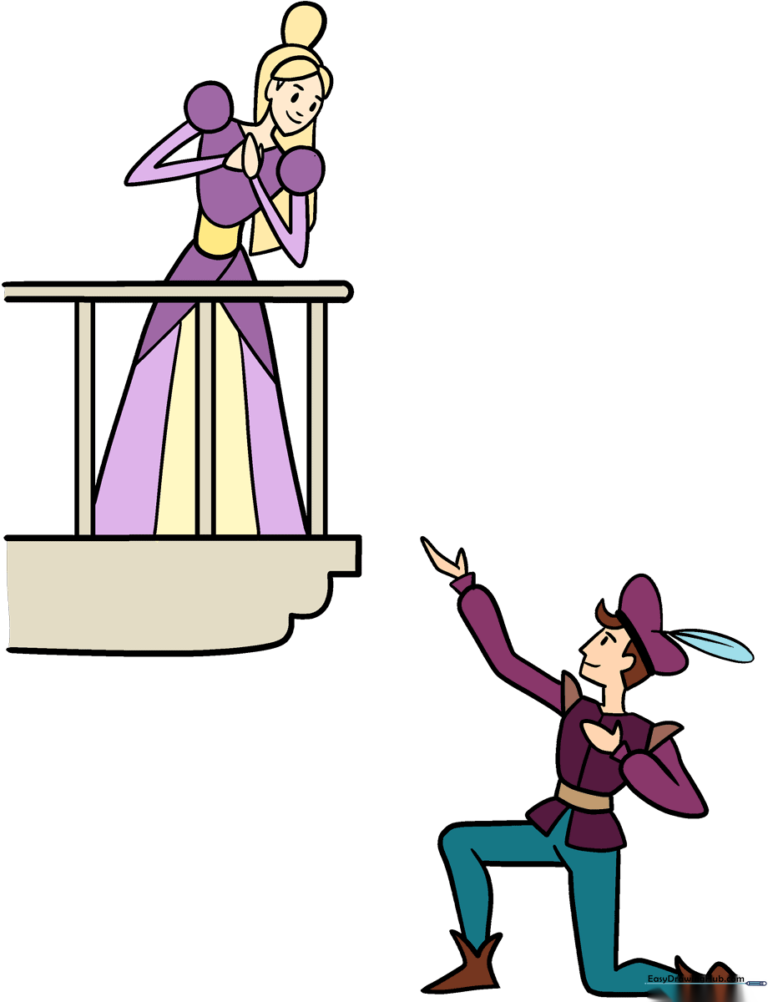
🎯 Final Result
Step-by-Step Instructions
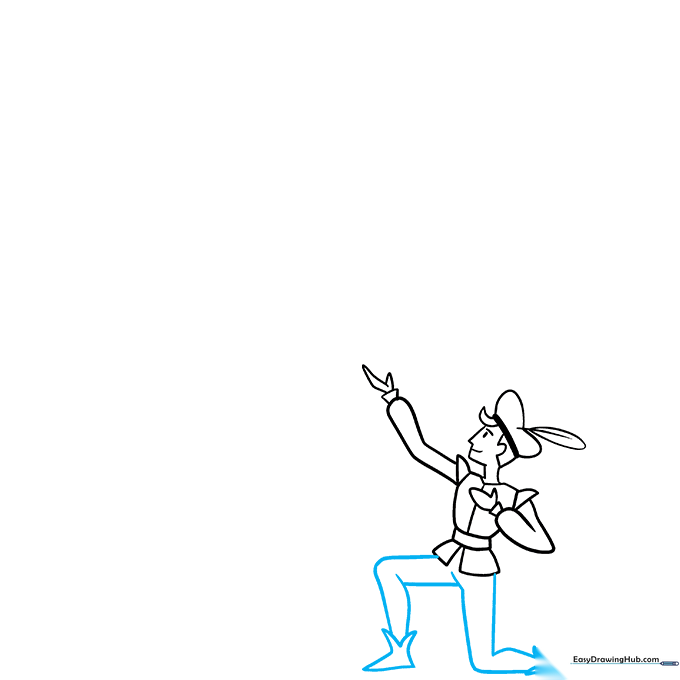
Step 1: Sketching Romeo's Profile
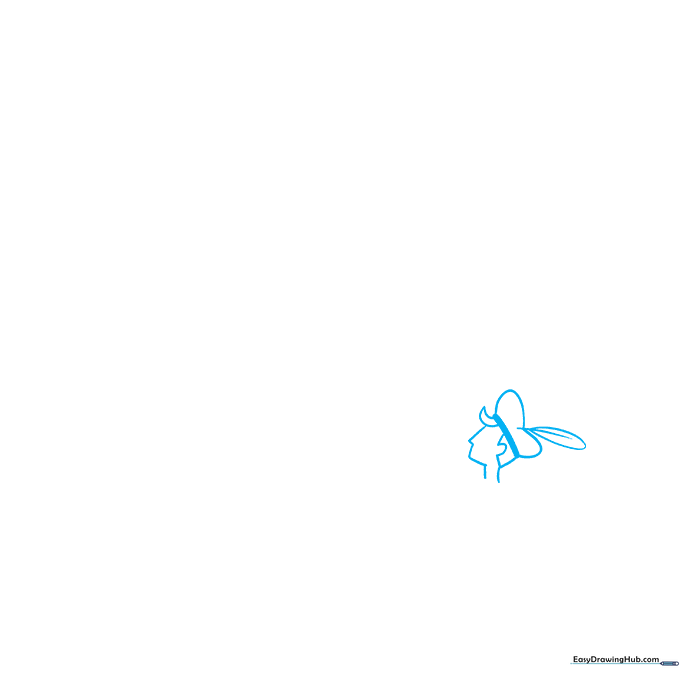
Start by sketching Romeo's head using soft, curved lines for his face and hat. Teacher's Tip: Keep your pencil pressure light here—you'll want to refine these shapes later. Add a small, rounded feather shape at the top of his hat to give him that classic Renaissance look.
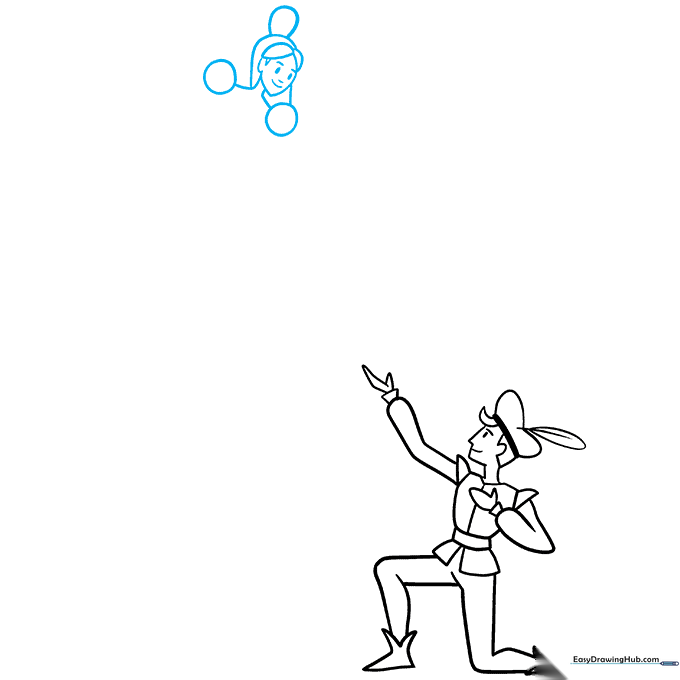
Step 2: Adding Facial Features and Vest
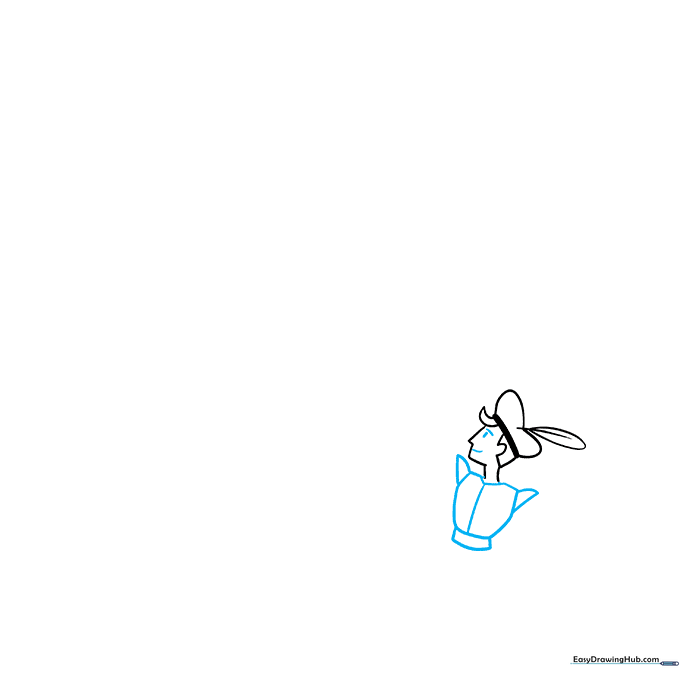
Draw a simple curved mouth and eyebrow to give Romeo a friendly expression, and add a small oval for his eye. Below the head, sketch his vest using simple triangles for sleeves and a rectangle for his belt. Tip: Use short, quick strokes to keep the clothing shapes looking natural.
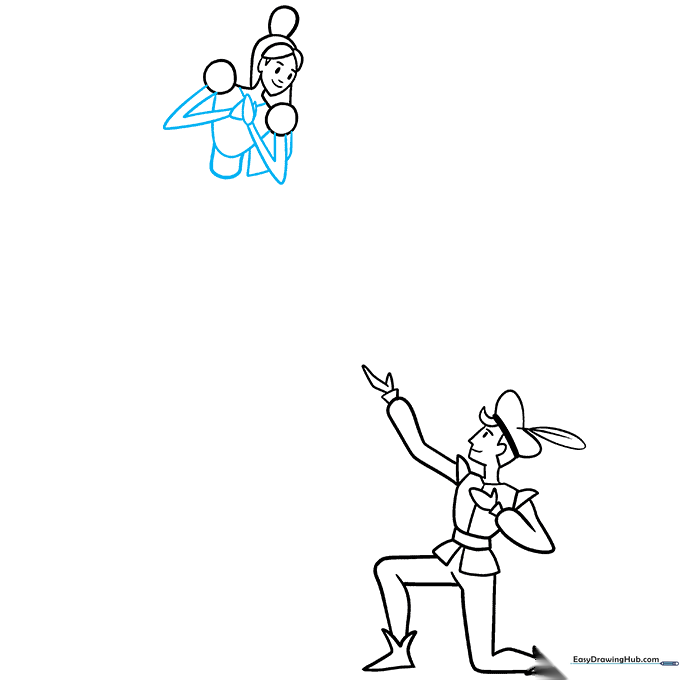
Step 3: Drawing Arms and Hands
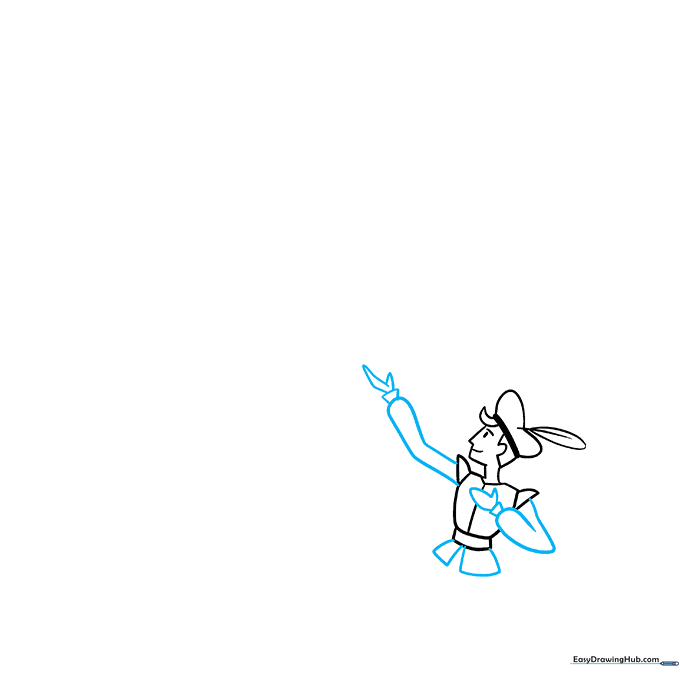
Use long, curved lines to form Romeo's arms, doubling them back to create the sleeves. Add trapezoid shapes for his cuffs and simple irregular shapes for his hands. Tip: If your lines look a bit shaky, remember that you can always use your eraser to smooth out the curves.
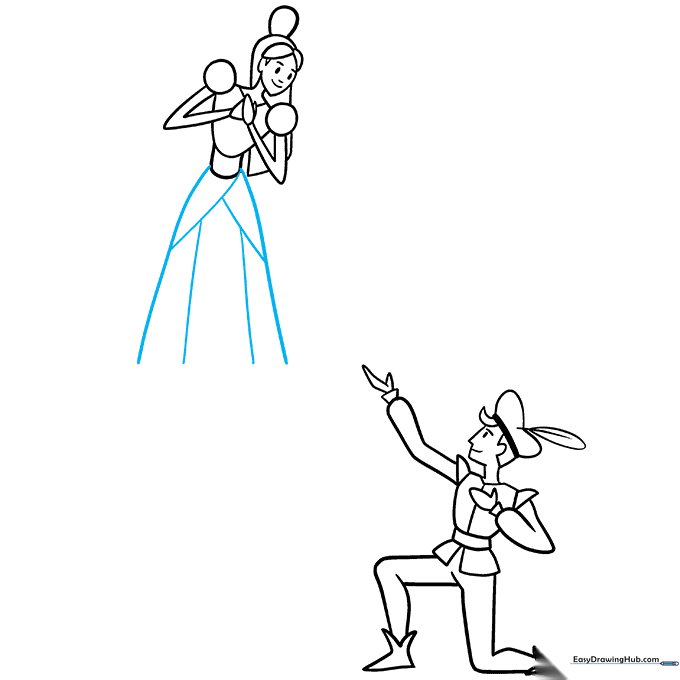
Step 4: Completing Romeo's Legs
Draw long, sweeping curved lines for his legs and finish with pointed, irregular shapes for his boots. Tip: Think of the boots as simple triangles with a slight curve to give them a classic medieval look.
Step 5: Starting Juliet
Now for Juliet! Sketch her face, bangs, and hair using soft curves. Add her facial features and two circles on her shoulders to represent her puffy sleeves. Tip: Drawing the hair in a bun is easier if you start with a simple circle and add texture lines around it.
Step 6: Juliet's Dress and Arms
Use curved lines to draw Juliet's arms, hands, and the heart-shaped bodice of her dress. Add a rectangular waistline to connect the top to her skirt. Tip: The heart shape for the bodice adds a lovely thematic touch to the drawing!
Step 7: Drawing the Skirt
Outline the sides of Juliet's skirt with long, flowing curved lines. Add a few extra lines inside the skirt to show the folds of the fabric. Tip: Varying the length of your lines will make the dress look like it has more movement.
Step 8: Adding the Balcony
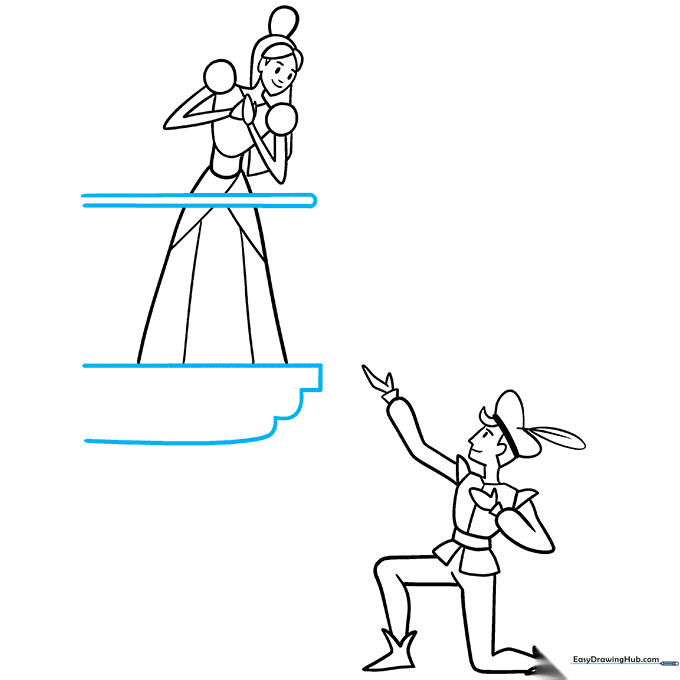
Draw a horizontal line beneath Juliet and add the balcony structure. Include a narrow rectangle across her waist area to represent the railing. Tip: Use a ruler if you want your balcony lines to be perfectly straight, or keep them freehand for a more whimsical look.
Step 9: Finalizing the Balcony Details
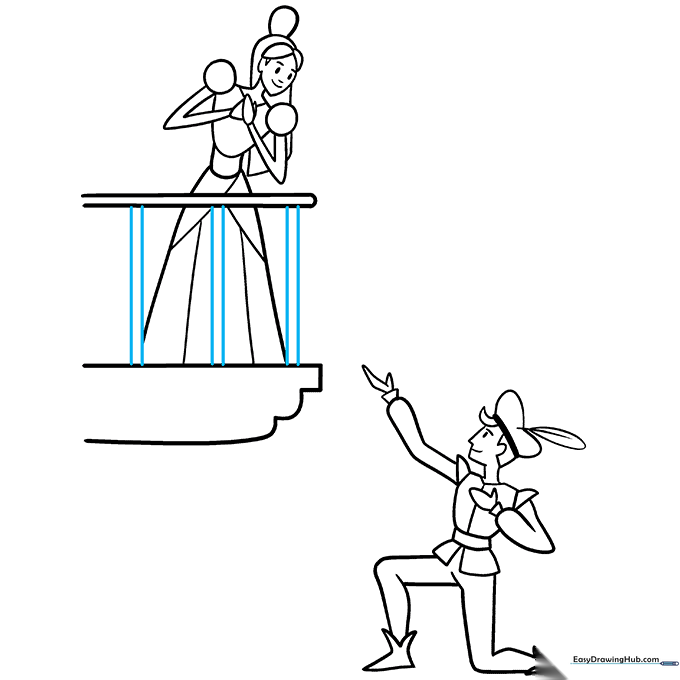
Finish your drawing by adding pairs of vertical lines between the railing and the balcony floor. This creates the look of a classic stone railing. Tip: Keep the spacing between the vertical lines consistent for a polished, professional finish.
Step 10: Bring Your Drawing to Life with Color
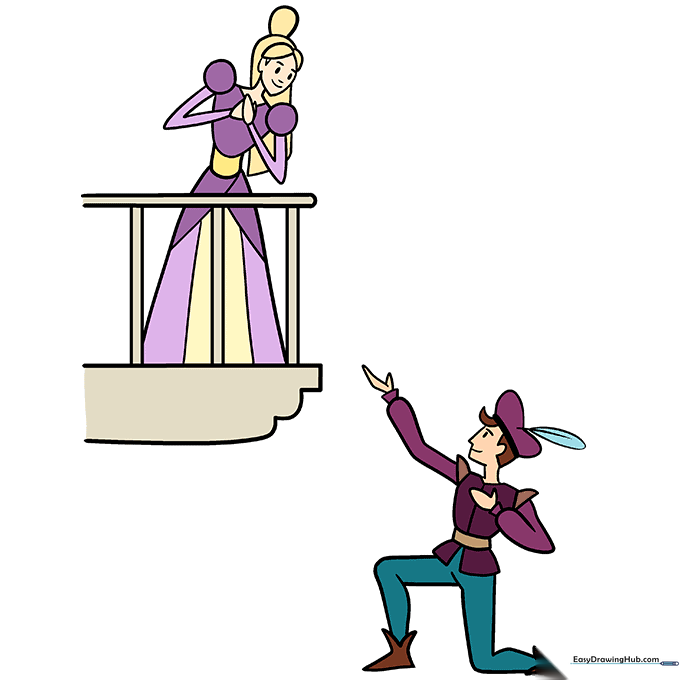
Your outline is complete! Now, choose your favorite colors to fill in Romeo and Juliet's outfits. Tip: Use warm tones for the balcony and cool tones for the background to make your characters stand out.
More Tutorials


