How to Draw Rocky from Paw Patrol: Easy 10-Step Guide
Ready to bring the PAW Patrol's favorite eco-pup to life? This tutorial is perfect for young artists ages 5 and up. Grab a pencil, an eraser, and some markers to practice your character sketching skills while building confidence with simple geometric shapes.
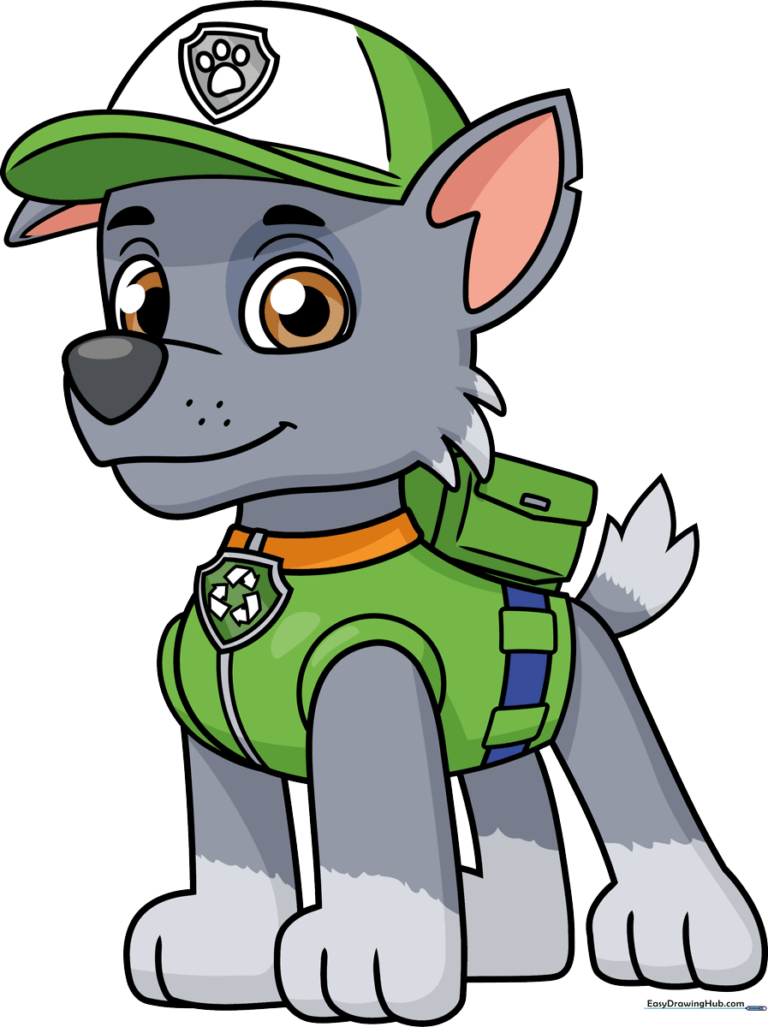
🎯 Final Result
Step-by-Step Instructions
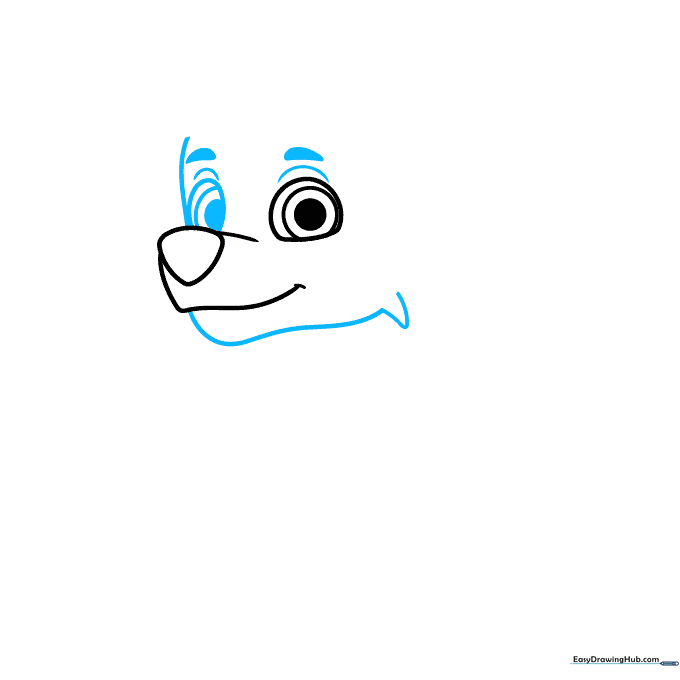
Step 1: Sketching the Muzzle and Eye

Start by drawing an inverted triangle for Rocky's nose. Connect it to a rounded snout shape. For the eye, draw three nested circles, shading the smallest one in. Teacher's Tip: Keep your pencil lines light so you can easily adjust the shape of the snout if needed.
Step 2: Defining the Face and Fur
Use curved lines to outline the face, adding jagged points along the jawline to represent Rocky's scruffy fur. Add the second eye and thick, expressive eyebrows. Teacher's Tip: Use short, quick strokes for the fur to give it a realistic, textured look.
Step 3: Adding the Cap and Ear
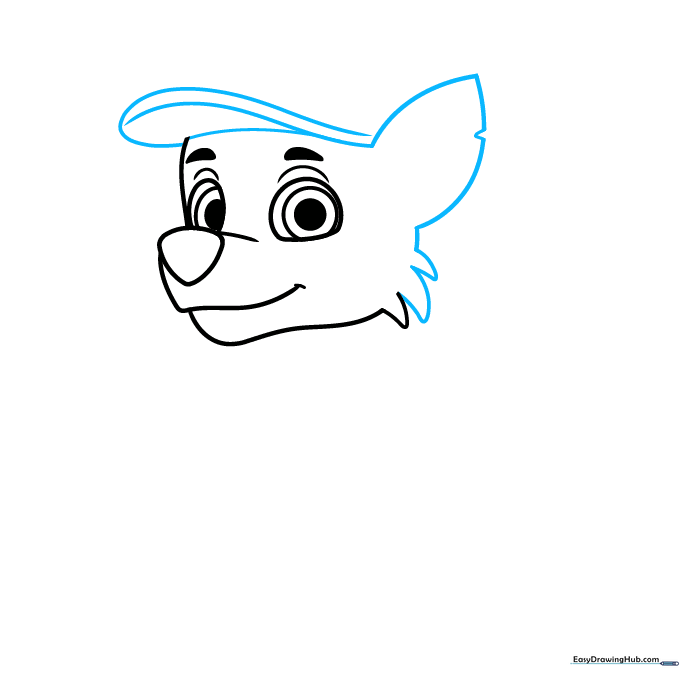
Draw the bill of his cap using long, smooth curves. Add his signature teardrop-shaped ear with a small triangular notch. Teacher's Tip: The notch in the ear adds character—don't worry if it's not perfect, it makes your drawing unique!
Step 4: Detailing the Cap and Neck
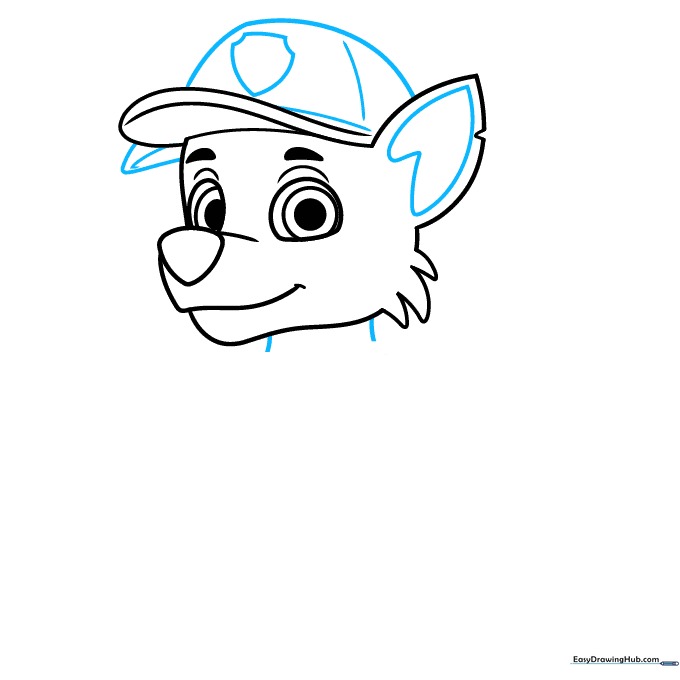
Add a heart shape inside the ear for detail. Finish the cap with a shield emblem on the front and extend two lines down to create the neck. Teacher's Tip: Use a steady hand for the shield shape to keep the logo looking clean.
Step 5: Drawing the Vest and Collar
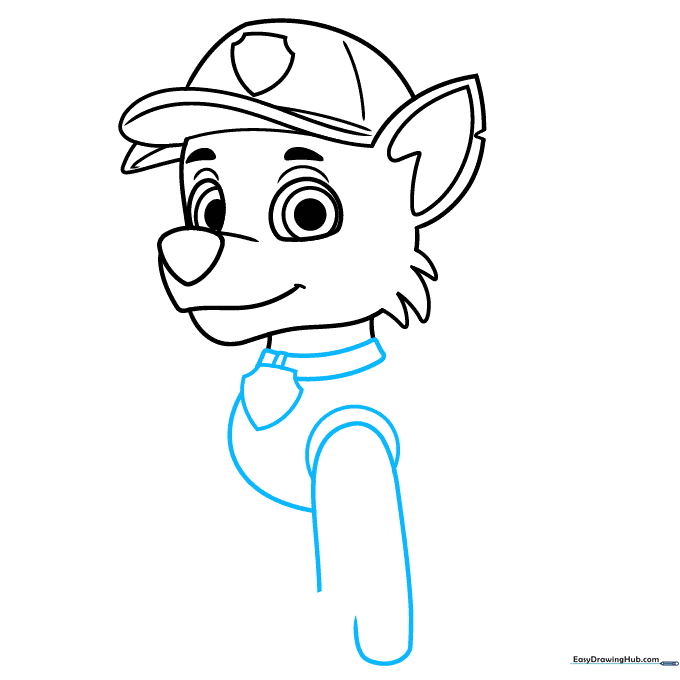
Draw the pup tag shield, the collar, and the outline of his vest. Add the front leg and toes. Teacher's Tip: Focus on the curves of the vest to show how it fits snugly around his body.
Step 6: Completing the Legs
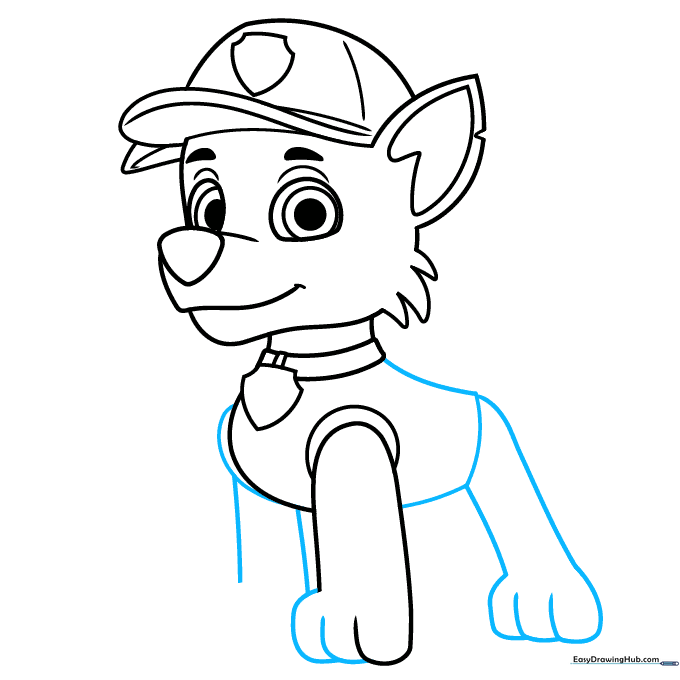
Use overlapping curved lines to finish the paws. Draw the bottom of the vest and the rear legs. Teacher's Tip: Overlapping lines are a great way to show depth and make your drawing look 3D.
Step 7: Adding the Tail and Pup Pack
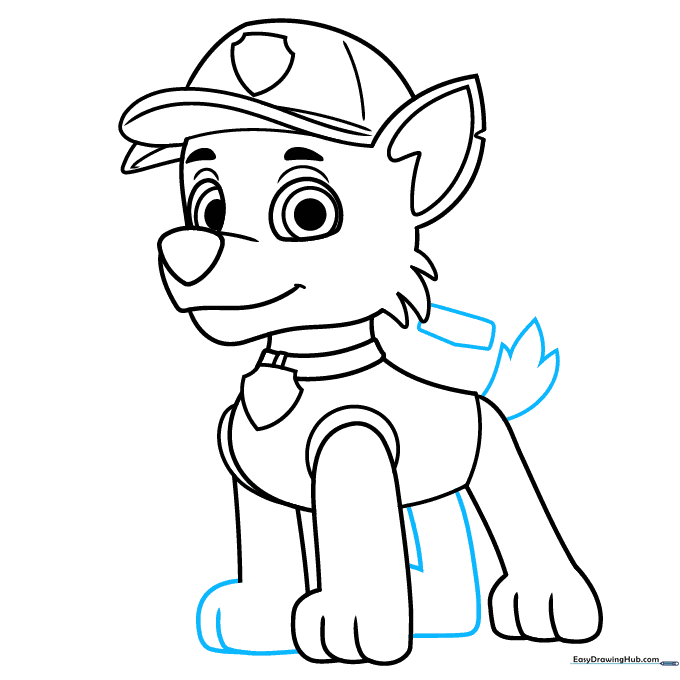
Draw the bushy tail using jagged lines. Start the rectangular shape of the Pup Pack on his back. Teacher's Tip: Keep the tail lines loose and energetic to show movement.
Step 8: Adding Vest and Pack Details
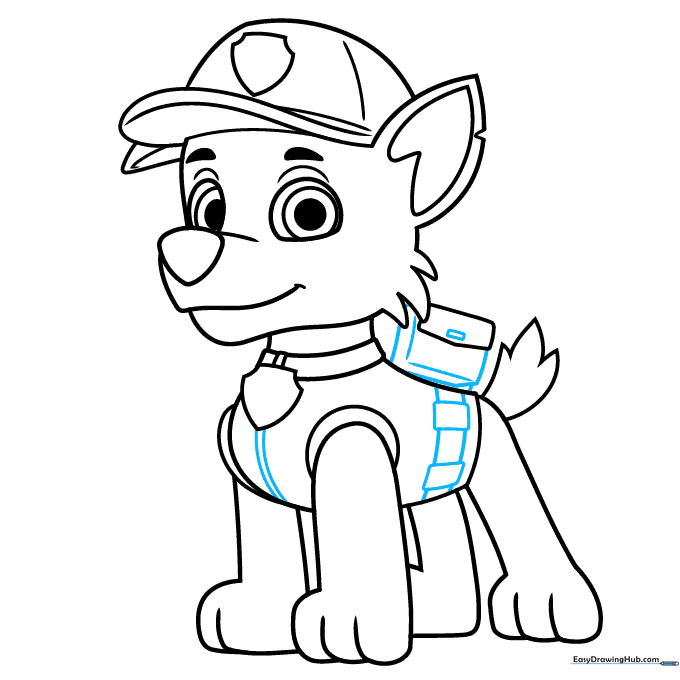
Add utility belt details to the vest and finish the Pup Pack with a side pocket and clasp. Teacher's Tip: Use a ruler if you want your rectangles to be perfectly straight, or keep them freehand for a more organic look.
Step 9: Final Touches
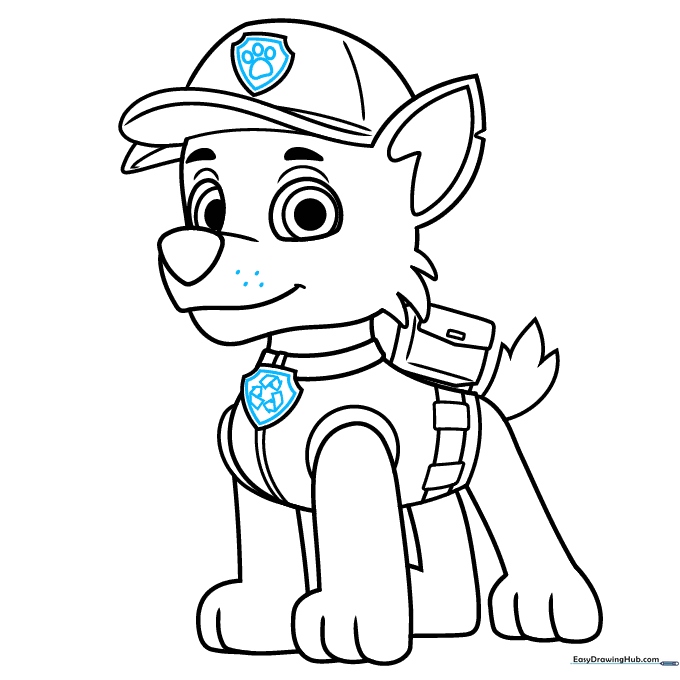
Add muzzle dots, the paw print logo on the hat, and the recycling symbol on the pup tag. Teacher's Tip: Take your time with the recycling symbol—it's the most detailed part of the drawing!
Step 10: Bringing Rocky to Life with Color
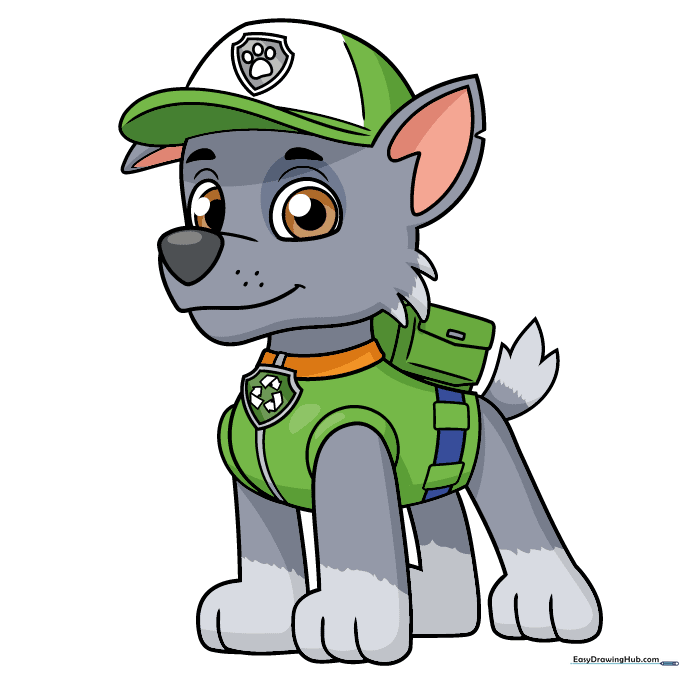
Time to color! Use grey for his fur, bright green for his vest, and add white and orange accents. Teacher's Tip: Use light pressure with your colored pencils to blend colors smoothly for a professional look.
More Tutorials


