How to Draw Rock Lee: Easy 10-Step Anime Guide
Ready to bring the Leaf Village's most determined ninja to life? This tutorial is perfect for young artists and anime fans ages 7+ looking to master character proportions. You'll only need a pencil, an eraser, and a piece of paper to capture Rock Lee’s iconic look.
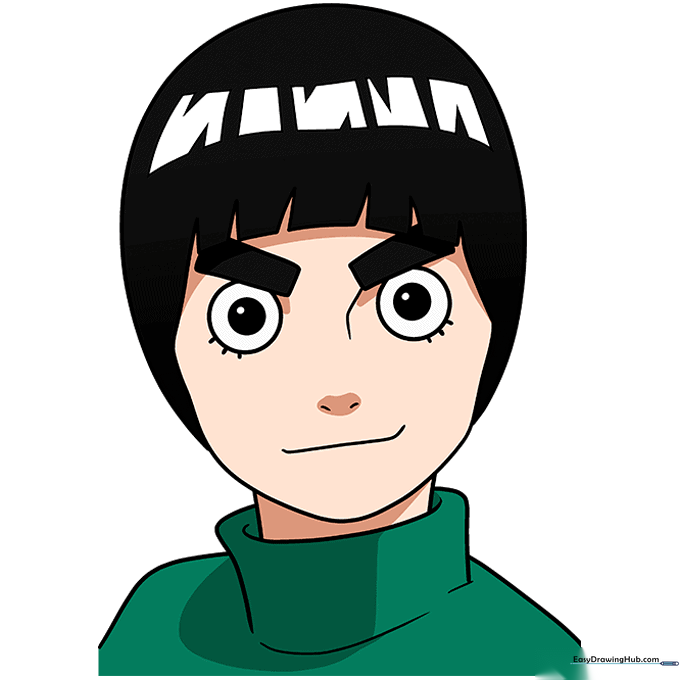
🎯 Final Result

Step-by-Step Instructions
Step 1: Sketching the Expressive Eyes
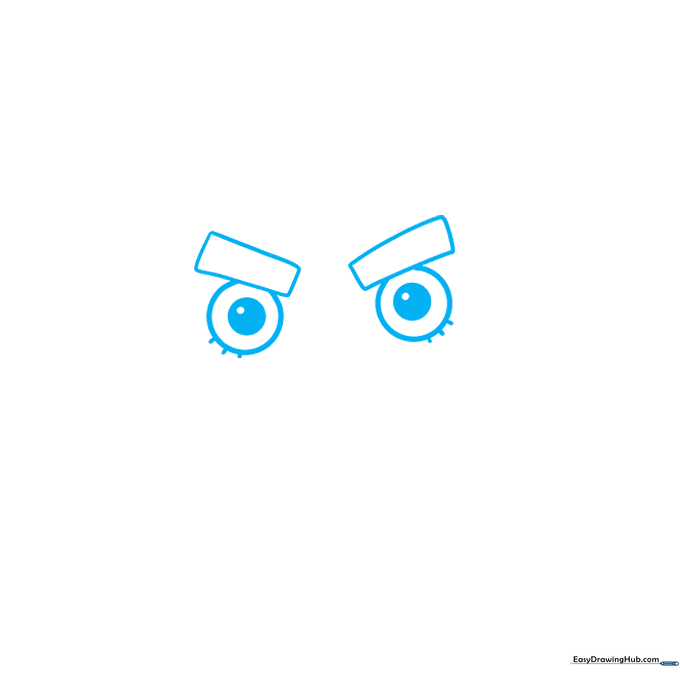
Start by drawing two diagonal rectangles for his signature thick eyebrows. Beneath these, draw two circles for the eyes with smaller pupils inside. Teacher's Tip: Keep your pencil pressure light here so you can easily adjust the shape if the eyes look uneven.
Step 2: Defining the Nose and Mouth

Add a small curved line for the bridge of the nose and a simple smirk below. Tip: A tiny flick of the wrist creates a more natural, expressive mouth shape.
Step 3: Outlining the Jawline
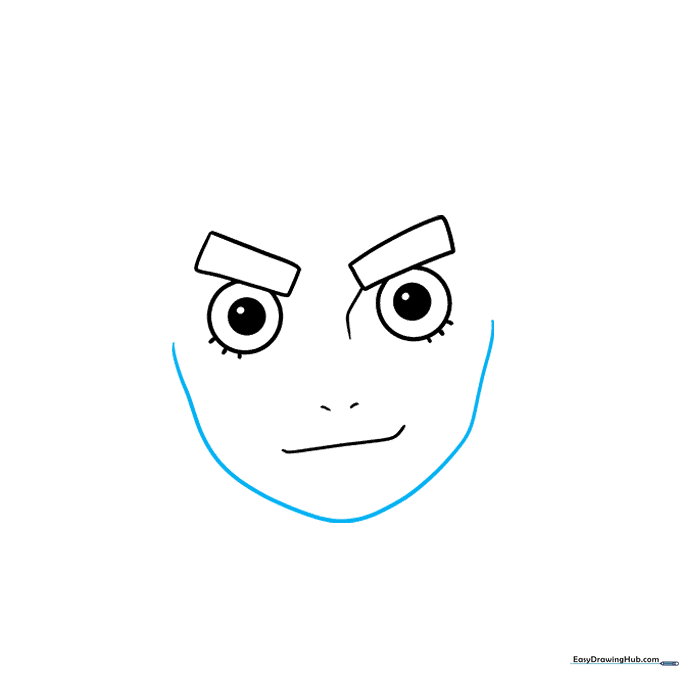
Draw a long, smooth curved line to define the bottom of his face. Tip: Imagine you are drawing the bottom half of an egg to get that perfect chin shape.
Step 4: Drawing the Iconic Bangs
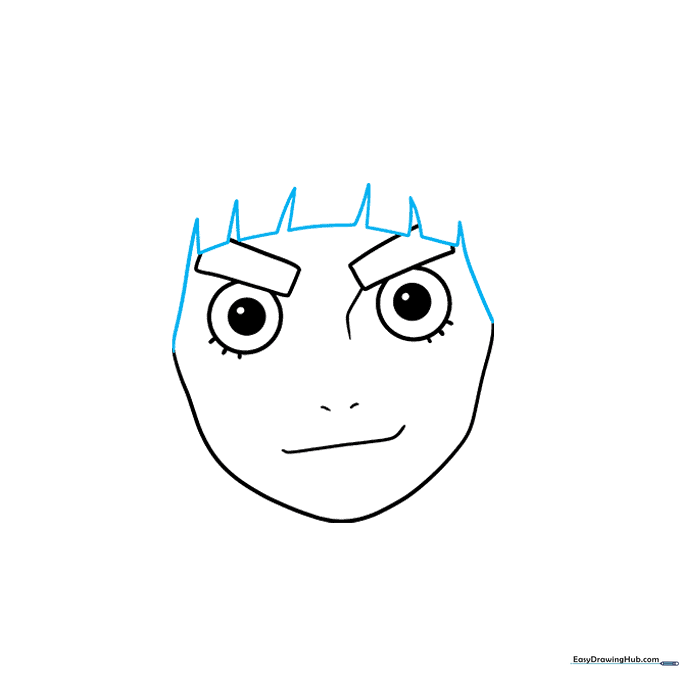
Use a series of connected curved lines to form the rectangular blocks of his hair bangs. Tip: Keep the lines sharp where they meet to give his hair that classic anime style.
Step 5: Completing the Hairline
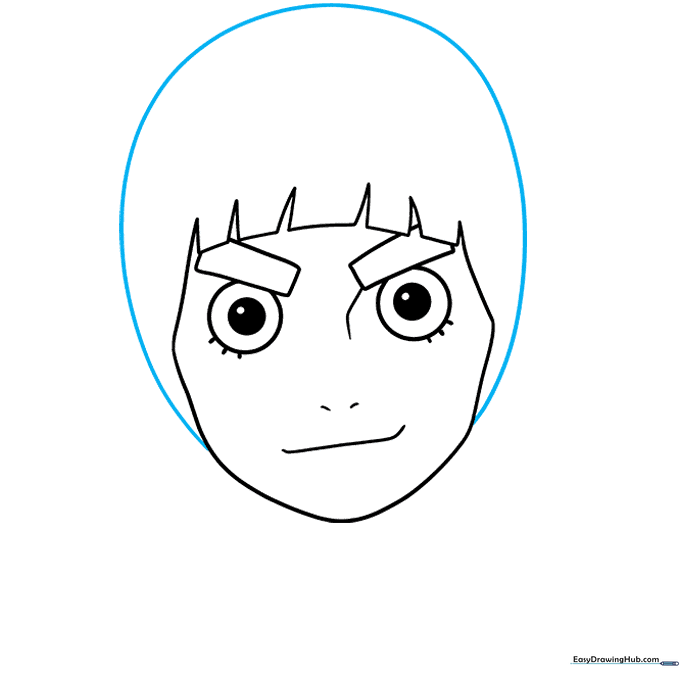
Use a long, sweeping curved line to enclose the top of the head. Tip: Make sure the hair connects smoothly to the bangs you drew in the previous step.
Step 6: Adding Hair Highlights
Draw small 'N' or 'V' shaped reflections on the hair to show light hitting it. Tip: Don't overdo it; just two or three highlights will make the hair look shiny and professional.
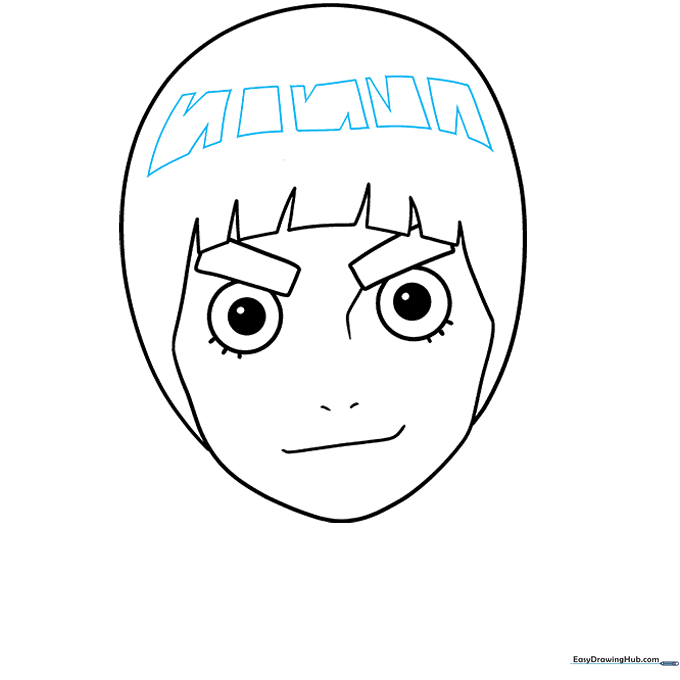
Step 7: Sketching the Neck
Extend two short lines down from the chin to form the neck. Tip: Keep these lines parallel to ensure his head looks centered on his shoulders.
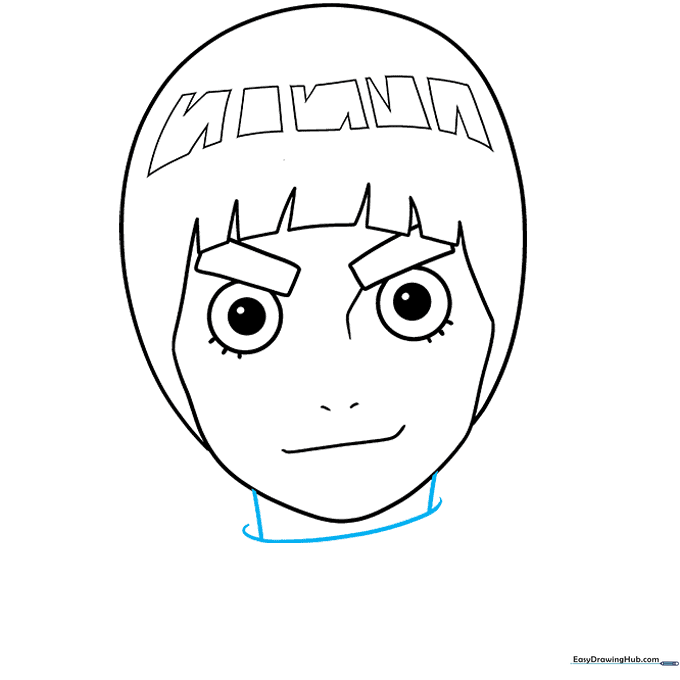
Step 8: Drawing the Collar
Add the rectangular collar of his turtleneck. Tip: Ensure the corners of the collar are slightly rounded to match the soft style of the drawing.
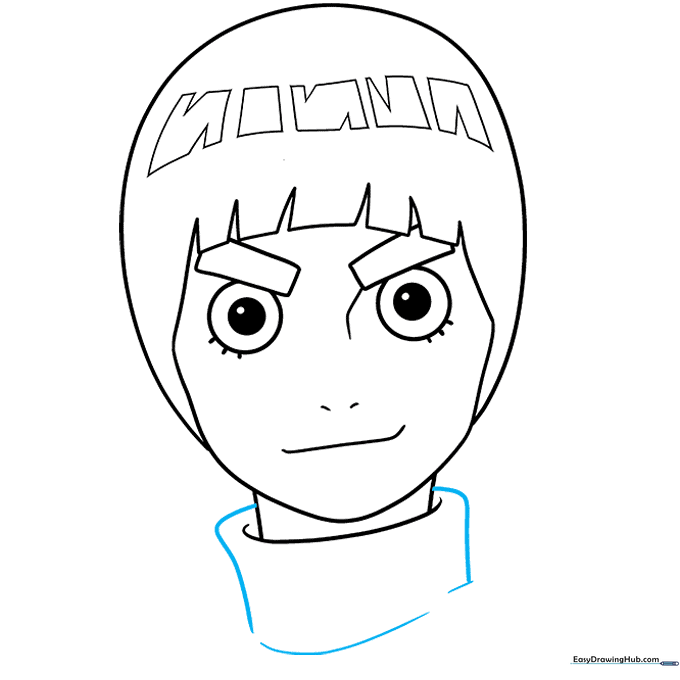
Step 9: Defining the Shoulders
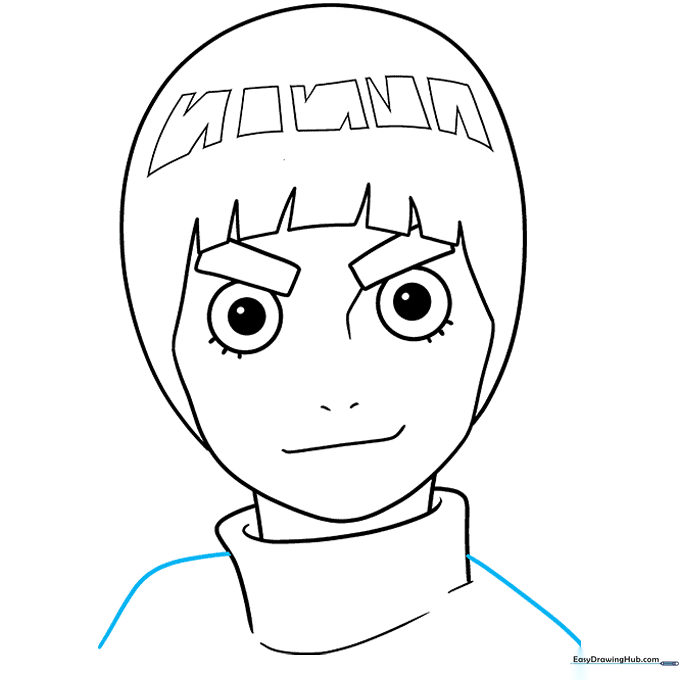
Extend long, curved lines from the collar to form the shoulders. Tip: Make these lines wide to give Rock Lee his strong, athletic ninja build.
Step 10: Bringing Him to Life with Color
Your outline is ready! Use deep black for his hair and a vibrant green for his signature tunic. Tip: Use a light touch with your colored pencils to layer the green, making it look rich and solid.
More Tutorials


