How to Draw Roblox Piggy: Easy 10-Step Tutorial for Kids
Bring your favorite Roblox character to life with this fun, screen-free drawing activity. Designed for young artists and beginners, this guide uses basic shapes to build Piggy’s iconic look. Grab your pencil, eraser, and paper, and let’s get started on your masterpiece!
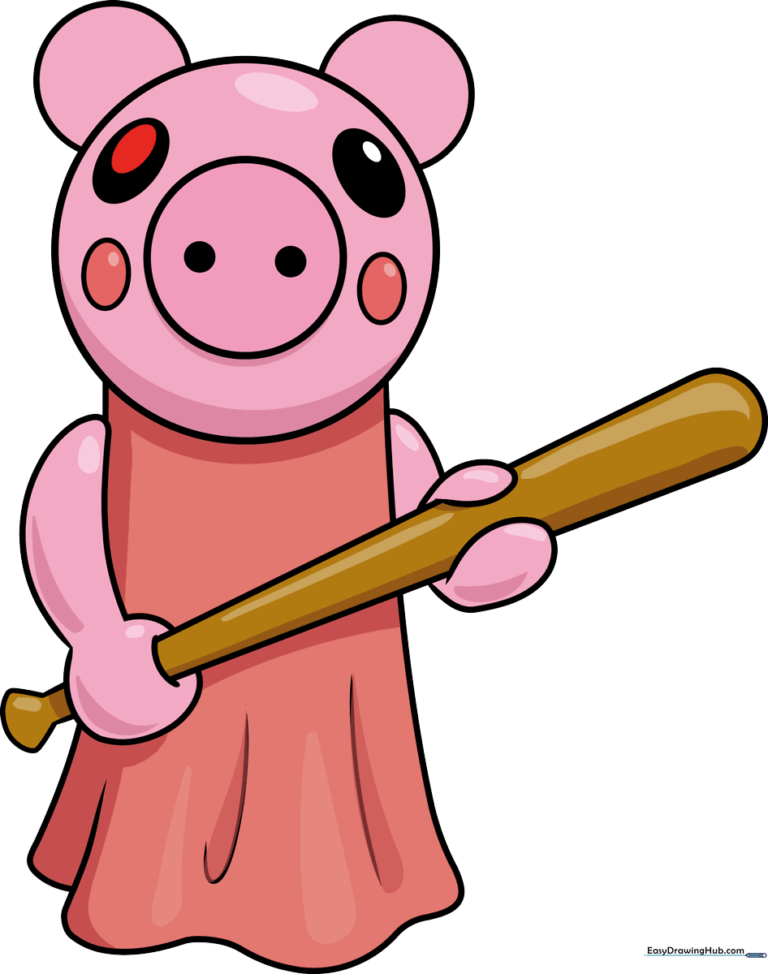
🎯 Final Result
Step-by-Step Instructions
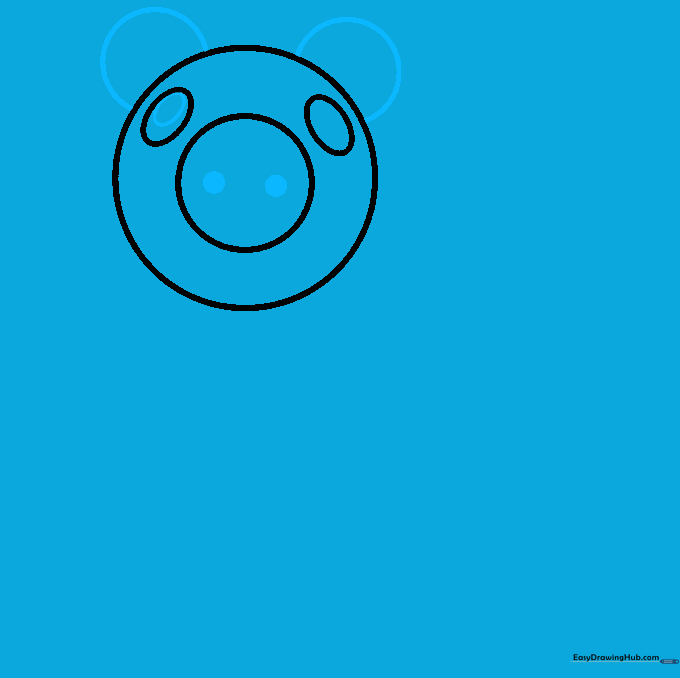
Step 1: Sketching the Head and Snout

Draw a large circle on the left side of your paper for the head. Add a smaller circle in the center for the snout, and two small ovals on the sides for the cheeks. Teacher's Tip: Keep your pencil lines light so they are easy to adjust later!
Step 2: Adding Ears and Nostrils
Sketch two circles behind the head to form the ears. Inside the snout, draw two small circles for nostrils. Teacher's Tip: Make the ears slightly rounded to give the character that classic cartoon feel.
Step 3: Drawing the Eyes and Arm
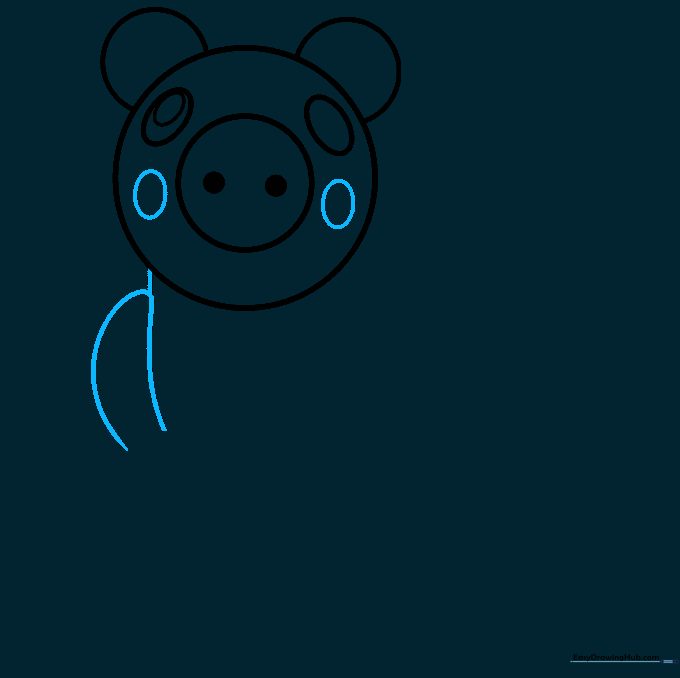
Draw two ovals on either side of the snout for the eyes. On the left, use two curved lines to create a banana-like arm shape, leaving the bottom open. Connect the arm to the head with a straight line. Teacher's Tip: Ensure the eyes are symmetrical for a balanced look.
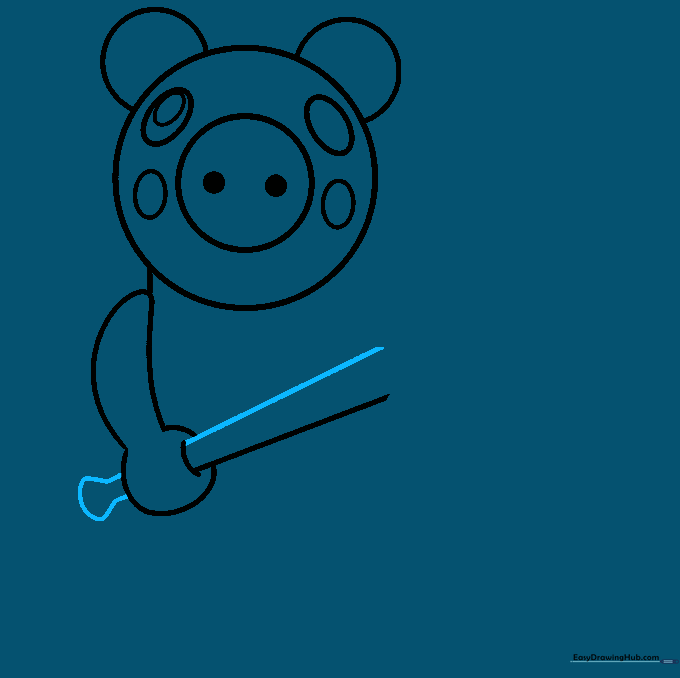
Step 4: Shaping the Hand
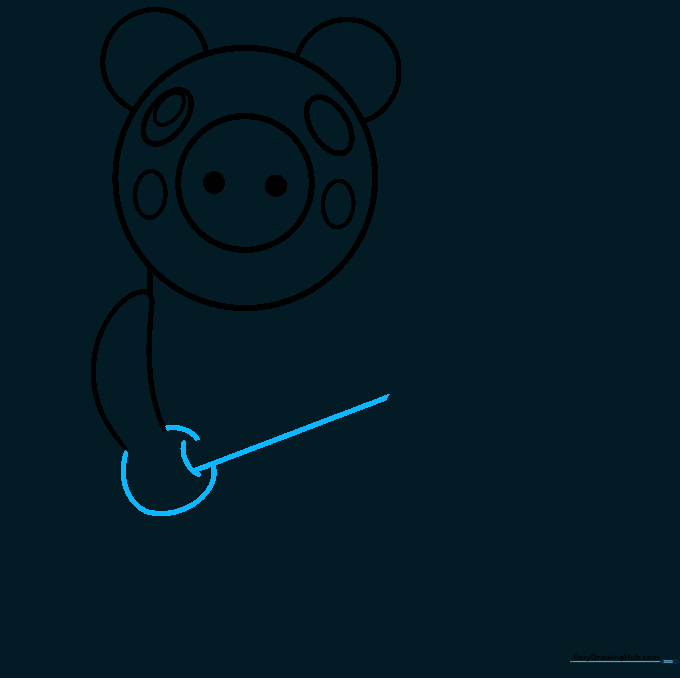
Use a sweeping curved line to form the hand. Add two smaller curved lines for detail, then draw a straight line extending from the hand to prepare for the bat. Teacher's Tip: A steady hand helps keep these curves smooth!
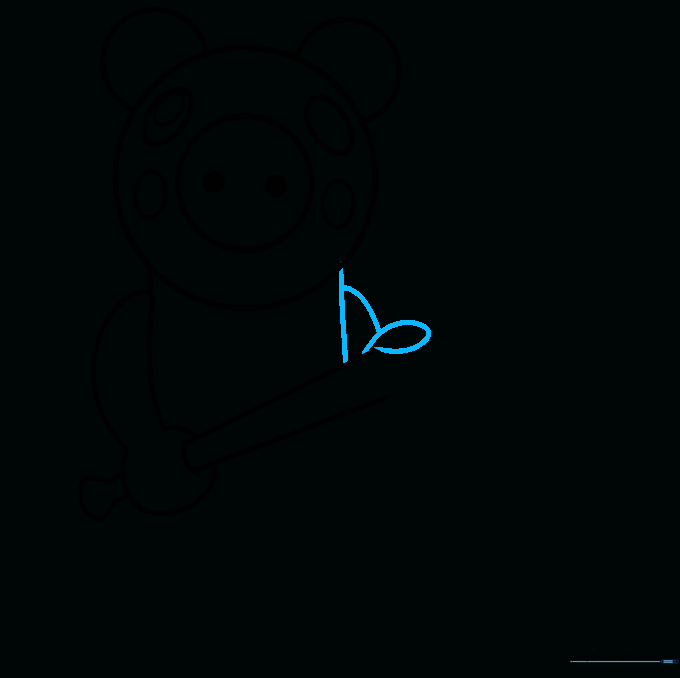
Step 5: Sketching the Bat
Add a parallel line to define the bat's shape. On the left, draw two arrow-like shapes connected by a curved line to form the handle. Teacher's Tip: Use a ruler if you want the bat to look extra straight and professional.
Step 6: Connecting the Body
Draw a straight line connecting the head to the bat. Add a teardrop-shaped oval for the body, then use a curved line to bridge the shapes together. Teacher's Tip: Think of this as building a puzzle; connect the pieces one by one.
Step 7: Finalizing the Bat
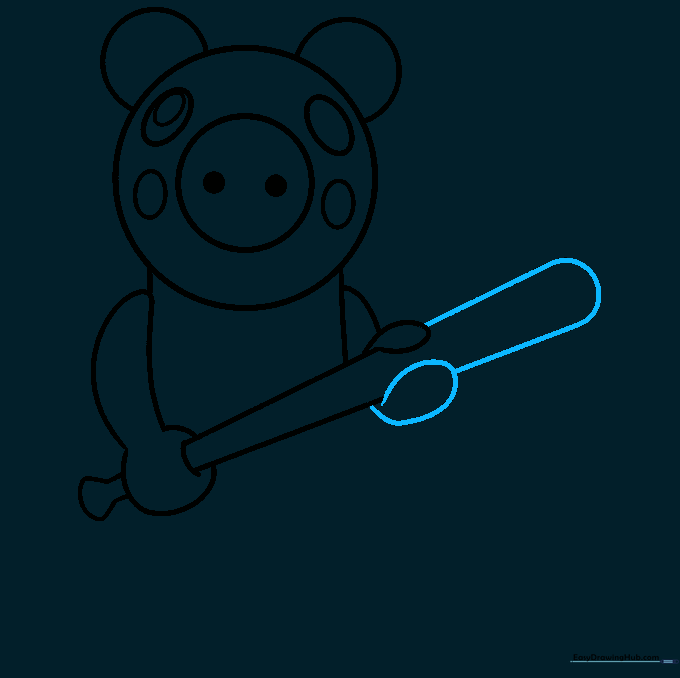
Draw an oval under the bat and connect it with a straight line. Extend the bat with two parallel lines and finish with a curved line. Teacher's Tip: Check your proportions—does the bat look like it fits in the character's hand?
Step 8: Drawing the Skirt
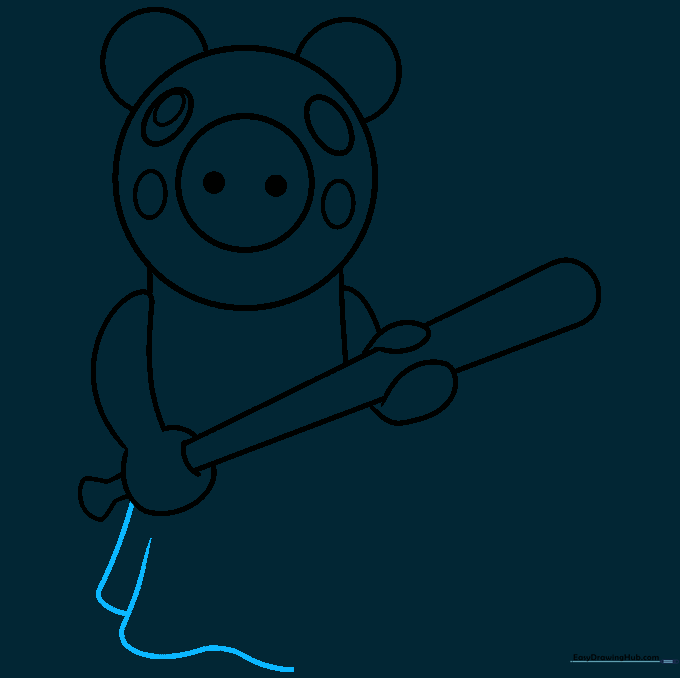
Draw two lightly curved vertical lines to start the skirt. Add swooping lines at the bottom to create the hem. Teacher's Tip: Use a rhythmic motion to make the skirt look like it has movement.
Step 9: Outlining Your Work
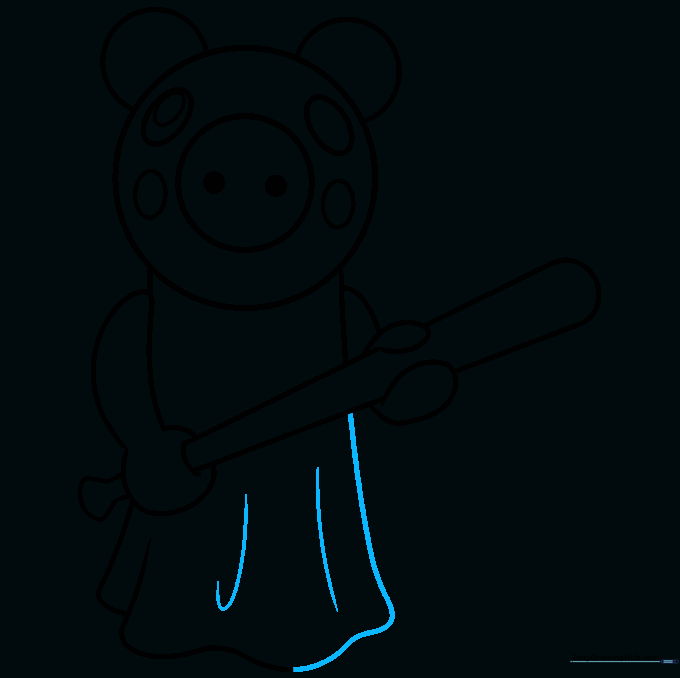
Connect the skirt lines with curved strokes. Add a fishhook-shaped line inside the skirt for detail. Finally, trace your pencil lines with a black marker for a bold, clean finish. Teacher's Tip: Take your time with the outline—it makes the colors pop later!
Step 10: Adding Color
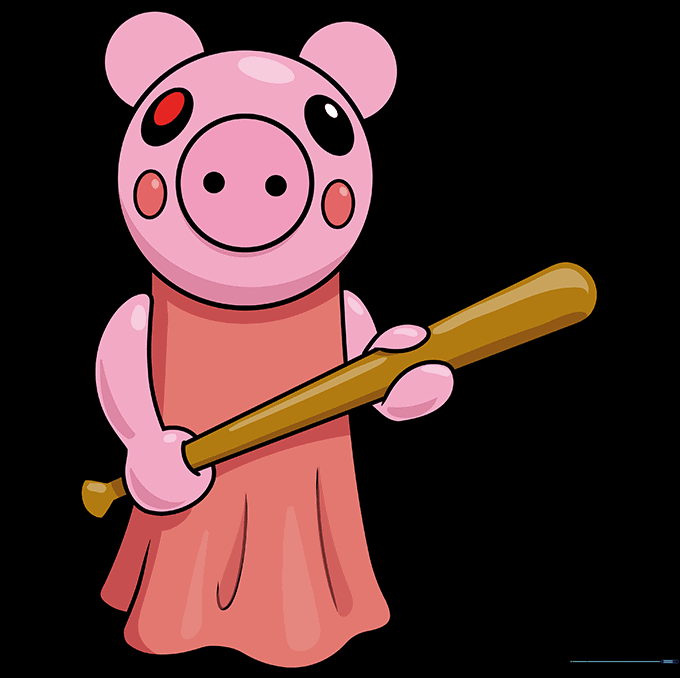
Time to bring Piggy to life! Color the bat brown and the dress a vibrant red. Use pink for the body, black for the eyes, and add a red oval in the left eye. Don't forget the red cheeks! Teacher's Tip: Use light, even strokes to keep your coloring smooth.
More Tutorials


