How to Draw Rayquaza: Easy Step-by-Step Pokémon Guide
Ready to bring the legendary Sky High Pokémon to life? This tutorial is designed for young artists and Pokémon fans who want to master Rayquaza’s serpentine form. Grab your pencil, eraser, and paper, and follow these steps to build confidence in your character drawing skills.
🎯 Final Result
Step-by-Step Instructions
Step 1: Sketching the Head and Neck
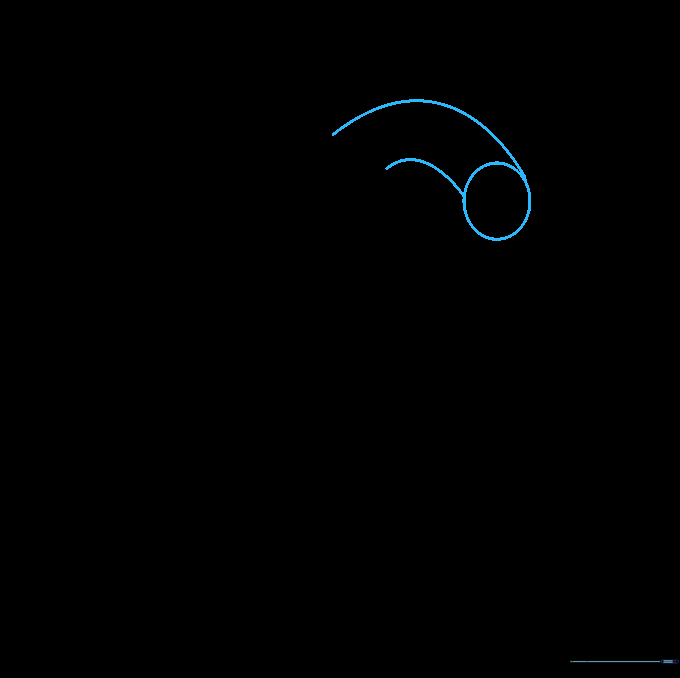
Start by drawing a small, light circle for the head. Extend two long, graceful curved lines downward to form the neck. Teacher's Tip: Keep your pencil pressure light here so you can easily adjust the proportions later.
Step 2: Defining the Upper Body
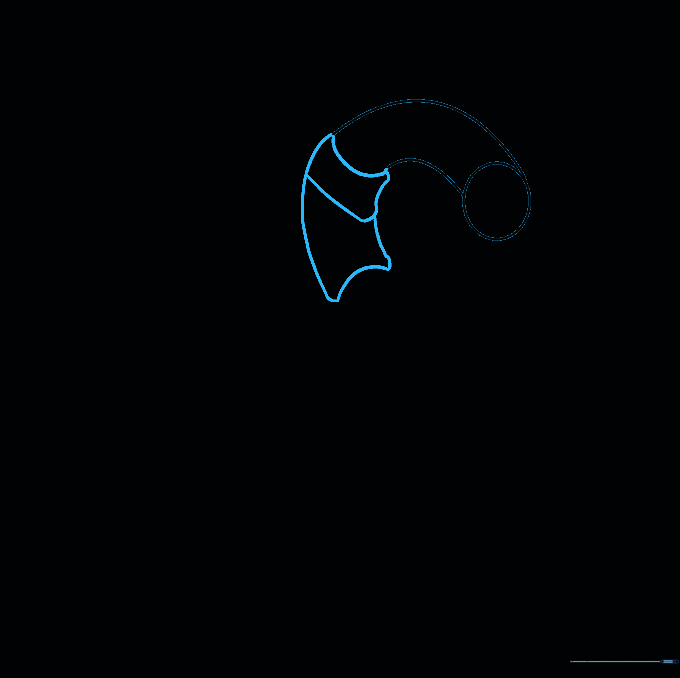
Beneath the neck, draw a series of irregular, blocky shapes to represent the upper torso. Try to keep these segments roughly the same width as the neck for a balanced look. Teacher's Tip: Think of these as armor plates—they don't need to be perfectly round!
Step 3: Adding Armor Details
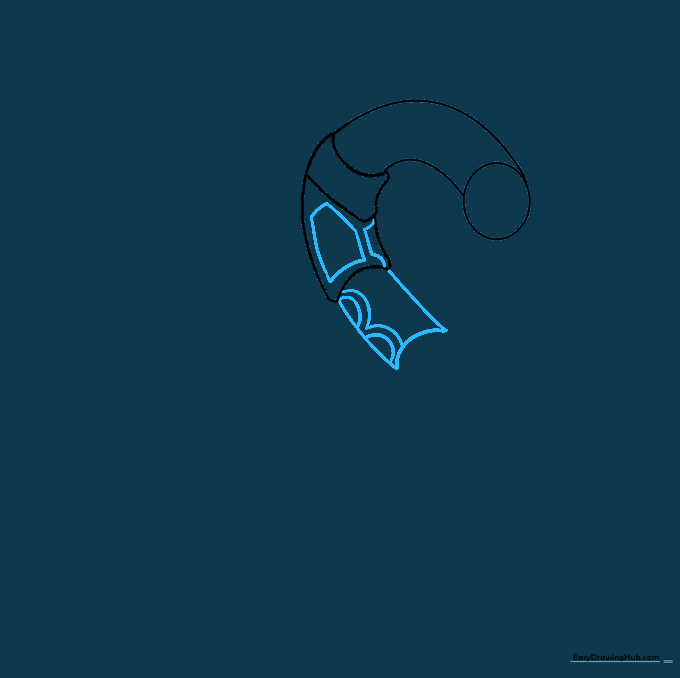
Detail the lower neck segment with irregular polygons to give it that signature armored look. Add a new section below, connecting it with two curved lines. Add a double layer of 'U' shapes on one side for texture. Teacher's Tip: Use short, deliberate strokes to make the armor look sturdy.
Step 4: Segmenting the Body

Continue the body by adding more curved segments. Draw three trapezoid-like shapes on the upper segment, each containing a smaller trapezoid inside. Erase any overlapping guide lines. Teacher's Tip: Precision matters here—take your time drawing the smaller shapes inside the larger ones.
Step 5: Creating the 'S' Curve

Extend the body further, creating a gentle 'S' shape. Add more trapezoids to the upper section and two ovals surrounded by wavy lines on the lower section. Teacher's Tip: The 'S' curve gives your drawing a sense of movement, making Rayquaza look like he's flying through the sky!
Step 6: Continuing the Body Segments
Add another segment to the body. Ring the top with a curved line and add more trapezoid details. Teacher's Tip: Consistency is key—try to make these new trapezoids match the size and style of the ones you drew in Step 4.
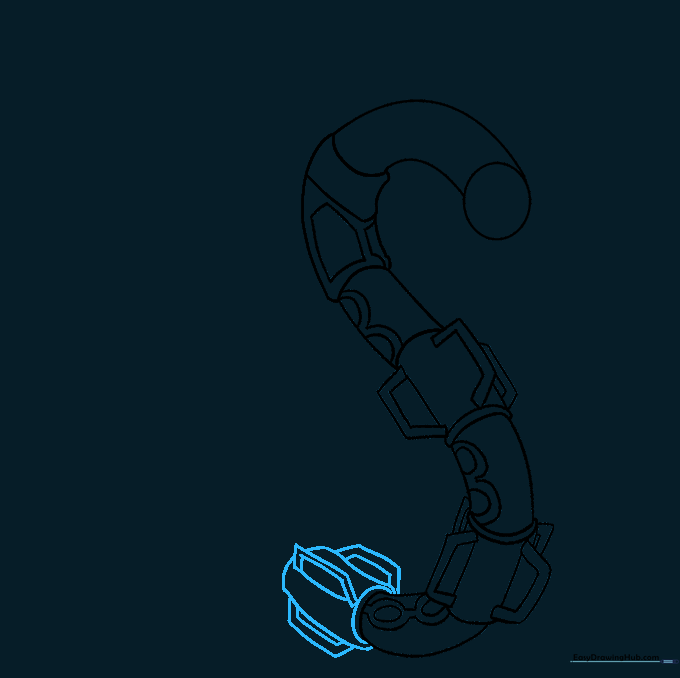
Step 7: Drawing the Tail
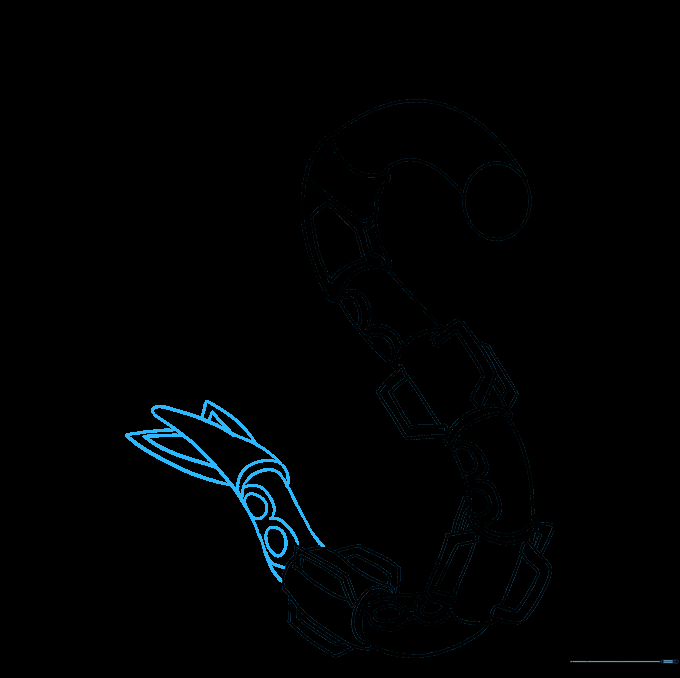
Taper the end of the body to form the tail. Add two ovals with wavy lines, and draw triangles on each side of the tail tip with smaller triangles inside. Teacher's Tip: The tail is the final anchor point, so make sure it tapers to a nice, sharp point.
Step 8: Detailing the Head

Now for the face! Draw the beard, mouth, pointed eyebrow ridge, and long ears. Add small triangular teeth inside the mouth and a circle for the pupil. Teacher's Tip: Use a darker pencil for these final facial features to make them pop.
Step 9: Adding Arms and Claws
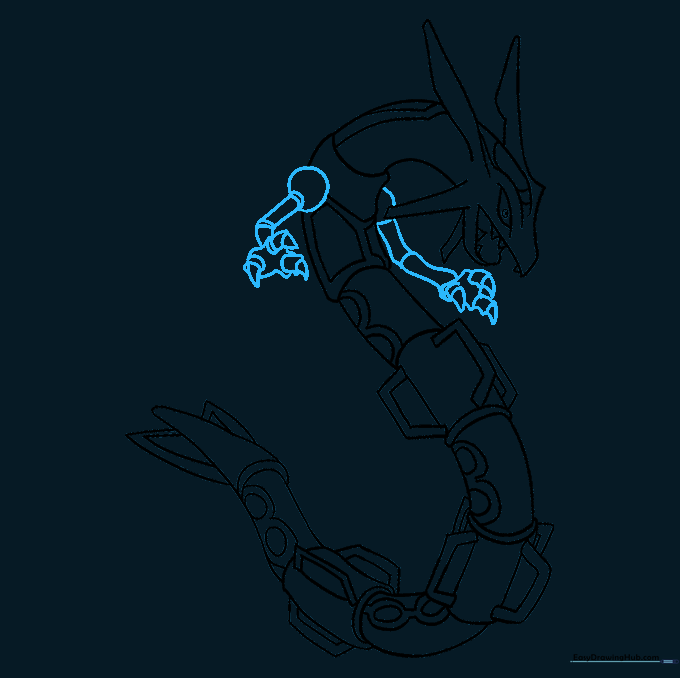
Draw the arms extending from the body, finishing with sharp, pointed claws. Teacher's Tip: Keep the arms relatively small to maintain the focus on Rayquaza's long, serpentine body.
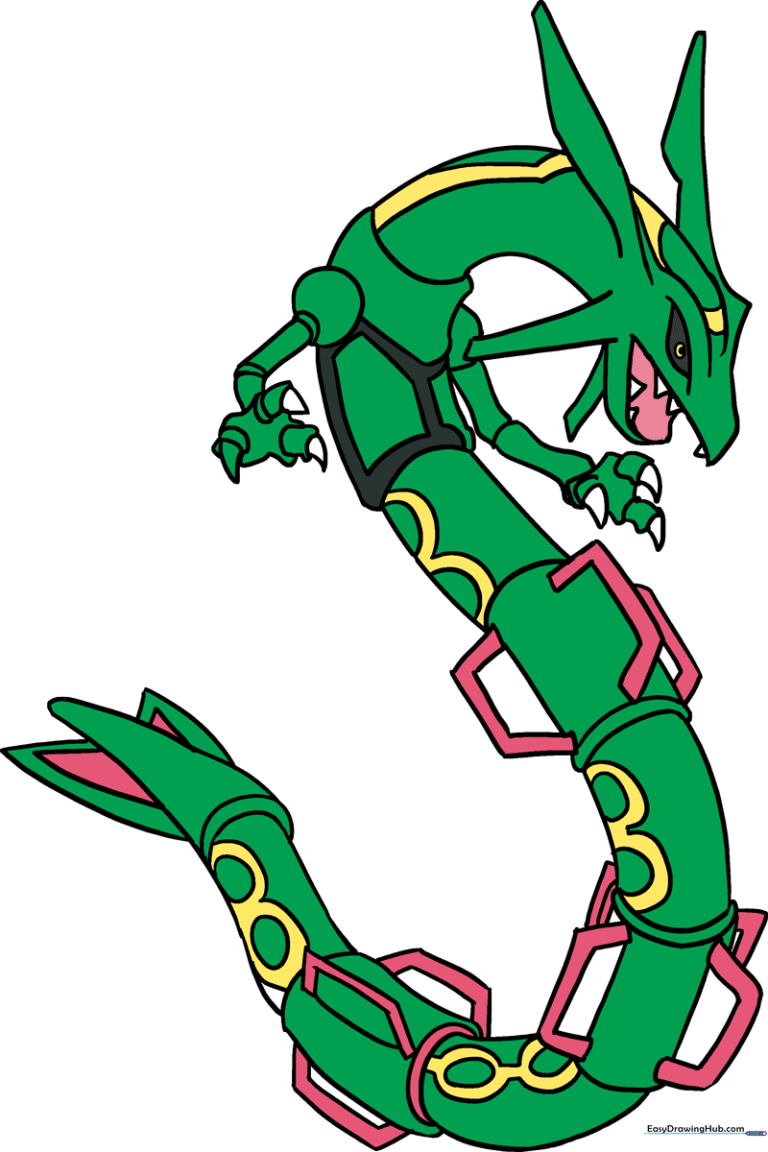
Step 10: Bringing Rayquaza to Life with Color
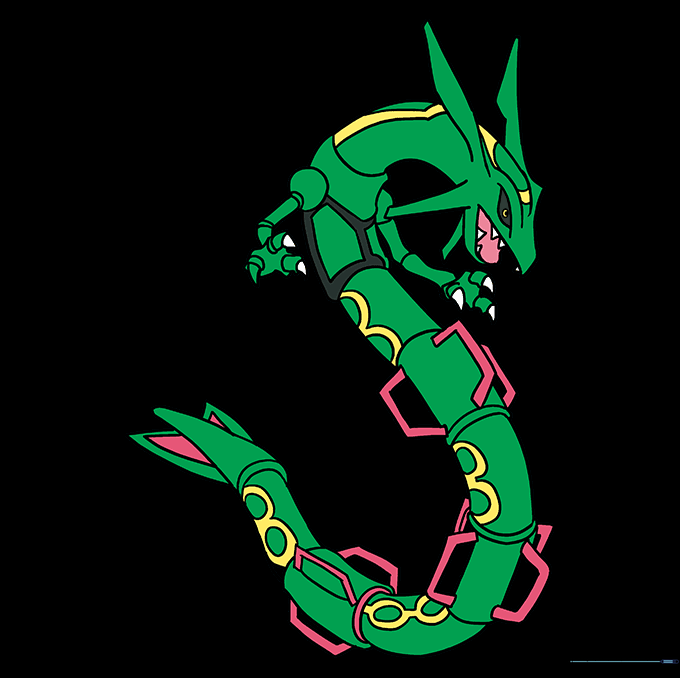
Time to color! Use a vibrant green for the body, and add yellow, black, and pink accents to match Rayquaza's classic look. Teacher's Tip: Use light, circular motions with your colored pencils to get a smooth, even finish.
More Tutorials


