How to Draw Rainbow Friends Orange: Easy 10-Step Guide
Bring the hungry monster from Roblox to life with this simple drawing guide, perfect for artists ages 6 and up. All you need is a pencil, an eraser, and a sheet of paper to get started. Follow these steps to master Orange's iconic wide-eyed look and jagged teeth.
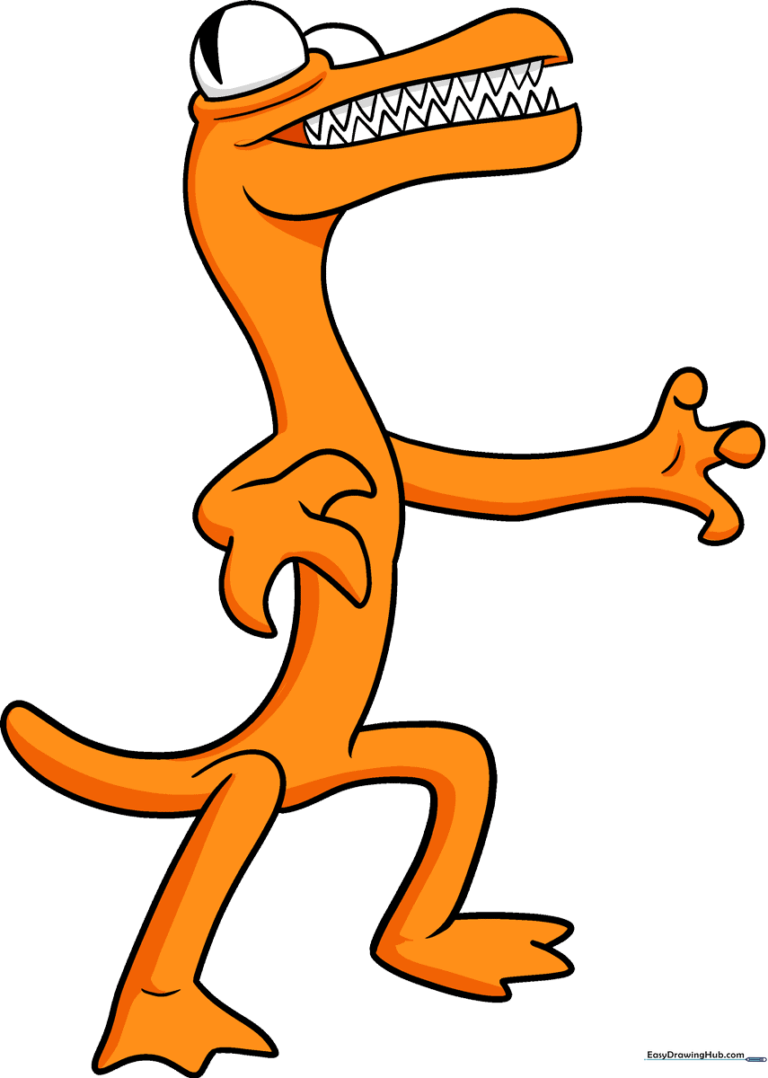
🎯 Final Result
Step-by-Step Instructions
Step 1: Sketching the Eye
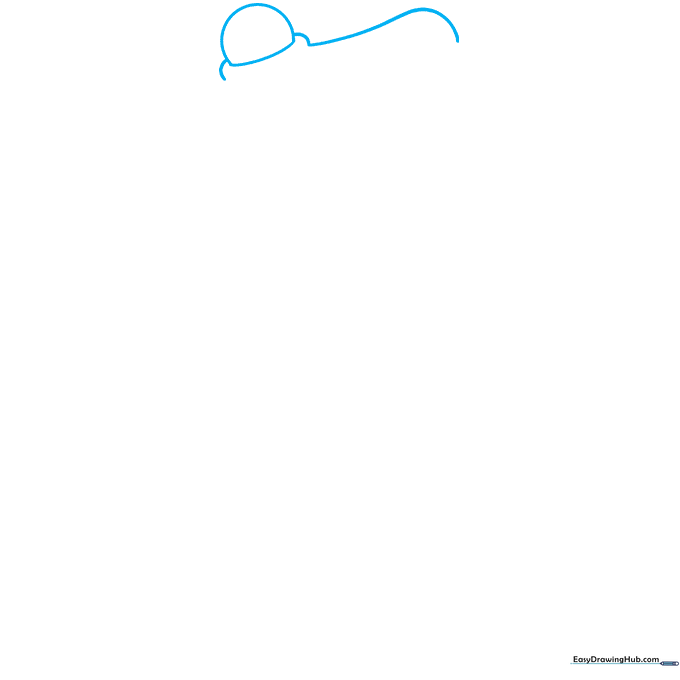
Draw a large half-circle to form Orange's bulging eye. Add two short, curved lines on either side to start the eye socket. Teacher's Tip: Keep your pencil pressure light so you can easily adjust the shape if it looks a bit lopsided.
Step 2: Defining the Jaw
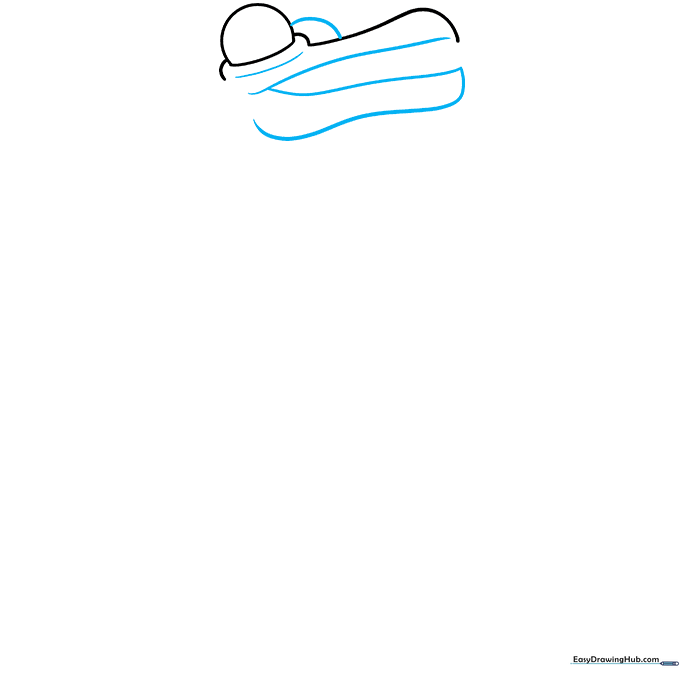
Close the eye shape with a curved line. Next, draw two long, sweeping lines that meet at a point to create the upper and lower jaws. Teacher's Tip: Think of the jaw like an open alligator mouth—keep the lines sharp at the corners.
Step 3: Adding Teeth and Pupil
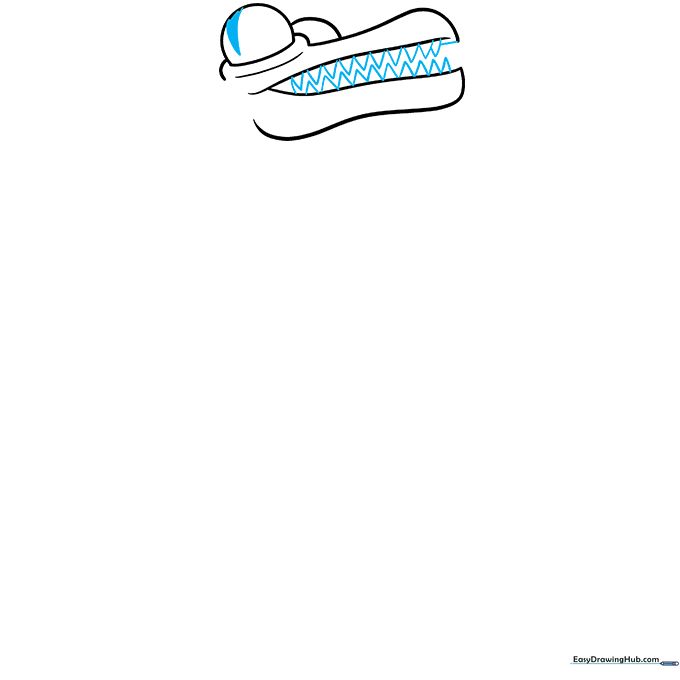
Shade a narrow, curved triangle inside the eye for the pupil. Add a series of small, sharp triangles along the jawline to create the teeth. Teacher's Tip: Vary the size of the teeth slightly to give the monster a more authentic, chaotic look.
Step 4: Drawing the Neck
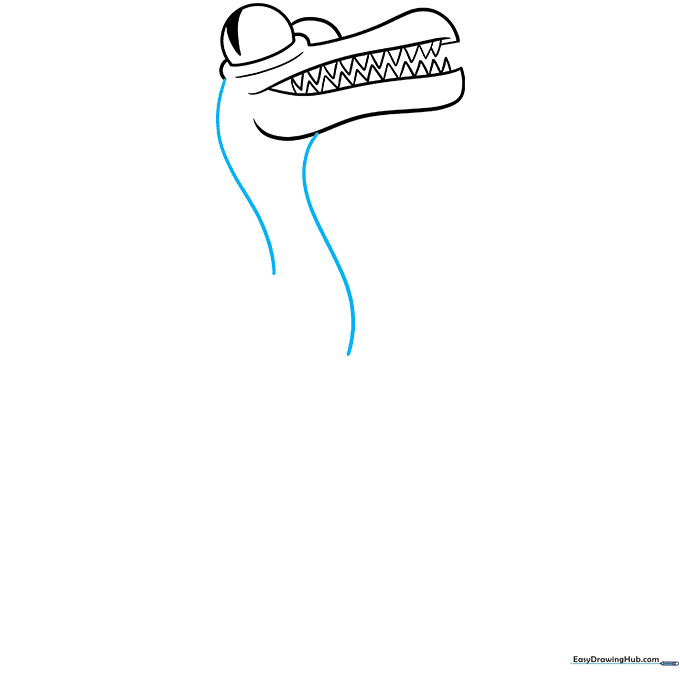
Extend two long, parallel curved lines downward from the head to form the neck. Teacher's Tip: Keep these lines smooth to ensure the neck looks sturdy and connected to the body.
Step 5: Sketching the First Arm
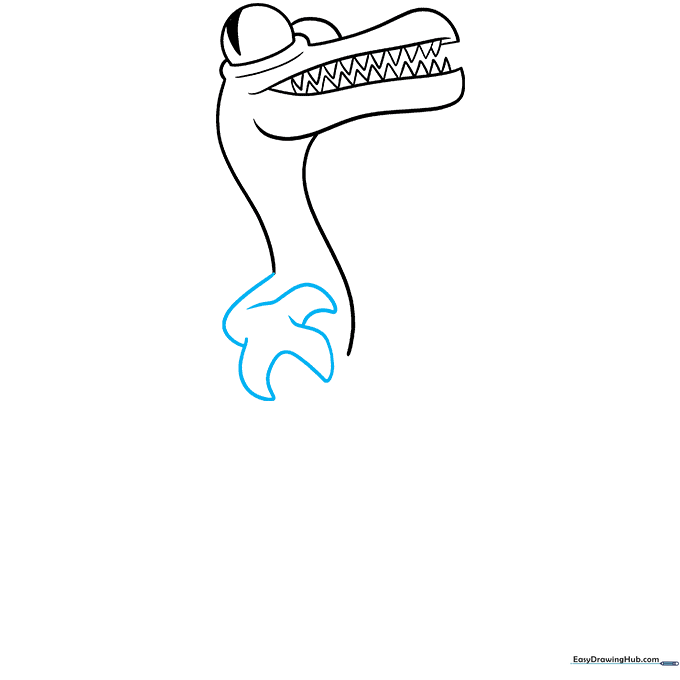
Use overlapping curved lines to sketch the arm, ending in sharp, triangular claws. Teacher's Tip: Overlapping lines create a sense of depth, making the arm look like it's reaching forward.
Step 6: Adding the Second Arm
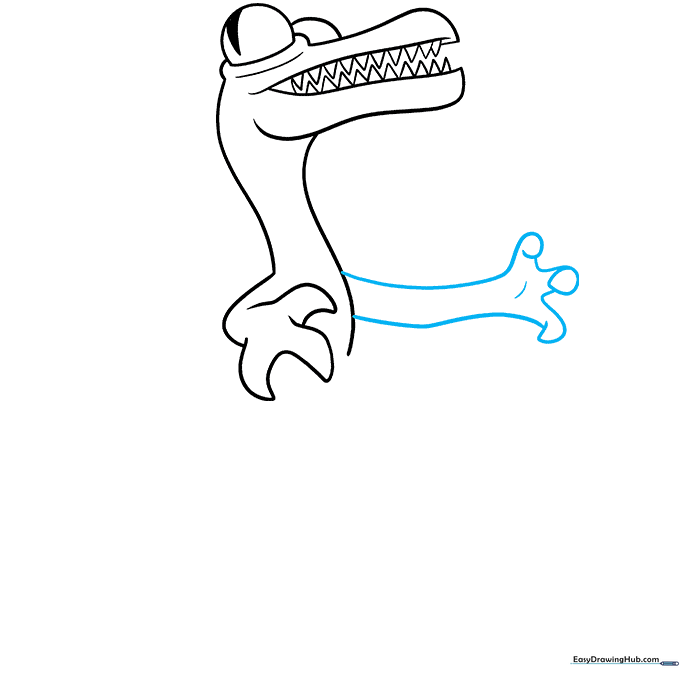
Draw the second arm using long, curved lines. Add curled claws and a small line on the palm to show texture. Teacher's Tip: Make the claws look slightly curved to give the hand a 'grabbing' motion.
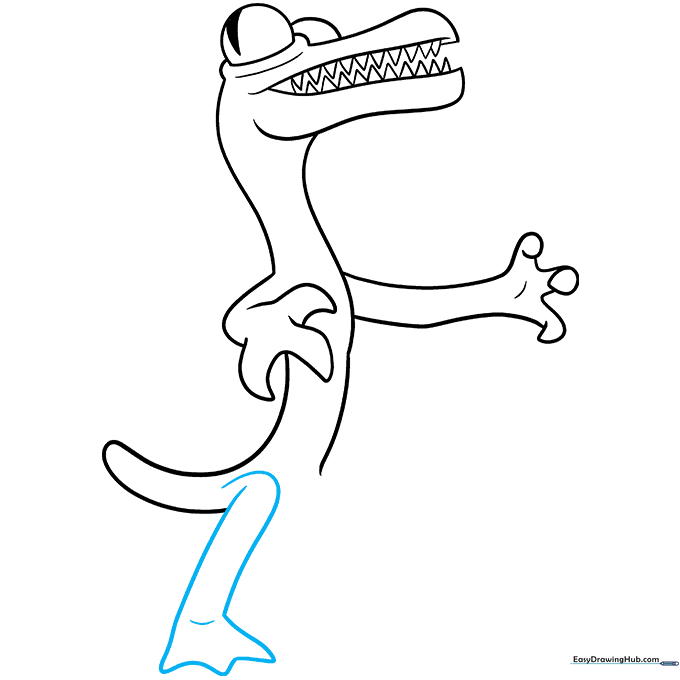
Step 7: Shaping the Body and Tail

Extend the body lines downward and loop one back to form the tail. Teacher's Tip: Keep the tail line fluid so it looks like it's swishing behind the monster.
Step 8: Drawing the First Leg
Use long curved lines to draw the rear leg, finishing with a flat, duck-like foot. Add a small line at the ankle for detail. Teacher's Tip: The flat foot helps ground the character on the page.
Step 9: Adding the Final Leg
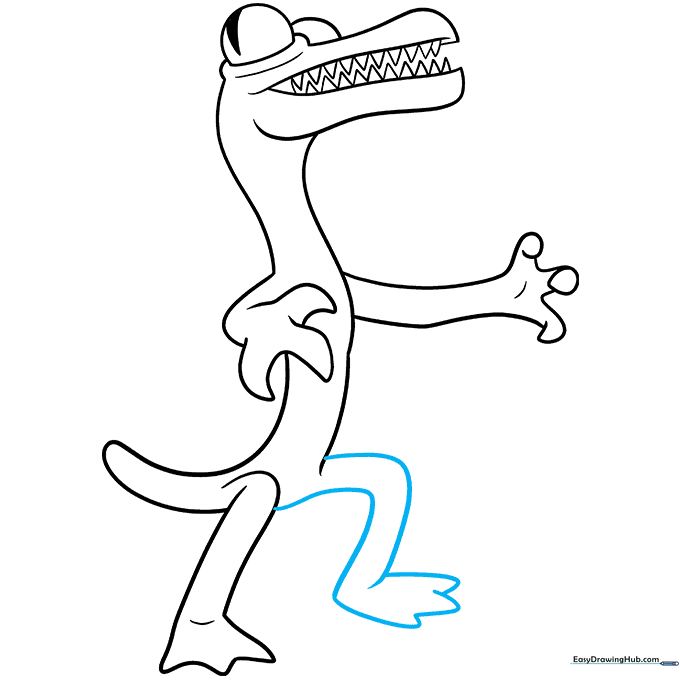
Draw the second leg using similar curved lines and finish with the same duck-like foot shape. Teacher's Tip: Ensure the feet are aligned so the monster looks like it's standing properly.
Step 10: Color Your Masterpiece
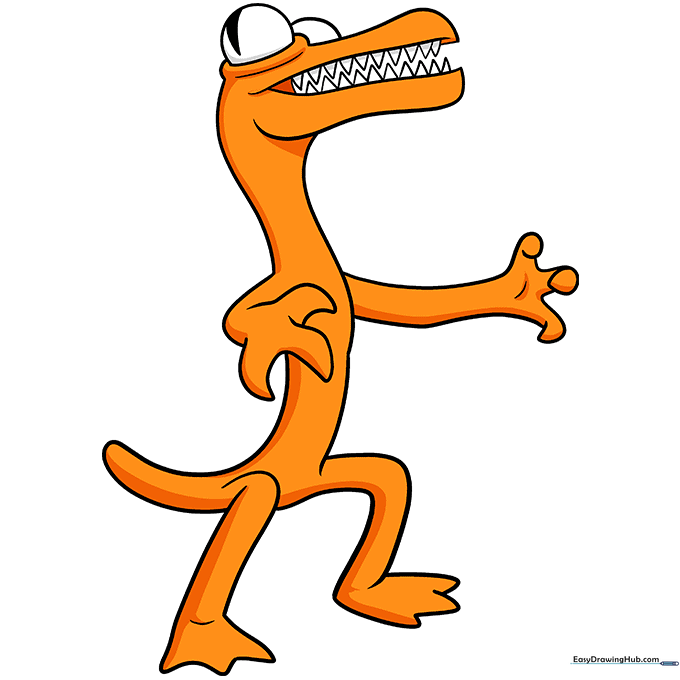
Your outline is complete! Use a bright orange marker or crayon for the body and keep the teeth white. Teacher's Tip: Use a darker orange or brown to add a little shading under the chin for extra depth.
More Tutorials


