How to Draw Ragnarok from Fortnite: Easy Step-by-Step Guide
Ready to bring the legendary Ragnarok to life? This tutorial is designed for intermediate artists looking to master character proportions and armor detailing. Grab your pencil, eraser, and paper, and let's break down this iconic Fortnite skin into manageable, professional-looking shapes.
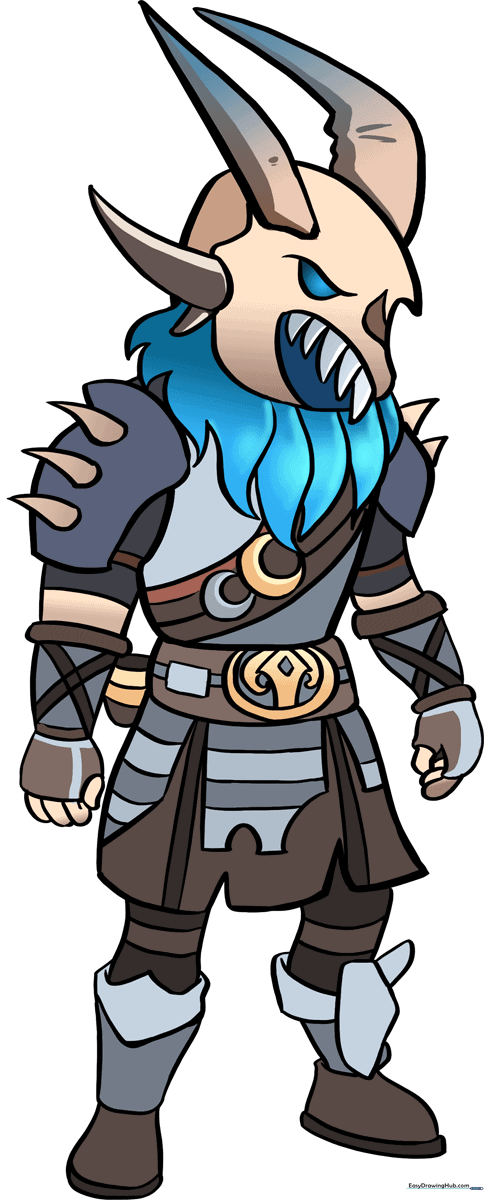
🎯 Final Result
Step-by-Step Instructions
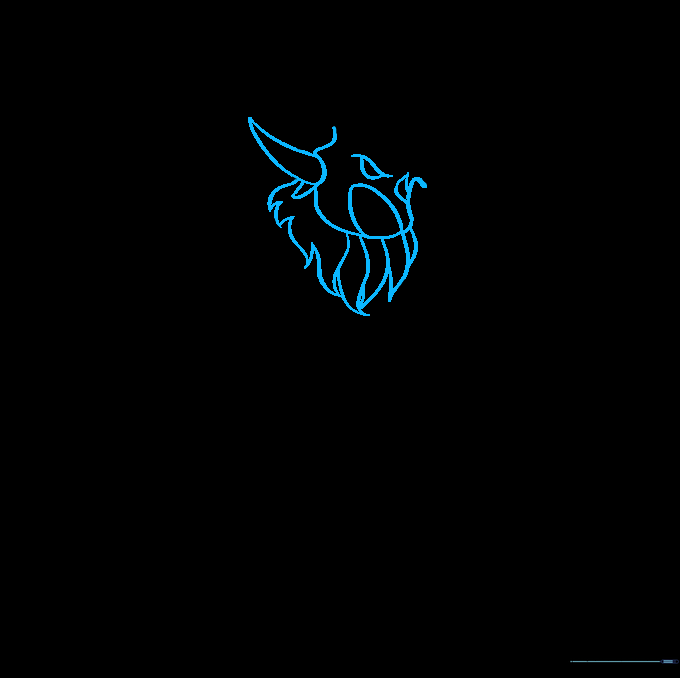
Sketching the Head Base

Start by drawing an irregular, rounded shape for the head. Teacher's Tip: Keep this light and loose; it’s just a guide to help you place the facial features later.
Defining the Torso
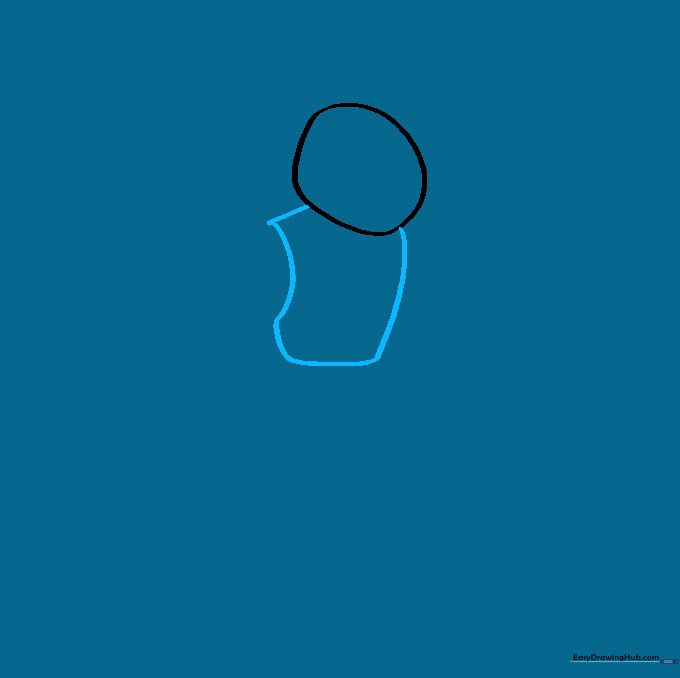
Use curved lines to sketch the upper body. Notice the 'C' shaped indentation on the side—this is where the arm will connect. Tip: Think of the torso as a sturdy shield shape.
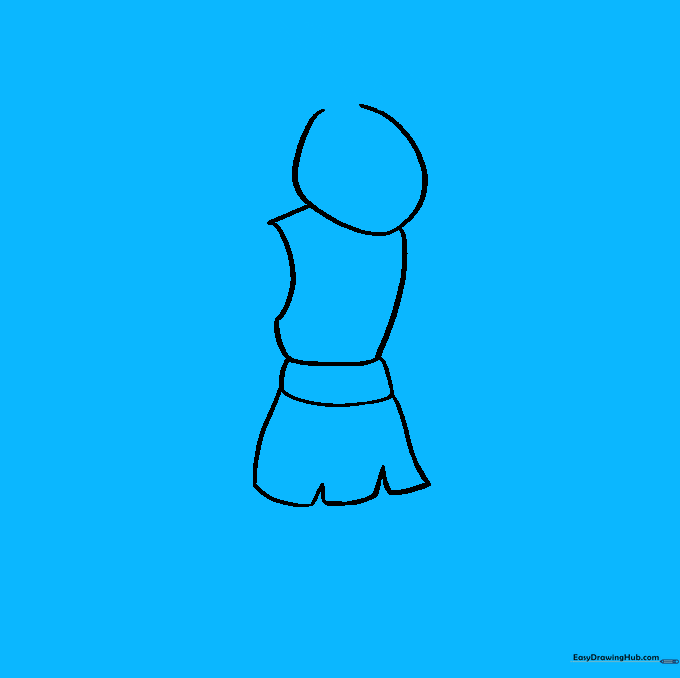
Constructing the Armored Skirt
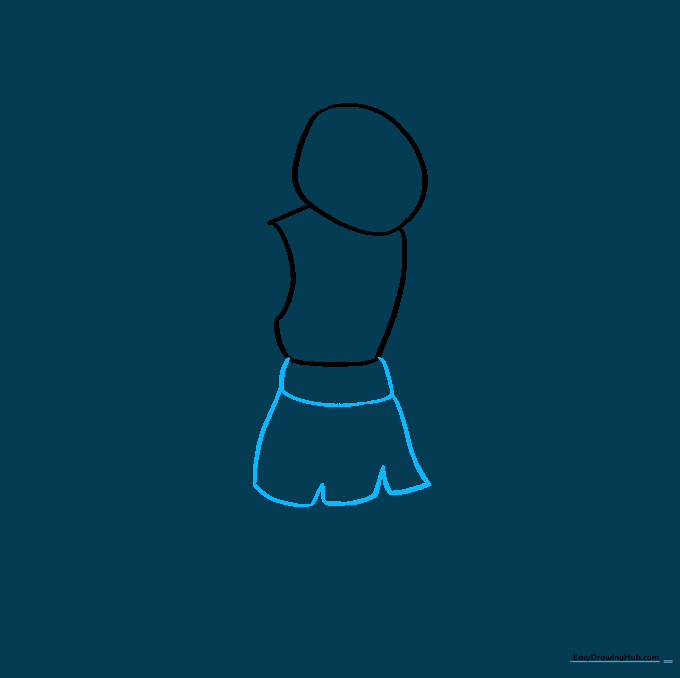
Draw a rounded rectangle beneath the torso, then extend curved lines downward. Connect these with 'V' shapes to create the armored skirt. Tip: Use a ruler if you want the armor plates to look extra sharp and metallic.
Adding the Iconic Horns
Sketch the horns using long, sweeping curved lines that meet at a sharp point. Tip: Make sure the horns curve outward to give him that menacing, legendary look.
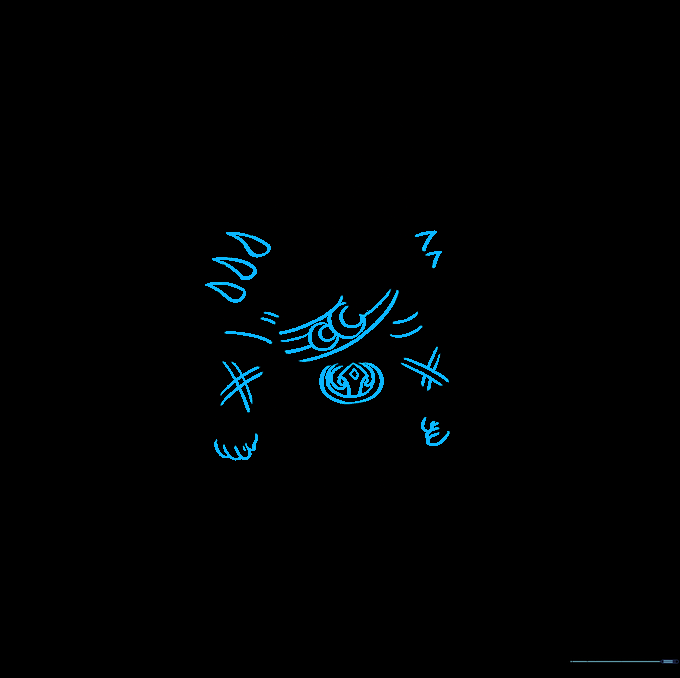
Detailing the Face and Beard
Outline the oval mouth, eyes, and nose. Add the beard using jagged, connected curved lines. Tip: The beard should look like sharp, icy shards—don't make it too soft!
Drawing Teeth and Arms
Use 'V' shapes for the teeth and add shoulder plates on the sides. Draw the arms as narrow rectangles and the hands as irregular rounded shapes. Tip: Keep the arms symmetrical to maintain the character's balance.
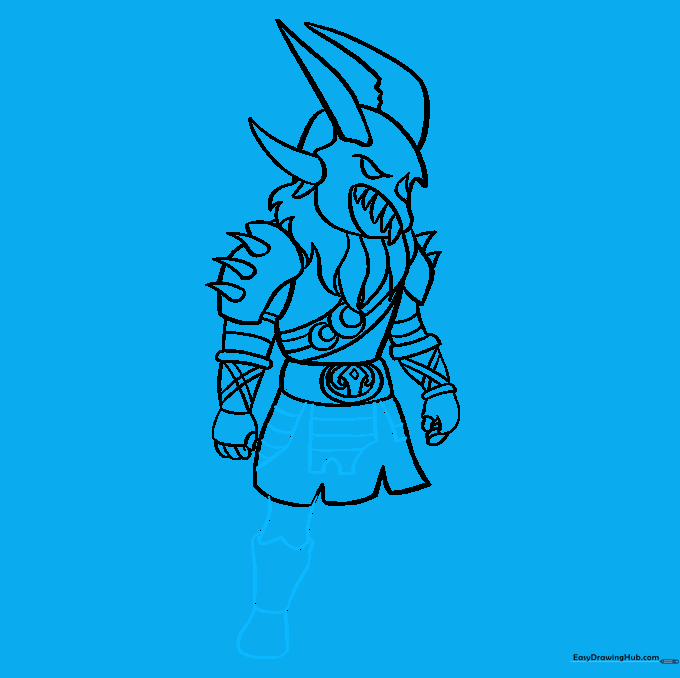
Refining Armor Details
Add spikes to the shoulder plates and band the arms with perpendicular lines. Draw small ovals for fingers and add the belt icon. Tip: Use a fine-liner pen here to make the armor lines stand out from the body.
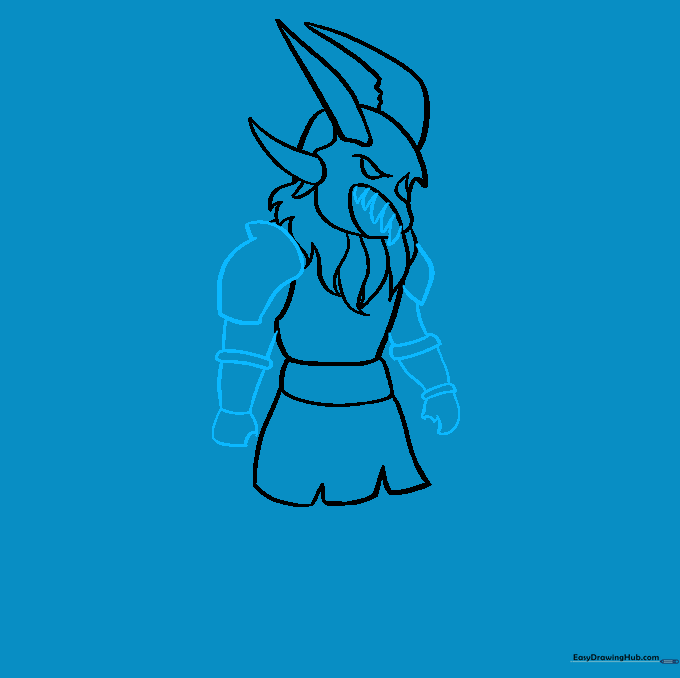
Adding Leg Armor
Draw broken rectangles on the skirt and start the first leg using a 'W' shaped line for the knee. Tip: Ensure the leg looks sturdy to support the heavy armor.
Finalizing the Legs and Skirt
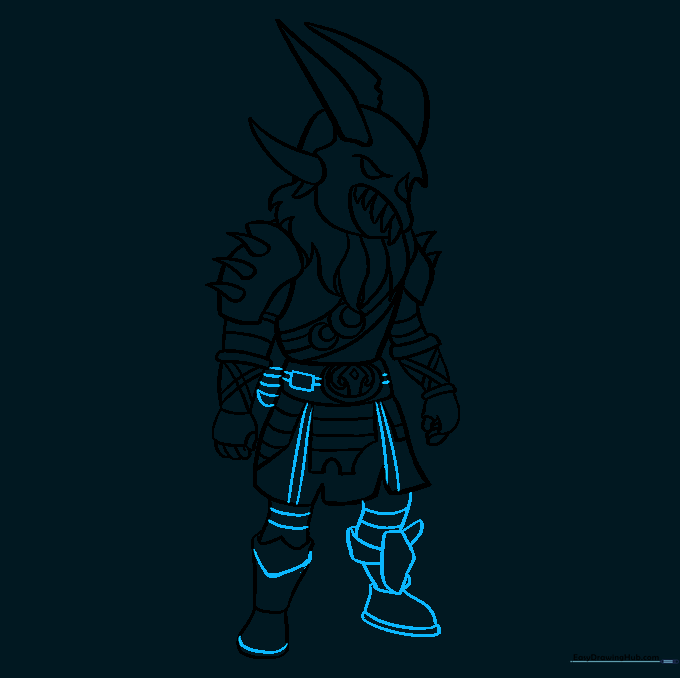
Draw the second leg and add horizontal banding to both. Add final squares and lines to the skirt. Tip: Check your proportions—make sure the legs aren't too short compared to the torso.
Coloring Your Masterpiece
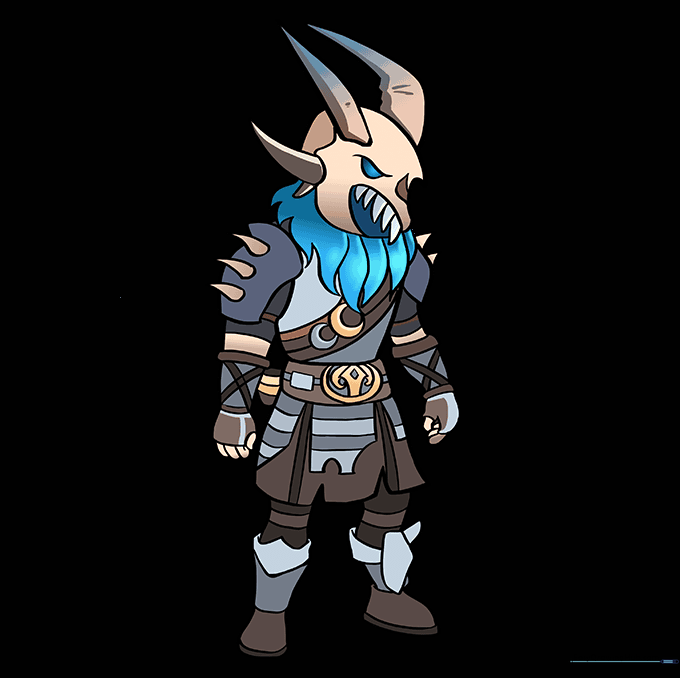
Bring Ragnarok to life with colors! Use icy blues and dark greys for the armor. Tip: Use a darker shade of blue in the crevices of the armor to create a sense of depth and shadow.
More Tutorials


