How to Draw R2-D2: Easy 10-Step Star Wars Drawing Guide
Bring the galaxy's favorite astromech droid to life with this beginner-friendly drawing tutorial. Designed for ages 6+, this activity requires only a pencil, paper, and an eraser to master R2-D2's iconic cylindrical shape. Follow along to build confidence in your sketching skills while creating your own Star Wars masterpiece.
🎯 Final Result
Step-by-Step Instructions
Step 1: Sketching the Main Body

Draw a long, slightly curved rectangle with rounded corners to form R2-D2’s central chassis. Teacher's Tip: Keep your pencil pressure light so you can easily adjust the proportions if the droid looks a bit too tall or short.
Step 2: Outlining the Side Leg
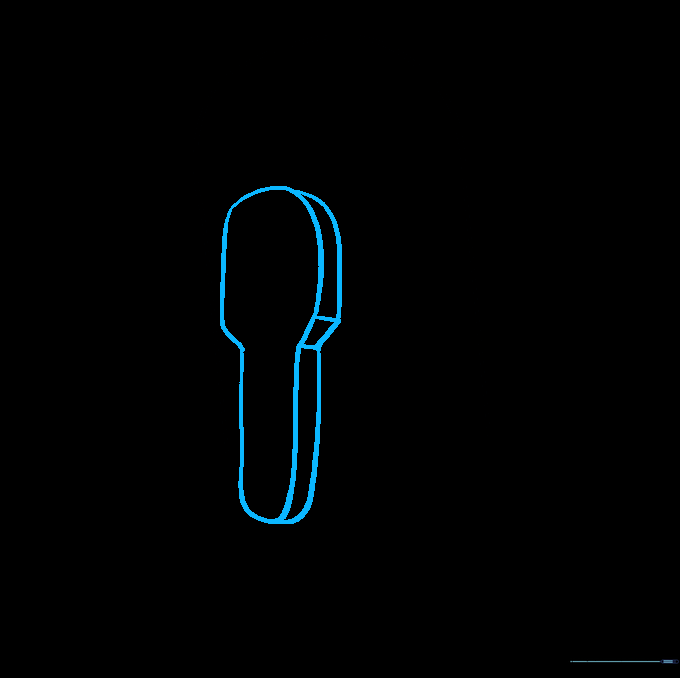
Draw a tall, curved shape on the side that looks like a popsicle stick. Add a parallel line inside to give it a 3D mechanical look. Teacher's Tip: Use a ruler if you struggle with straight lines, but freehand is better for developing steady motor control.
Step 3: Adding Leg Details
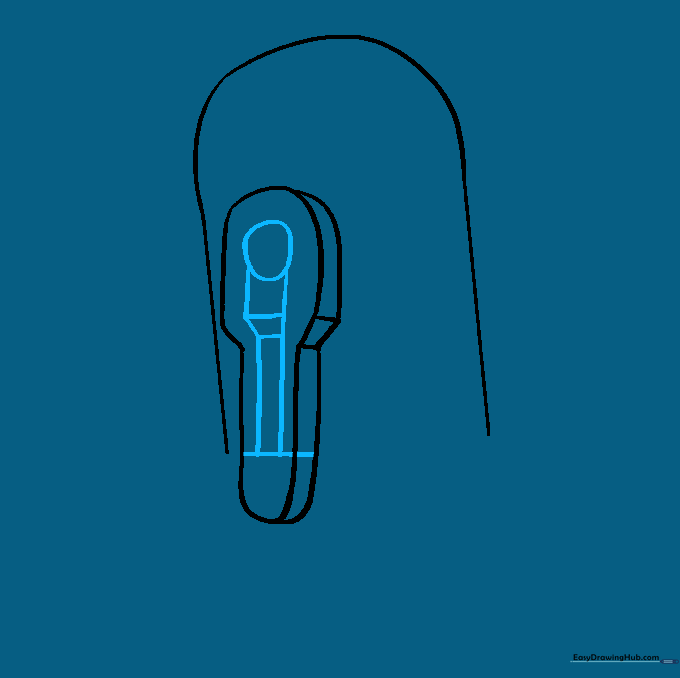
Add a small circle at the top of the leg and a horizontal line at the bottom. Connect them with straight vertical lines. Teacher's Tip: These horizontal lines represent the joints, so keep them evenly spaced to make the robot look symmetrical.
Step 4: Shaping the Foot
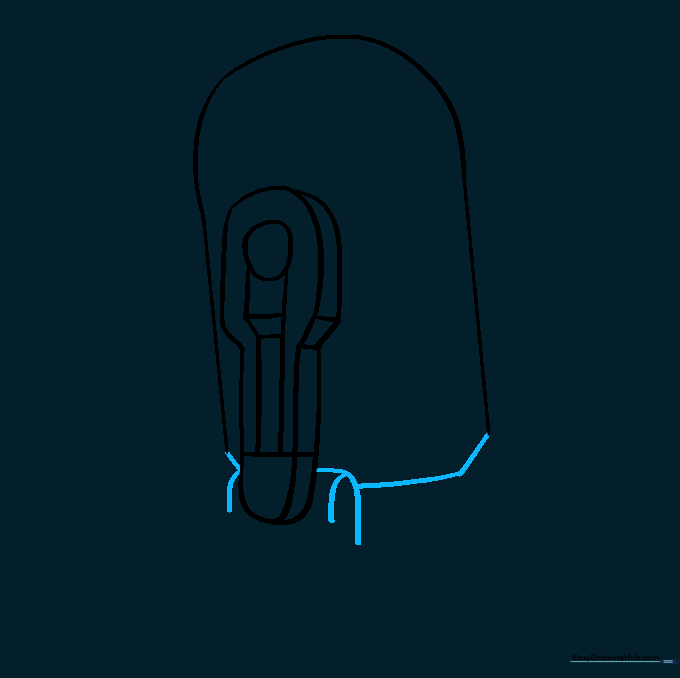
Extend curved lines from the bottom of the leg to create a sturdy foot. Close the bottom of the main body with a straight line. Teacher's Tip: Ensure the foot looks grounded so the droid doesn't look like it's floating.
Step 5: Sketching the Second Foot
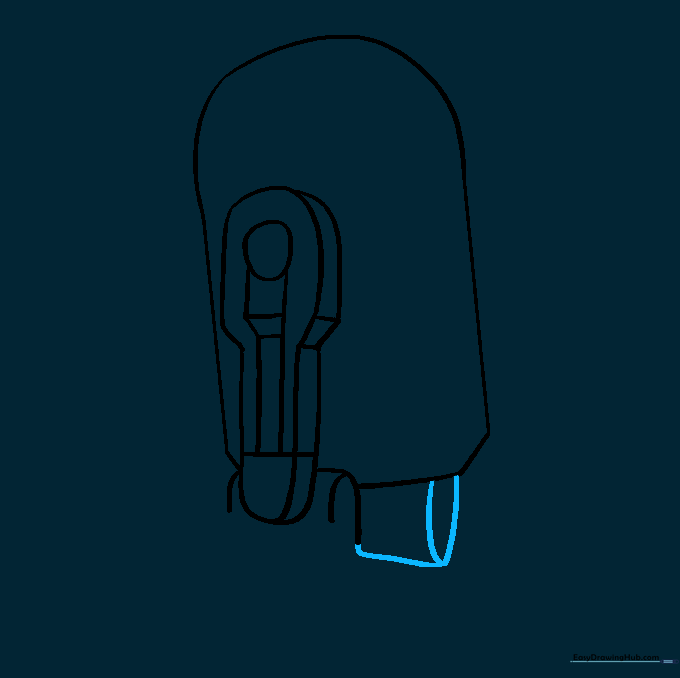
Draw a small oval and a straight line on the other side of the body to start the second foot. Teacher's Tip: Think of this as the 'hidden' leg—it only needs to be partially visible to create the illusion of depth.
Step 6: Detailing the Second Foot
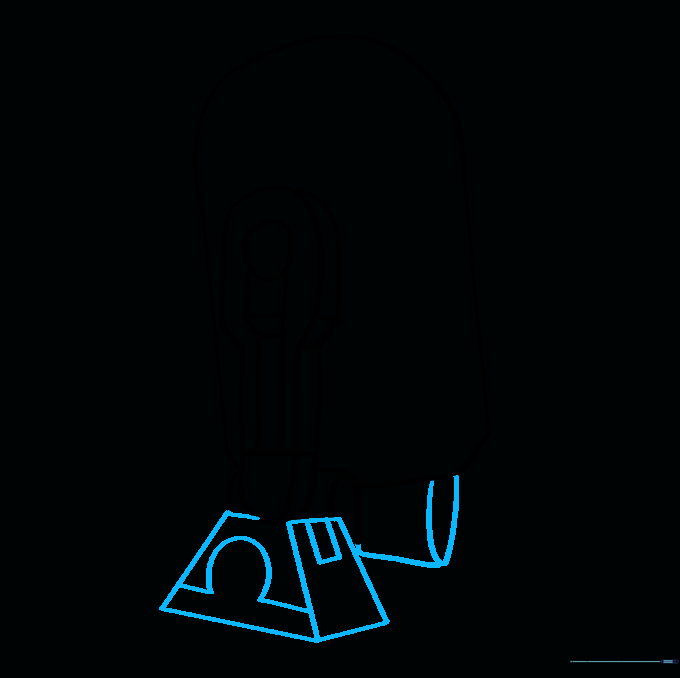
Draw a trapezoid shape for the foot and add small rectangles for the mechanical panels. Teacher's Tip: Use short, sharp strokes to make the mechanical parts look like metal plates.
Step 7: Finalizing the Legs
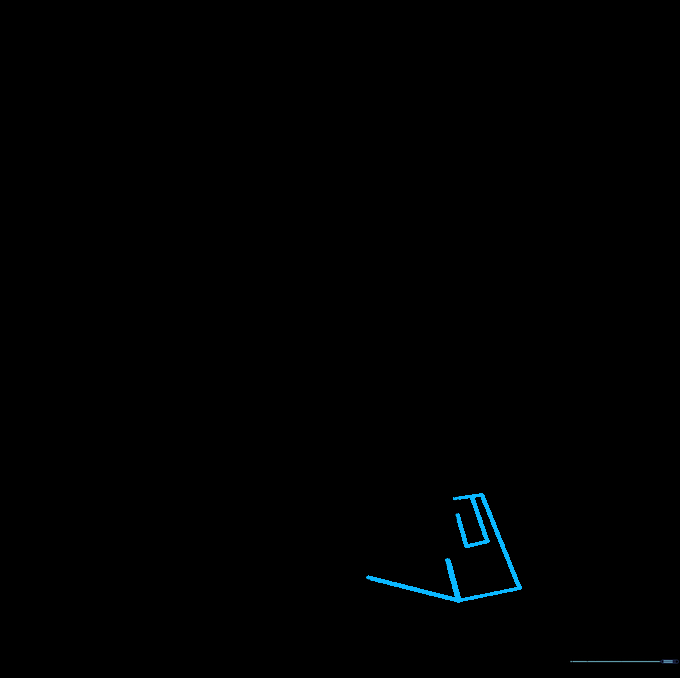
Add the final trapezoid shapes to the remaining leg. Teacher's Tip: Check that your lines are parallel; it makes the robot look much more 'engineered' and realistic.
Step 8: Adding Body Panels
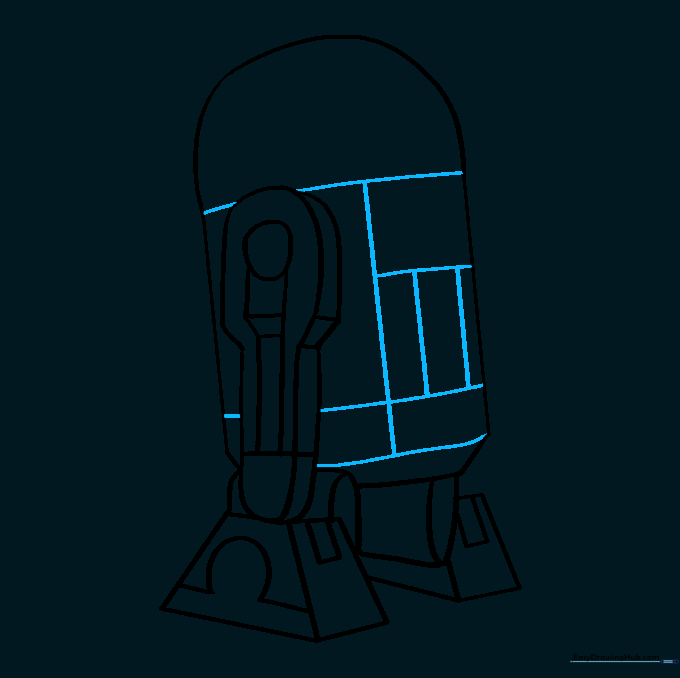
Draw a series of squares and rectangles across the front of the body to represent R2-D2's control panels. Teacher's Tip: Don't worry about making them perfect—R2 is a busy droid with lots of gadgets!
Step 9: Drawing the Head
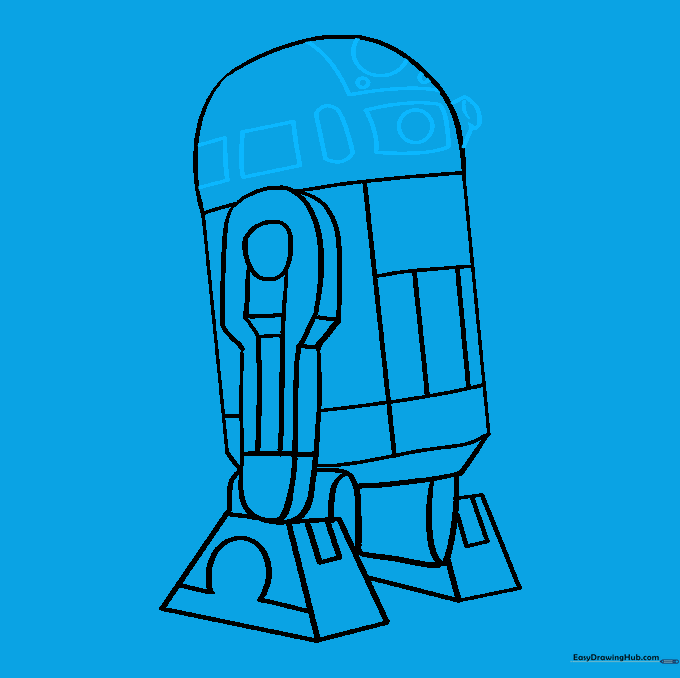
Draw the dome-shaped head with rectangular panels and circles for the lens. Teacher's Tip: The circles are his 'eyes'—make them nice and round to give him personality.
Step 10: Coloring Your Droid
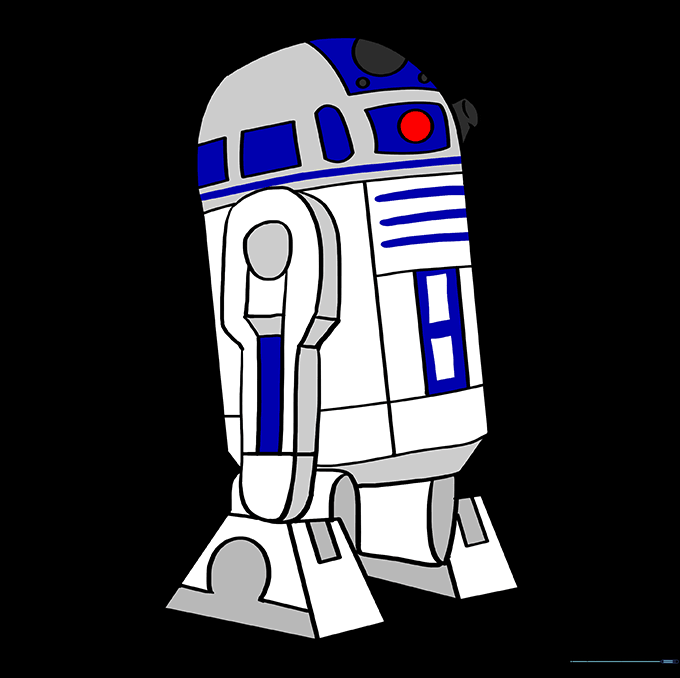
Color your drawing using white for the body, blue for the panels, and a touch of red for the indicator light. Teacher's Tip: Use light blue for shading to give the metal a shiny, reflective look.
More Tutorials


