How to Draw Princess Peach: Easy Step-by-Step Guide
Ready to bring the Mushroom Kingdom to life? This tutorial is perfect for young artists ages 6+ looking to master Princess Peach. You’ll just need a pencil, an eraser, and some colored pencils to capture her iconic royal look while building your sketching confidence.
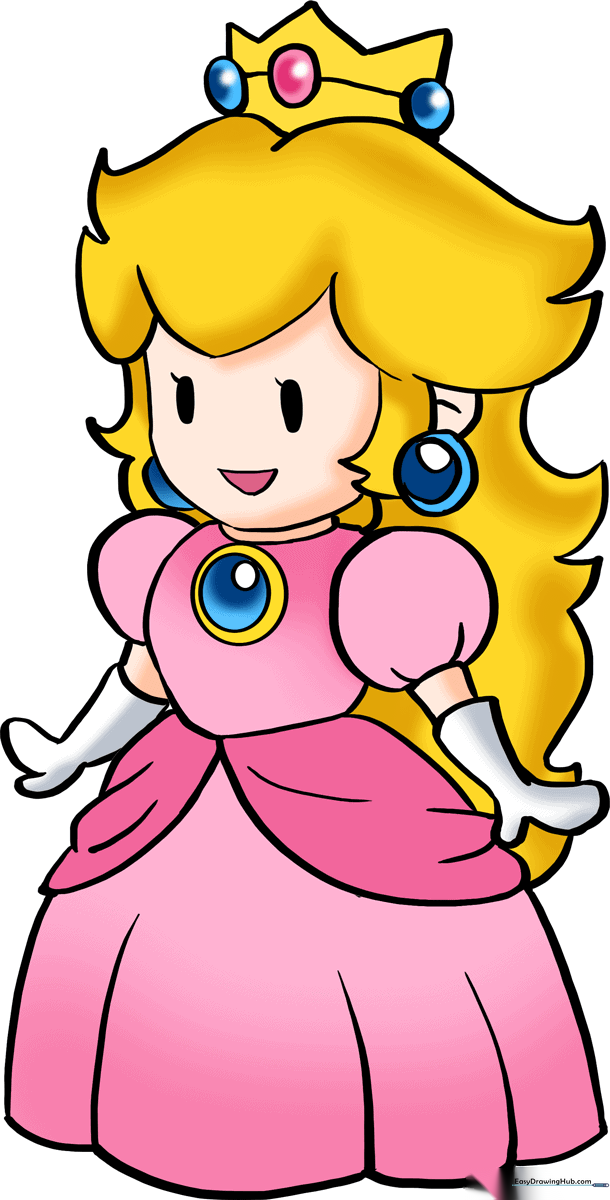
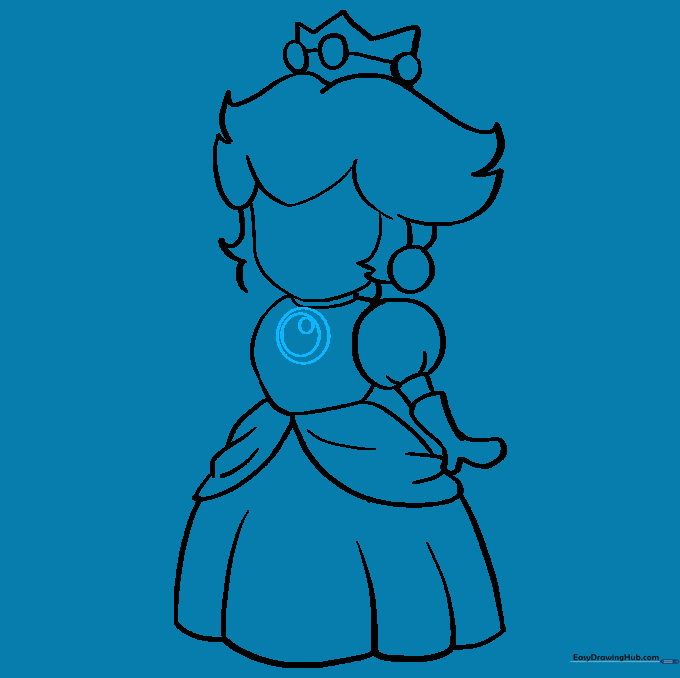
🎯 Final Result
Step-by-Step Instructions
Step 1: Sketching the Face and Hairline

Start with a light, rounded outline for Peach's face. Add a sweeping 'M' shape across the top for her bangs. Teacher's Tip: Keep your pencil pressure very light here so you can easily erase the guidelines later when you add the hair details.
Step 2: Designing the Royal Crown
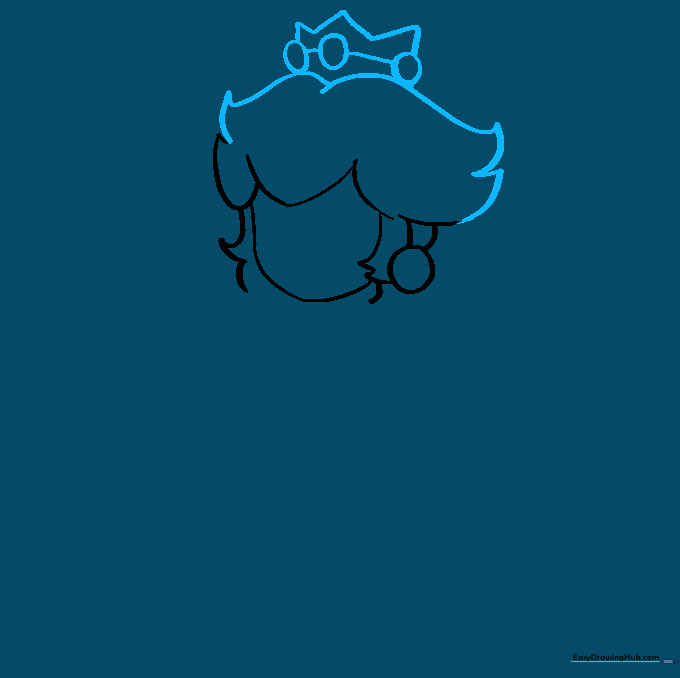
Draw a 'W' shape above her hair to form the base of her crown. Connect it to the hair with short vertical lines. Add small circles along the crown for her jewels. Teacher's Tip: Use a steady hand to keep the crown symmetrical—it's the centerpiece of her royal look!
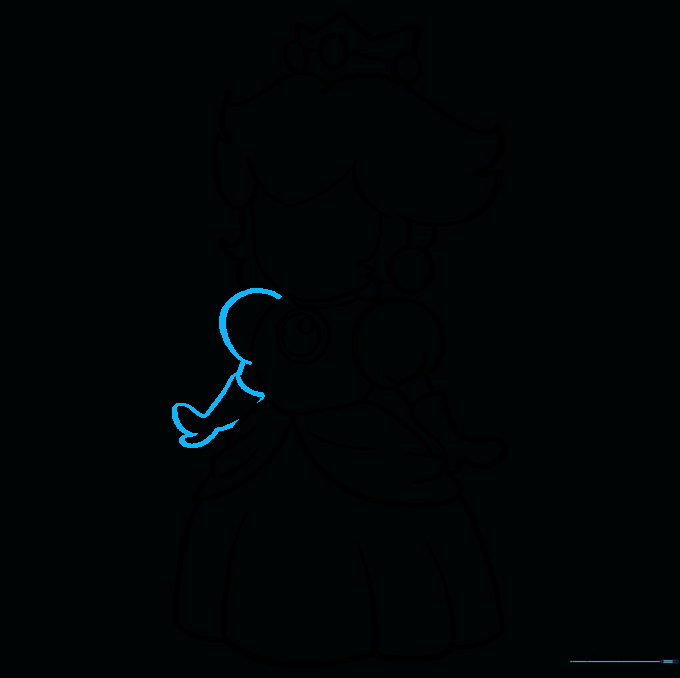
Step 3: Drawing the Puff Sleeve and Arm
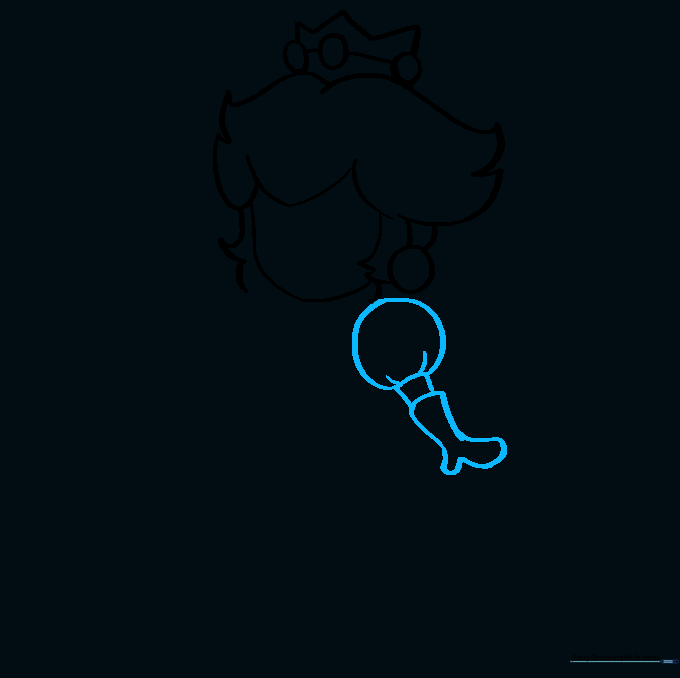
Sketch a rounded, circular shape for her iconic puff sleeve. Add a few small lines at the bottom to show fabric folds, then draw her arm and gloved hand. Teacher's Tip: Focus on the 'puff'—making the circle nice and round gives her that classic princess silhouette.
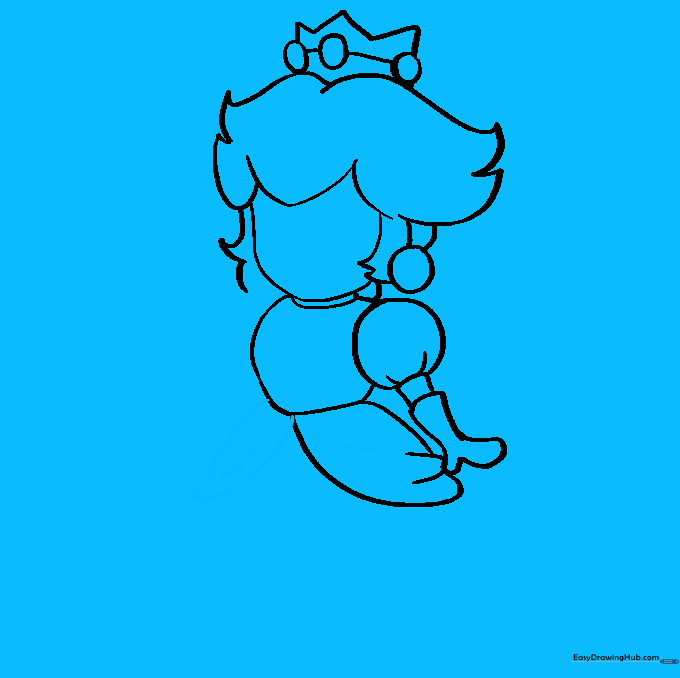
Step 4: Outlining the Torso and Skirt

Draw a curved line for the neck, then define her torso. Add an irregular, overlapping shape for the upper part of her skirt, known as the pannier. Teacher's Tip: Overlapping lines create depth, making the dress look like it has real volume.
Step 5: Balancing the Skirt
Mirror the overlapping lines on the opposite side to complete the skirt's upper structure. Teacher's Tip: Try to keep the size of the skirt sections consistent on both sides to maintain balance in your character drawing.
Step 6: Adding Skirt Folds
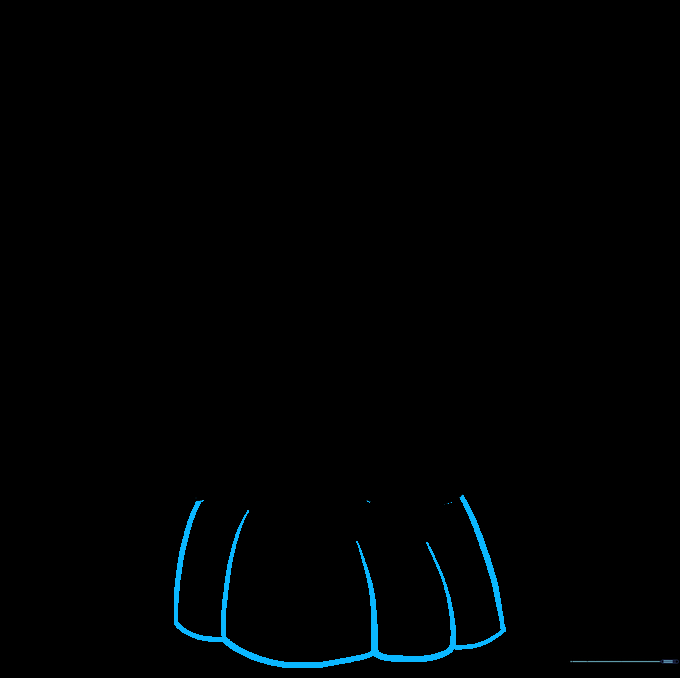
Extend curved lines downward to form the base of the skirt, connecting them with a scalloped edge. Add small lines upward from the scallops to indicate fabric folds. Teacher's Tip: Scalloped lines are great for practicing flowy, organic shapes!
Step 7: Drawing the Necklace
Draw three small, nested circles just below the neckline. Teacher's Tip: Take your time with these circles—they represent her royal pendant and add a nice pop of detail to her outfit.
Step 8: Completing the Second Arm
Repeat the process from Step 3 to draw the other puff sleeve and gloved hand. Teacher's Tip: If you find it tricky, look at your first arm as a reference to keep the size and shape consistent.
Step 9: Final Facial and Hair Details

Draw the long hair flowing down her back, add her earrings, and sketch her eyes and smiling mouth. Add small lashes for expression. Teacher's Tip: Use a sharp pencil for the eyes to keep them expressive and clear.
Step 10: Bringing Peach to Life with Color

Time to color! Use a soft pink for her dress, bright yellow for her hair, and blue for her earrings. Teacher's Tip: Try using light circular motions with your colored pencils to get an even, smooth look on her dress.
More Tutorials


