How to Draw Princess Jasmine: Easy Step-by-Step Guide
Ready to bring Agrabah's princess to life? This tutorial is perfect for young artists ages 7+ looking to master character proportions. All you need is a pencil, an eraser, and a piece of paper to start building your drawing skills.
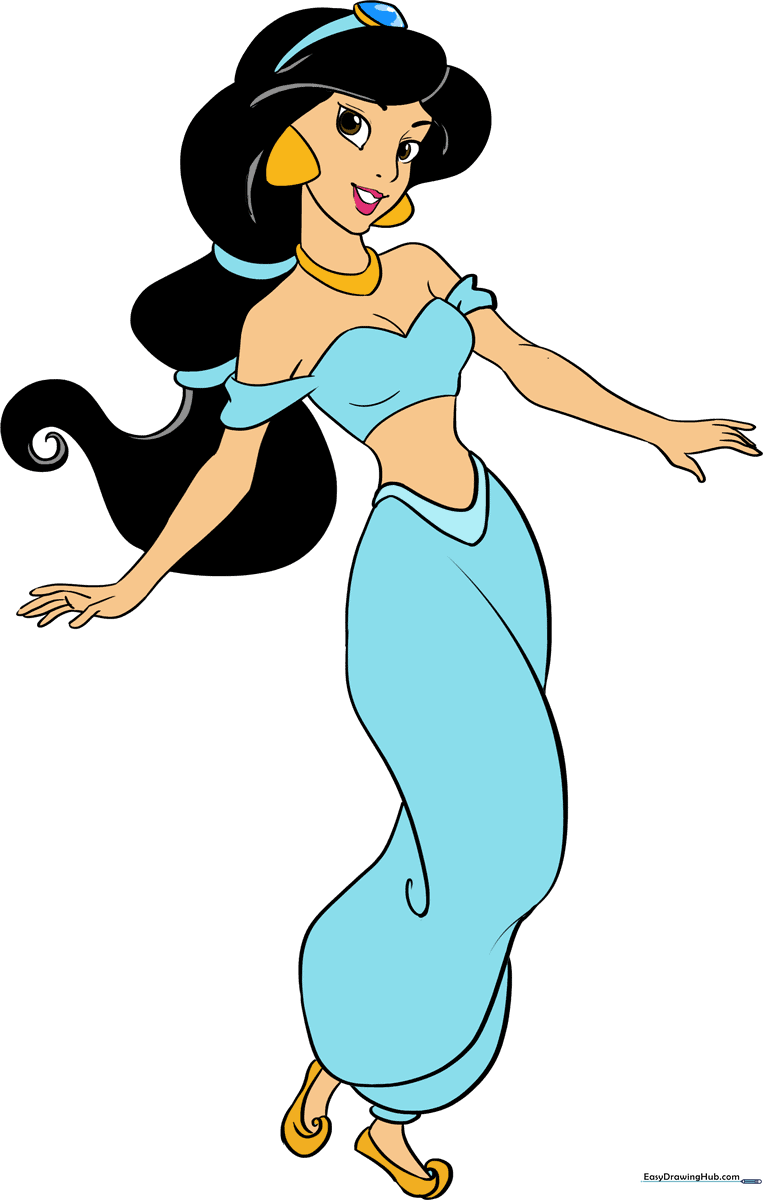
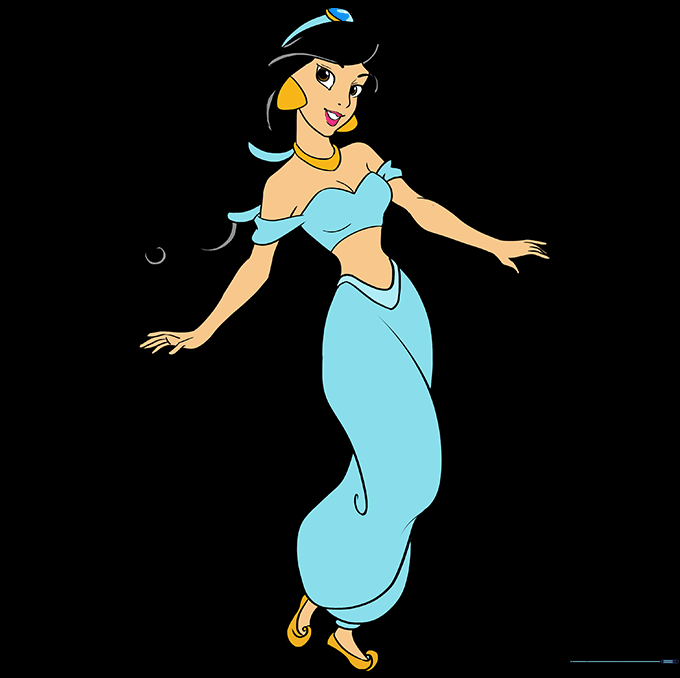
🎯 Final Result
Step-by-Step Instructions
Step 1: Sketching the Face Shape

Start by sketching Jasmine's face. Use soft, curved lines to define her chin and cheek. Teacher's Tip: Keep your pencil pressure light so you can easily adjust the shape if it looks a bit lopsided!
Step 2: Adding the Crown

Draw an irregular shape on top of her head to form the base of her crown, then add a parallel curved line for depth. Finish by drawing two lines that meet at a point. Teacher's Tip: Think of the crown as a headband that sits comfortably on her hair.
Step 3: Neck and Shoulders

Use long, sweeping lines to draw her hair, then extend two vertical lines for the neck. Add a curved necklace and trace the top of her shoulders. Teacher's Tip: Make sure the neck isn't too thick—keep it graceful to match her character design.
Step 4: Drawing the Arms
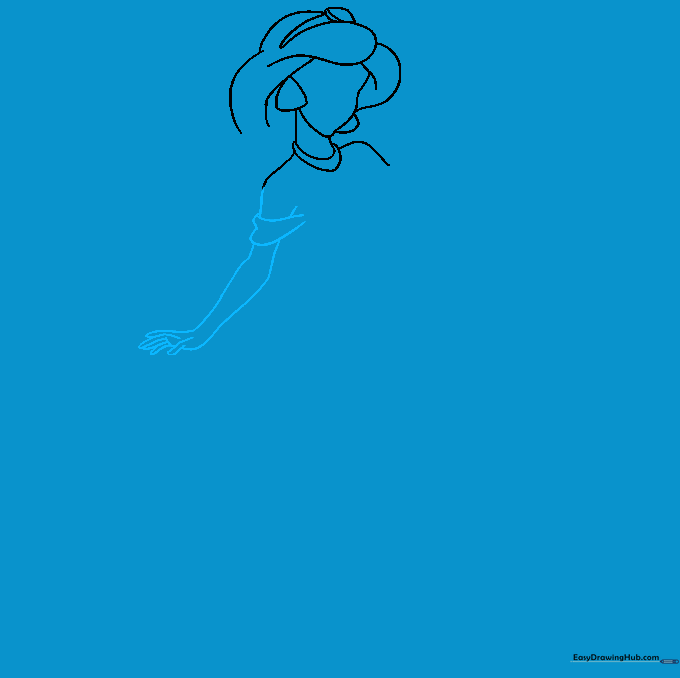
Sketch the sleeve using an incomplete heart shape, then draw the arm and hand. Teacher's Tip: Hands are tricky! Focus on the overall shape of the hand first before trying to define individual fingers.
Step 5: Defining the Waist

Draw a rounded 'M' shape for the top of her garment, then bring two lines inward to define her waist. Teacher's Tip: A smaller waist helps emphasize the flowy, loose nature of her pants later on.
Step 6: The Second Arm

Repeat the sleeve and arm process on the other side. Ensure the arm curves naturally at the elbow and wrist. Teacher's Tip: Try to mirror the length of the first arm to keep her proportions balanced.
Step 7: Drawing the Pants

Use 'U' shaped lines for the top of the pants, then add overlapping curves to create the look of flowing fabric. Teacher's Tip: Don't worry about making the lines perfect; fabric is naturally loose and wavy!
Step 8: Hair and Slippers
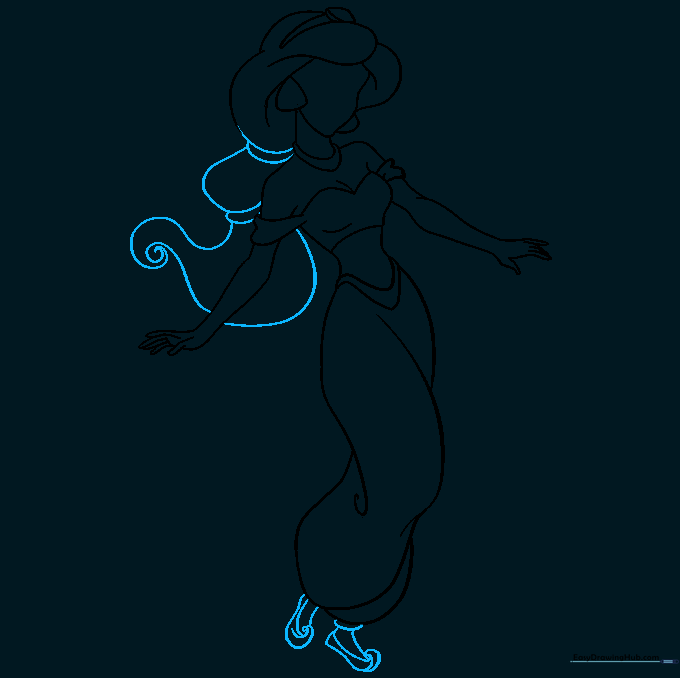
Add more volume to her hair with spiral-shaped lines, then draw her slippers with pointed, curled toes. Teacher's Tip: The curled toes on the slippers are a signature detail—make them nice and pointy!
Step 9: Facial Features
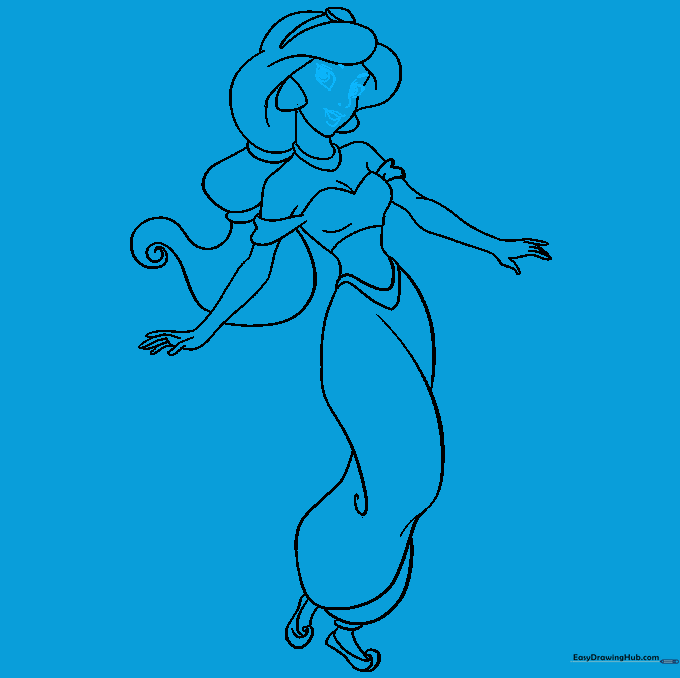
Carefully sketch her eyes, brows, nose, and mouth. Shade the pupils to give her expression life. Teacher's Tip: Use a sharp pencil for the eyes to keep the lines clean and expressive.
Step 10: Bring Her to Life with Color
Time to color! Use deep black for her hair and vibrant blues for her outfit. Teacher's Tip: If using markers, color in one direction to keep the texture smooth and professional-looking.
More Tutorials


