How to Draw Princess Celestia: Easy 9-Step Pony Guide
Bring the ruler of Equestria to life with this step-by-step drawing guide, perfect for young fans ages 7+. You will need a pencil, an eraser, and your favorite coloring markers to complete this magical portrait. Follow along to master the elegant proportions of Princess Celestia's mane and wings.
🎯 Final Result

Step-by-Step Instructions
Sketching the Face and Eye
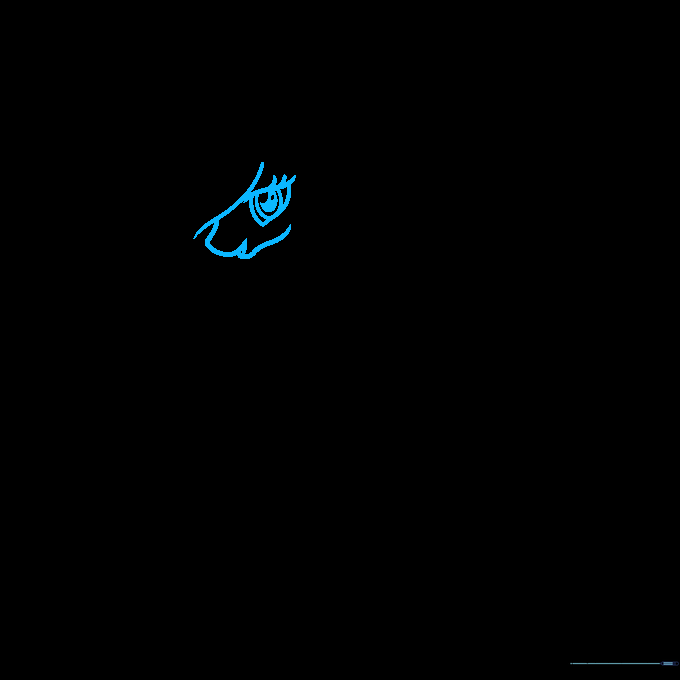
Start by drawing the pony's face using soft, curved lines for the snout and mane. For the eye, draw a large triangle and add smaller ovals inside for the pupil. Teacher's Tip: Keep your pencil pressure light so you can easily erase any stray lines later!
Adding the Horn and Crown
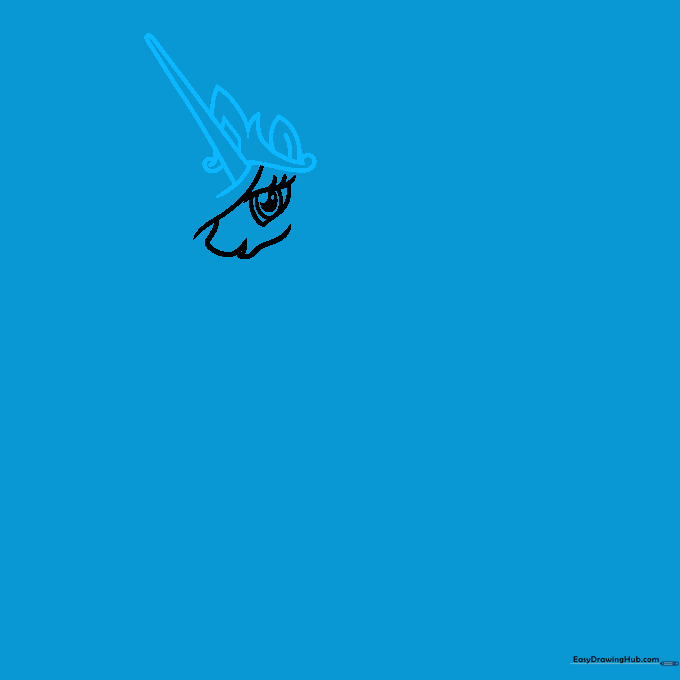
Draw a narrow triangle on the forehead for the unicorn horn. Surround it with curved lines to form the base of her crown and the start of her flowing mane. Tip: Make the horn slightly tilted to give your pony a dynamic, regal look.
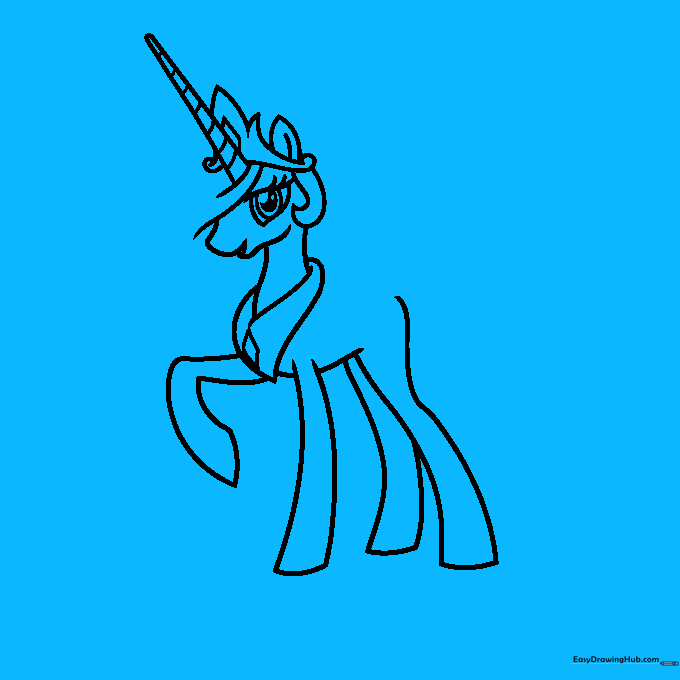
Defining the Neck and Collar
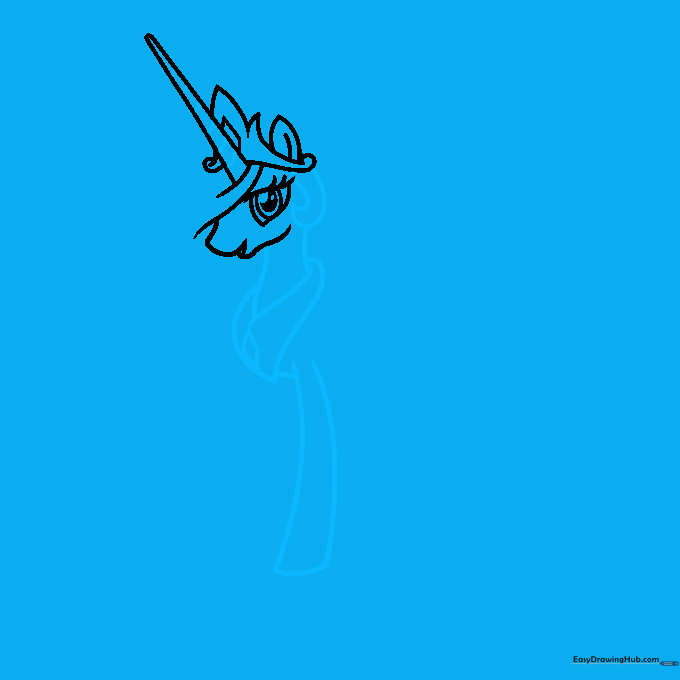
Create the neck using two smooth, parallel curves. Add the triangular collar at the base and sketch a small diamond shape in the center for her gemstone. Tip: Ensure the neck is long and graceful to match Celestia's elegant character design.
Sketching the Legs and Belly
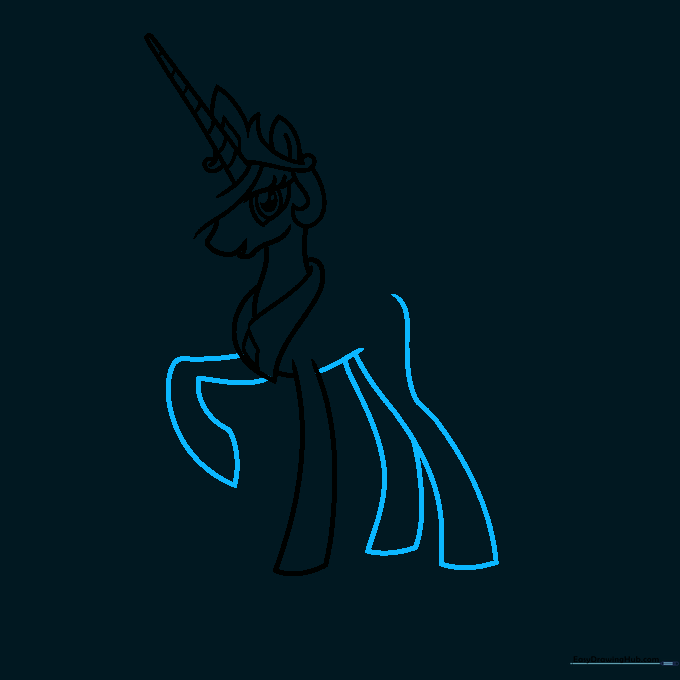
Draw the legs using two long lines for each, connecting them at the bottom with a flat line for the hoof. Connect the legs with a gentle curve to form the belly. Tip: Try to keep the legs slender to maintain the cartoon aesthetic.
Drawing the First Wing
Add the pegasus wing by drawing a long, sweeping curve for the top edge. Fill the wing with 'U' shaped lines to represent individual feathers. Tip: Start your 'U' shapes from the bottom and work your way up for a layered effect.
Adding the Second Wing
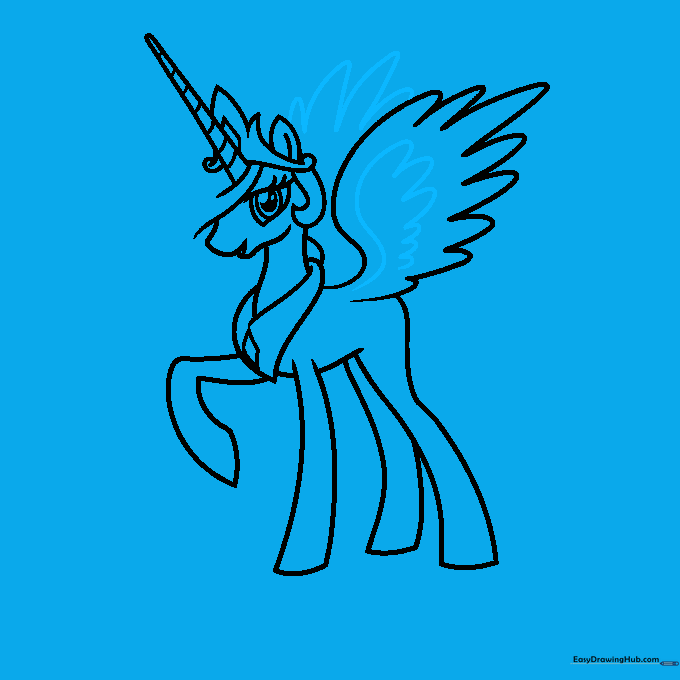
Draw the second wing behind the first, using the same 'U' shaped feather pattern. This creates depth and makes your drawing look 3D. Tip: Make the second wing slightly smaller to show it is further away.
Flowing Mane and Tail
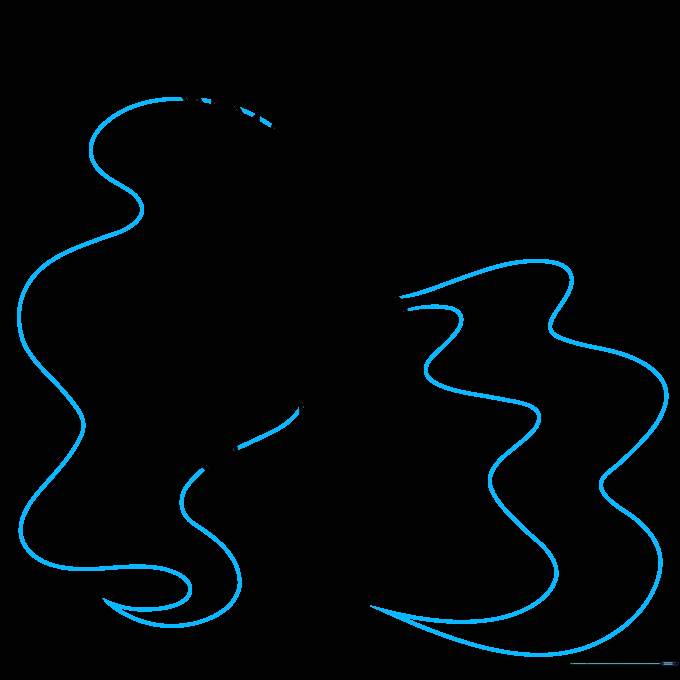
Sketch the long, flowing mane and tail using large, sweeping curves that taper to sharp points. These should look like they are blowing in the wind. Tip: Don't worry about making them perfect; flowing hair looks best when it's loose and organic.
Adding Texture and Details
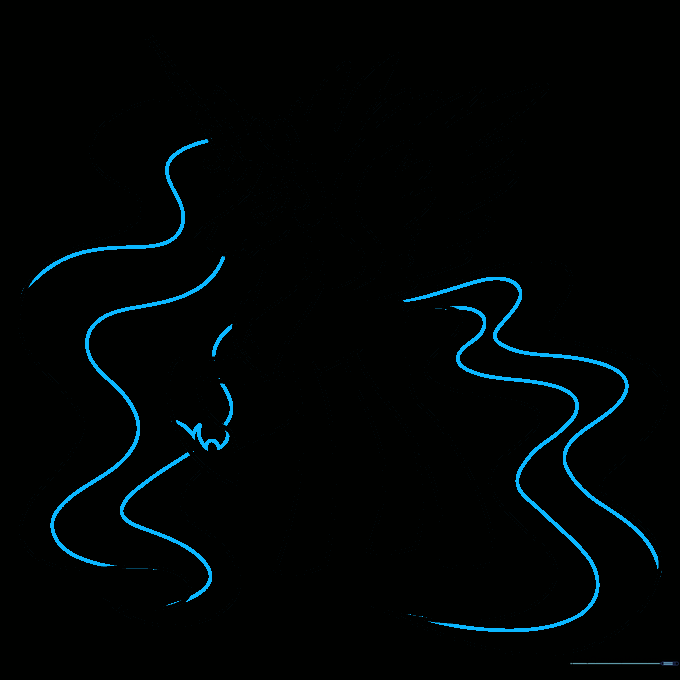
Add wavy lines inside the mane and tail to show texture. Add small curved lines at the base of the hooves to define them. Tip: Use a thinner pen or pencil for these details to make them stand out from the main outline.
Final Touches: The Sun Cutie Mark
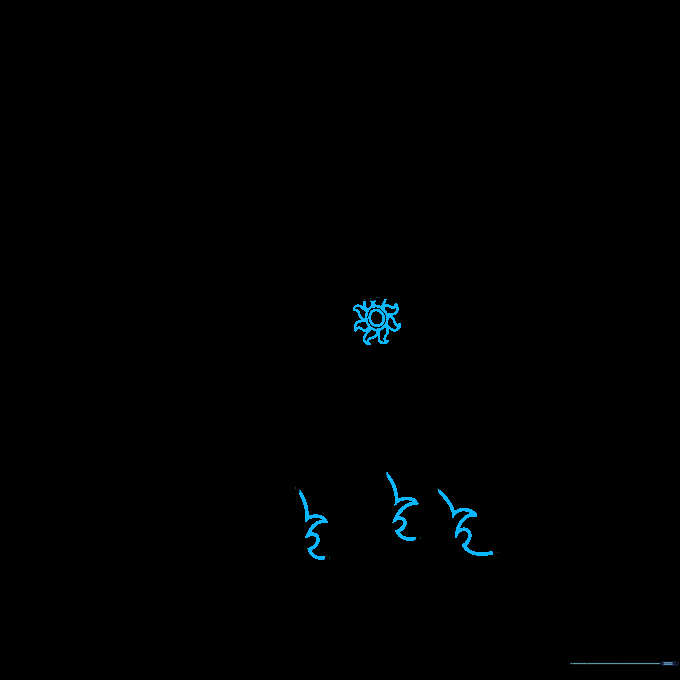
Finish your outline by drawing the sun symbol on her hip—a circle with rays extending outward. Tip: Use a small circular object as a stencil if you find it hard to draw a perfect circle freehand!
Coloring Your Masterpiece
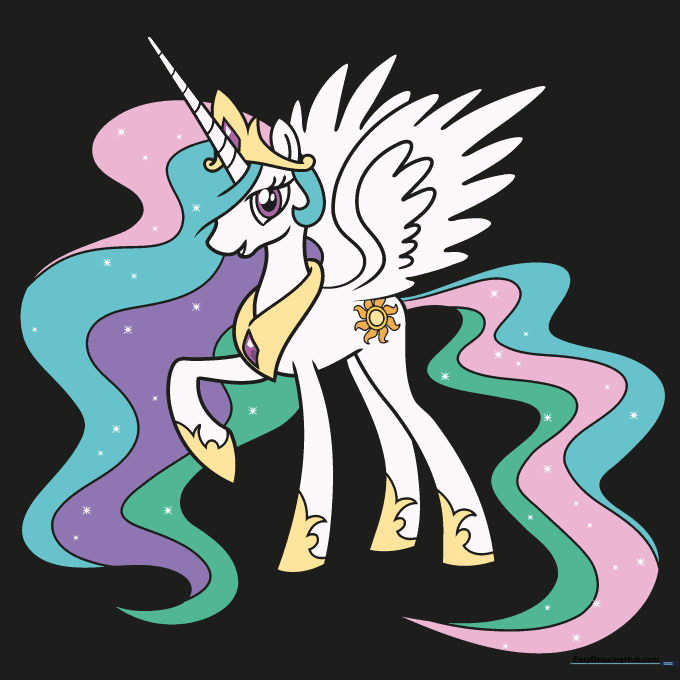
Bring your drawing to life with color! Use white for the body, yellow for the crown, and a vibrant mix of pink, purple, and blue for the mane and tail. Tip: Use light, circular motions with your colored pencils for a smooth, even finish.
More Tutorials


