How to Draw Prince Charming: Easy 9-Step Fairy Tale Guide
Bring a classic fairy tale hero to life with this easy-to-follow drawing tutorial. Designed for young artists and beginners, this activity helps develop fine motor skills and character proportion techniques. All you need is a pencil, an eraser, and a piece of paper to get started.
🎯 Final Result

Step-by-Step Instructions
Step 1: Sketching the Face

Start by lightly sketching the outline of the face. Add the eyes, nose, and mouth using simple curved lines. Teacher's Tip: Keep your pencil pressure light so you can easily adjust the facial features if they aren't perfectly symmetrical on the first try.
Step 2: Defining the Hair and Brows
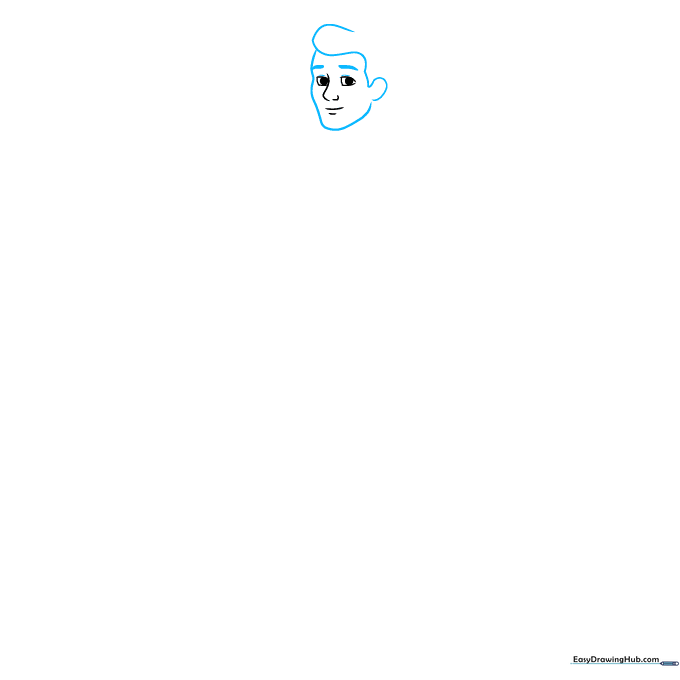
Use long, flowing curved lines to trace the shape of the face, ear, and hair. Add thick, bold eyebrows above the eyes to give him a friendly expression. Teacher's Tip: Use short, quick strokes for the hair to make it look more natural and textured.
Step 3: Adding the Collar and Shoulders

Complete the hair, then draw two curved lines for the neck. Add a curved rectangle for the collar and irregular shapes for the shoulder pads. Teacher's Tip: Ensure the shoulder pads look balanced on both sides to keep the character's posture upright.
Step 4: Detailing the Tunic

Add detail to the shoulder pads with a small oval. Create a scalloped pattern for the tassels, then sketch the torso and arm. Teacher's Tip: Use a ruler if you struggle with straight lines, but try freehand to build better hand control.
Step 5: Drawing the Hands
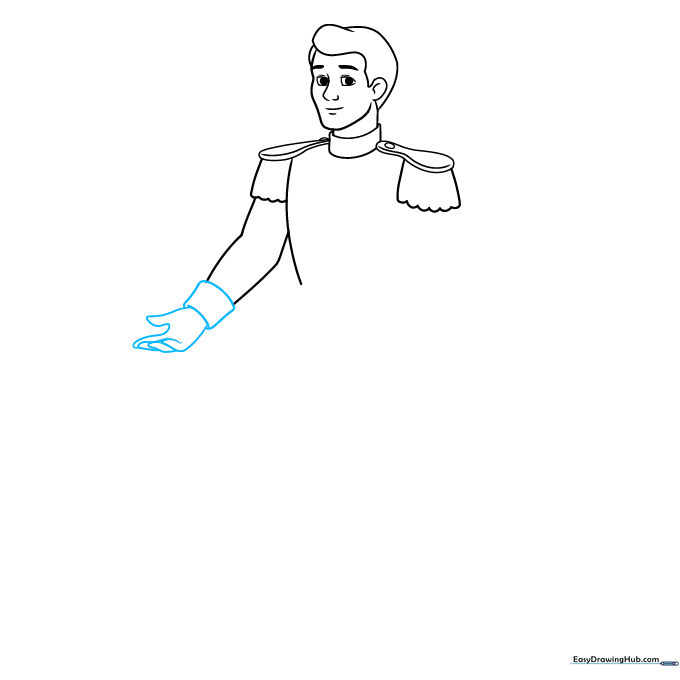
Draw the rectangular cuff and use overlapping curved lines to form the hand and fingers. Teacher's Tip: Hands can be tricky! Focus on drawing the thumb first, then add the fingers as smaller, rounded shapes.
Step 6: Completing the Arms
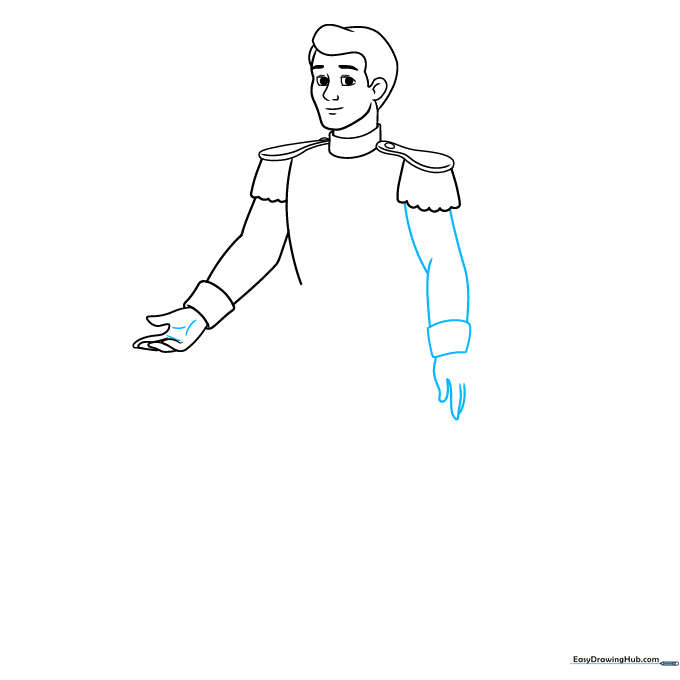
Add detail to the palm and draw the second arm and hand. Ensure the lines overlap at the elbow to create a sense of depth. Teacher's Tip: Overlapping lines are a great way to show that one part of the body is in front of another.
Step 7: Adding the Belt and Tunic
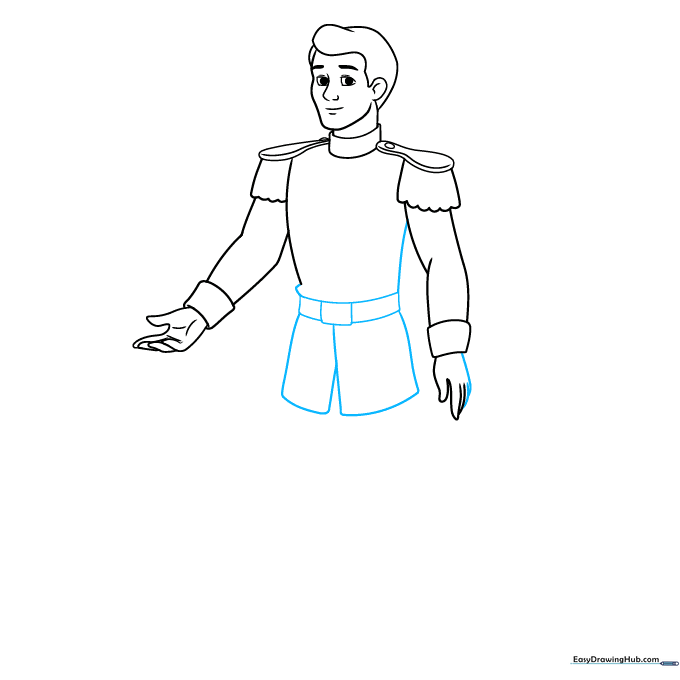
Draw the rectangular belt, buckle, and the folds of the tunic. Finish the top of the tunic and hand. Teacher's Tip: Adding small folds near the belt makes the clothing look like real fabric.
Step 8: Sketching the Legs and Boots
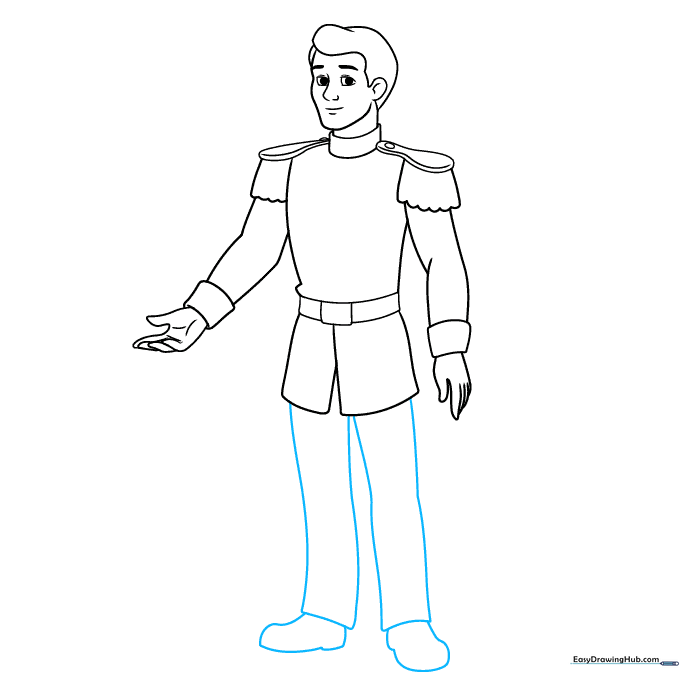
Extend long lines to form the legs and enclose the shapes of the boots at the bottom. Teacher's Tip: Keep the legs slightly wider at the top and narrower at the ankles to give the character a natural, realistic shape.
Step 9: Final Details and Texture
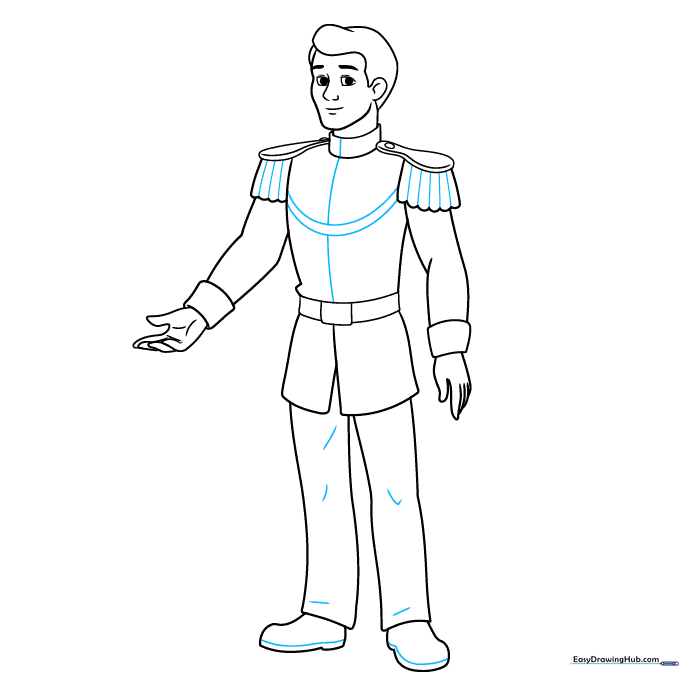
Add vertical lines to the tunic, draw the decorative chest chain, and add texture to the pants and boot soles. Teacher's Tip: Use a darker pencil for these final details to make them pop against the rest of your drawing.
Step 10: Bring Him to Life with Color
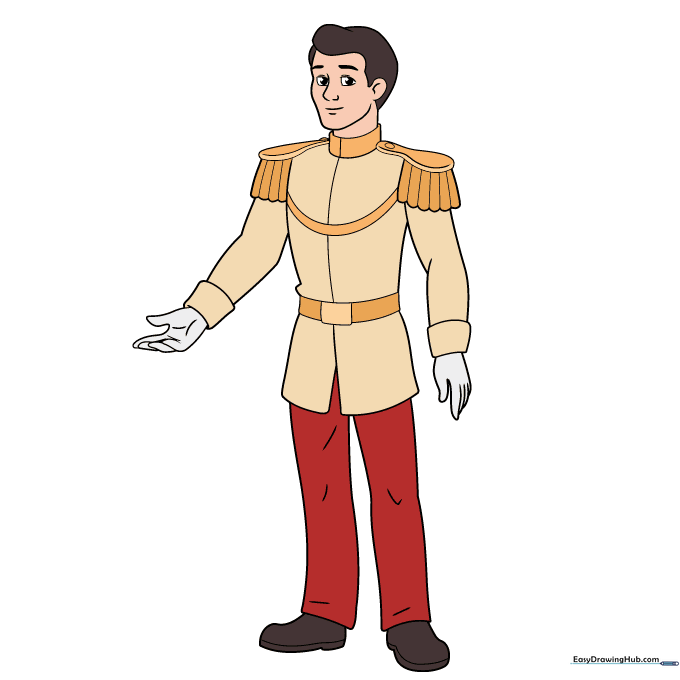
Your outline is complete! Use cream for the tunic, gold for the trim, and red for the pants to give your Prince Charming his classic look. Teacher's Tip: Try using colored pencils and layering light colors first to create a smooth, professional finish.
More Tutorials


