How to Draw a Porg: Easy 10-Step Star Wars Art Guide
Bring a piece of Ahch-To home with this Porg drawing tutorial, designed specifically for young Star Wars fans and budding artists. All you need is a pencil, an eraser, and a piece of paper to get started. By the end of this lesson, you will have mastered the proportions of this iconic creature while practicing your smooth, curved line work.
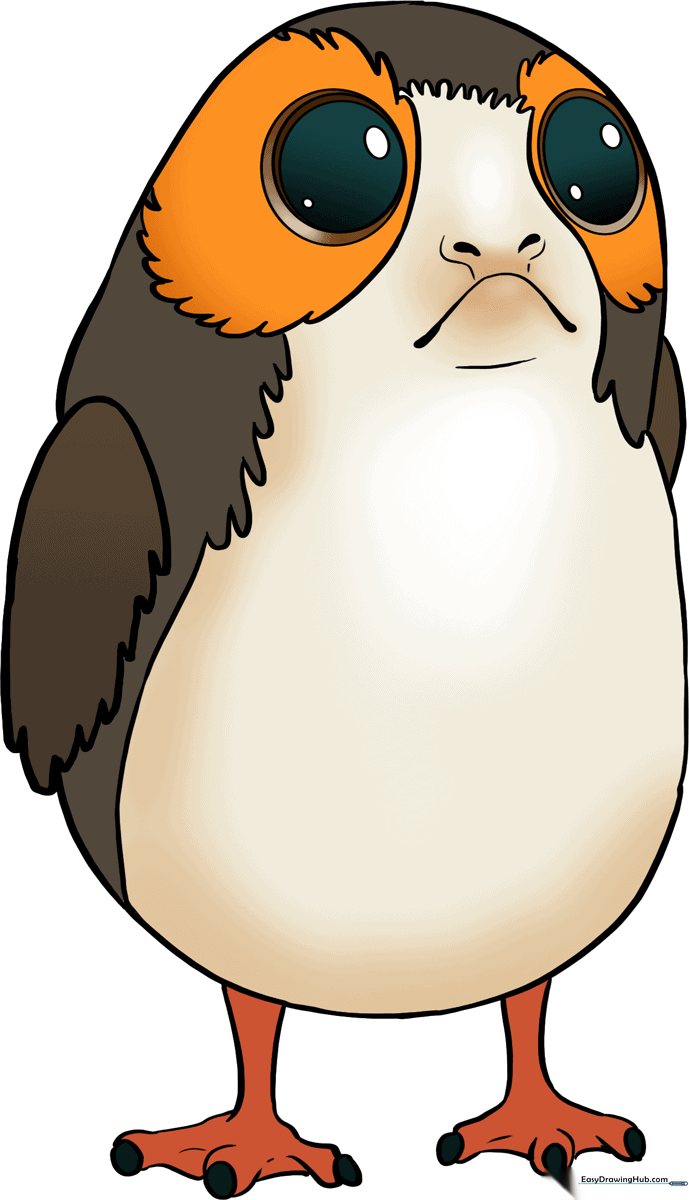
🎯 Final Result
Step-by-Step Instructions
Step 1: Sketching the Head and Wing Base

Start by drawing two overlapping curved lines, one significantly longer than the other. Teacher's Tip: Think of this as the 'bean' shape of the head and the folded wing. Keep your lines loose and fluid.
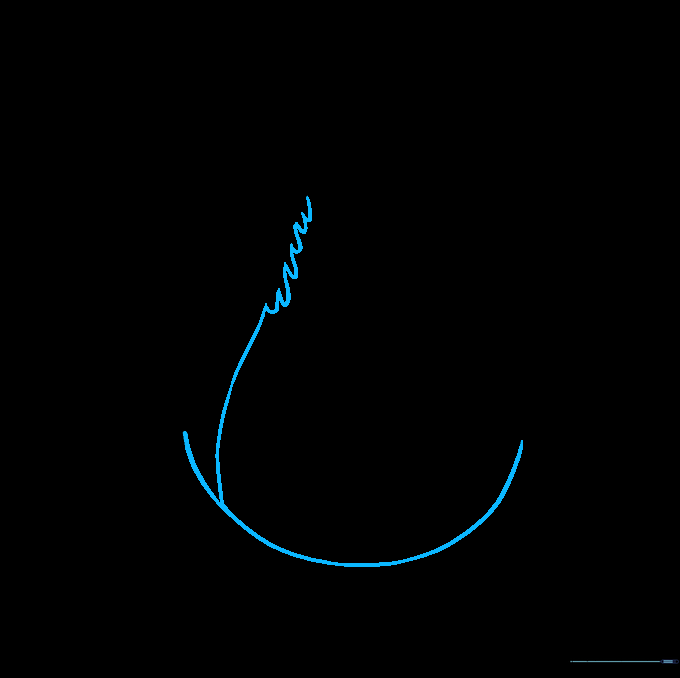
Step 2: Defining the Wing
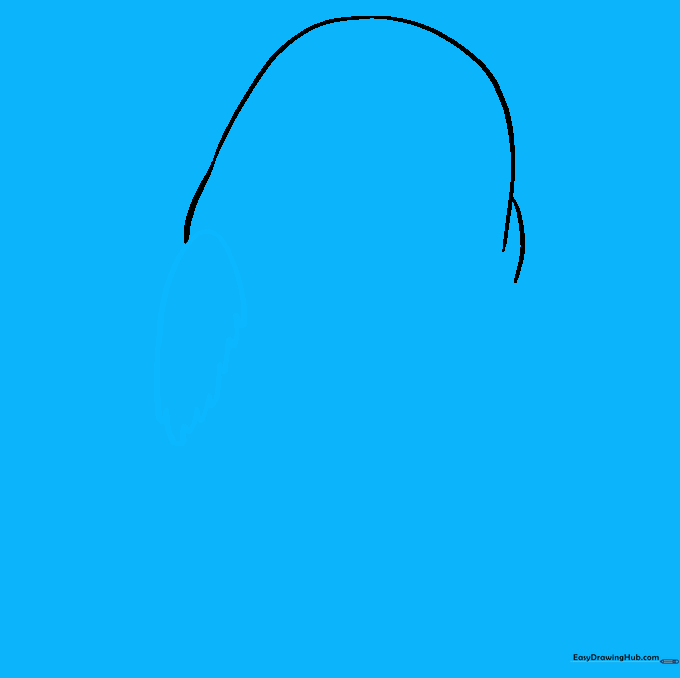
Draw a long, sweeping curve for the top of the wing, then use short, rhythmic 'scalloped' lines to create the feathery texture at the tip. Tip: Use quick, confident strokes to make the feathers look soft rather than sharp.
Step 3: Creating the Eye Patch
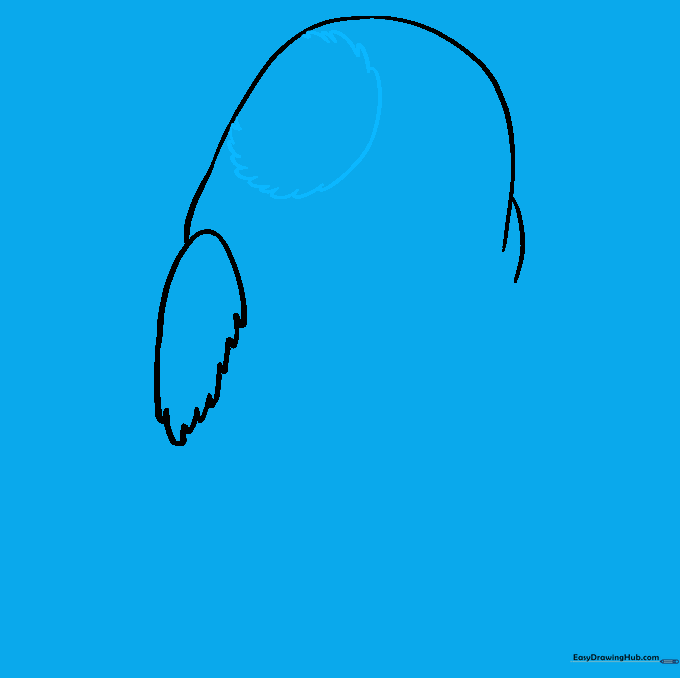
Enclose a circular shape on the side of the head using a series of connected, soft curves. This is the Porg's distinctive eye patch. Tip: Imagine you are drawing a small, fluffy cloud around where the eye will go.
Step 4: Shaping the Belly and Markings
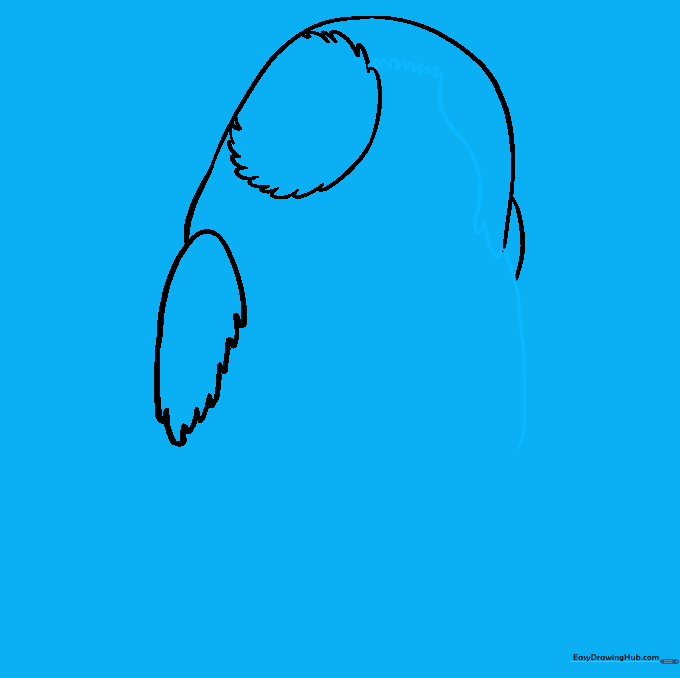
Extend a series of 'U' shaped lines downward from the eye patch to suggest facial feathers, then draw a long, sweeping curve to define the belly. Tip: Keep the belly curve wide to give the Porg its signature chubby, cute appearance.
Step 5: Adding Facial Features
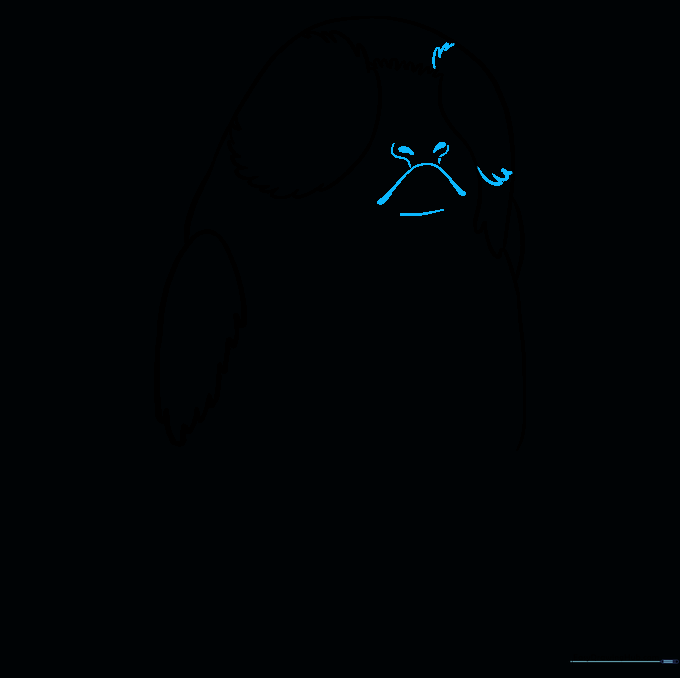
Complete the second eye patch, then draw a wide, inverted 'U' for the mouth. Add small, delicate curves for the nose and chin. Tip: Use a light touch for the nose; it should look like a small, gentle button.
Step 6: Completing the Body Outline
Use a smooth, semi-circular line to close the bottom of the body. Add a few more curved lines to separate the darker side feathers from the lighter belly. Tip: Vary the pressure of your pencil to make the transition look natural.
Step 7: Drawing the First Foot
Extend two curved lines from the body for the leg, then draw small ovals for the claws. Connect them with webbed lines. Tip: Porg feet are small and stubby, so keep your shapes compact.
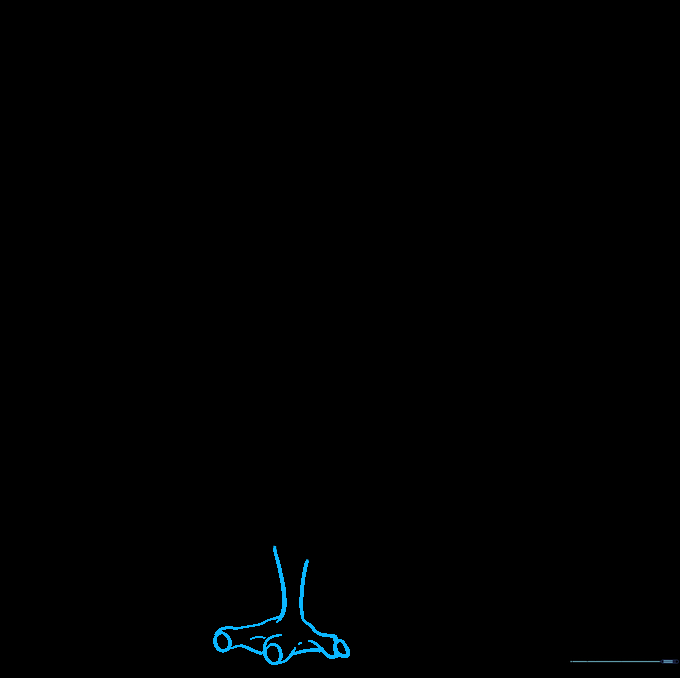
Step 8: Adding the Second Foot

Repeat the process from Step 7 to draw the second foot. Ensure it is positioned slightly behind the first to create a sense of depth. Tip: Check that both feet are roughly the same size for balance.
Step 9: Drawing the Inquisitive Eyes

Draw large, circular eyes with a smaller circle inside for the pupil. Add two tiny white circles inside the pupil to create a 'sparkle' effect. Tip: The sparkle is what makes the Porg look alive and curious!
Step 10: Bringing Your Porg to Life with Color
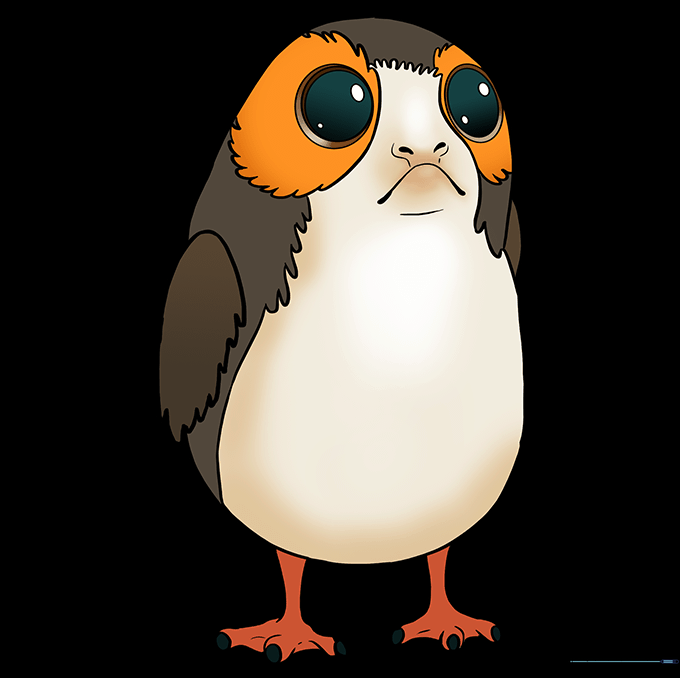
Time to color! Use warm browns and tans for the body. If you're drawing a male Porg, add vibrant orange markings around the eyes. Tip: Use light, circular motions with your colored pencils to create a soft, fuzzy texture.
More Tutorials


