How to Draw Poppy from Trolls: Easy 10-Step Guide
Bring the cheerful spirit of Trolls to life with this step-by-step drawing guide, perfect for young artists ages 6 and up. All you need is a pencil, an eraser, and some paper to start sketching your favorite queen. Follow along to develop your character-drawing confidence and create a vibrant, finished portrait.
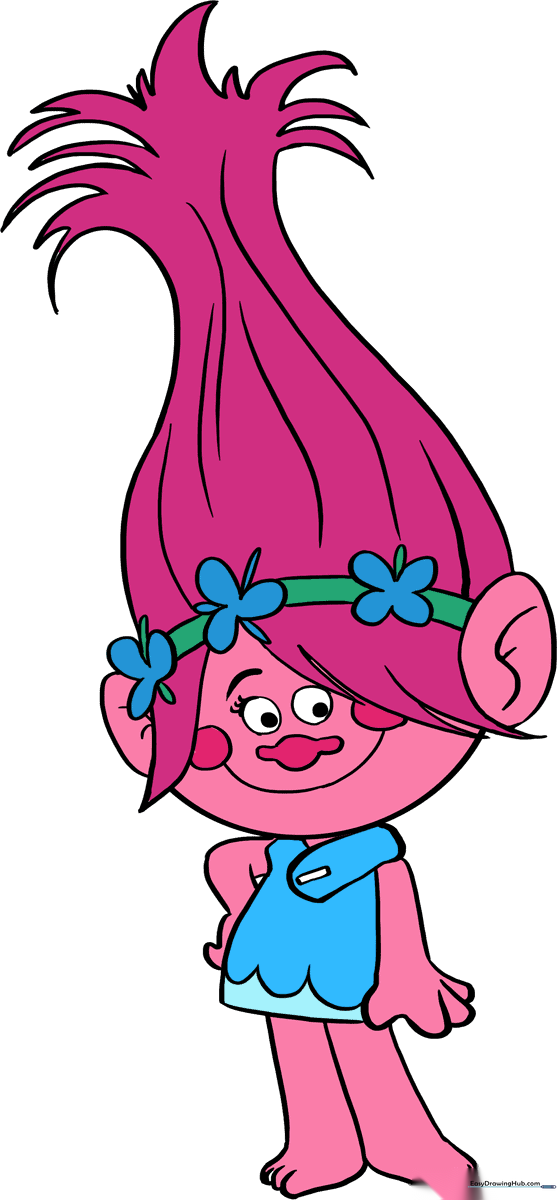
🎯 Final Result
Step-by-Step Instructions
Step 1: Sketching the Head Base

Draw a light circle to serve as the foundation for Poppy's head. Teacher's Tip: Keep your pencil pressure very light here so you can easily erase these guide lines later once the facial features are in place.
Step 2: Shaping Hair and Ears

Sketch the hair falling across her forehead using curved lines that meet at sharp points, creating an inverted V-shape. Add the ears on either side using ovals that overlap the head circle. Tip: Use short, quick strokes to make the hair look soft and natural.
Step 3: Refining the Head Shape

Carefully erase the guide lines from the top of the head circle that are now covered by the hair. Tip: Use a clean eraser and gentle circular motions to avoid smudging your paper.
Step 4: Drawing the Iconic Hair

Extend long, curved lines upward from the head to create Poppy's signature tall hair. Connect them with shorter, jagged lines to give it that fun, textured look. Tip: Don't worry about making it perfectly symmetrical—Troll hair is meant to be wild and bouncy!
Step 5: Adding the Floral Headband

Draw small 'C' shaped petals to form flowers across her hair. Add narrow shapes between petals for sepals, then connect them to the ears with pairs of lines. Tip: Vary the size of your flowers slightly to make the headband look more realistic.
Step 6: Sketching the Torso

Draw a rounded rectangle for the shoulder area, then extend curved lines downward for the arm. Use small 'U' shapes to define her fingers. Tip: Keep the arm lines fluid to give Poppy a friendly, relaxed posture.
Step 7: Adding the Second Arm
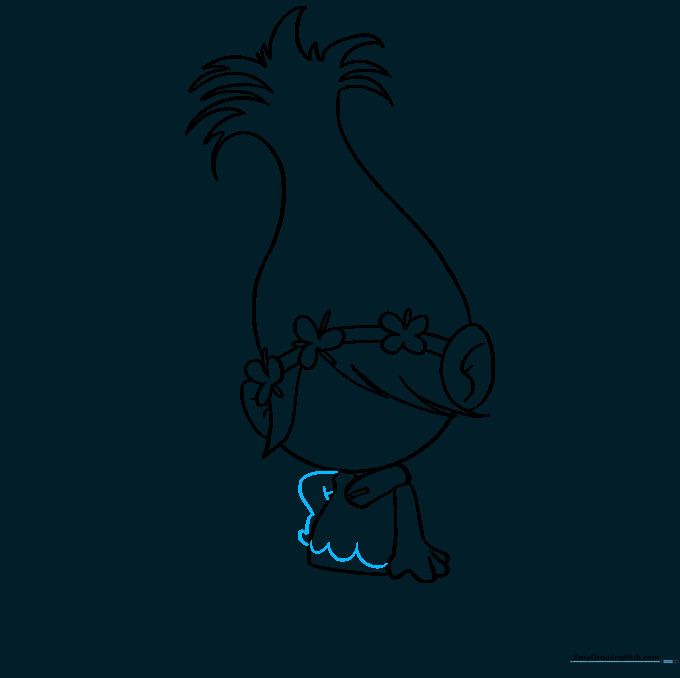
Outline the second arm bent at the elbow with her hand resting on her hip. Finish the shirt hem with a scalloped line. Tip: The scalloped line adds a nice 'dress' detail that makes the character look finished.
Step 8: Drawing the Legs

Extend three lines from the torso to form the legs and feet. Use curved lines to show the toes. Tip: Focus on the overlap of the toes to give the feet a more three-dimensional appearance.
Step 9: Facial Features
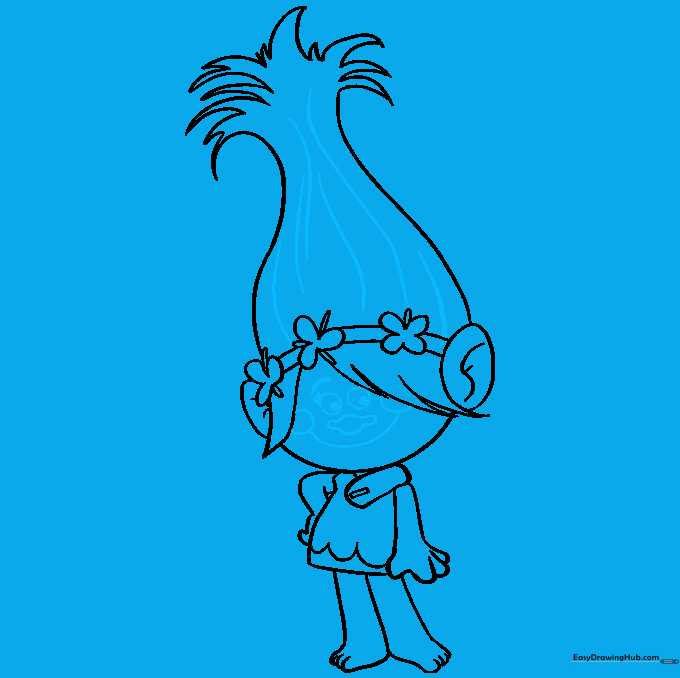
Add the eyes by shading a small circle inside a larger one. Draw the nose, eyelashes, and a wide, happy smile. Tip: Place the eyes slightly lower than the center of the head to give her that cute, youthful look.
Step 10: Bringing Poppy to Life with Color
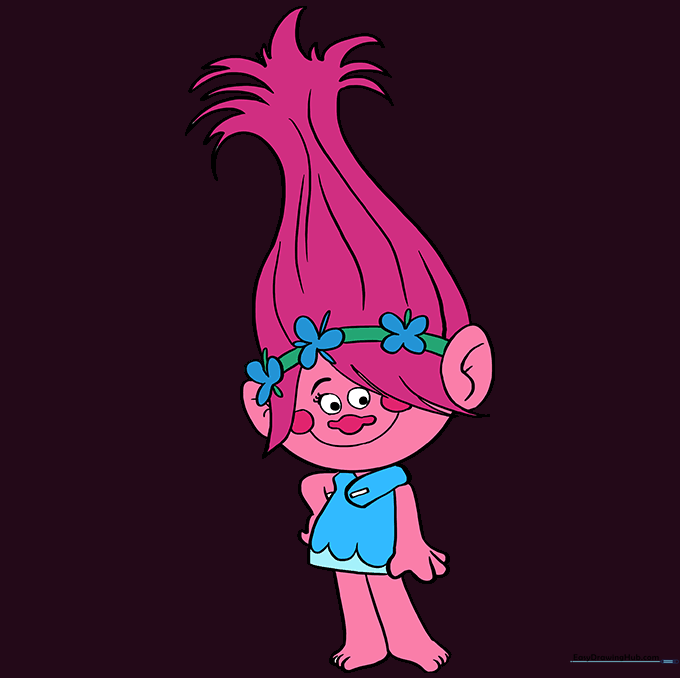
Time to color! Use vibrant pinks for her skin and hair, and a bright blue for her dress. Tip: Use light pressure with your colored pencils to layer the colors, making them look smooth and professional.
More Tutorials


