How to Draw Pompompurin: Easy 10-Step Sanrio Guide
Bring Sanrio’s favorite golden retriever to life with this beginner-friendly drawing tutorial. Designed for ages 5 and up, this activity requires only a pencil, paper, and an eraser to build confidence in character sketching. Follow these simple steps to master Pompompurin’s iconic, pudgy shape and signature beret.
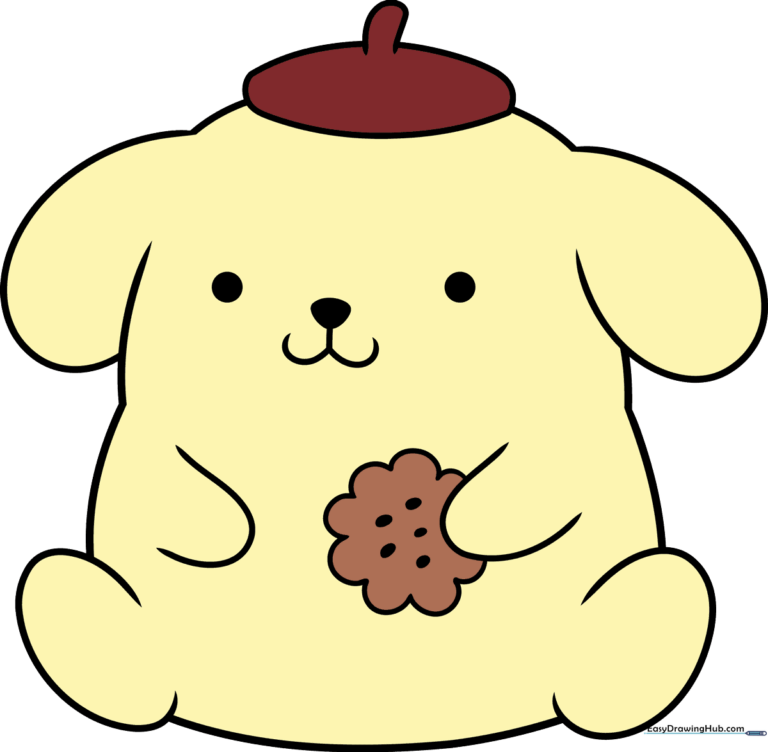
🎯 Final Result
Step-by-Step Instructions
Step 1: Sketching the Facial Features

Lightly sketch two small circles for the eyes and a rounded, inverted triangle for the nose. Teacher's Tip: Keep your pencil pressure very light here so you can easily adjust the spacing if the eyes look a bit too far apart.
Step 2: Adding the Smile and Face Shape

Draw a rounded “W” shaped line below the nose for his happy smile, then add a curved line to define the side of his face. Teacher's Tip: Make the 'W' shallow so he looks friendly rather than surprised.
Step 3: Drawing the Floppy Ear
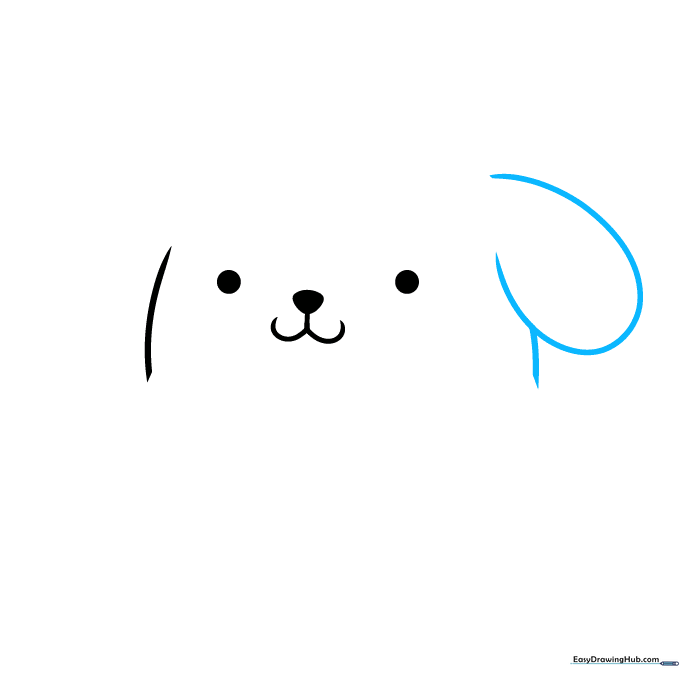
Create a curved line that doubles back on itself to form his signature floppy ear. Teacher's Tip: Think of this shape like a soft, drooping leaf; keep the edges rounded to maintain his cute aesthetic.
Step 4: Sketching the Beret

Draw a flattened oval on top of his head for his beret, and use a 'C' shaped line to form the second floppy ear. Teacher's Tip: Ensure the beret sits slightly tilted to give him that classic, relaxed Pompompurin look.
Step 5: Adding the Hat Detail and Hand
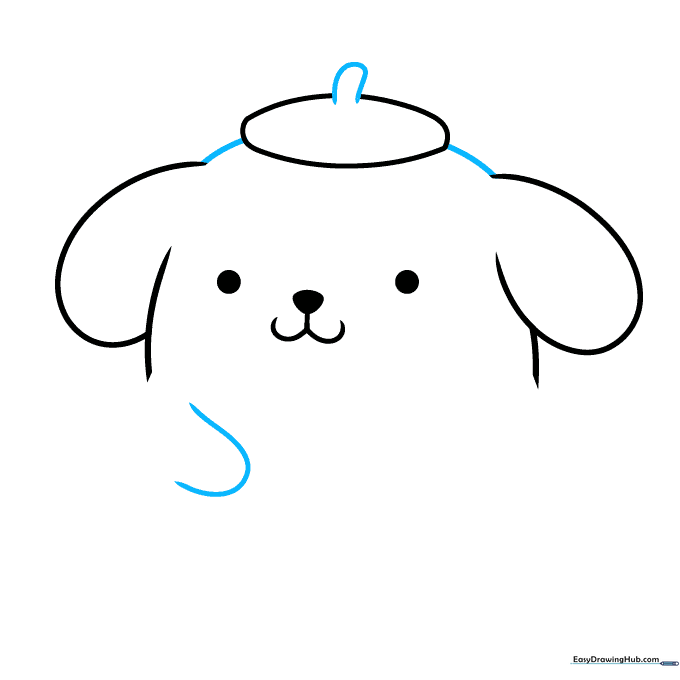
Add a small stub on top of the beret and draw a 'U' shaped line for his first hand. Teacher's Tip: Keep the hand small and close to the body to emphasize his pudgy, compact proportions.
Step 6: Defining the Body
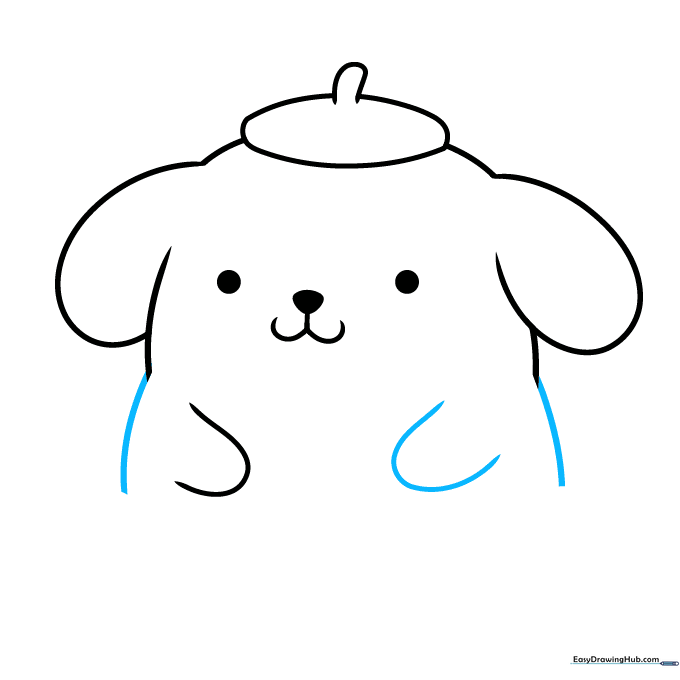
Draw the second hand and use smooth, curved lines to outline his round, pudgy body. Teacher's Tip: Don't worry about making the lines perfectly straight; Pompompurin is all about soft, rounded shapes.
Step 7: Drawing the Feet

Add two partial ovals at the bottom for his feet. Teacher's Tip: Place them slightly apart to give him a stable, cute stance.
Step 8: Connecting the Details

Connect the feet with a long, gentle curve and draw a scalloped shape in his hand using 'U' lines. Teacher's Tip: The scalloped shape is the start of his favorite snack—a cookie!
Step 9: Finishing the Cookie

Close the cookie shape and add small ovals inside for chocolate chips. Teacher's Tip: Vary the size of the chips to make the cookie look more realistic and delicious.
Step 10: Adding Color
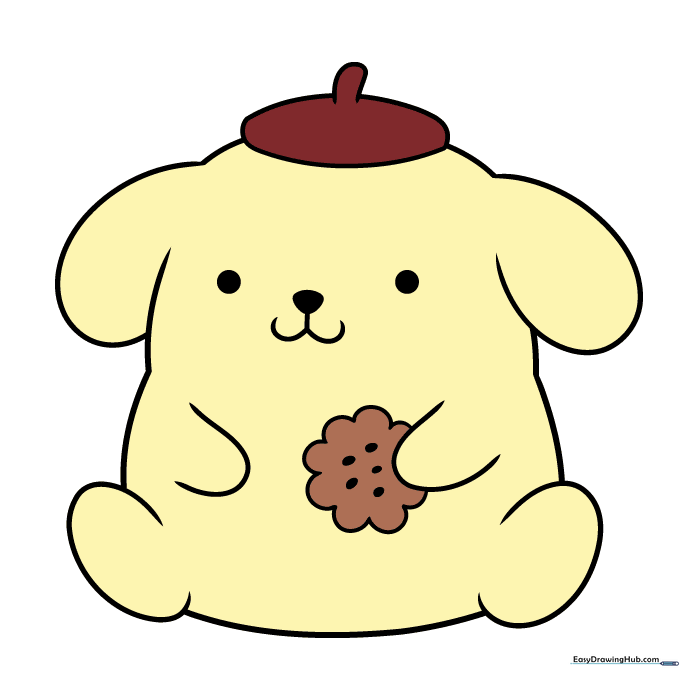
Time to bring him to life! Use a soft yellow for his fur and a warm brown for his beret. Teacher's Tip: Use light, circular coloring motions to keep the texture smooth and even.
More Tutorials


