How to Draw Pochacco: Easy 10-Step Sanrio Guide
Bring Sanrio’s sporty pup to life with this beginner-friendly drawing tutorial, perfect for artists ages 5 and up. All you need is a pencil, an eraser, and a piece of paper to get started. Follow these simple steps to master Pochacco’s iconic floppy ears and cheerful expression while building your confidence in character design.
🎯 Final Result

Step-by-Step Instructions
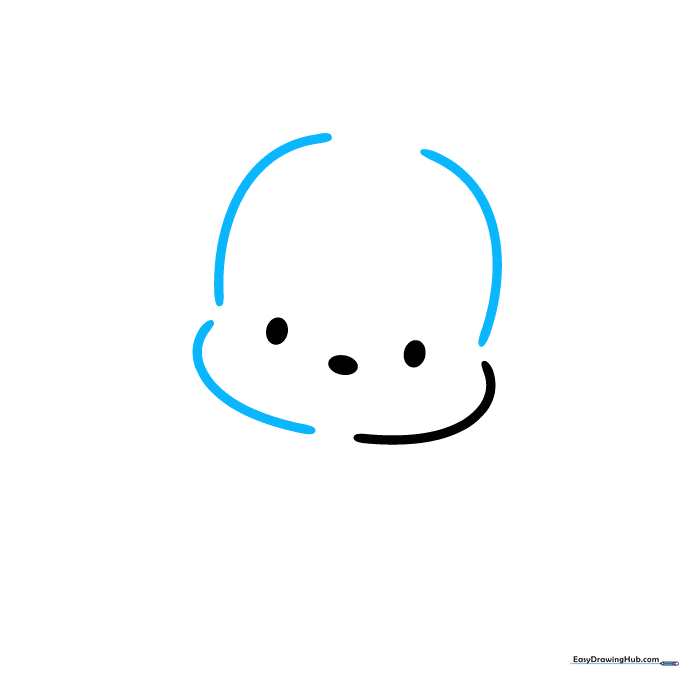
Step 1: Sketching the Face

Start by drawing a soft, curved line for one of Pochacco’s cheeks. Add two small, shaded ovals for his eyes and a tiny oval for his nose. Tip: Keep the eyes close together to capture his cute, youthful expression.
Step 2: Defining the Head Shape
Draw three additional curved lines to complete the other cheek and the sides of his head. Tip: Don't worry about making these lines perfectly symmetrical; Pochacco’s charm comes from his slightly rounded, organic shape.
Step 3: Adding Ears and Fur
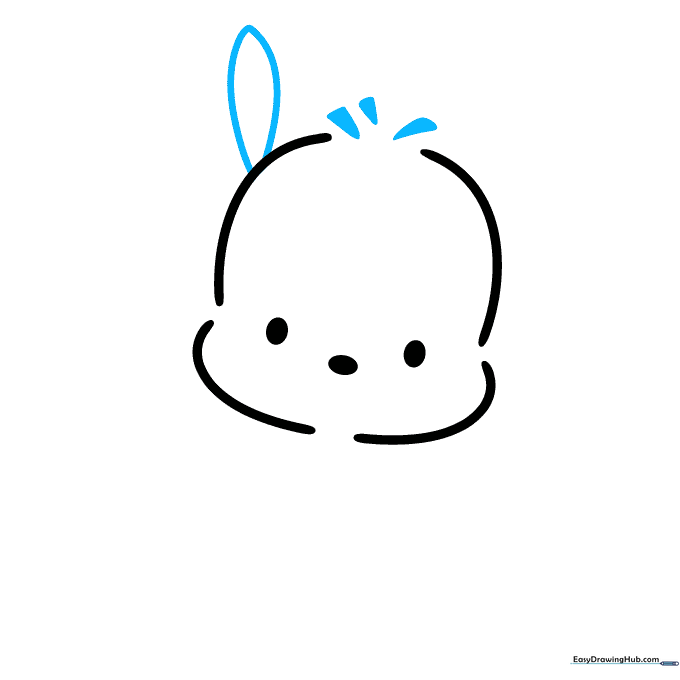
Draw a curved line that loops back on itself to create his first floppy ear. Add three small triangles on top of his head to represent his tuft of fur. Tip: Make the ear look soft and rounded, not sharp.
Step 4: Second Ear and Collar
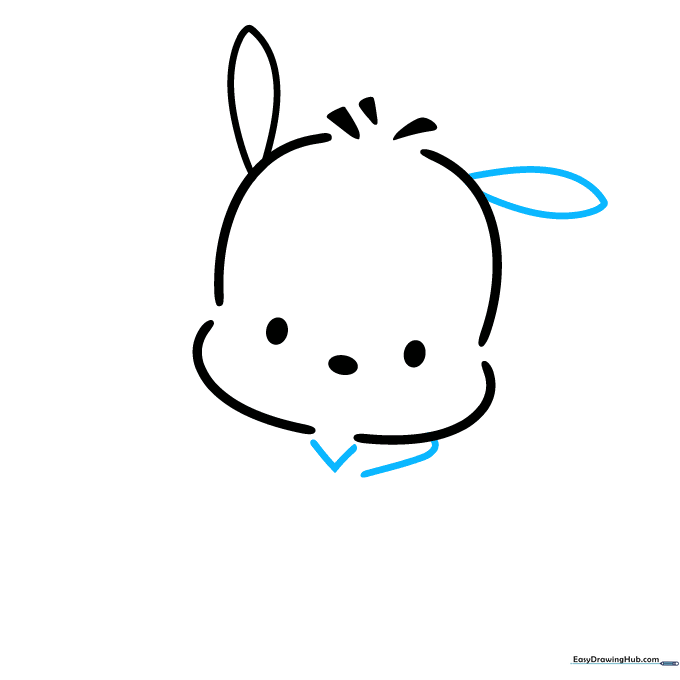
Repeat the ear shape on the other side. Below the head, draw a 'V' shape and a curved line to start his shirt collar. Tip: The collar should look like a simple bib tucked right under his chin.
Step 5: Drawing the Torso
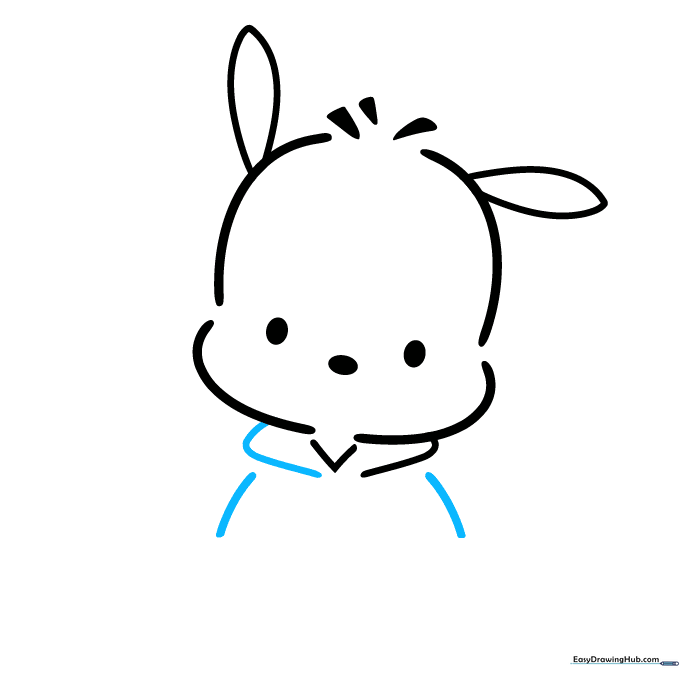
Complete the collar with a curved line on the opposite side. Then, draw two downward-curving lines to form his torso. Tip: Keep these lines slightly rounded to give him a friendly, soft appearance.
Step 6: Adding Arms
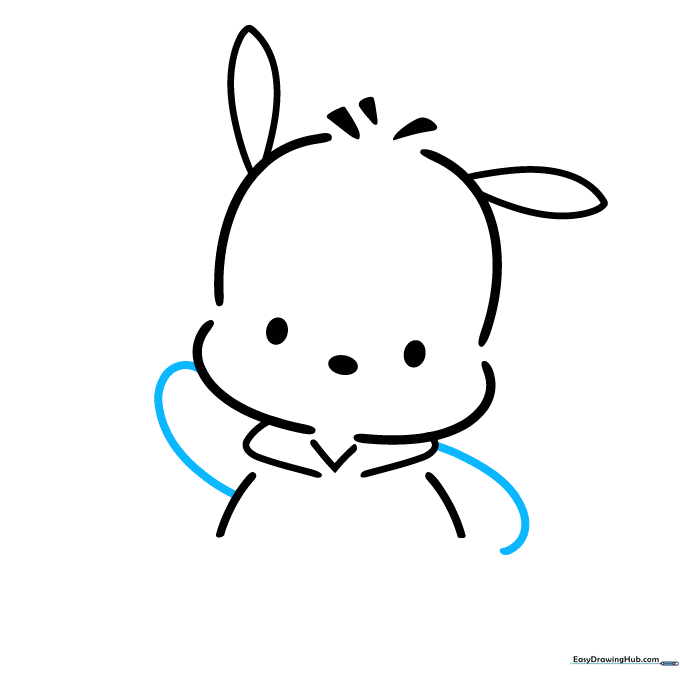
Draw two simple curved lines extending from the torso to form his arms. Tip: Think of these as little 'nubs'—keep them short and rounded to maintain his cute proportions.
Step 7: Sleeves and Feet
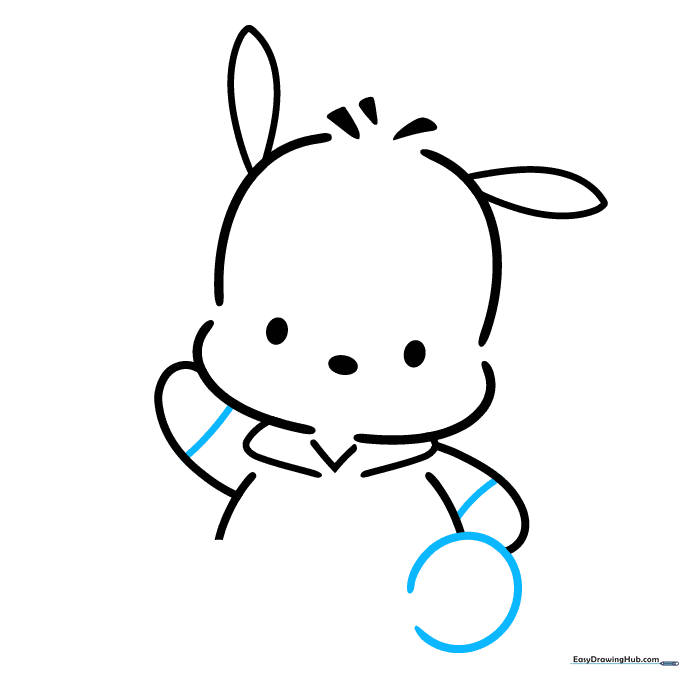
Add short lines across the arms to create sleeves. Then, draw a 'C' shaped line at the bottom for his first foot. Tip: If you make a mistake, gently erase and redraw; it’s all part of the learning process!
Step 8: Completing the Feet
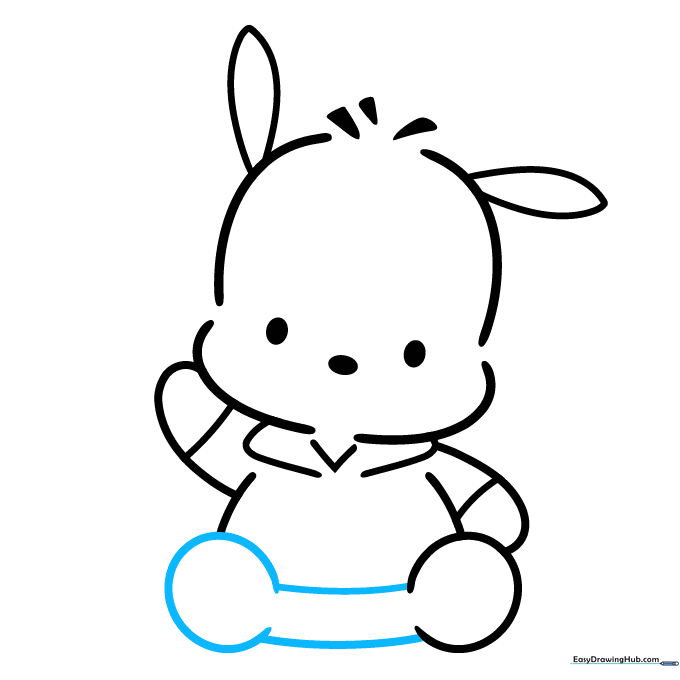
Draw a second 'C' shaped line for the other foot. Connect the feet with two horizontal curved lines to finish the base. Tip: Ensure the feet are level so he looks like he's standing firmly.
Step 9: Adding Paw Pads
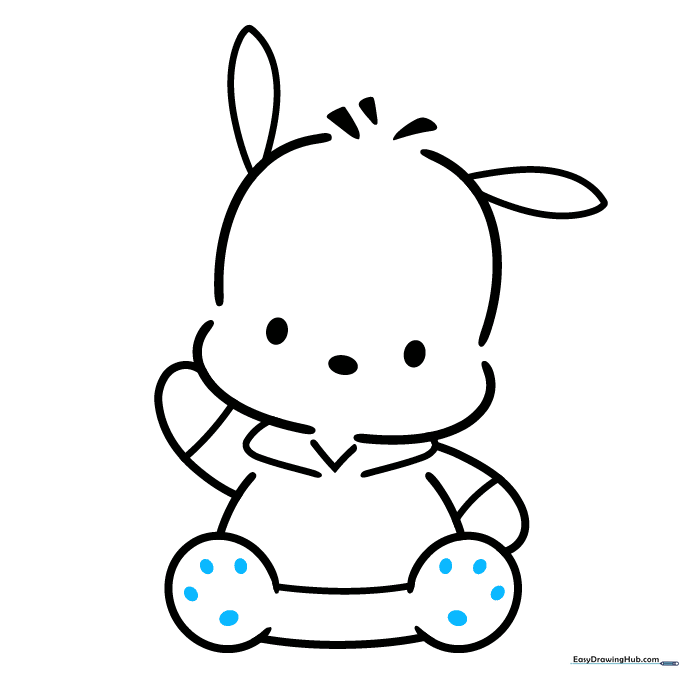
Shade three small ovals within each foot to create his adorable paw pads. Tip: Use a light touch with your pencil so the pads look soft and rounded.
Step 10: Coloring Your Pochacco
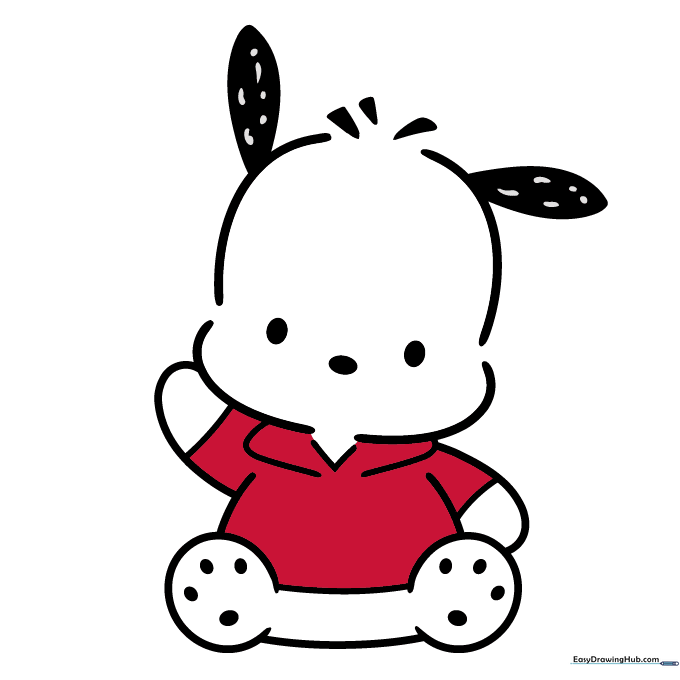
Your outline is complete! Now, add color. Pochacco is known for his white fur and black ears. You can color his shirt red, blue, or any color you like to make him your own. Tip: Use smooth, even strokes for a professional look.
More Tutorials


