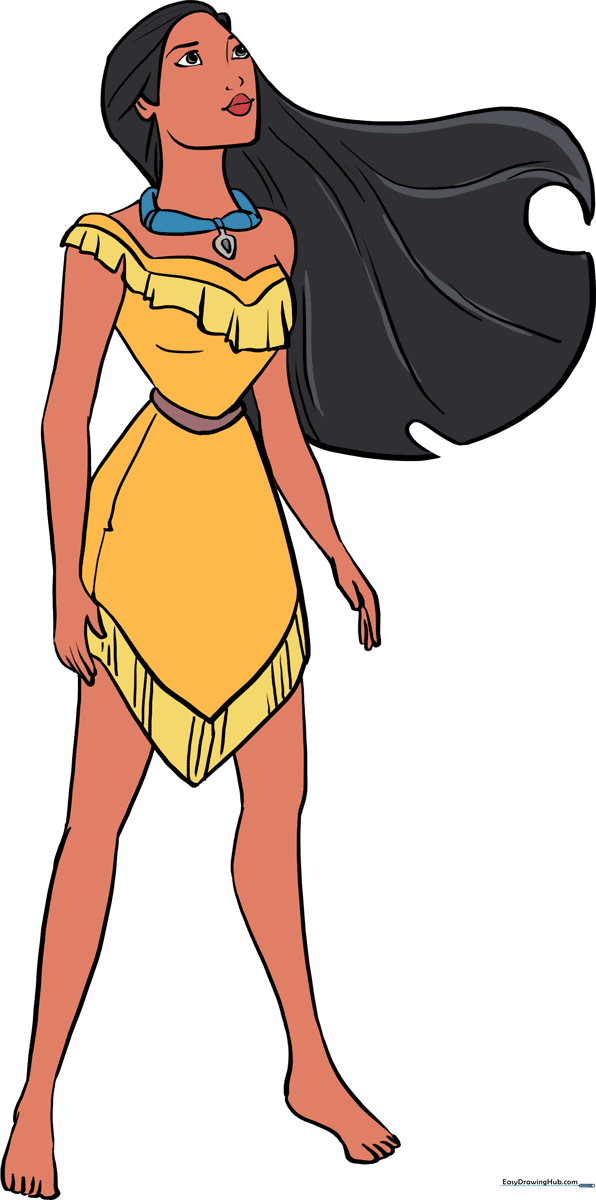
How to Draw Pocahontas: Easy 10-Step Guide for Kids
Ready to bring a legendary character to life? This tutorial is perfect for young artists ages 7+ looking to practice figure drawing. You will need a pencil, an eraser, and your favorite coloring markers to complete this iconic look.
🎯 Final Result
Step-by-Step Instructions
Step 1: Sketching the Face and Neck
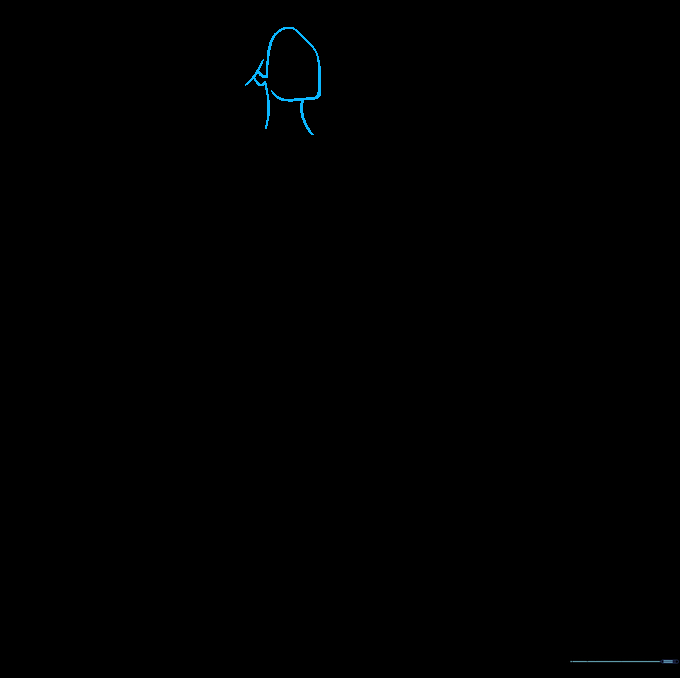
Use light, curved lines to outline the side profile of the face, ear, and neck. Teacher's Tip: Keep your pencil grip loose; imagine you are tracing the shape of a gentle wave.
Step 2: Adding the Iconic Necklace

Draw the teardrop shapes of her necklace, finishing with a small circle for the pendant. Teacher's Tip: Use a steady hand to ensure the teardrops are uniform in size.
Step 3: Drawing the Shoulders and Fringe
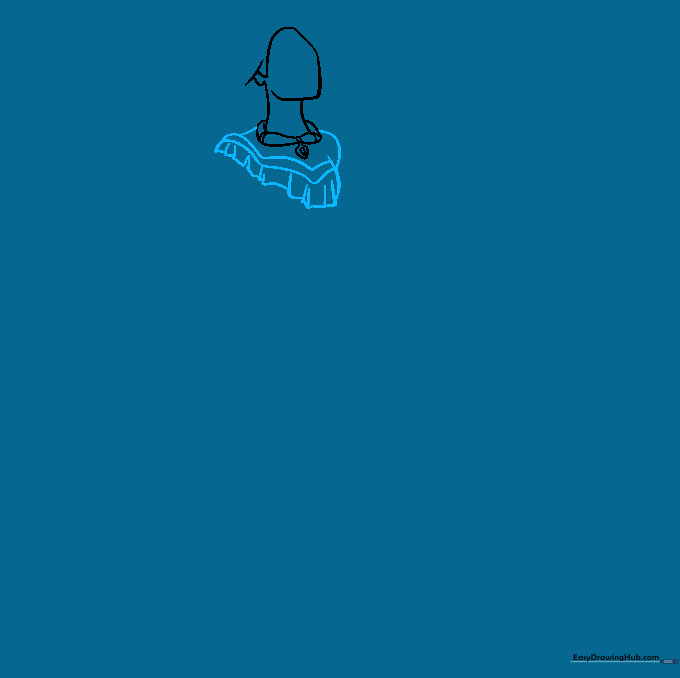
Extend curved lines for the shoulders and connect them with a scalloped line. Add vertical strokes for the fringe. Teacher's Tip: Vary the length of your vertical lines to make the fringe look natural.
Step 4: Sketching the First Arm
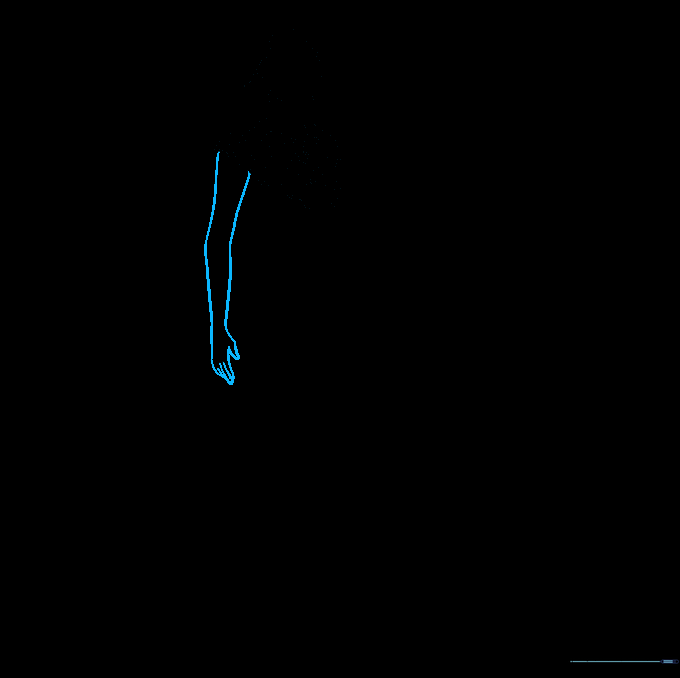
Use long, sweeping curves to outline the arm and shorter, precise lines for the hand. Teacher's Tip: Don't worry about individual fingers yet; focus on the overall shape of the hand.
Step 5: Defining the Dress
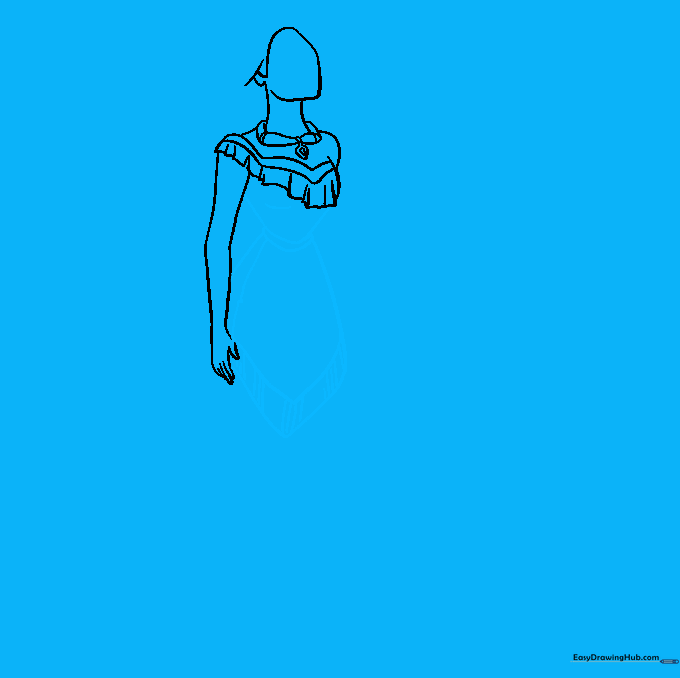
Outline the hourglass shape of the dress and add the belt. Teacher's Tip: Add a vertical line down the skirt to suggest a seam, which adds depth to your drawing.
Step 6: Adding the Second Arm

Draw the second arm using similar curved lines to match the first. Teacher's Tip: Keep the arms symmetrical to maintain the character's balance.
Step 7: Drawing the First Leg
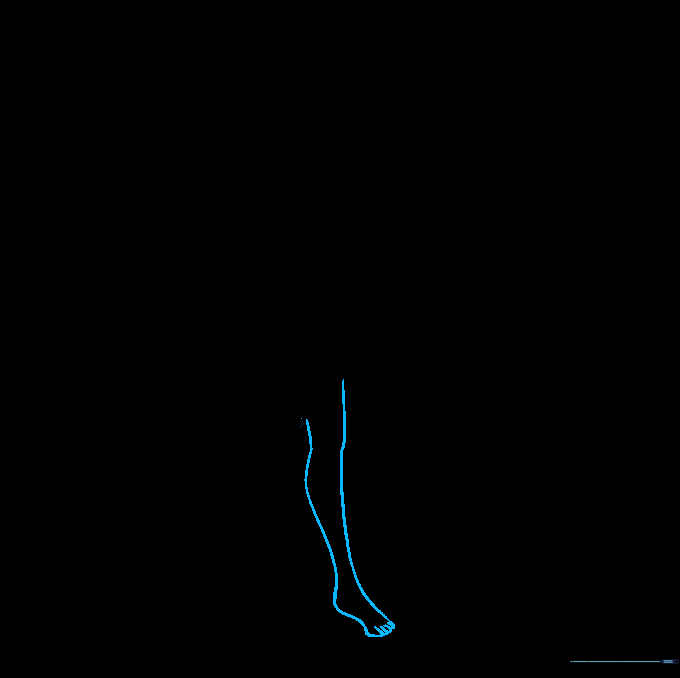
Outline the leg and foot with a long, smooth curve. Use short lines to suggest the toes. Teacher's Tip: Keep the foot shape simple and rounded.
Step 8: Completing the Legs
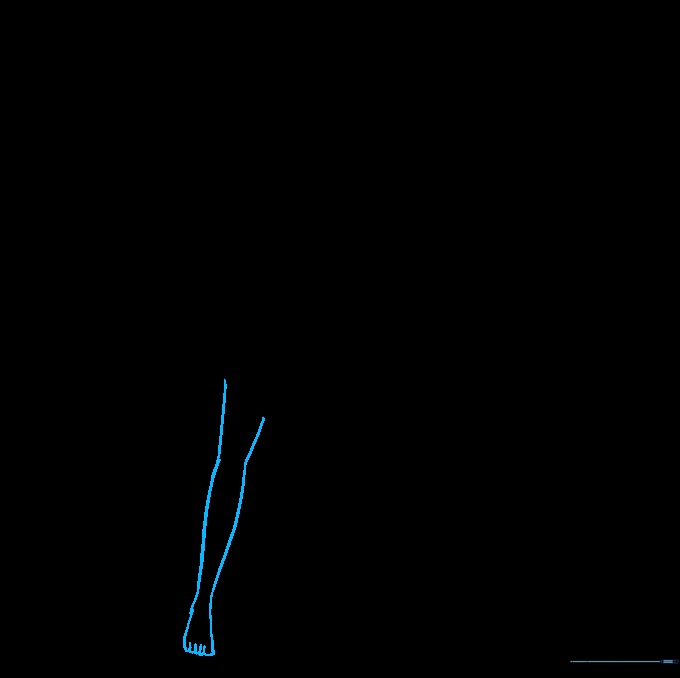
Draw the second leg, ensuring it overlaps slightly to show perspective. Teacher's Tip: Use a darker pencil stroke here to define the foreground leg.
Step 9: Adding Flowing Hair
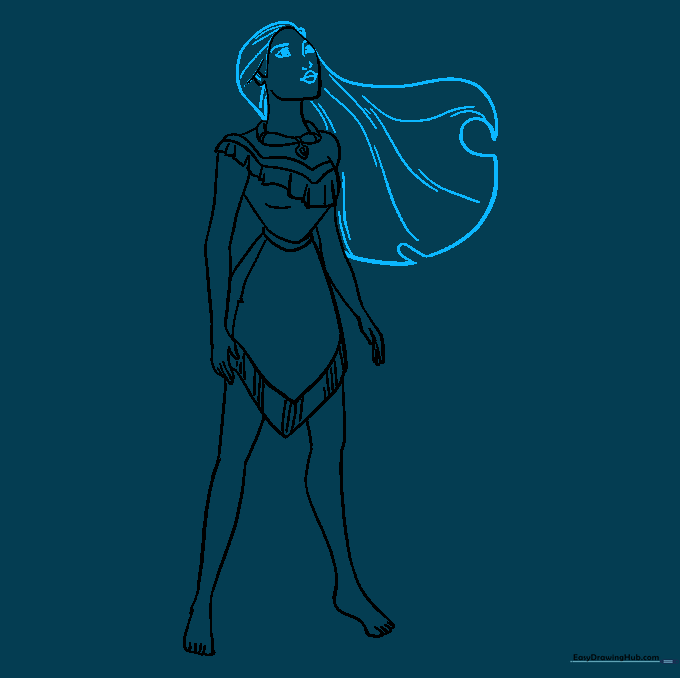
Draw long, sweeping 'C' curves to create the hair blowing in the wind. Teacher's Tip: Use varied line lengths to give the hair a sense of movement and volume.
Step 10: Bringing It to Life with Color
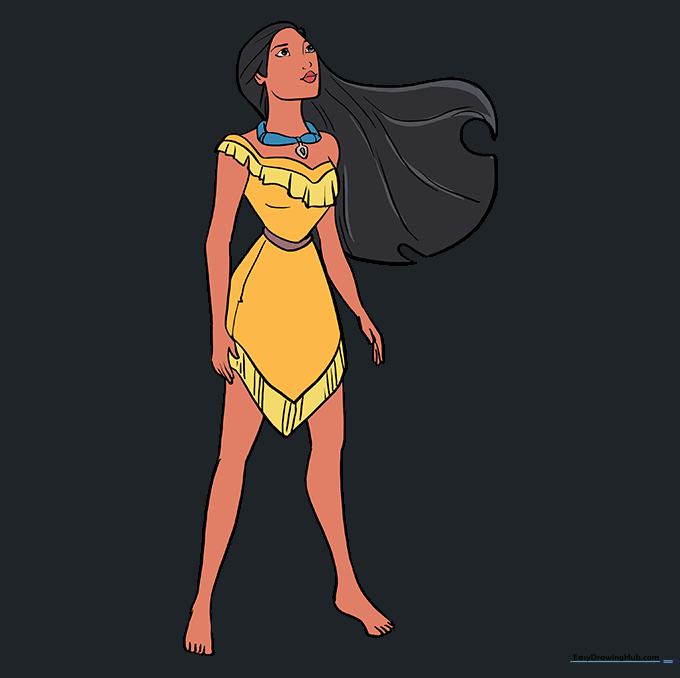
Time to color! Use black for the hair, a warm tan for the dress, and a bright blue for the necklace. Teacher's Tip: Use light pressure with your colored pencils to blend colors smoothly.
More Tutorials


