How to Draw Pistachios: Easy 10-Step Art Guide
Ready to practice your shading and texture skills? This tutorial is perfect for young artists ages 6+ looking to draw a trio of crunchy pistachios. Grab your favorite graphite pencil, a soft eraser, and some colored pencils to bring these snacks to life.
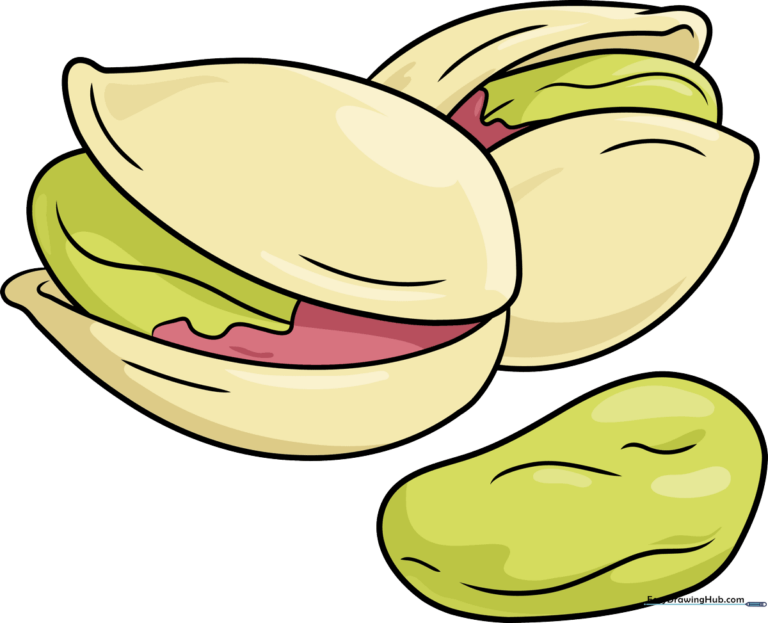
🎯 Final Result
Step-by-Step Instructions
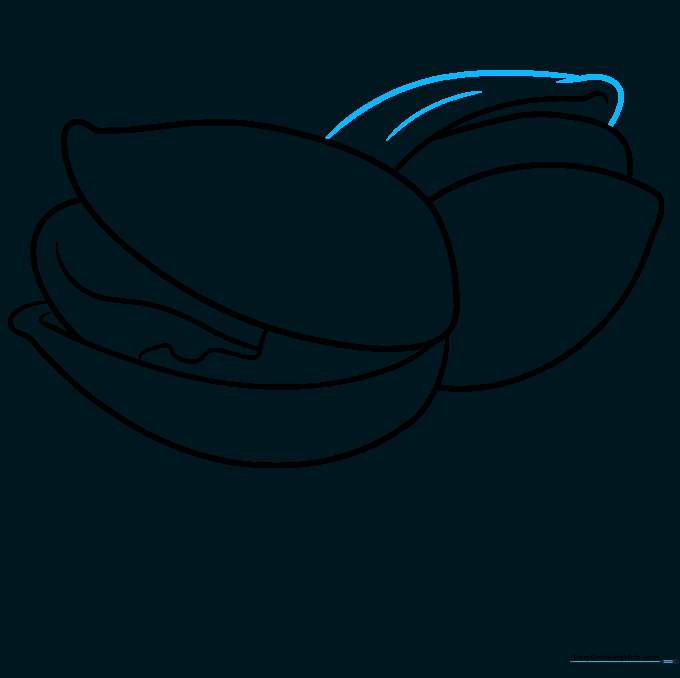
Step 1: Sketching the Top Shell

Draw a long, curved line that loops back to form a teardrop shape with an upturned, pointed tip. Teacher's Tip: Keep your pencil pressure light so you can easily adjust the shape if it looks a bit lopsided.
Step 2: Defining the Shell Base

Extend two long, curved lines downward from the back of the shell. Keep them roughly parallel but let them gently converge toward the bottom. Tip: Don't let the lines touch yet; this gap is where the nut will peek through.
Step 3: Adding the Nut and Texture
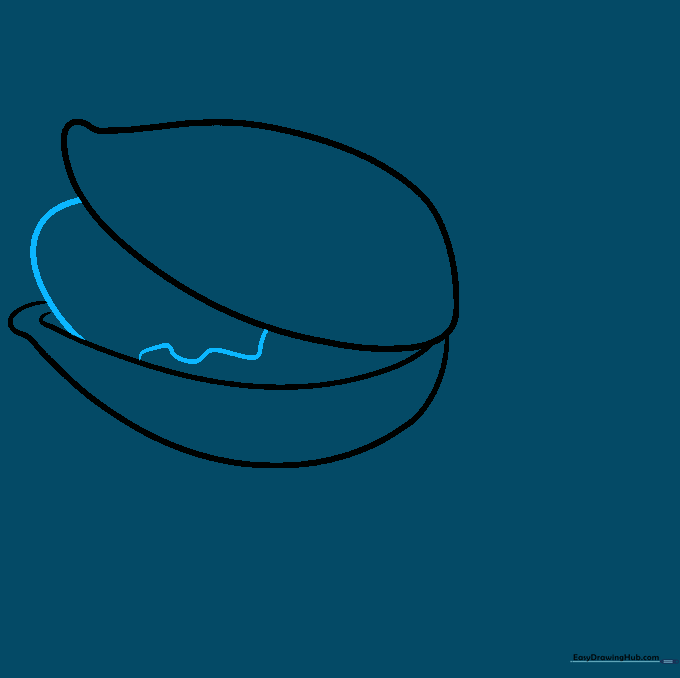
Connect the bottom lines with a curved stroke to enclose the nut. Add a wavy line across the middle to represent the papery skin. Tip: Use a slightly darker pencil stroke for the wavy line to make the nut look distinct from the shell.
Step 4: Starting the Second Nut
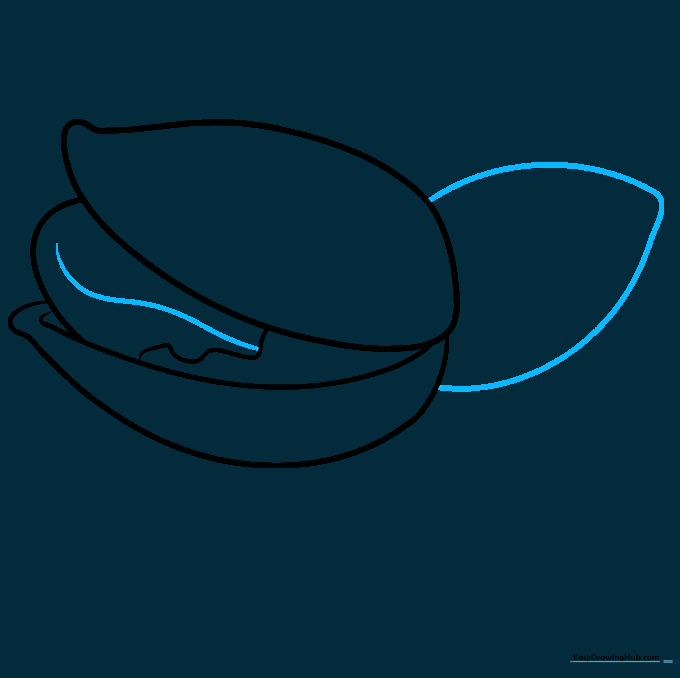
Draw a vertical curved line down the center of your first nut for detail, then start a new teardrop shape nearby for your second pistachio. Tip: Vary the angle of the second nut to make your drawing look more natural and less like a pattern.
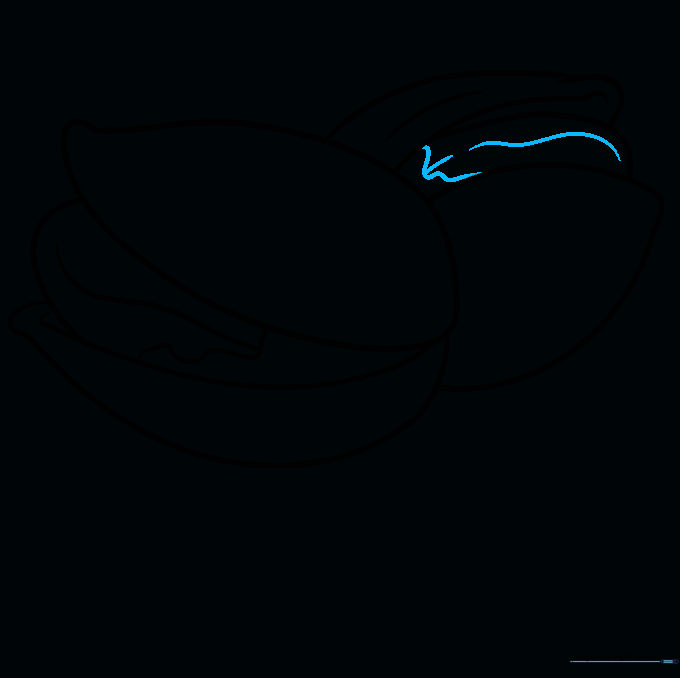
Step 5: Shaping the Second Shell
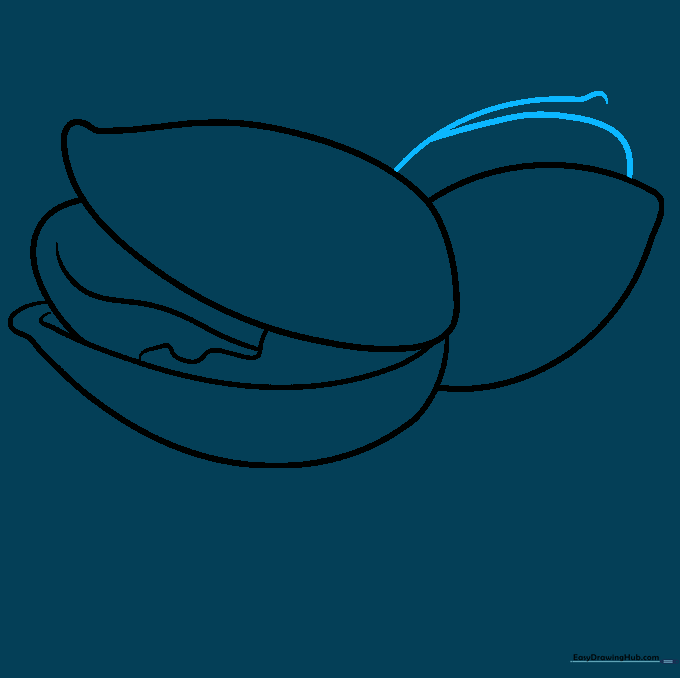
Extend a curved line from the top of the first nut to create the upper shell of the second. Draw a connecting line between the shell halves to reveal the nut inside. Tip: Imagine the shell is a tiny boat holding the nut inside.
Step 6: Refining the Shell Edges
Use overlapping curved lines to finish the top of the shell. Add small contour lines along the edges to show thickness. Tip: Short, quick strokes work best here to mimic the organic, slightly rough edge of a real shell.
Step 7: Adding Papery Texture
Draw wavy, irregular lines across the surface of the nut. This creates the look of the thin, papery skin found on real pistachios. Tip: Don't make the lines too perfect; nature is rarely perfectly straight!
Step 8: Drawing the Shelled Nut
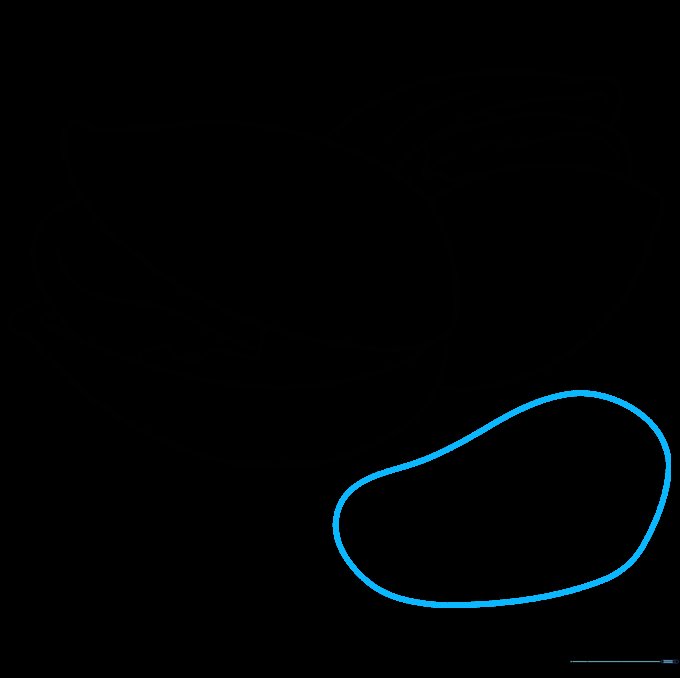
Sketch a third, irregular shape to represent a nut that has been removed from its shell. Tip: Think of this as a rounded, slightly lumpy bean shape—it doesn't need to be symmetrical.
Step 9: Final Details
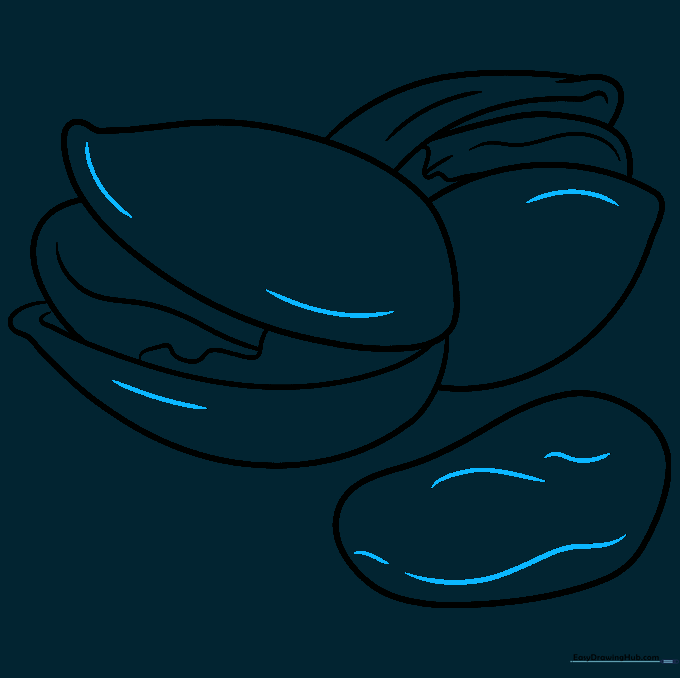
Add final texture lines to the third nut and touch up the shell contours on the others. Tip: Step back and look at your drawing from a distance to see if any areas need a bit more definition.
Step 10: Adding Color
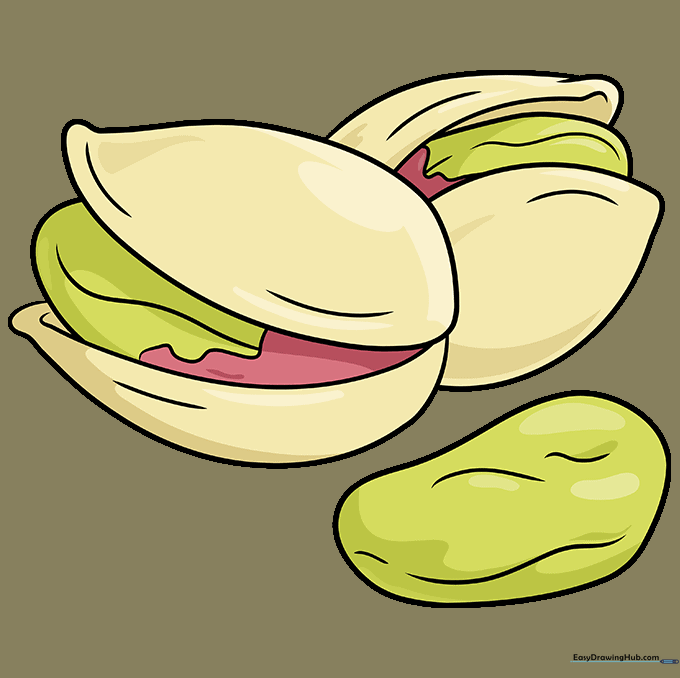
Bring your drawing to life! Use light tan for the shells and a vibrant light green for the nuts. Add touches of brown for the papery skin. Tip: Use a circular motion with your colored pencils to create a smooth, even look.
More Tutorials


