How to Draw Piglet: Easy 10-Step Guide for Kids
Bring everyone's favorite timid friend to life with this beginner-friendly drawing guide. Designed for artists ages 5 and up, this activity requires only a pencil, paper, and an eraser. Follow these steps to build confidence and master the proportions of this classic character.
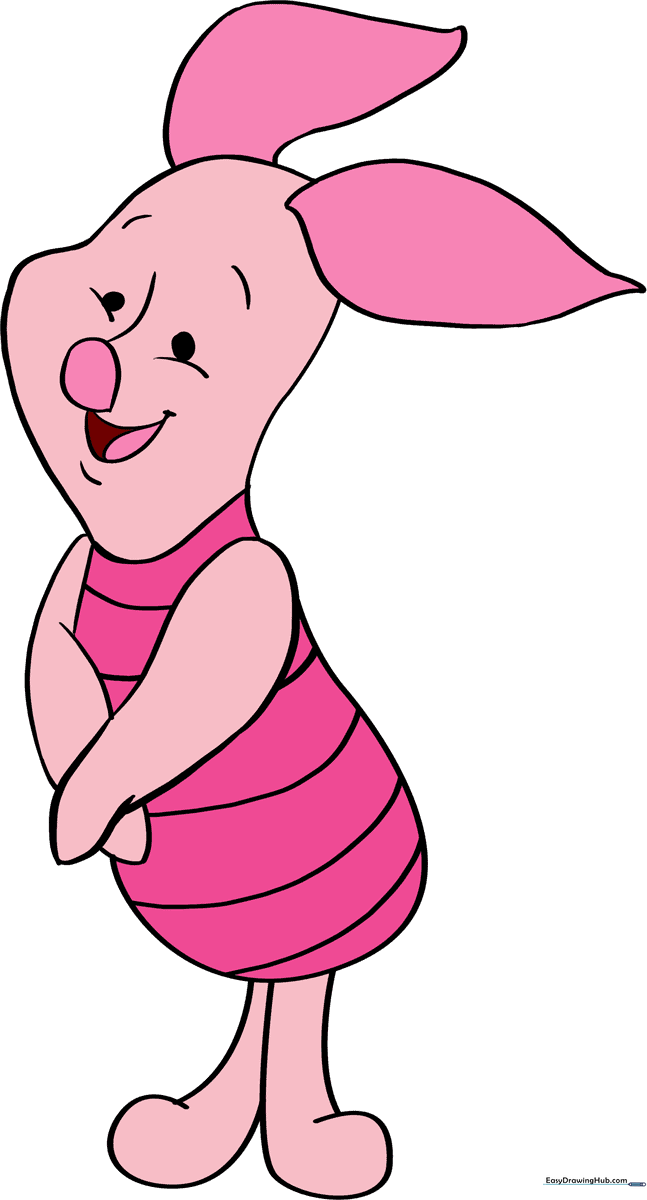
🎯 Final Result
Step-by-Step Instructions
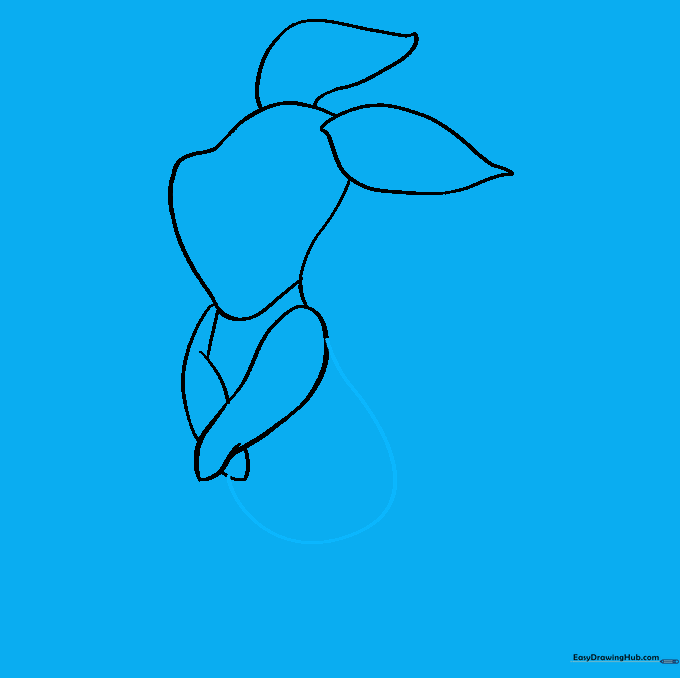
Step 1: Sketching the Face Profile

Begin by using a light, curved line to sketch the side of Piglet's face. Teacher's Tip: Keep your pencil pressure very light here so you can easily adjust the shape if needed later.
Step 2: Defining the Head Shape

Extend that curved line to form the back of the head. Teacher's Tip: Think of this as drawing a soft, rounded bean shape; don't worry about perfect symmetry yet.
Step 3: Adding the Neck and First Arm

Draw a curved line across the bottom of the head for the collar, then continue down to form the torso. Add a small, folded line for the arm. Teacher's Tip: Use a 'hook' motion for the arm to give it a natural, bent appearance.
Step 4: Sketching the Second Arm

Use a series of curved lines to draw the second arm, crossing behind the first. Teacher's Tip: Overlapping lines create depth, making your drawing look more three-dimensional.
Step 5: Drawing the Ears

Draw Piglet's signature ears using two curved lines that meet at a point. Teacher's Tip: Make them look slightly floppy by angling them downward rather than straight up.
Step 6: Refining the Body Outline
Erase any overlapping lines inside the ears. Then, draw a long, smooth curve from the shoulders down to the hands to complete the body. Teacher's Tip: Clean lines make for a much more professional-looking final character.
Step 7: Adding Garment Details

Add horizontal curved lines across the torso to show the stripes on Piglet's jumper. Teacher's Tip: Keep the lines parallel to the curve of the body to make the clothing look like it's wrapping around him.
Step 8: Drawing the Legs

Extend two pairs of curved lines from beneath the body for the legs, finishing with a 'C' shape for the feet. Teacher's Tip: Ensure the legs are roughly the same length so Piglet looks balanced.
Step 9: Adding Facial Features
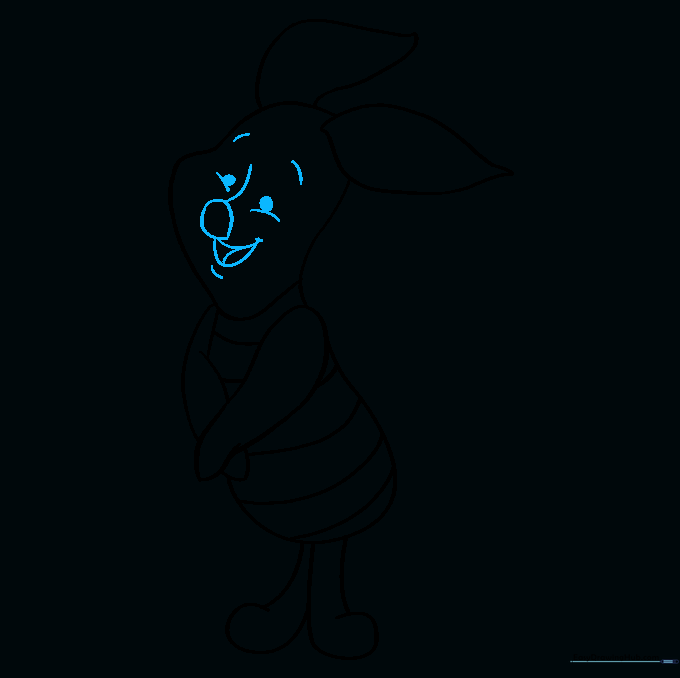
Draw a small circle for the nose, a 'U' shape for the mouth, and shade in two small circles for the eyes. Add eyebrows and cheek lines for expression. Teacher's Tip: The eyes are the most important part—keep them small and close together to capture his sweet, timid personality.
Step 10: Adding Color
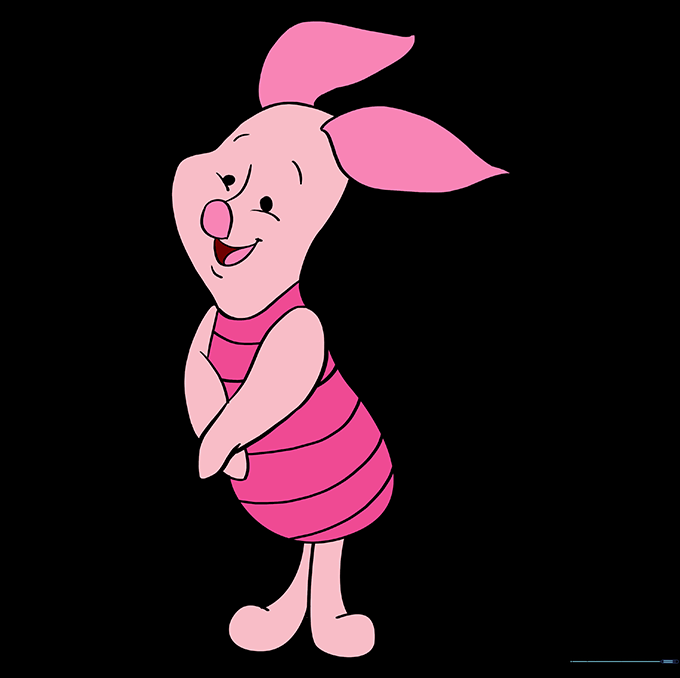
Bring your drawing to life with shades of pink for his body and jumper. Teacher's Tip: Use a lighter pink for the face and a slightly darker shade for the stripes to add contrast and interest.
More Tutorials


