How to Draw Pichu: Easy 10-Step Pokémon Tutorial
Ready to bring this adorable Electric-type Pokémon to life? This tutorial is perfect for young artists ages 5 and up. Grab your pencil, eraser, and paper, and follow along to build your character drawing skills with this fun, manageable project.
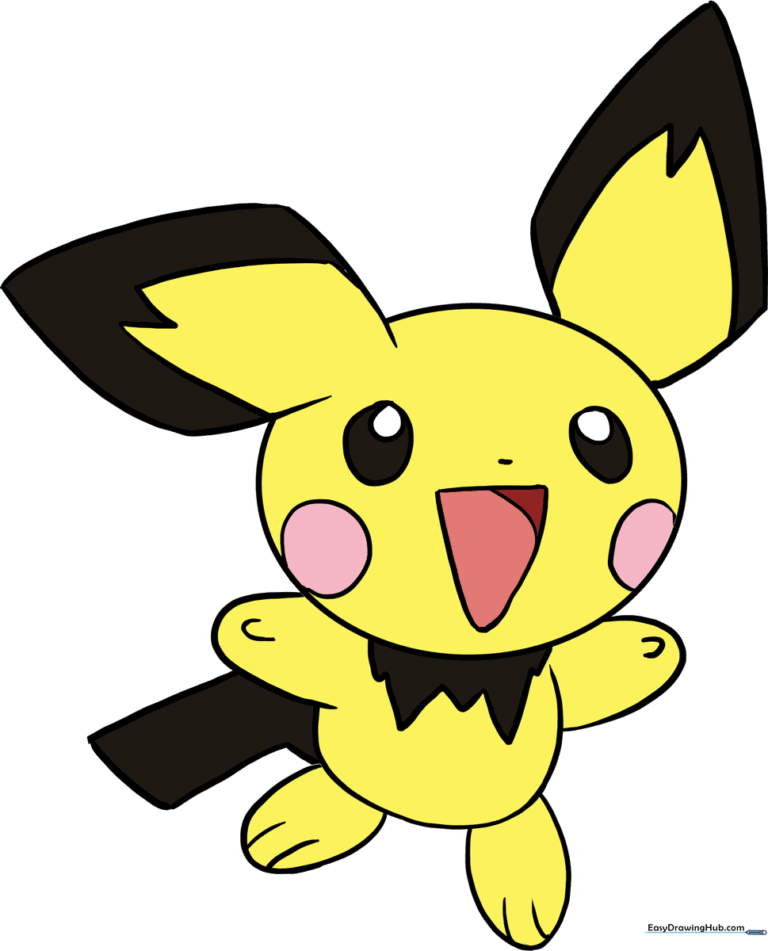
🎯 Final Result
Step-by-Step Instructions
Step 1: Sketching the Head

Start by drawing a light circle for the head. Teacher's Tip: Keep your pencil strokes very faint so you can easily erase any overlapping lines later!
Step 2: Defining the Body
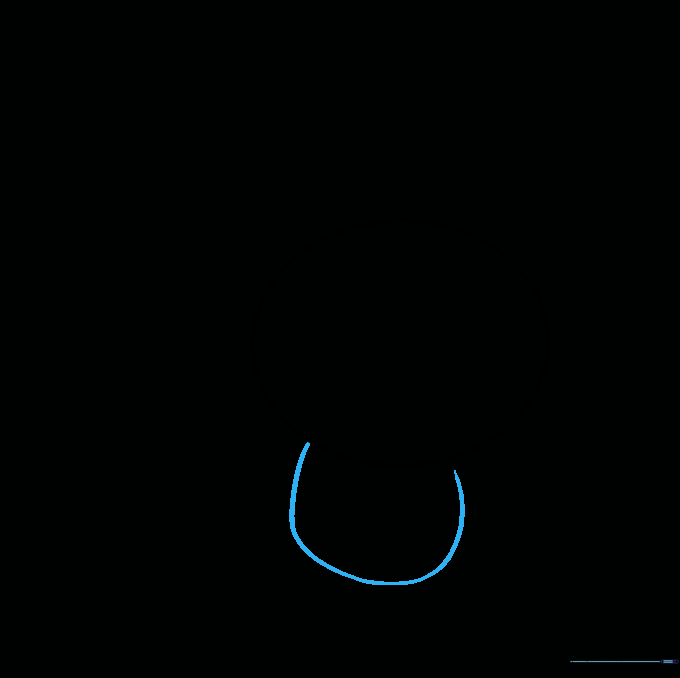
Draw a curved line beneath the head to create the body, leaving a small gap on one side. Think of this as a rounded pear shape.
Step 3: Adding the Arms
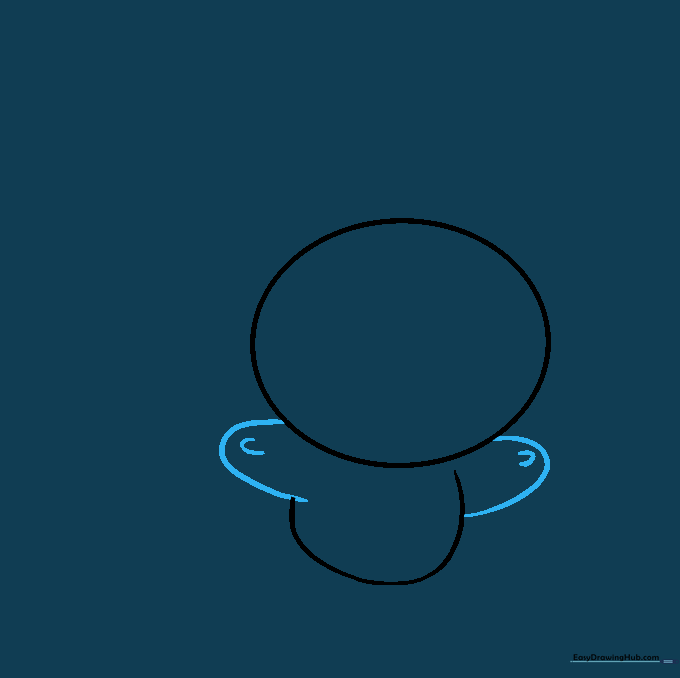
Use a 'U' shaped line for each arm. Add a smaller 'U' inside to define the tiny hands. Teacher's Tip: Make the arms look relaxed to give Pichu a friendly pose.
Step 4: Drawing the First Foot
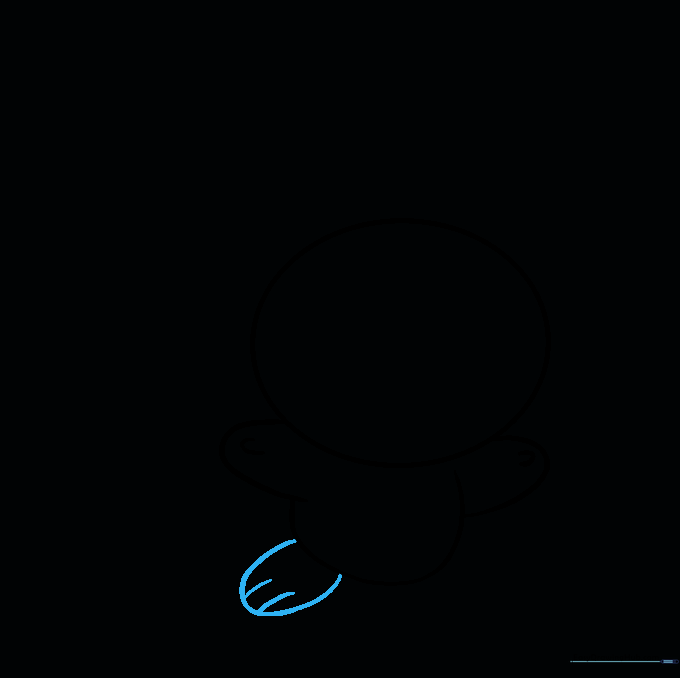
Sketch an oval for the foot at the bottom. Add tiny lines at the tip to represent the toes. Keep these lines short and neat.
Step 5: Drawing the Second Foot

Repeat the process for the second foot. Try to make it match the size and shape of the first one for balance.
Step 6: The First Ear
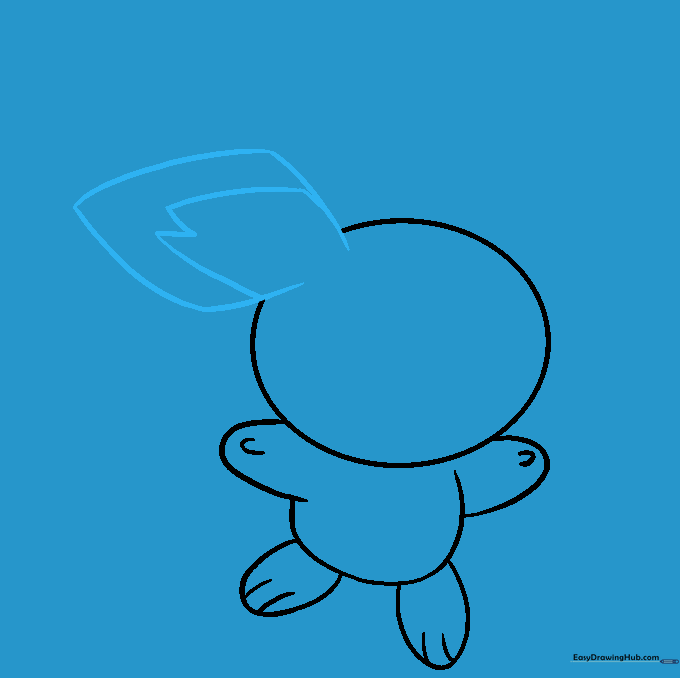
Draw a diamond-like shape extending from the head for the ear. Add an 'M' shape inside for detail. Teacher's Tip: Don't worry if the diamond isn't perfect; Pichu's ears are naturally expressive!
Step 7: The Second Ear
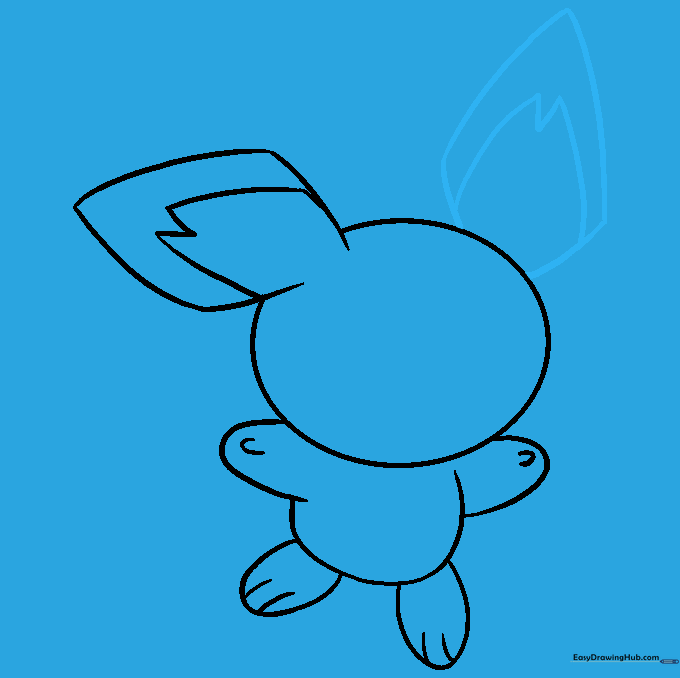
Draw the second ear mirroring the first. Ensure both ears are positioned symmetrically on top of the head.
Step 8: Neck Ruff and Tail

Draw jagged points around the neck for the ruff. Add the tail by drawing an open rectangle shape connected to the body. Teacher's Tip: Use quick, short strokes for the neck ruff to make it look fluffy.
Step 9: Facial Features

Add circles for cheeks, ovals with inner circles for eyes, and a 'V' shape for the mouth. Add a tiny line for the nose. This is where Pichu's personality really shines!
Step 10: Bringing Pichu to Life with Color

Time to color! Use bright yellow for the body, red for the cheeks, and black for the ear tips and tail. Teacher's Tip: Use light pressure with your crayons for a smooth, even look.
More Tutorials


