How to Draw Peanut Butter: Easy 10-Step Guide for Kids
Ready to draw your favorite snack? This tutorial is perfect for young artists ages 5 and up. All you need is a pencil, an eraser, and some paper to create a delicious-looking jar of peanut butter that builds confidence and drawing fundamentals.
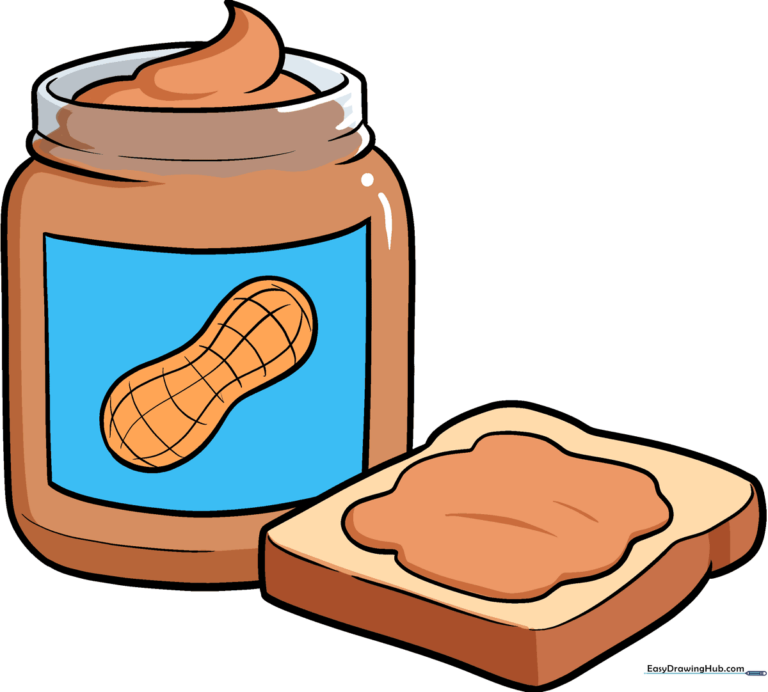
🎯 Final Result
Step-by-Step Instructions
Step 1: Sketching the Base
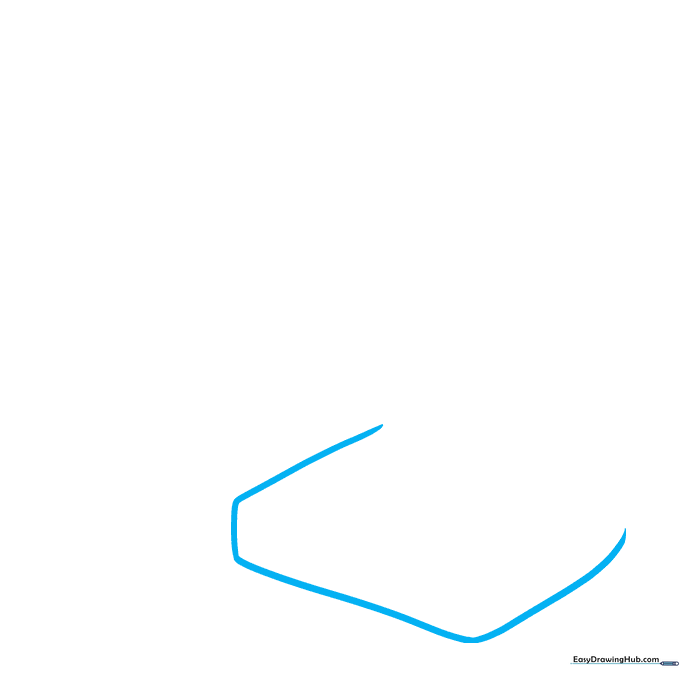
Draw a V-shape near the bottom of your page to form the base of the jar. Add a short vertical dash and a diagonal line on the left. Teacher's Tip: Keep your pencil pressure light so you can easily adjust your lines later.
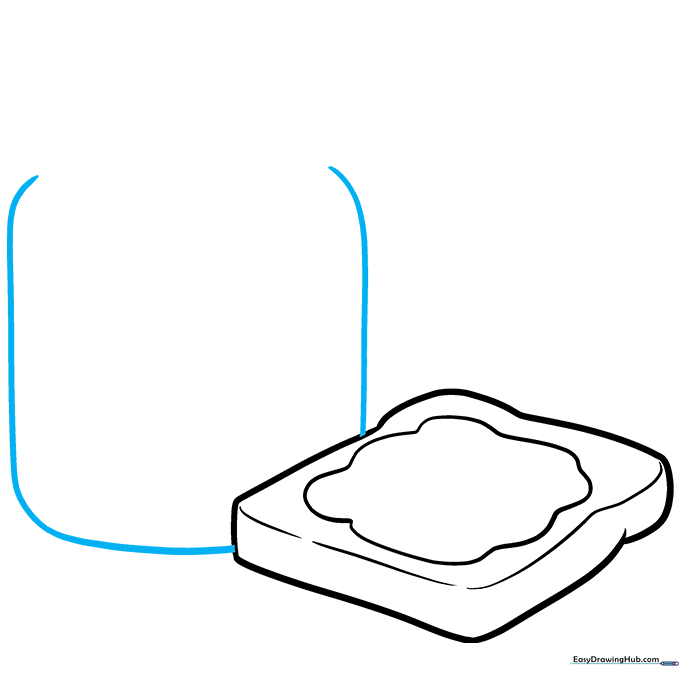
Step 2: Forming the Jar Body
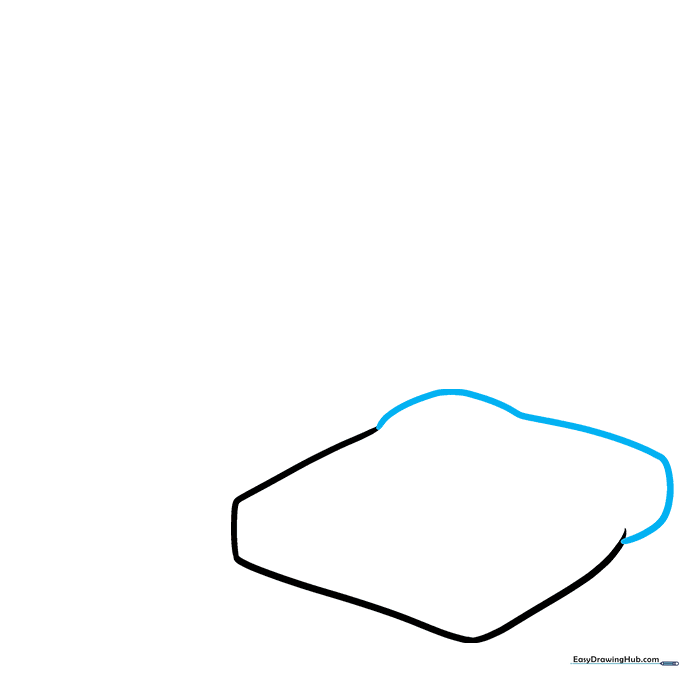
Complete the jar shape by adding two curves on the right side, similar to the top of a heart. Teacher's Tip: Use smooth, fluid motions to make the jar look rounded and glass-like.
Step 3: Adding Texture and Depth
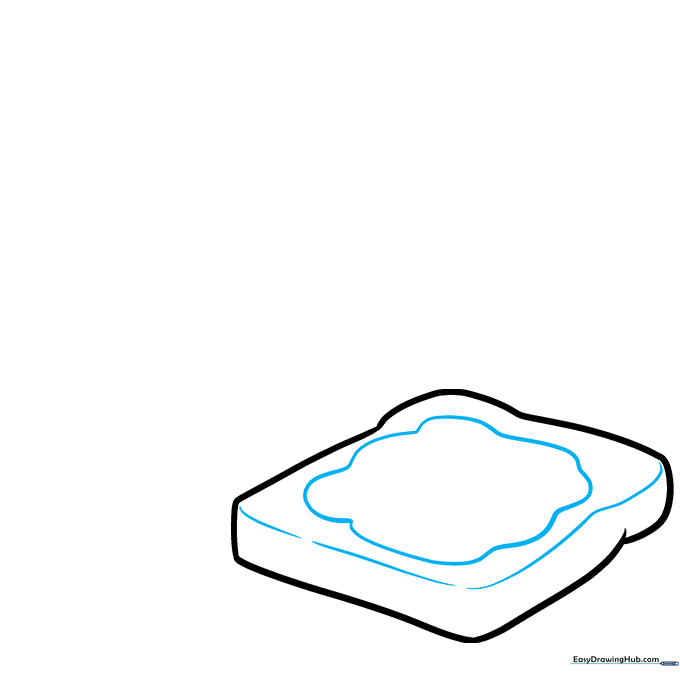
Draw parallel curves inside the jar to create a 3D effect. Add a wavy, puddle-like shape at the top. Teacher's Tip: Think of this as the 'creamy' layer sitting inside the glass.
Step 4: Outlining the Jar
Define the jar silhouette with a curved vertical line and a rounded L-shape. Ensure the top elements overlap slightly. Teacher's Tip: Don't worry if your lines aren't perfect; glass jars have natural curves!
Step 5: Designing the Label
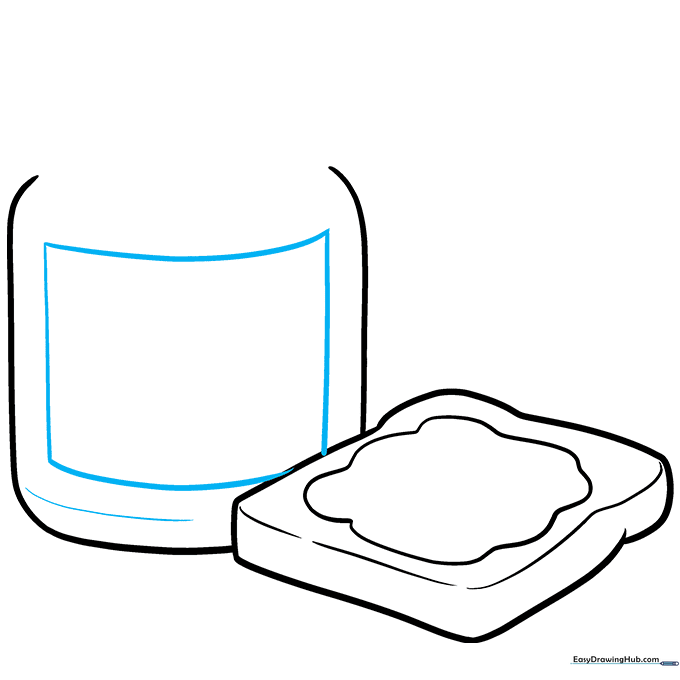
Sketch a curve at the bottom and two vertical lines to create the label area. Teacher's Tip: Use a ruler if you want perfectly straight label edges, or keep it hand-drawn for a charming look.
Step 6: Drawing the Peanut Icon

Draw two connected ovals inside the label to represent a peanut. Teacher's Tip: Make them slightly uneven to look more like a real, organic peanut.
Step 7: Adding Detail to the Peanut
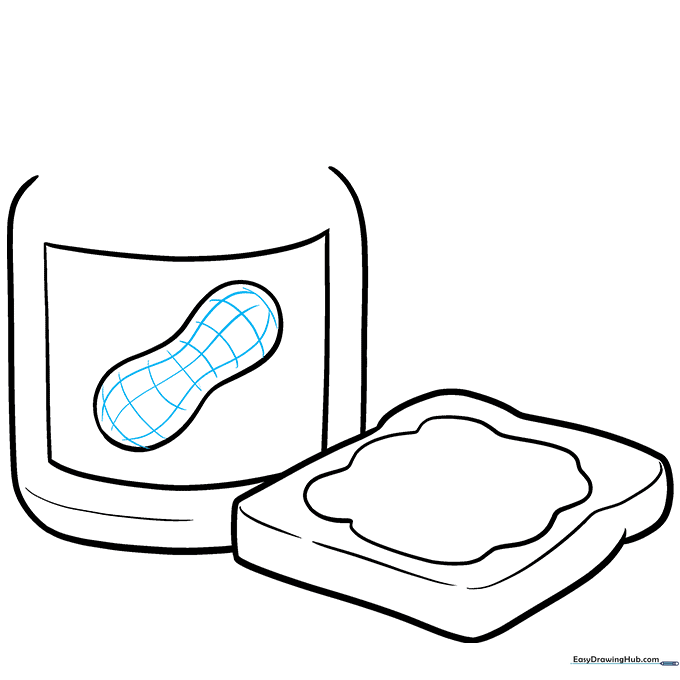
Add wavy lines and crosshatch marks to the peanut for texture. Teacher's Tip: Use short, quick strokes to create the rough, bumpy texture of a peanut shell.
Step 8: Drawing the Lid
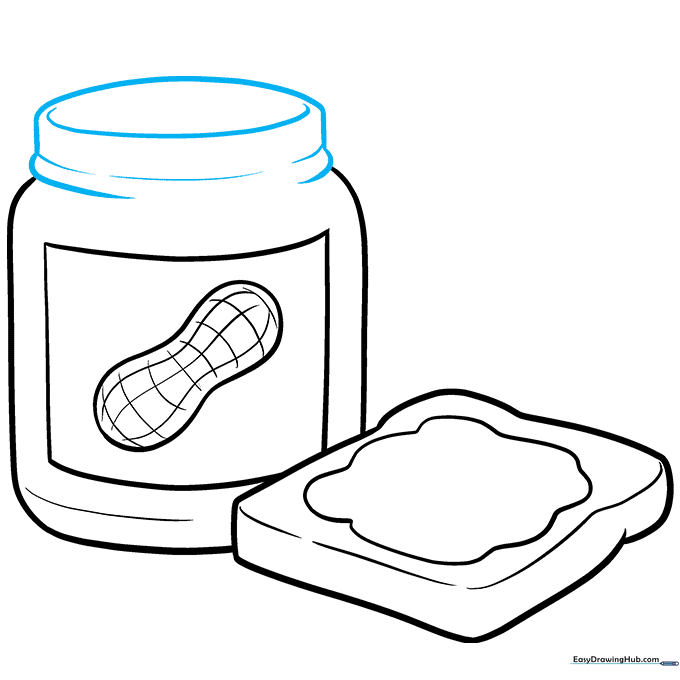
Draw the lid using a series of alternating thick and thin horizontal curves. Teacher's Tip: This creates the look of ridges on a screw-top lid.
Step 9: Final Touches
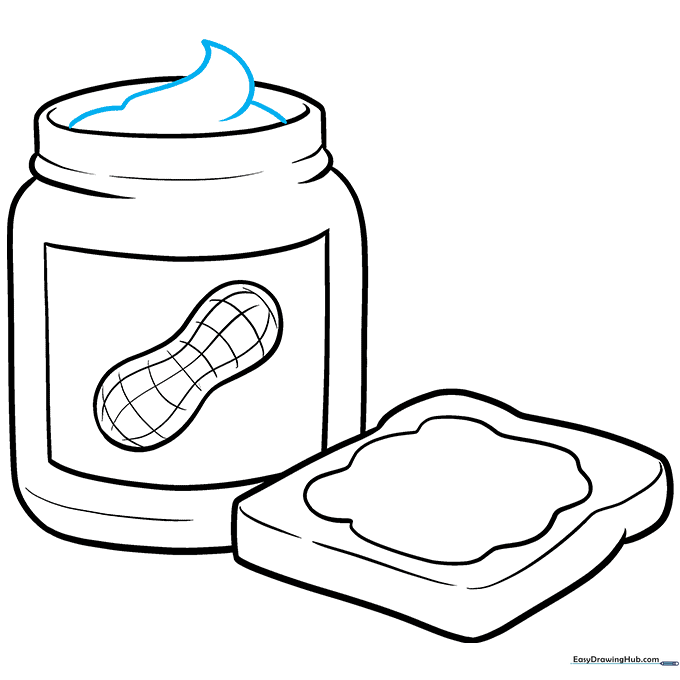
Add a rounded triangle inside the jar to show the creamy contents. Outline your work with black ink and erase your pencil marks. Teacher's Tip: Wait for the ink to dry completely before erasing to avoid smudging!
Step 10: Coloring Your Masterpiece
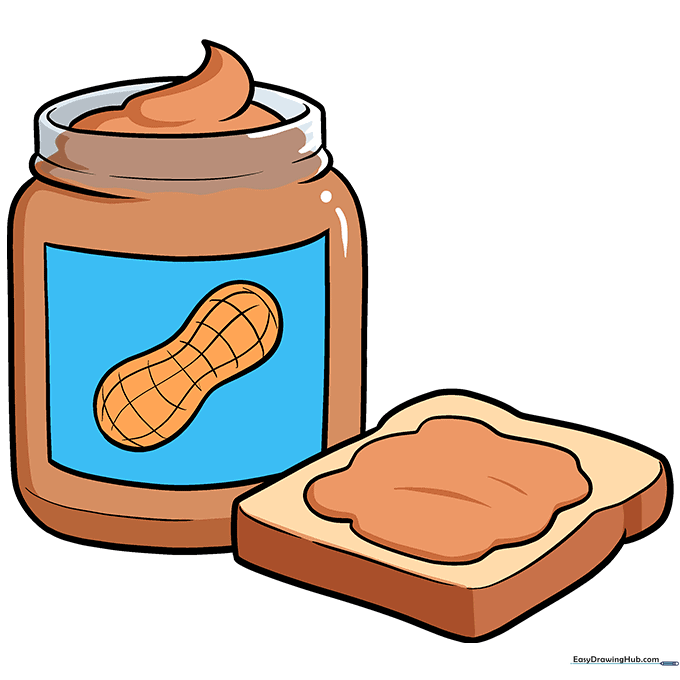
Use warm browns for the peanut butter, orange for the peanut, and blue for the label. Add white highlights on the jar to make it look shiny. Teacher's Tip: Use a lighter shade of brown for the top of the peanut butter to show where the light hits it.
More Tutorials


