How to Draw a Patriotic Pinwheel: Easy 9-Step Guide
Celebrate the holidays with this fun, screen-free drawing activity perfect for artists ages 5 and up. All you need is a pencil, an eraser, and your favorite markers or crayons to bring this spinning toy to life. Follow these simple steps to master basic shapes and symmetry while creating a festive piece of art.
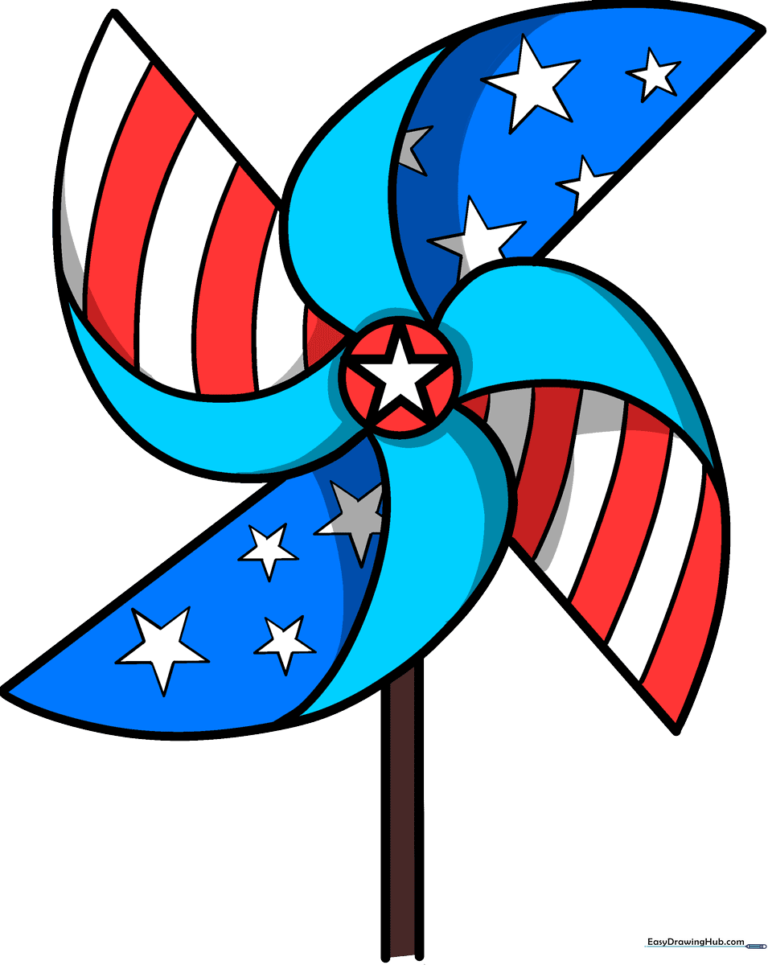
🎯 Final Result
Step-by-Step Instructions
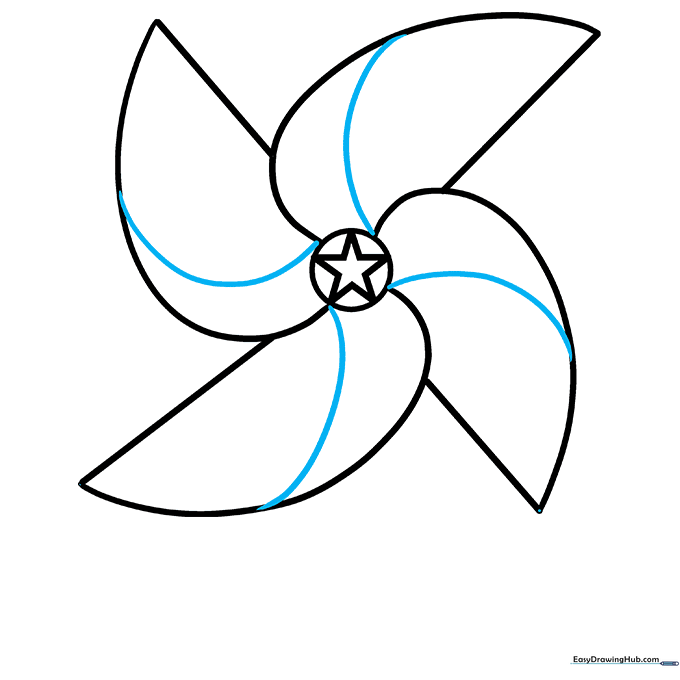
Step 1: Sketching the Center Hub
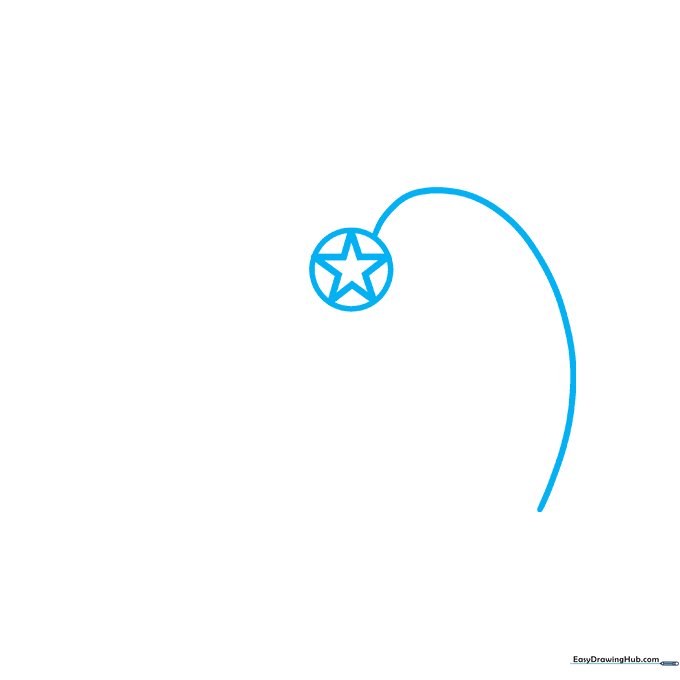
Start by drawing a small circle in the center of your page to act as the pinwheel's hub. Sketch a five-pointed star inside it. Teacher's Tip: Keep your pencil pressure light so you can easily erase any overlapping lines later.
Step 2: Creating the Spiral Base
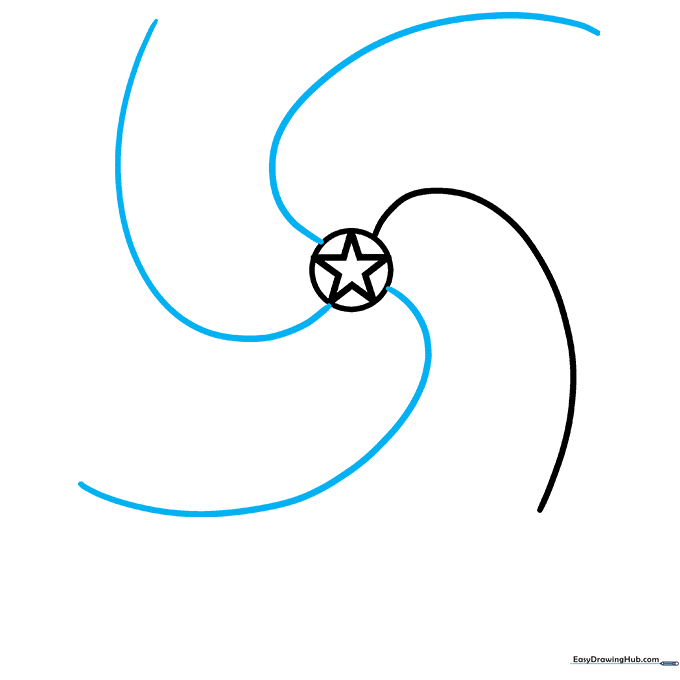
Extend long, curved lines outward from the center circle. These will form the base of your pinwheel blades. Tip: Try to space them evenly like the spokes of a wheel to keep your drawing balanced.
Step 3: Forming the Blades
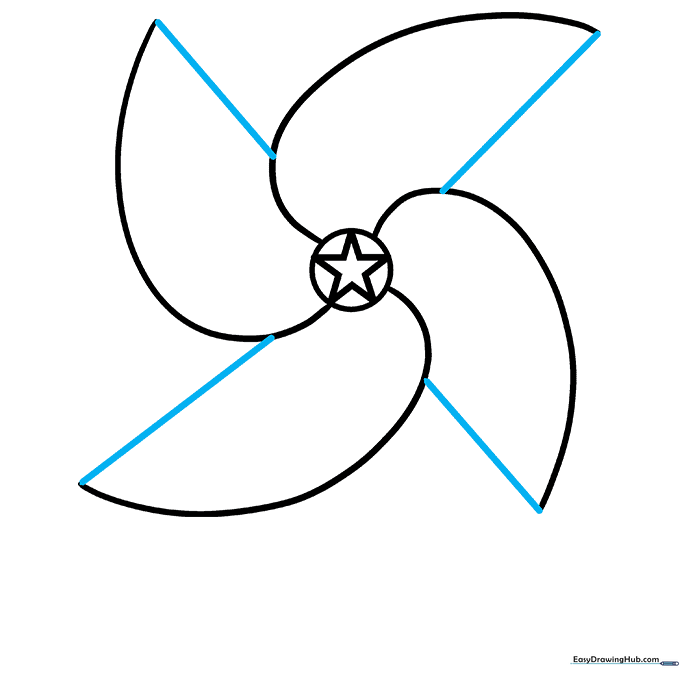
Connect the tip of each curved line back to the base of the neighboring line. This creates four heart-like shapes. Tip: Use a smooth, continuous motion to make the blades look like they are ready to spin in the wind.
Step 4: Adding Depth
Draw additional curved lines across each blade to give them a sense of movement. Tip: Keep these lines parallel to the outer edge of the blade for a professional, clean look.
Step 5: Adding Stripes
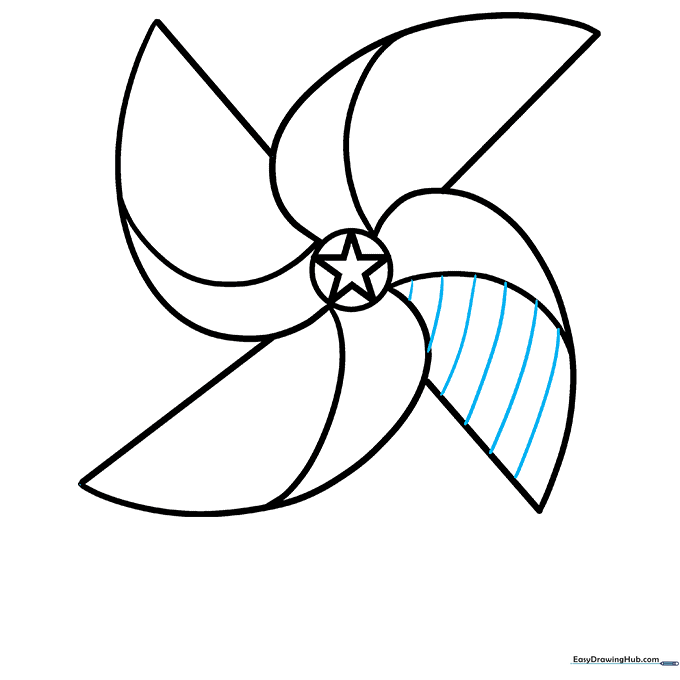
Draw parallel, slightly curved lines on the first blade to create a striped pattern. Tip: If your lines aren't perfectly straight, don't worry! Pinwheels are meant to be fun and handmade.
Step 6: Completing the Stripes
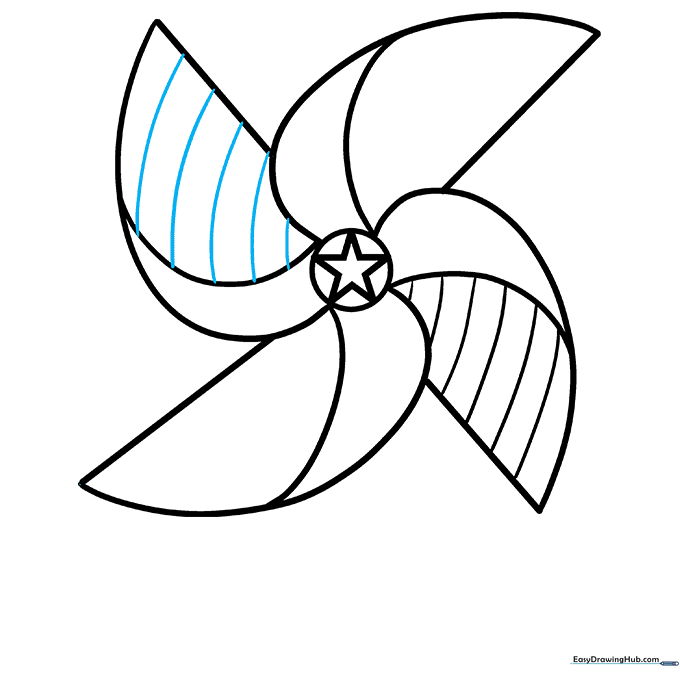
Repeat the striping process on the opposite blade. Tip: Matching the spacing of the stripes on opposite sides creates visual symmetry.
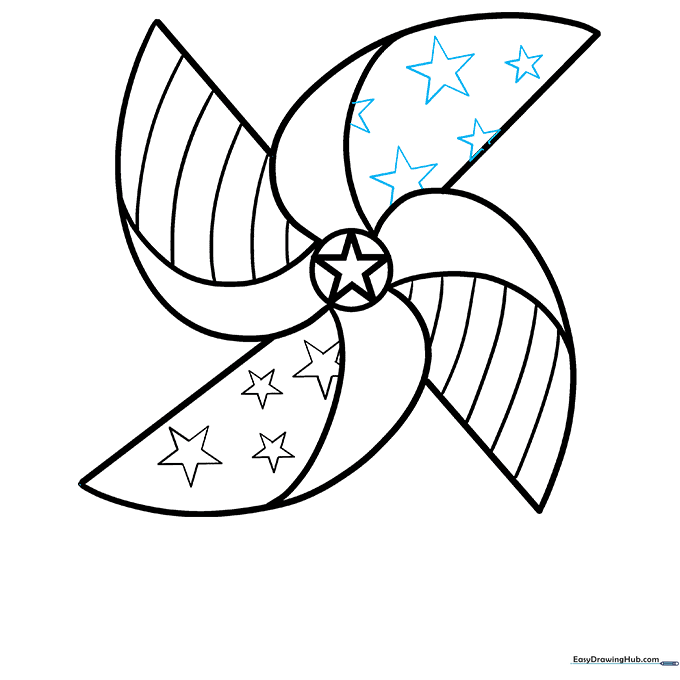
Step 7: Adding Stars
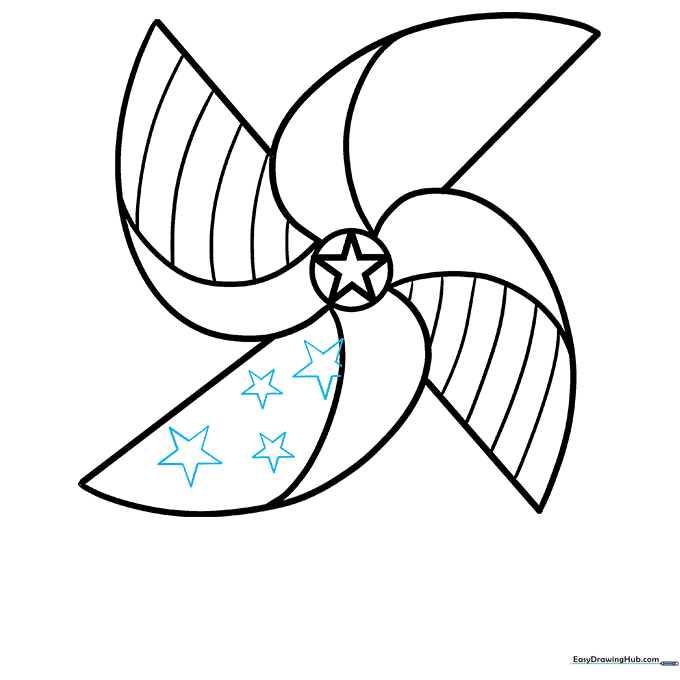
Draw small five-pointed stars on one of the remaining blank blades. Tip: Vary the sizes of the stars to make your drawing look more dynamic and interesting.
Step 8: Finalizing the Details
Fill the final blade with more stars, including some that look like they are 'peeking' off the edge of the blade. Tip: This adds a realistic touch to your illustration.
Step 9: Drawing the Handle
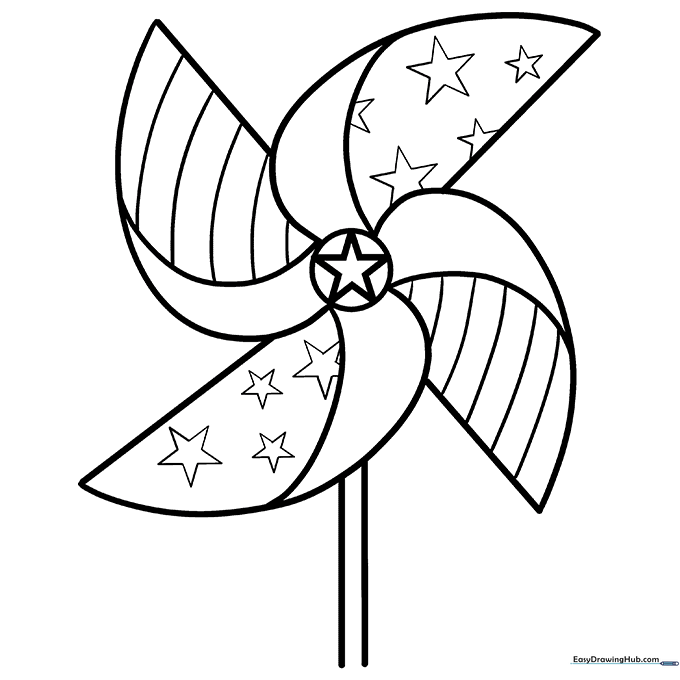
Draw two parallel vertical lines extending downward from the center of the pinwheel to create the handle. Tip: Use a ruler if you want the handle to be perfectly straight, or freehand it for a more organic look.
Step 10: Bringing it to Life with Color
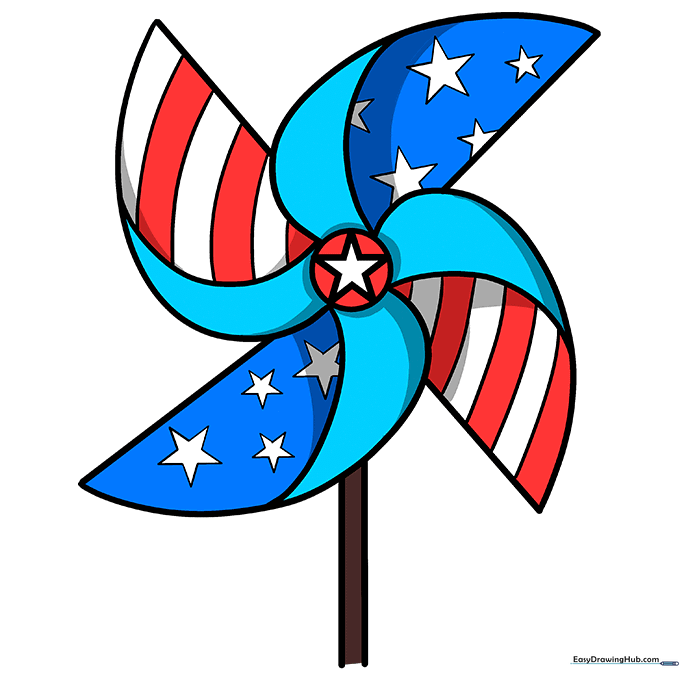
Time to color! Use red and white for the striped blades and deep blue for the star-filled blades to give it that classic patriotic look. Tip: Use bright, bold colors to make your pinwheel pop off the page!
More Tutorials


