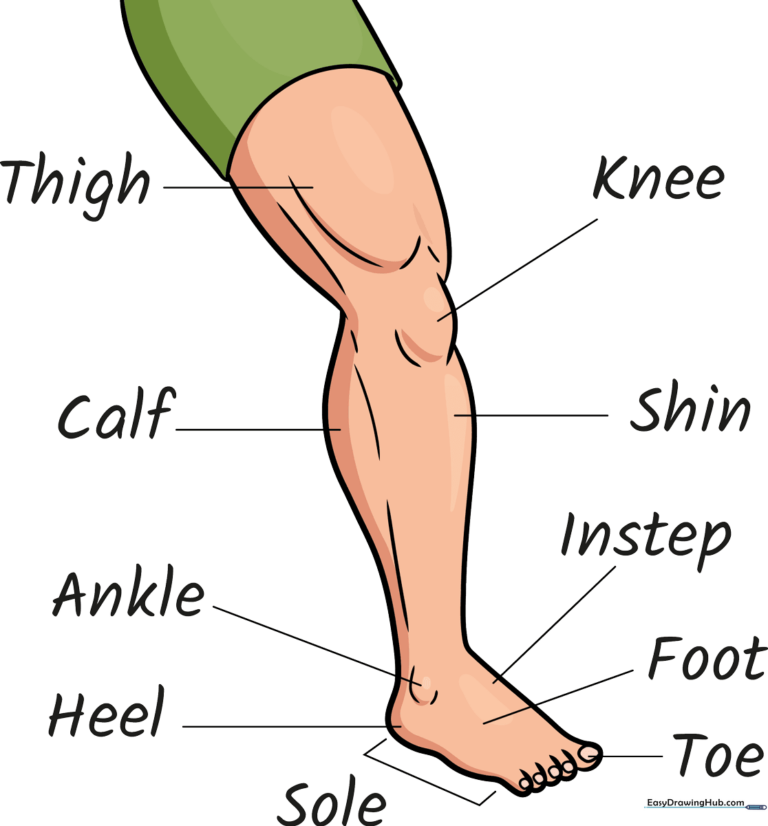
How to Draw Leg and Foot Anatomy: Simple Guide for Kids
This anatomy drawing lesson is perfect for students ages 7+ looking to understand human proportions. You will need a pencil, an eraser, and a piece of paper to complete this diagram. By the end of this session, you will have a clear, labeled illustration of the lower body that is great for science notebooks or art portfolios.
🎯 Final Result
Step-by-Step Instructions
Step 1: Sketching the Upper Leg Base

Start by drawing three connected curved lines to form the base of the shorts. Teacher's Tip: Keep your pencil pressure light here so you can easily adjust the shape if the proportions look a bit off.
Step 2: Defining the Thigh and Knee
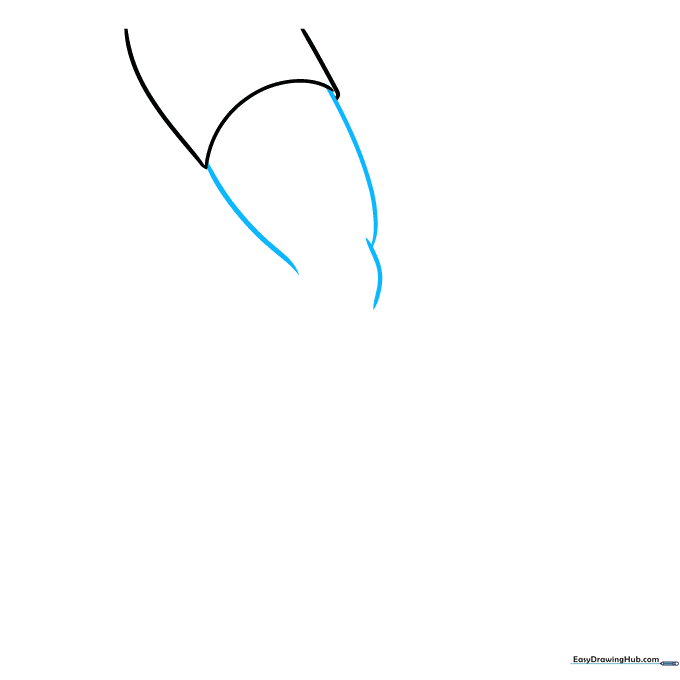
Extend a long curved line from one side of the shorts and two overlapping curved lines from the other to define the thigh. Tip: The overlapping lines help create the natural bend of the knee joint.
Step 3: Outlining the Lower Leg
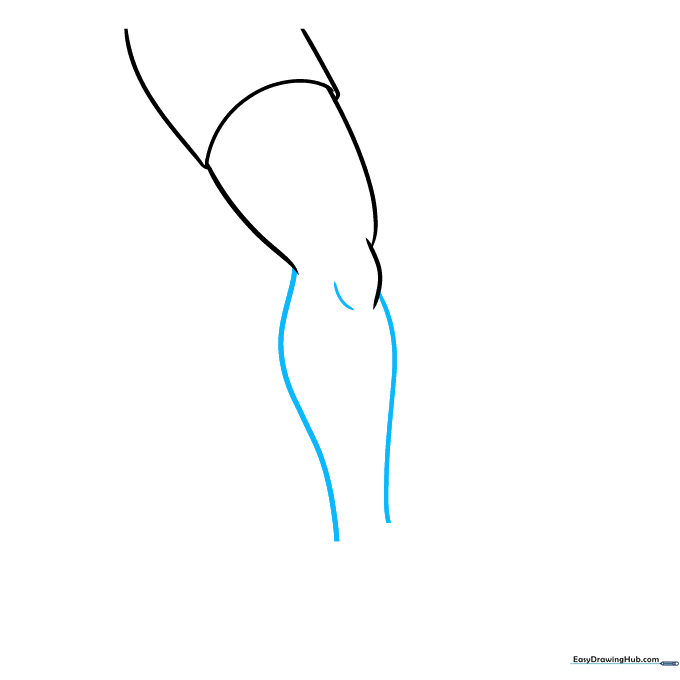
Draw a long curved line down from each side of the knee to create the calf and shin area. Add a small curve to emphasize the kneecap. Tip: Use a fluid motion to keep the leg looking realistic rather than stiff.
Step 4: Shaping the Foot
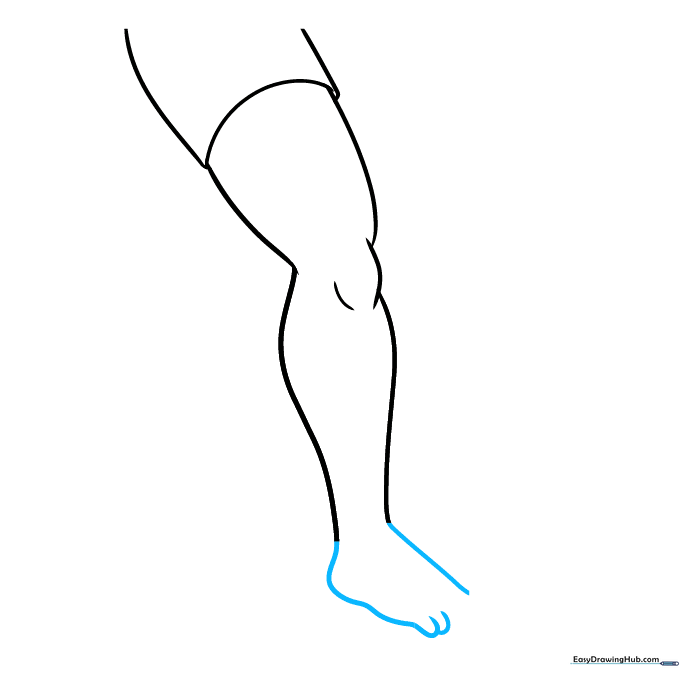
Extend the lines from the ankle to form the top and bottom of the foot. Start sketching the toes with short, rounded strokes. Tip: Keep the toes small; they should look proportional to the rest of the foot.
Step 5: Refining the Toes and Ankle
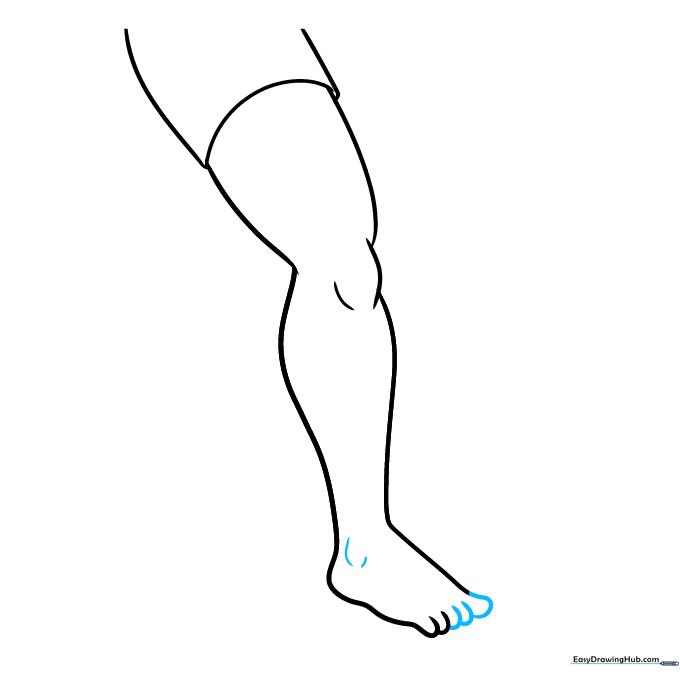
Close the toe shapes with overlapping curves and add two small lines to define the ankle bone. Tip: The ankle bone is usually slightly higher on the inside of the leg—try to place your lines to reflect that.
Step 6: Adding Toenails and Muscle Detail
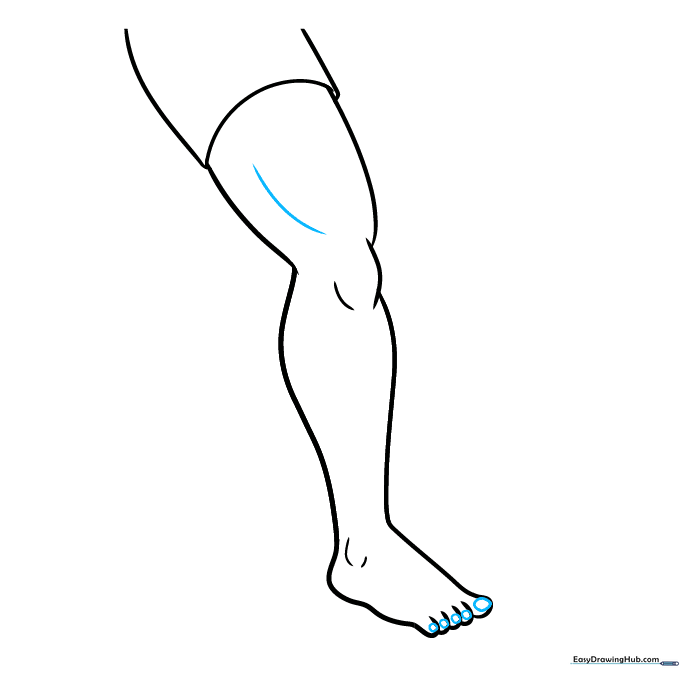
Draw small, rounded shapes at the tip of each toe for the nails. Add a curved line on the upper leg to suggest the thigh muscle. Tip: Erase any overlapping guidelines inside the toes to make them look clean.
Step 7: Finalizing Muscle Contours
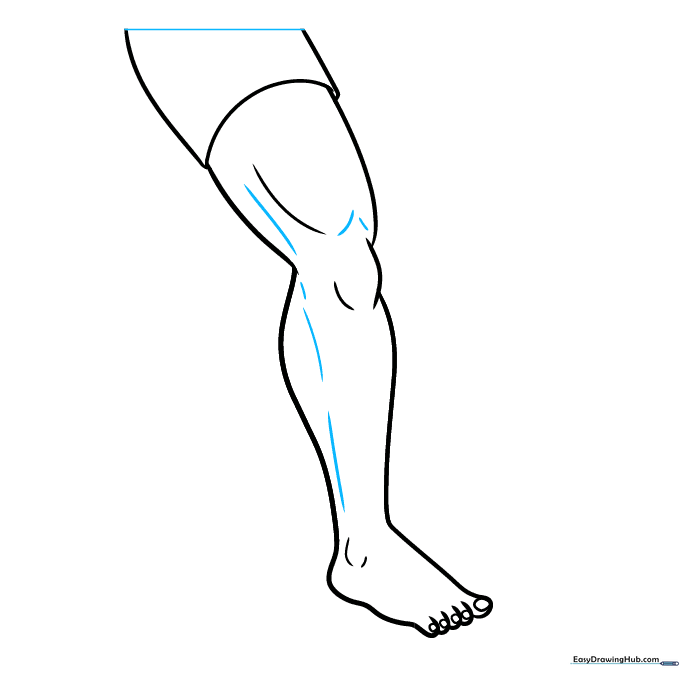
Add a few more curved lines to show the definition of the calf and thigh muscles. Draw a straight line across the top to frame your diagram. Tip: Use very light pressure for these contour lines to keep the drawing looking soft.
Step 8: Labeling the Anatomy
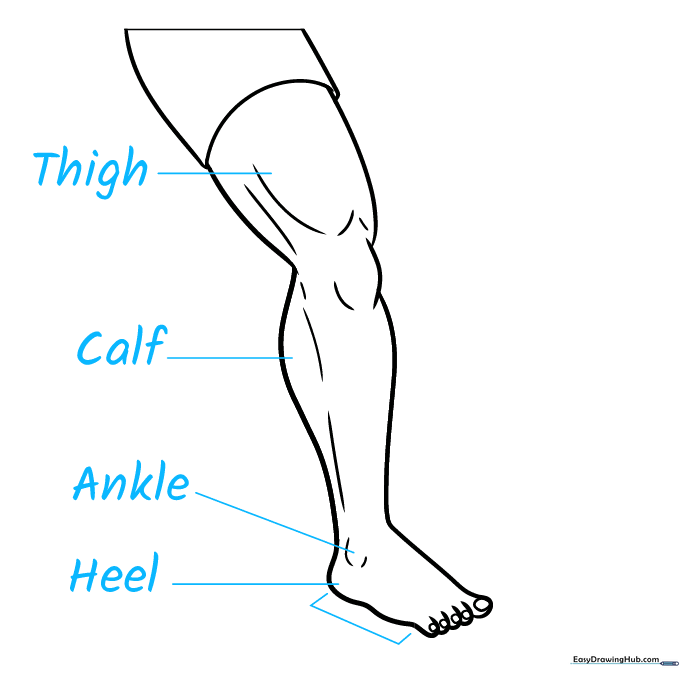
Draw straight lines from the thigh, calf, ankle, and heel to the side of your paper. Write the names clearly next to each line. Tip: Use a ruler for your leader lines to keep the diagram looking professional and organized.
Step 9: Completing the Labels
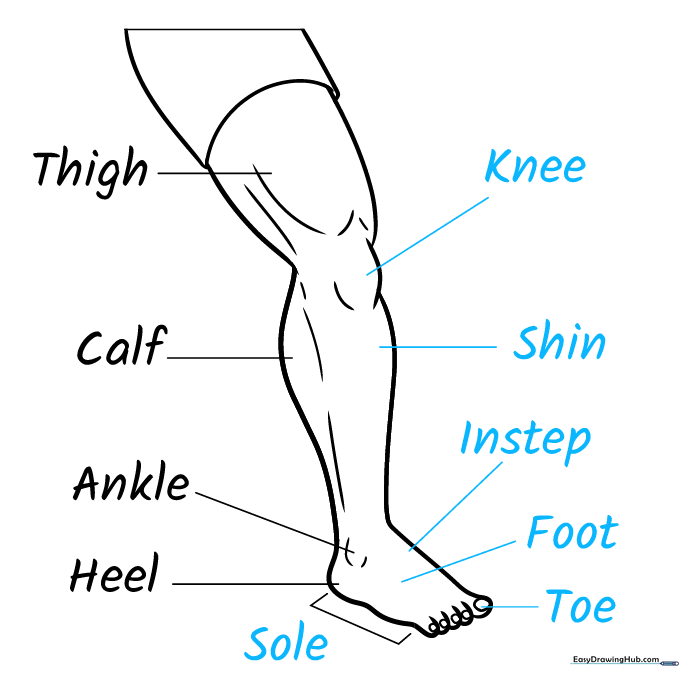
Finish your diagram by labeling the knee, shin, instep, and toes. Use a bracket to clearly indicate the sole of the foot. Tip: Check your spelling as you write the labels to ensure your science project is accurate!
Step 10: Adding Color
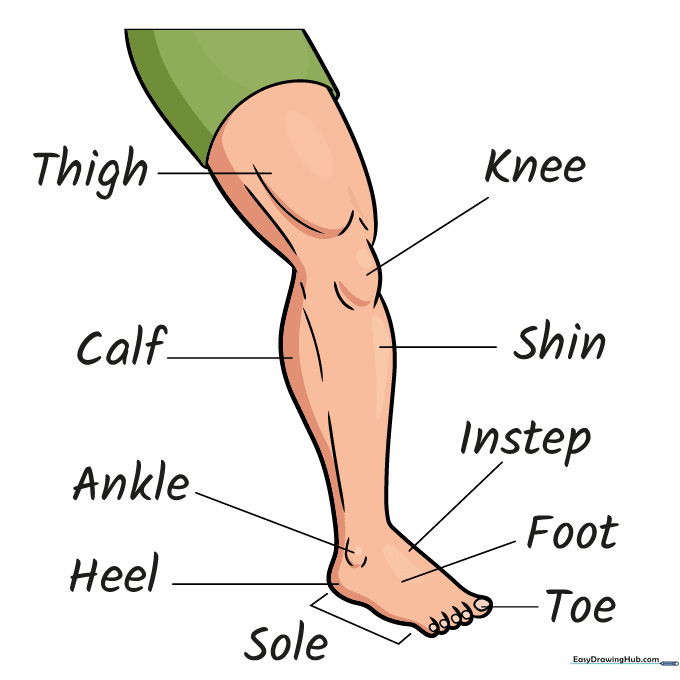
Your anatomical diagram is finished! Use colored pencils or markers to shade the muscles or highlight the different sections. Tip: Use a light skin tone for the leg and a darker shade for the labels to make them pop.
More Tutorials


