How to Draw a Human Face: Anatomy Guide for Kids
This interactive drawing lesson is designed for young artists and students to master facial anatomy through a fun, step-by-step diagram. You will need a pencil, eraser, and paper to follow along. By the end, you'll have a complete, labeled illustration of the human head that reinforces both artistic technique and scientific vocabulary.
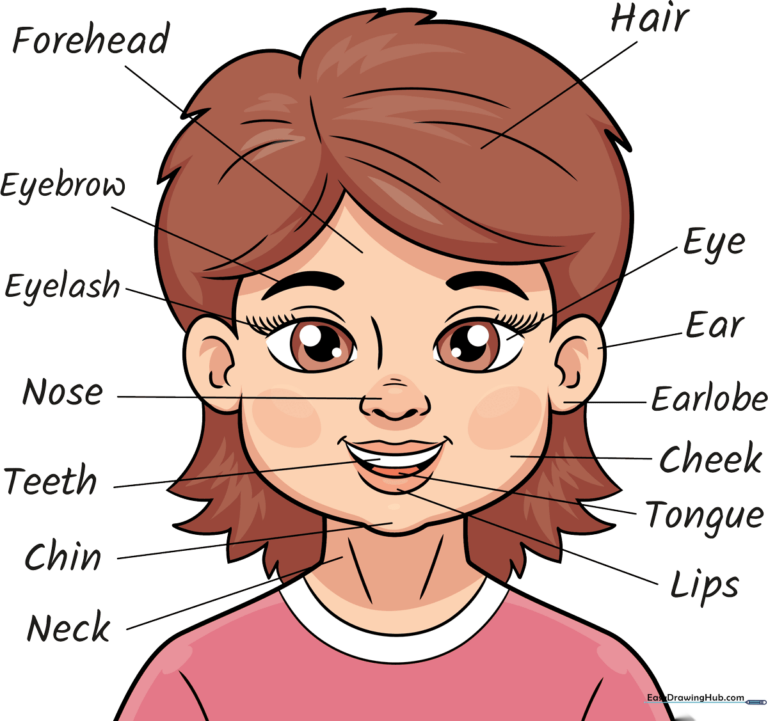
🎯 Final Result
Step-by-Step Instructions
Step 1: Sketching the Eyes
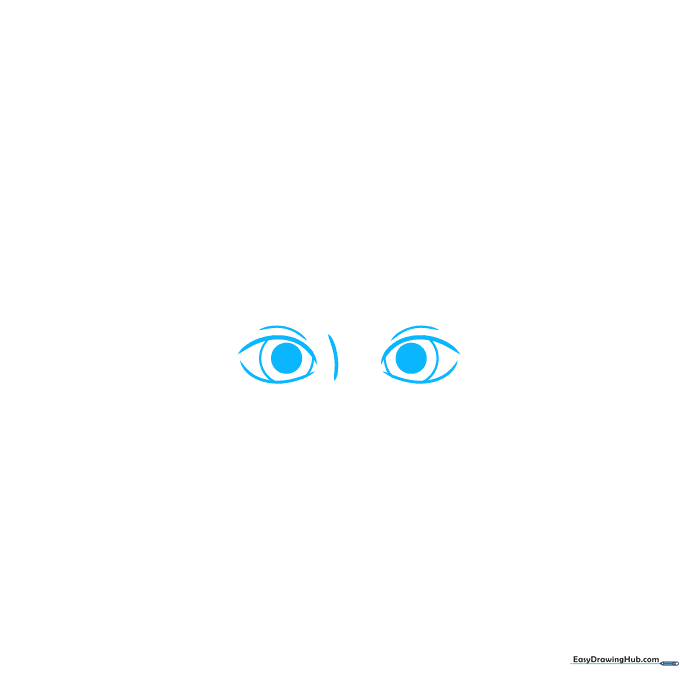
Start by drawing two curved lines for the upper eyelids. Inside, add a circle for the iris and a smaller, shaded circle for the pupil. Teacher's Tip: Keep your pencil pressure light so you can easily adjust the shape if the eyes look uneven.
Step 2: Adding Brows and Nose
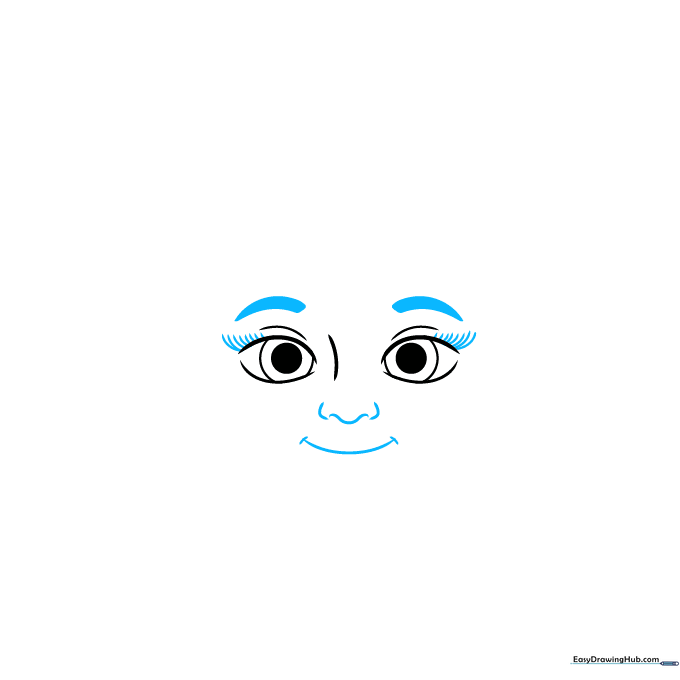
Draw the tip of the nose using a soft, curved line and add a gentle smile. Use short, flicking strokes for the eyelashes and draw two thick, curved shapes above the eyes for the eyebrows. Tip: Brows are expressive—try angling them slightly to change the character's mood!
Step 3: Defining the Chin and Mouth
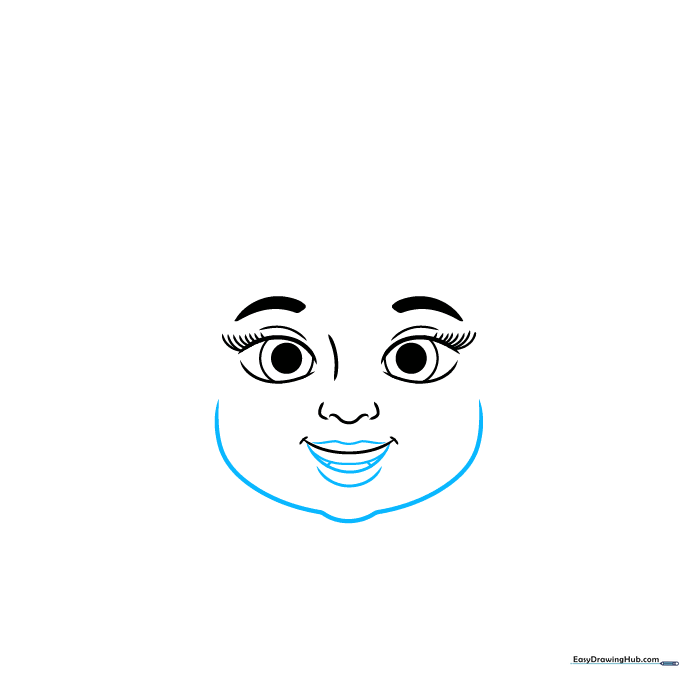
Sketch a long, smooth curve to form the chin and cheeks. Define the lips with a series of curved lines to show an open, smiling mouth. Tip: Think of the chin as a soft 'U' shape to keep the face looking friendly.
Step 4: Ears and Hairline
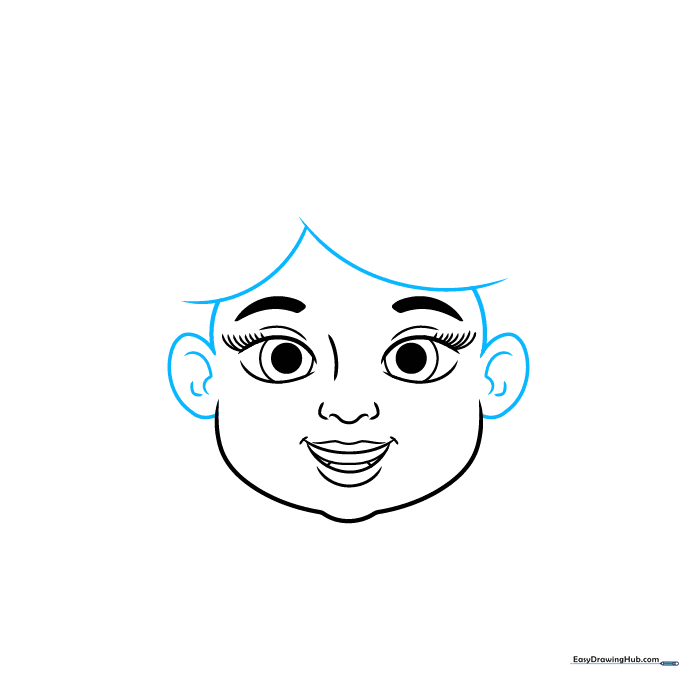
Draw the ears on the sides of the face using overlapping curves. Add small inner details to the ears to give them depth. Tip: Ears usually align with the top of the eyes and the bottom of the nose.
Step 5: Styling the Hair
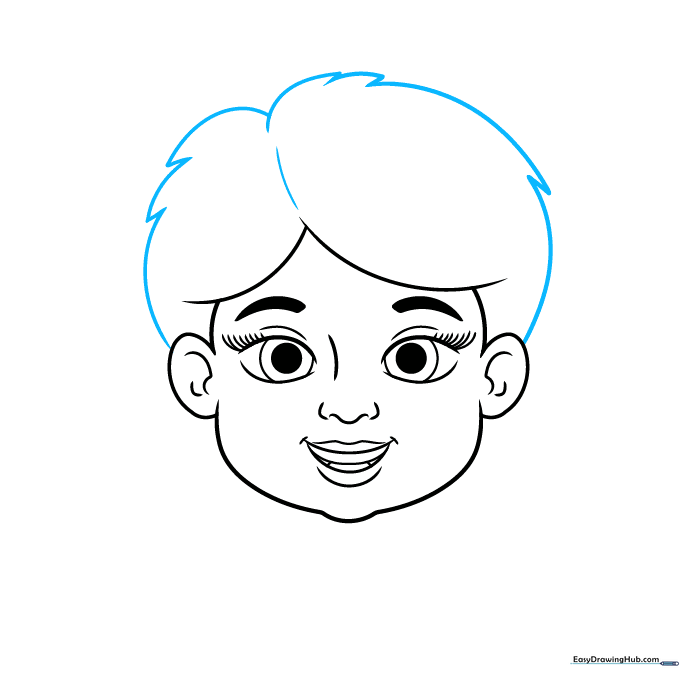
Use jagged, flowing lines to create the hair. Make sure the lines meet at points to look like natural hair strands. Tip: Don't worry about making every hair perfect; focus on the overall shape and volume.
Step 6: Neck and Shoulders
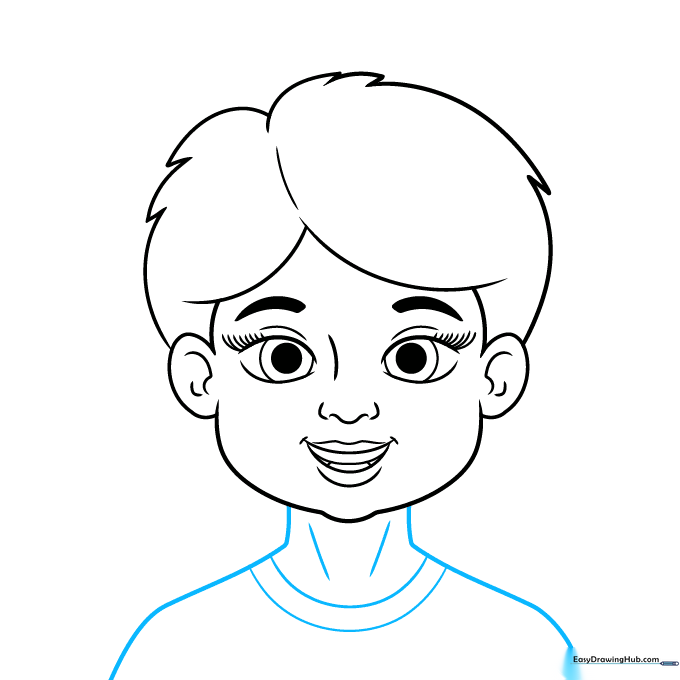
Draw two long, graceful lines for the neck and add the curve of the shoulders. Add extra lines on the neck to show the muscles and structure. Tip: Keep the neck lines slightly curved to avoid making the drawing look stiff.
Step 7: Adding Texture
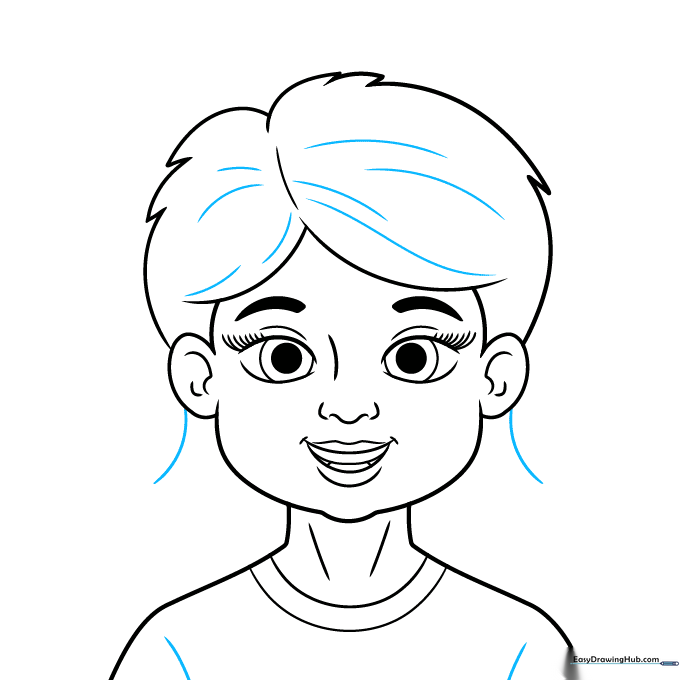
Add fine lines to the hair to show direction and texture. Extend the hair behind the ears and define the collar of the shirt. Tip: Use varying line lengths to make the hair look more realistic.
Step 8: Labeling Anatomy
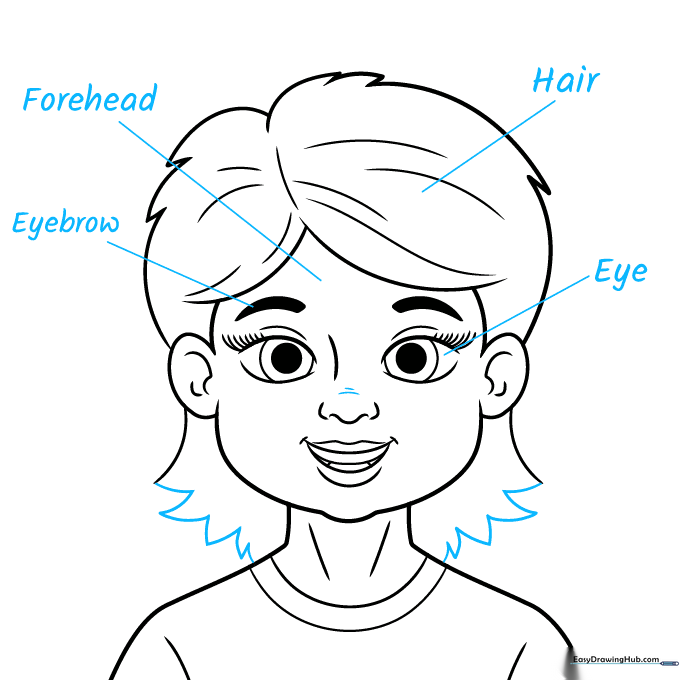
Finish the hair with jagged points. Now, draw straight lines from the eyebrows, forehead, hair, and eyes to the side of the page. Write the name of each part next to the line. Tip: Use a ruler for your lines to keep the diagram looking clean and professional.
Step 9: Completing the Diagram
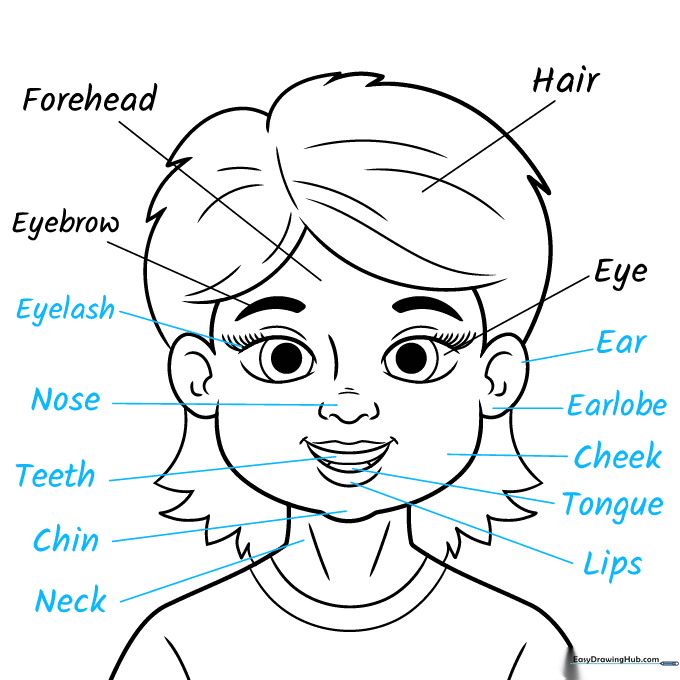
Continue labeling the remaining parts: ear, earlobe, cheek, tongue, lips, neck, chin, teeth, nose, and eyelash. Ensure every label is clear and points directly to the correct feature.
Step 10: Final Coloring
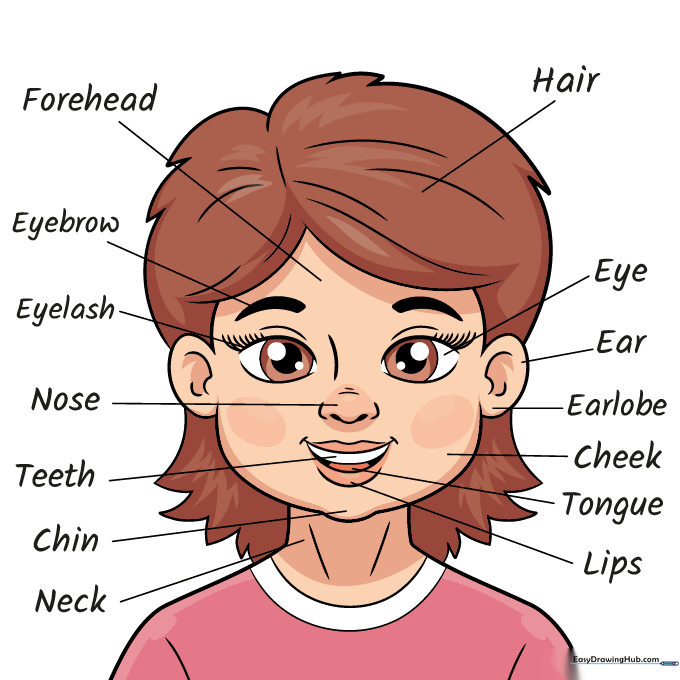
Your educational diagram is finished! Use your favorite colors to fill in the skin, hair, and eyes. Tip: Use light pressure for skin tones and darker pressure for hair to add contrast.
More Tutorials


