How to Draw the Ear: Simple Anatomy Diagram for Kids
This step-by-step guide is perfect for students and young artists ages 8+ looking to master biological drawing. You will need a pencil, eraser, and fine-liner to map out the complex structures of the human ear. By the end, you'll have a clear, labeled diagram that makes learning anatomy both fun and memorable.
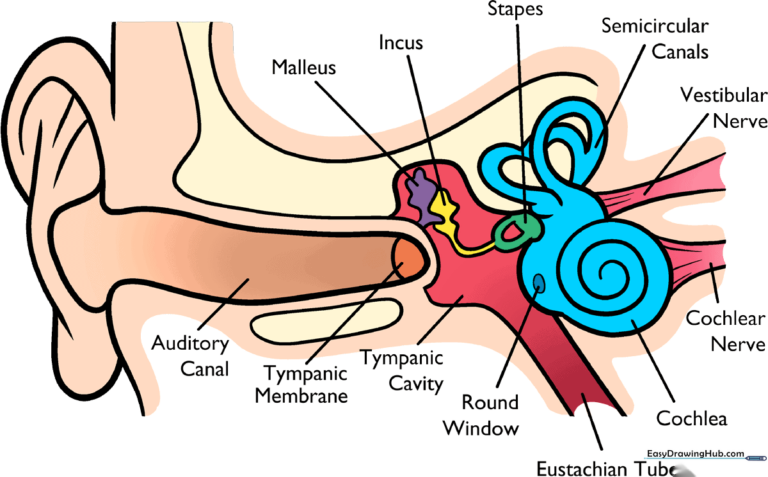
🎯 Final Result
Step-by-Step Instructions
Step 1: Sketching the Outer Ear
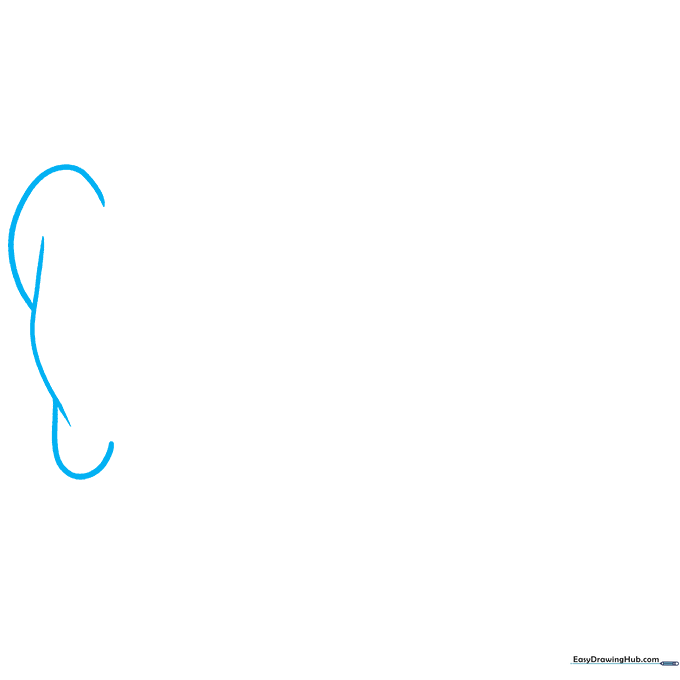
Start by drawing the outer ear shape using a series of smooth, curved lines. Focus on the helix (the outer rim) and the earlobe. Tip: Keep your pencil pressure light so you can easily adjust the curve if it looks too pointy.
Step 2: Adding Internal Cartilage Details
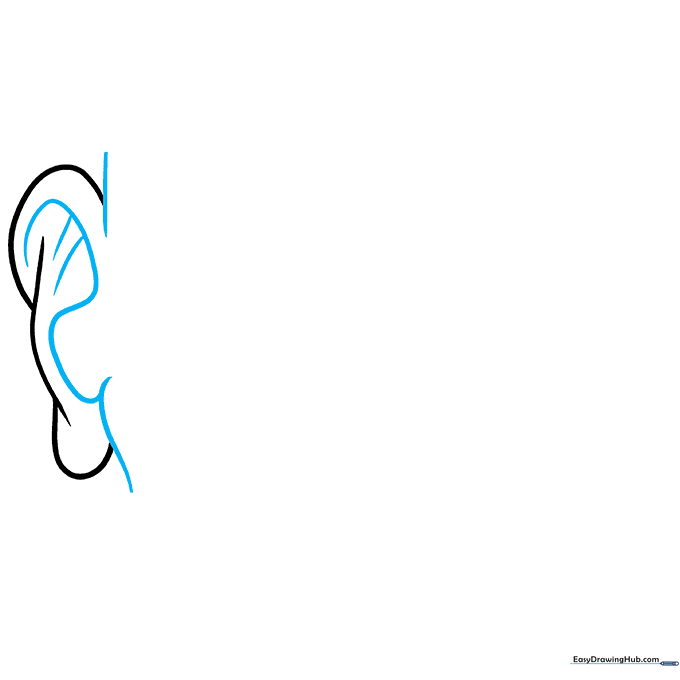
Add the inner ridges like the antihelix and the concha. Tip: Think of these as small, nested 'C' shapes inside the main ear outline to give it a realistic, 3D depth.
Step 3: Drawing the Ear Canal and Eardrum
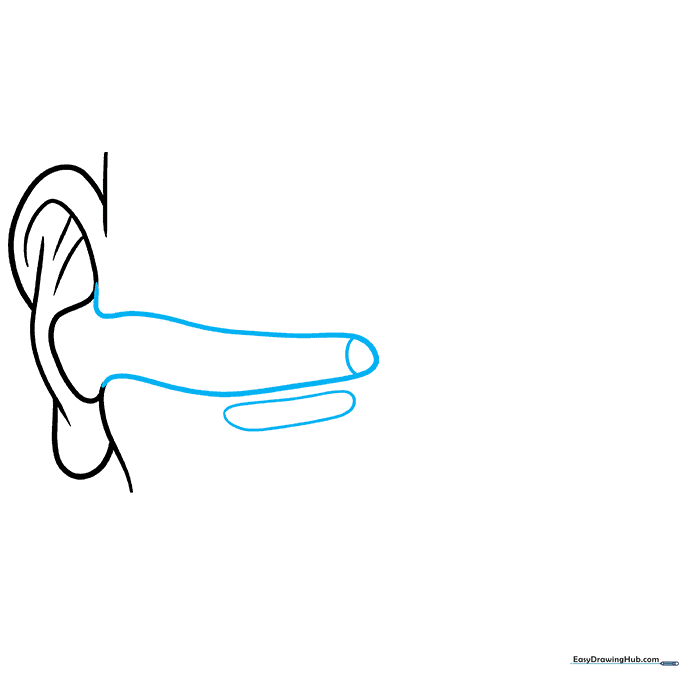
Extend a curved line inward to create the ear canal. Cap it off with a small, flattened oval to represent the tympanic membrane (eardrum). Tip: Ensure the eardrum looks like a thin, delicate barrier.
Step 4: Mapping the Middle Ear Space
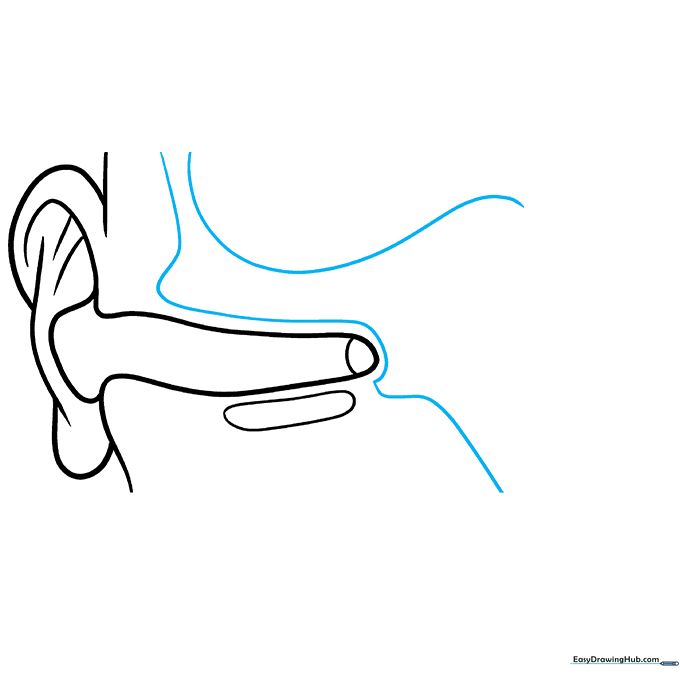
Draw two parallel curved lines to define the space where the tiny middle ear bones will sit. Tip: Keep these lines smooth to represent the hollow cavity of the middle ear.
Step 5: Sketching the Ossicles (Hammer, Anvil, Stirrup)
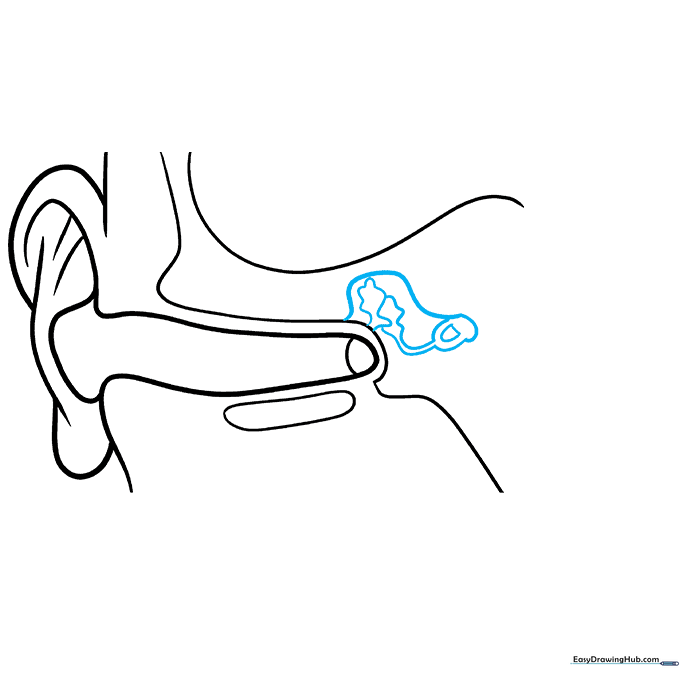
Draw the three tiny bones: the malleus (hammer), incus (anvil), and stapes (stirrup). Tip: These are small, irregular shapes, so don't worry about making them perfect—focus on their unique, interlocking forms.
Step 6: Drawing the Cochlea and Semicircular Canals
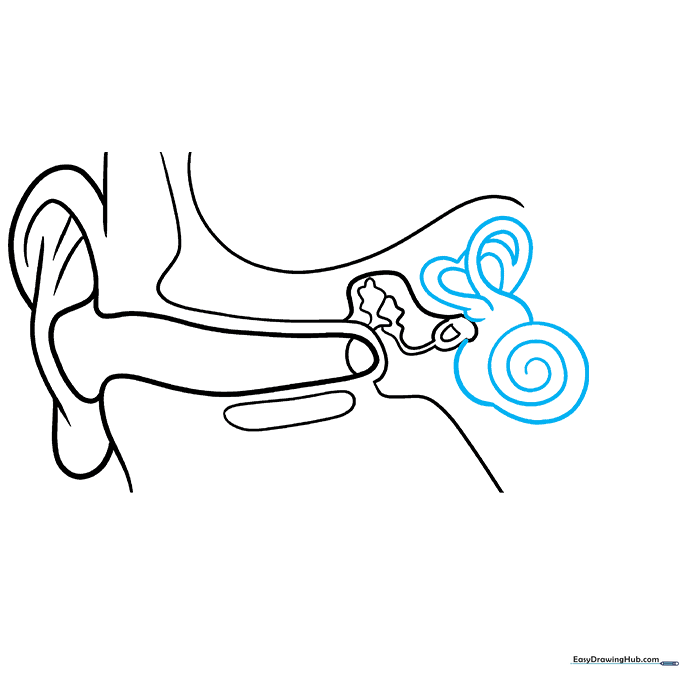
Draw the spiral-shaped cochlea and the three looping tubes of the semicircular canals. Tip: The cochlea looks like a snail shell—draw it slowly to get the spiral tight and neat.
Step 7: Adding Nerves and the Eustachian Tube
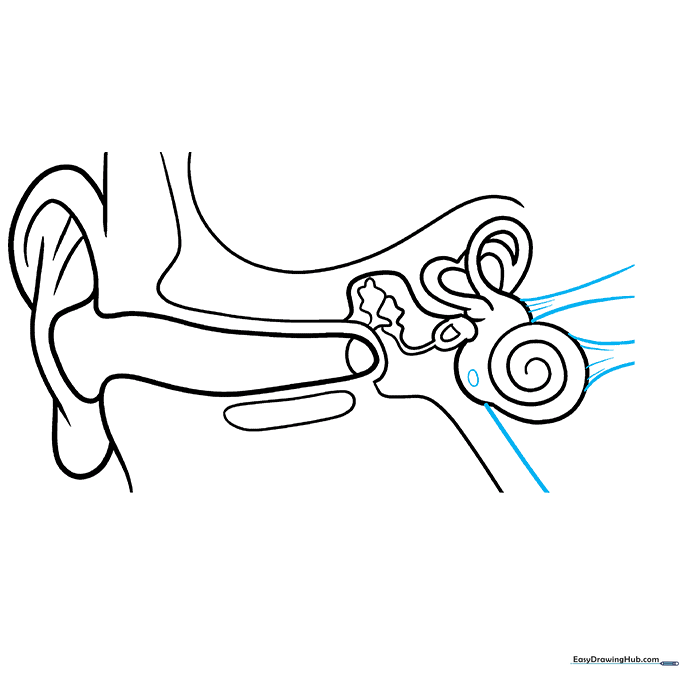
Add the vestibular and cochlear nerves extending from the inner ear, and draw the Eustachian tube below. Tip: Use short, dashed lines to give the nerves a textured, fiber-like appearance.
Step 8: Labeling Part One
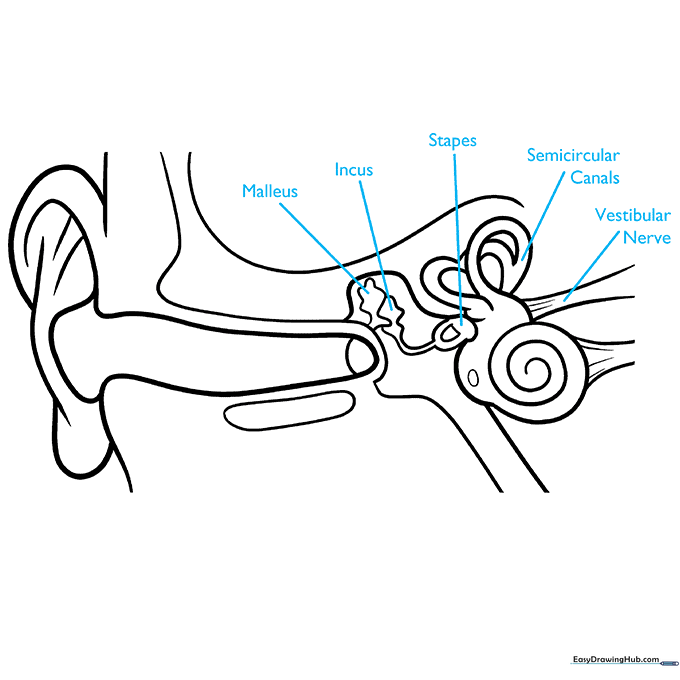
Use your fine-liner to draw straight lines pointing to the malleus, incus, stapes, and semicircular canals. Tip: Use a ruler to keep your label lines perfectly straight for a professional, scientific look.
Step 9: Finalizing Labels
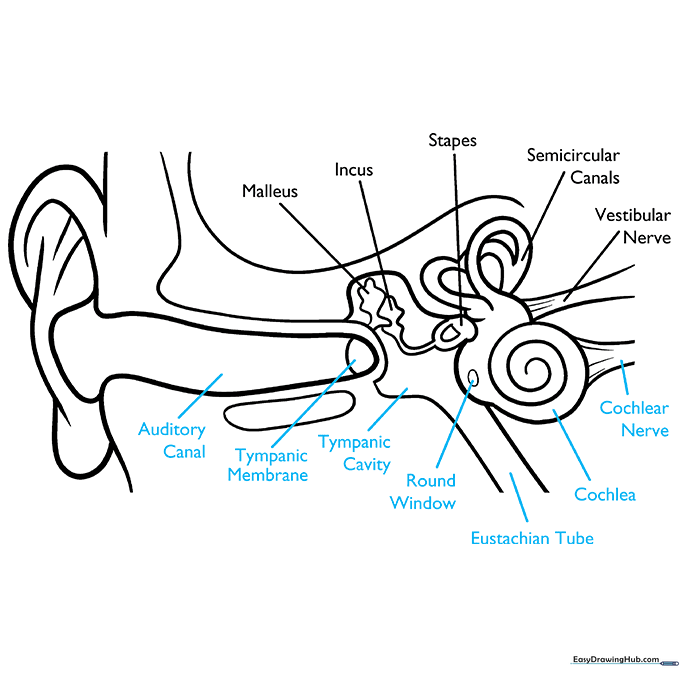
Complete your diagram by labeling the remaining parts: cochlear nerve, cochlea, Eustachian tube, and auditory canal. Tip: Write your labels clearly in print so they are easy to read for your school project.
Step 10: Adding Color
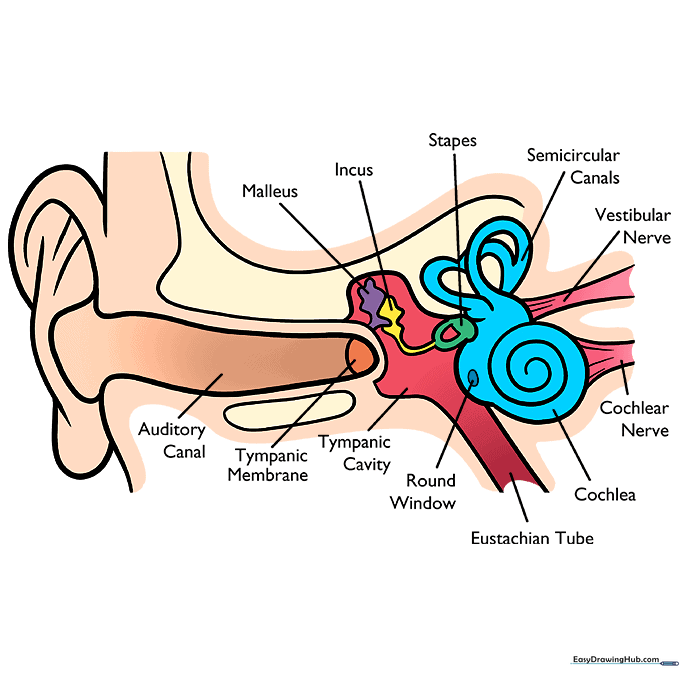
Bring your diagram to life with color! Use soft skin tones for the outer ear and distinct, bright colors for each internal part to help distinguish them. Tip: Use a key or legend if you have extra space on your paper.
More Tutorials


