How to Draw a Tree: Easy Science Diagram for Kids
This step-by-step guide is designed for young naturalists and students to master the anatomy of a tree. You will need a pencil, eraser, and paper to build this scientific diagram from the roots up. By the end, you'll have a clear, labeled illustration that makes learning botany fun and simple.
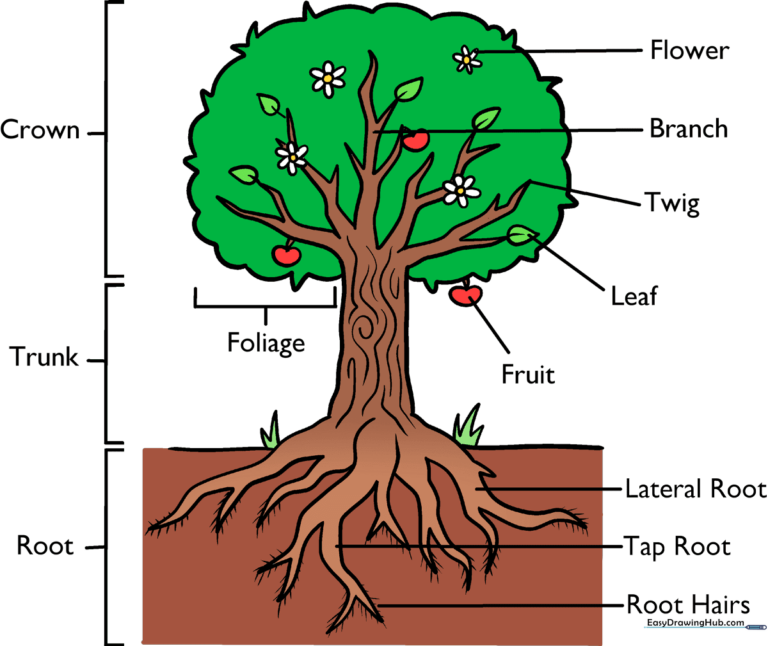
🎯 Final Result
Step-by-Step Instructions
Sketching the Root System
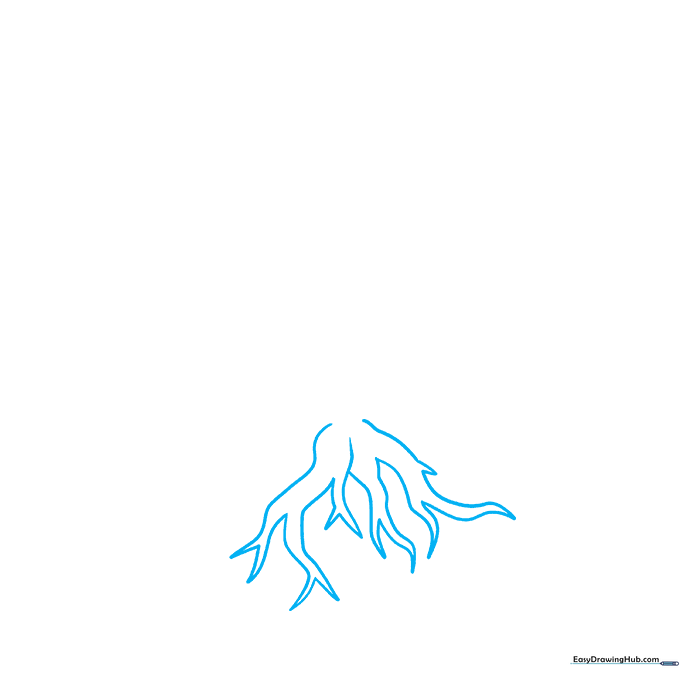
Start by drawing the roots at the bottom of your page. Use curved lines that branch out like the letter 'Y' and meet at sharp, pointed ends. Teacher's Tip: Roots anchor the tree, so make them look sturdy by varying the thickness of your lines.
Expanding the Roots
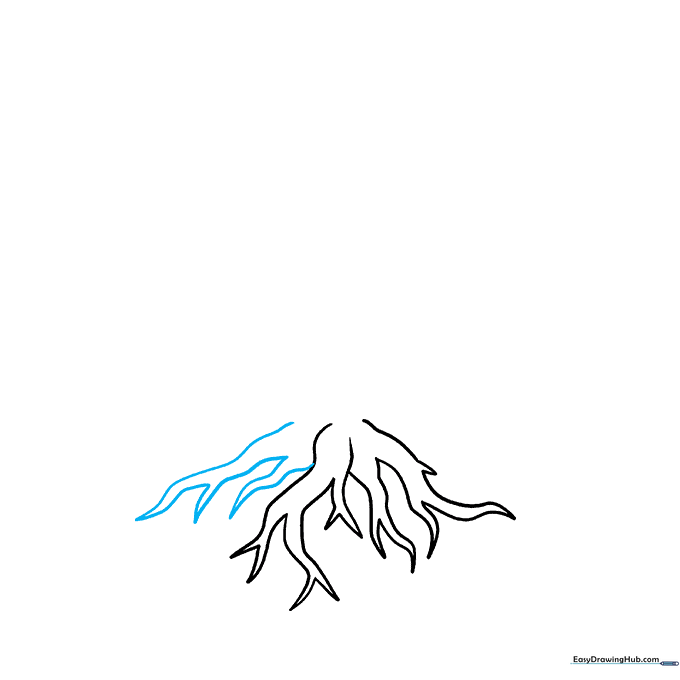
Add more roots to your base. Continue using branching, curved lines that taper to sharp points. Teacher's Tip: Don't worry about making them perfectly symmetrical; nature is rarely uniform!
Drawing the Trunk and Lower Branches
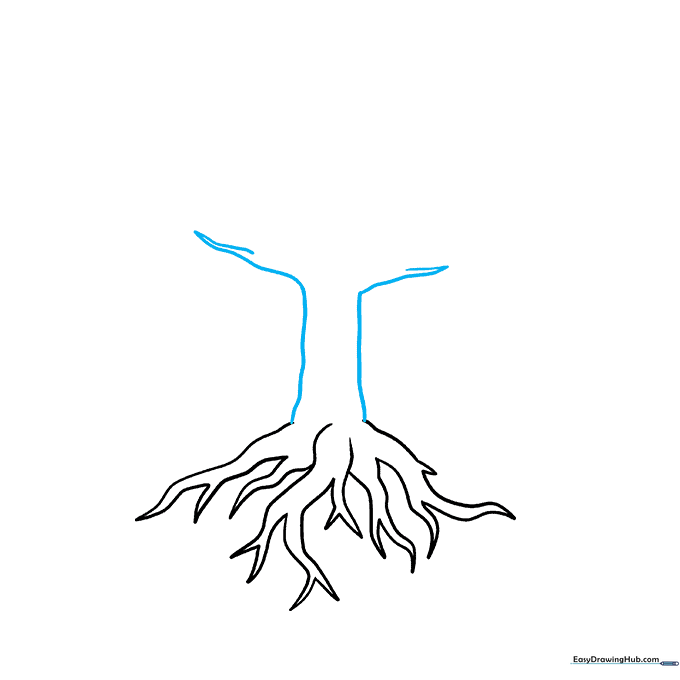
Extend two wavy lines upward from the roots to form the trunk. Near the top, bend these lines outward and double them back to create the first set of lower branches. Teacher's Tip: Keep the trunk wider at the bottom and narrower as it reaches toward the sky.
Adding the Crown and Upper Branches
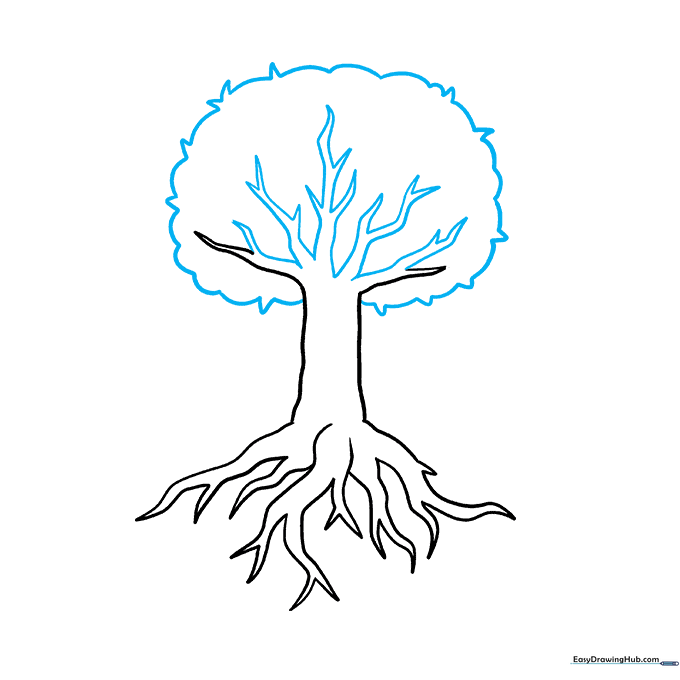
Add more branches using the same branching technique. Then, draw a large, cloud-like shape around the top to represent the crown. Use 'V' shaped lines along the edge to give it a leafy texture. Teacher's Tip: Use short, quick strokes for the leaves to make the canopy look full and fluffy.
Detailing the Leaves
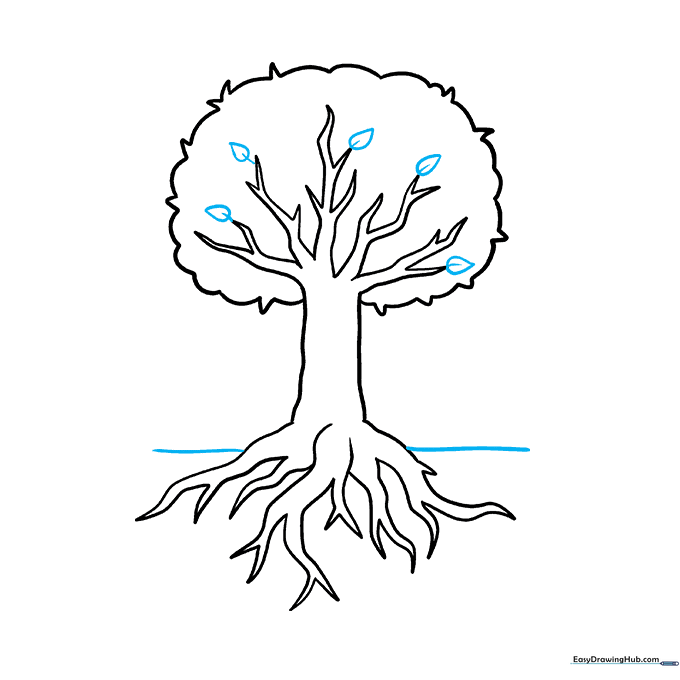
Draw a few individual leaves at the tips of your branches. Enclose a teardrop shape for each leaf and add a small line in the center for the vein. Teacher's Tip: Adding just a few leaves helps the viewer understand the scale of the tree.
Adding Fruit and Ground Details
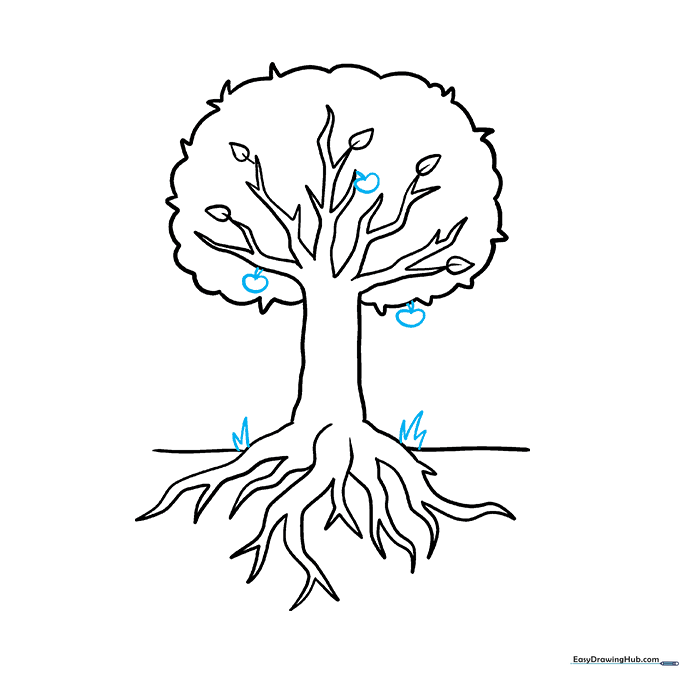
Draw small, rounded heart shapes hanging from the branches for fruit. At the bottom, draw jagged, grassy lines to ground your tree. Teacher's Tip: Grass helps show that the tree is planted in the earth, not just floating in space!
Adding Blooms and Root Hairs
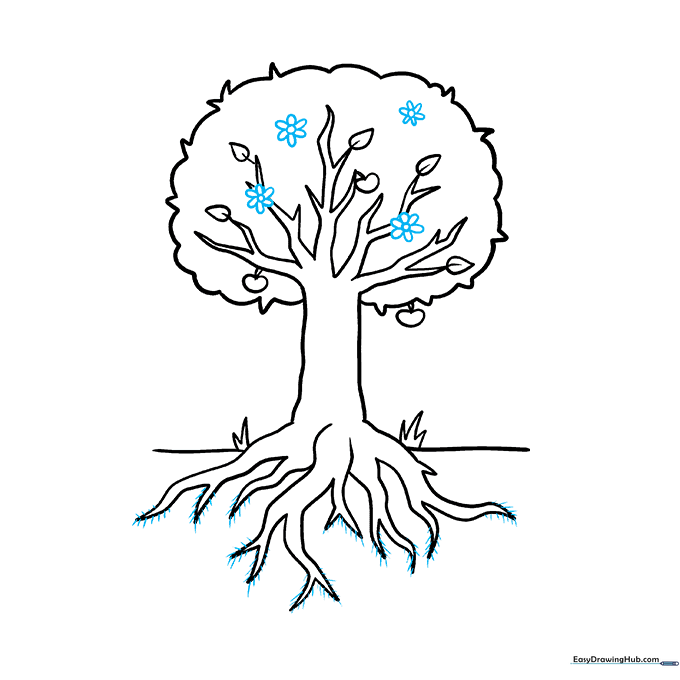
Add small flowers to the branches using a circle center and six 'U' shaped petals. Then, draw tiny, short lines extending from the roots to represent root hairs. Teacher's Tip: Root hairs are essential for absorbing water, so make them look delicate.
Adding Bark Texture
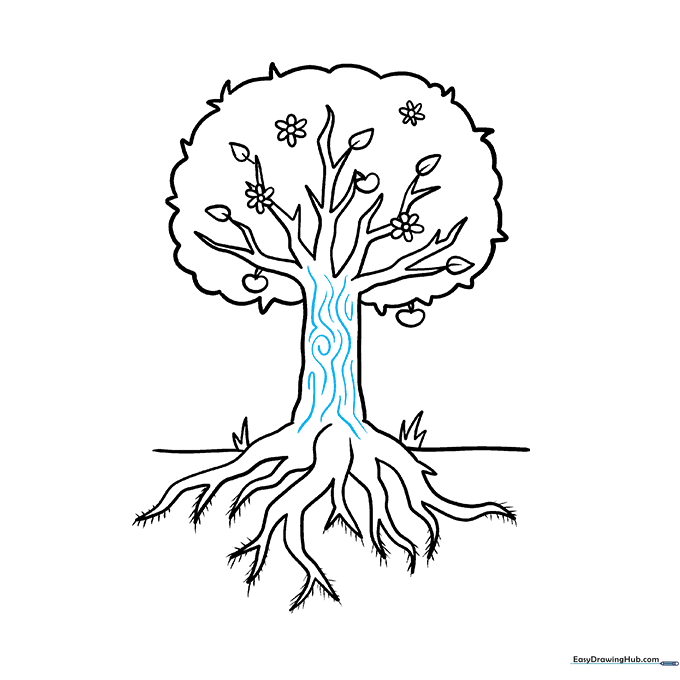
Give your tree character by adding bark texture to the trunk. Use light, wavy, and spiral-shaped lines. Teacher's Tip: Don't overdo it—just a few lines here and there will suggest the texture of wood without cluttering the drawing.
Labeling Your Scientific Diagram
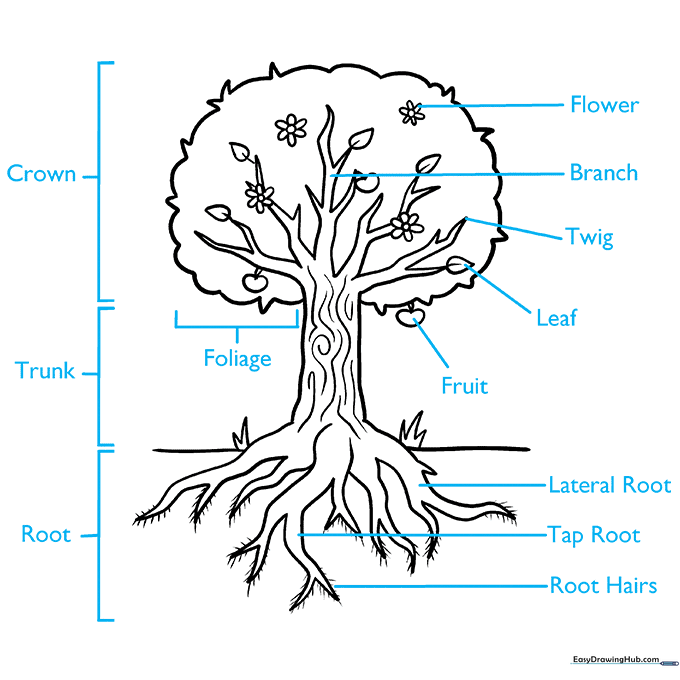
Now, turn your drawing into a science lesson! Use brackets to label the foliage, crown, trunk, and roots. Draw straight lines to point out the flower, branch, twig, leaf, fruit, lateral root, tap root, and root hairs. Teacher's Tip: Use a ruler to keep your labels neat and readable.
Coloring Your Tree
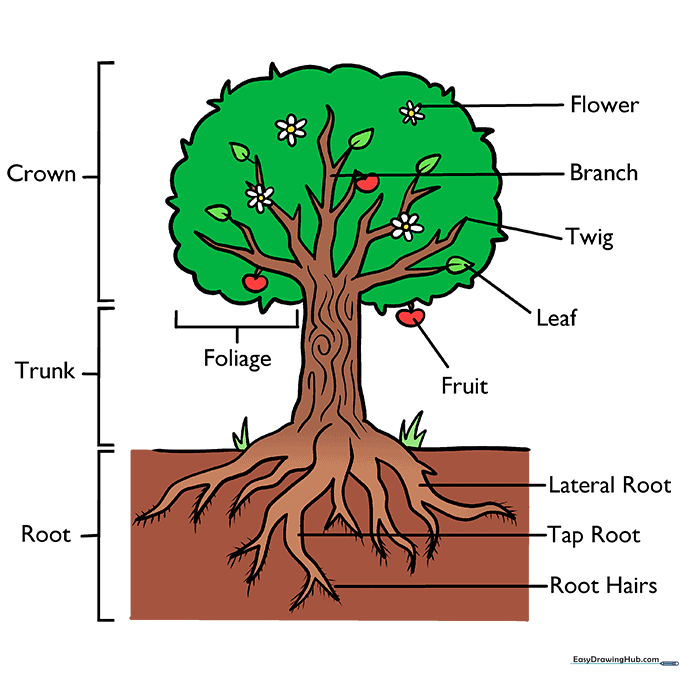
Bring your diagram to life with color! Use natural tones: brown or grey for the trunk and bark, and vibrant greens for the leaves. Teacher's Tip: Use light pressure with your pencils to create soft shading, which adds depth to your drawing.
More Tutorials


