How to Draw a Rose: Educational Parts Diagram for Kids
This botanical drawing guide is perfect for students and young artists ages 7+ looking to understand plant anatomy. You will need a pencil, eraser, and paper to create this detailed rose diagram. Follow along to master the structure of a flower, from its roots to its petals, while building your observational drawing skills.
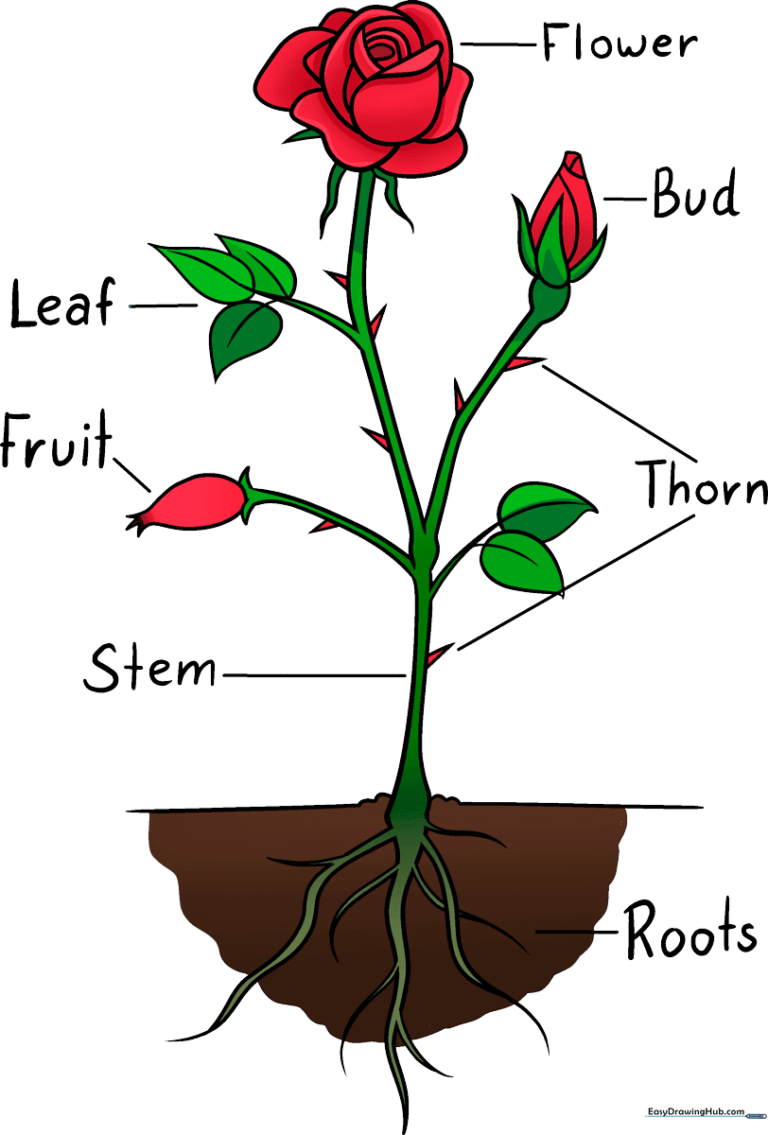
🎯 Final Result
Step-by-Step Instructions
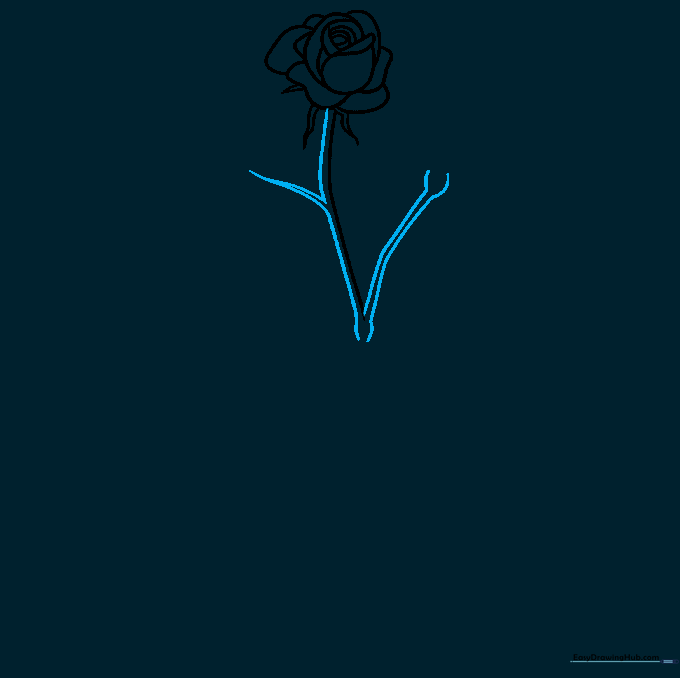
Step 1: Sketching the Rose Blossom

Start by drawing the central blossom using overlapping, soft curved lines to represent the petals. Teacher's Tip: Keep your pencil pressure light so you can easily adjust the petal shapes as you build the flower's volume.
Step 2: Adding Sepals and Stem

Draw the sepals—the small, protective leaves at the base—using wavy lines that meet at sharp points. Extend a long, graceful curved line downward to form the main stem. Teacher's Tip: Sepals are often overlooked, but they are essential for a realistic botanical drawing!
Step 3: Branching the Stem
Continue the stem by adding branching twigs using parallel curved lines. Add small circular swellings where the branches meet. Teacher's Tip: Think of these as 'joints' in the plant that help transport nutrients.
Step 4: Drawing the Bud and Leaves

Add a rosebud using teardrop shapes at the end of a branch. Then, sketch the leaves by drawing a central vein and enclosing it with a teardrop-shaped outline. Teacher's Tip: Use short, quick strokes to make the leaves look organic and slightly serrated.
Step 5: Adding the Rosehip
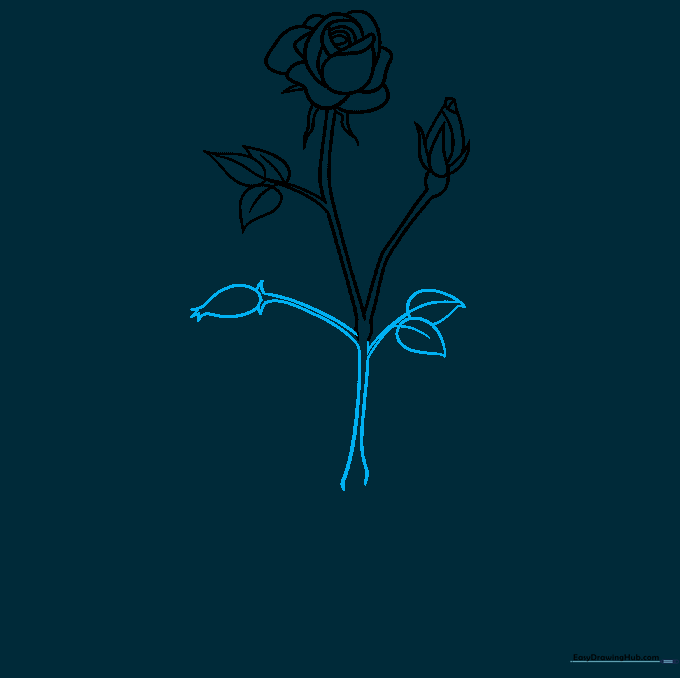
Draw the rosehip—the fruit of the rose—as a small, balloon-like shape at the end of a twig. Add more leaves to the other branches. Teacher's Tip: Notice how the fruit is rounder than the bud, showing the different stages of the plant's life cycle.
Step 6: Sketching the Roots
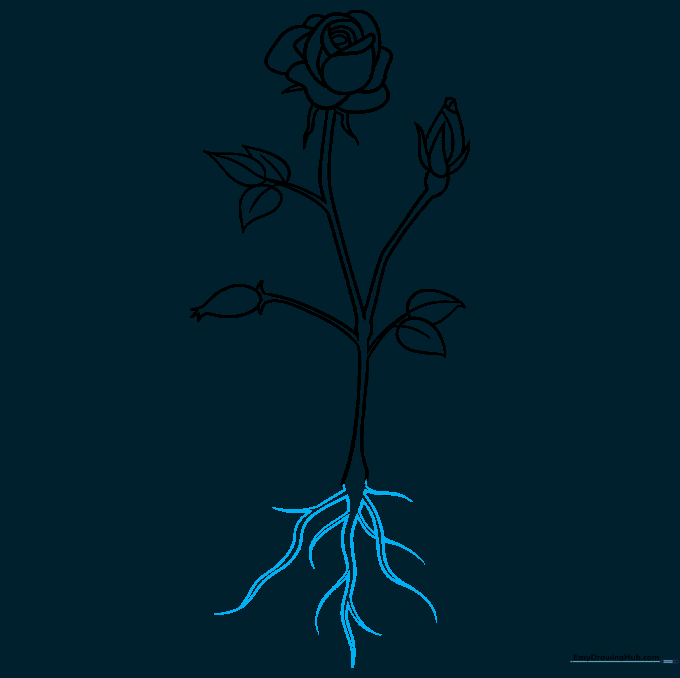
At the bottom of the stem, draw branching lines to represent the root system. Teacher's Tip: Roots aren't perfectly straight; give them a slight wiggle to show they are growing through soil.
Step 7: Thorns and Ground Line
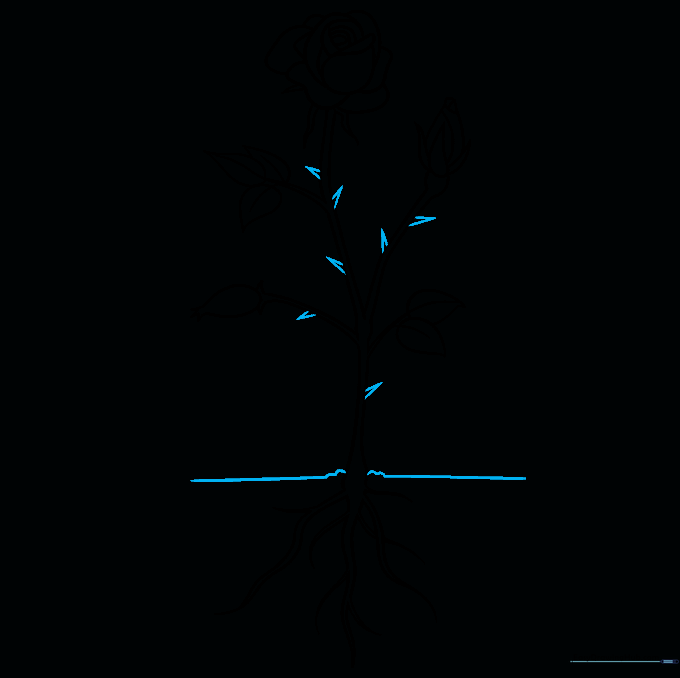
Add small, sharp triangles along the stem for thorns. Draw a horizontal line at the bottom to represent the ground. Teacher's Tip: Thorns are a rose's defense mechanism—make them look sharp!
Step 8: Labeling Your Diagram
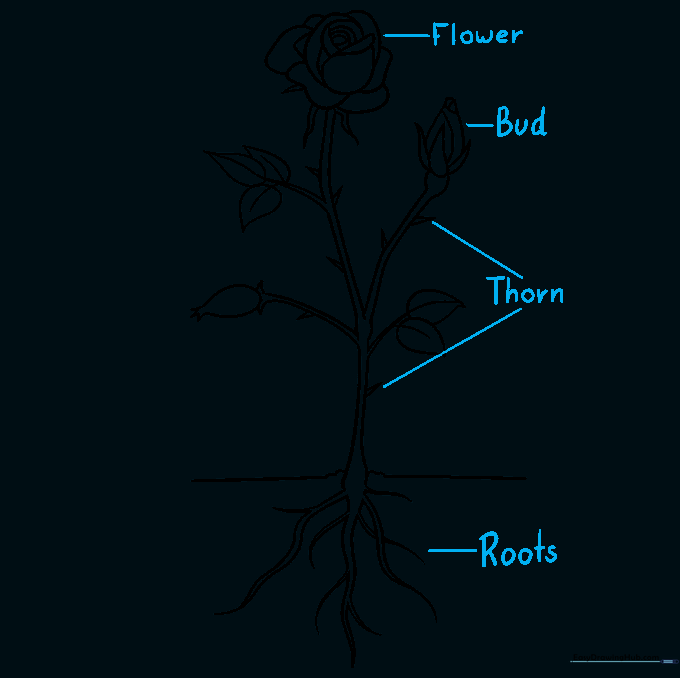
Draw straight lines from the key parts and write the labels: 'Flower,' 'Bud,' 'Thorn,' and 'Roots.' Teacher's Tip: Use a ruler for your label lines to keep your scientific diagram looking neat and professional.
Step 9: Finalizing Labels
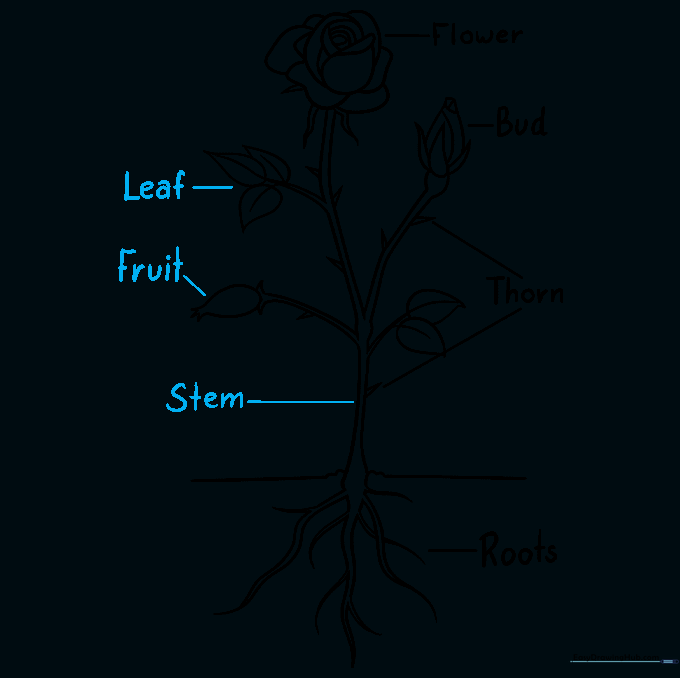
Complete your diagram by adding labels for 'Leaf,' 'Fruit,' and 'Stem.' Ensure all lines clearly point to the correct parts of the plant.
Step 10: Adding Color
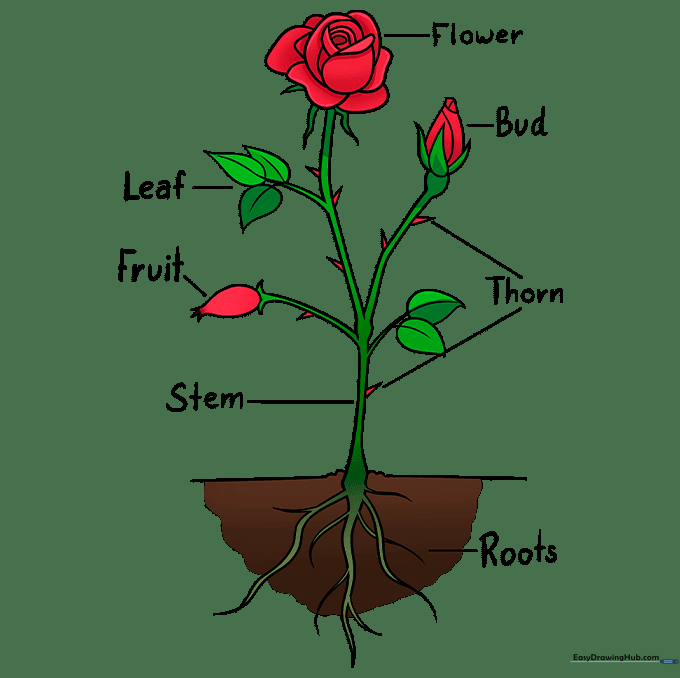
Bring your diagram to life with color! Use red for the blossom, green for the leaves and stem, and brown for the roots. Teacher's Tip: Try using colored pencils to add light and shadow to the petals for a more realistic effect.
More Tutorials


