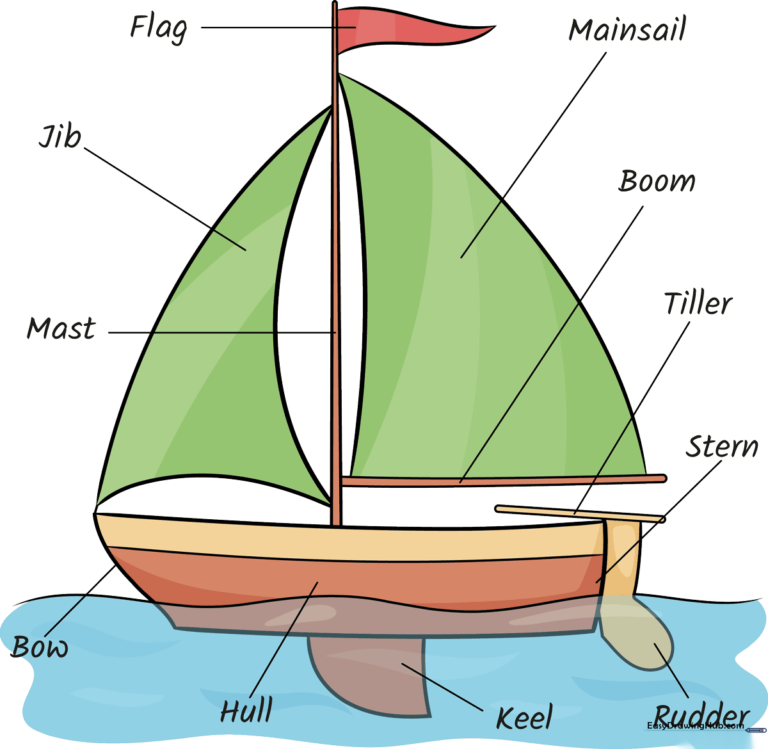
How to Draw a Sailboat: Easy Anatomy Guide for Kids
Ready to set sail? This tutorial is perfect for young artists ages 5+ who want to learn how a boat is built. Grab a pencil, eraser, and paper to sketch your own vessel while mastering nautical terms like 'hull,' 'mast,' and 'rudder.'
🎯 Final Result
Step-by-Step Instructions
Sketching the Hull
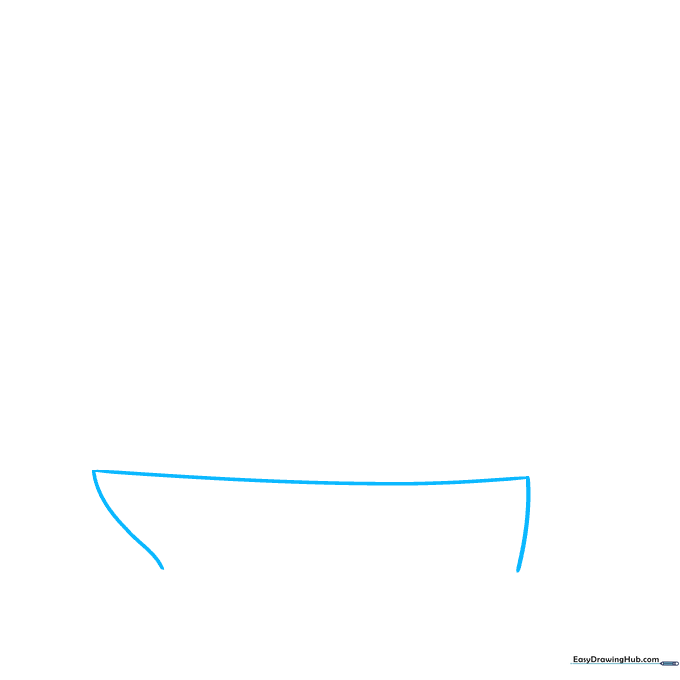
Start by drawing the hull, the main body of the boat. Use a series of smooth, curved lines to create the base. Tip: Keep the bottom curve gentle so your boat looks like it's floating on calm water.
Adding the Mast
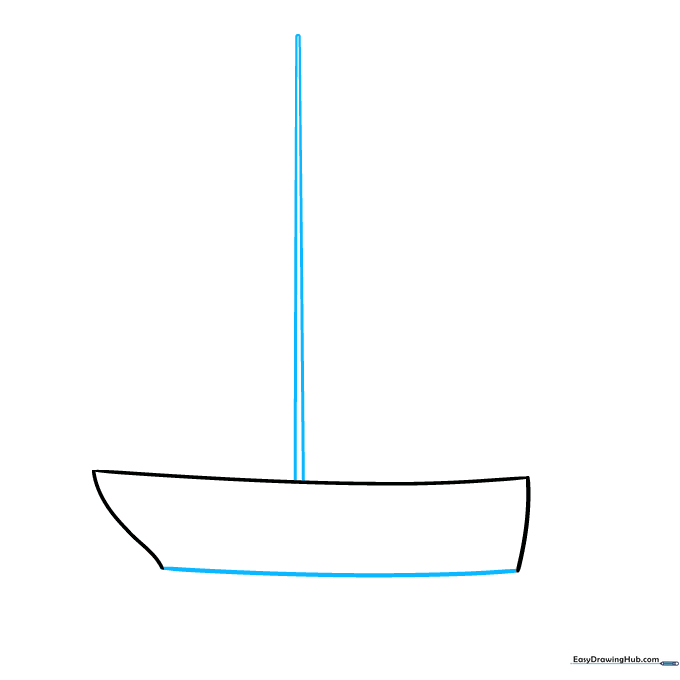
Close the bottom of the hull with a long, sweeping curve. Next, draw two straight lines extending upward from the center to form the mast. Tip: Use a ruler if you want your mast perfectly straight, or keep it freehand for a more organic look.
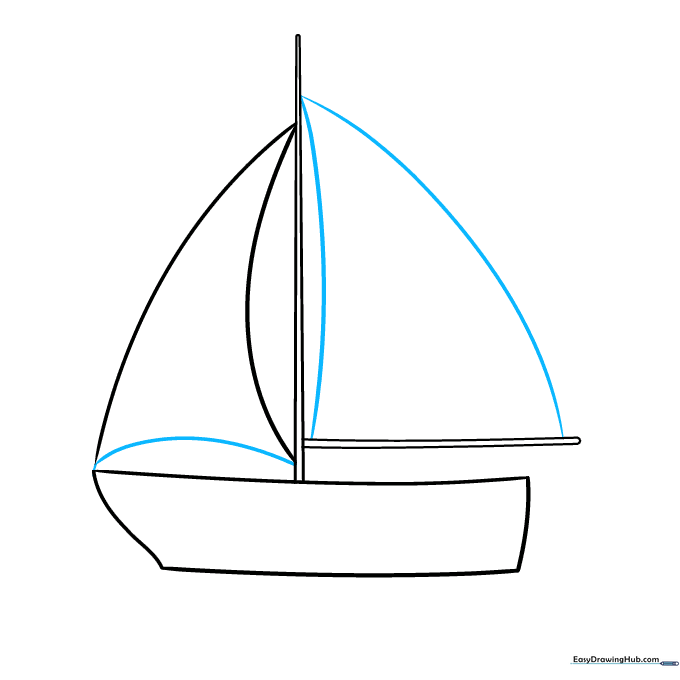
Drawing the Boom and Jib
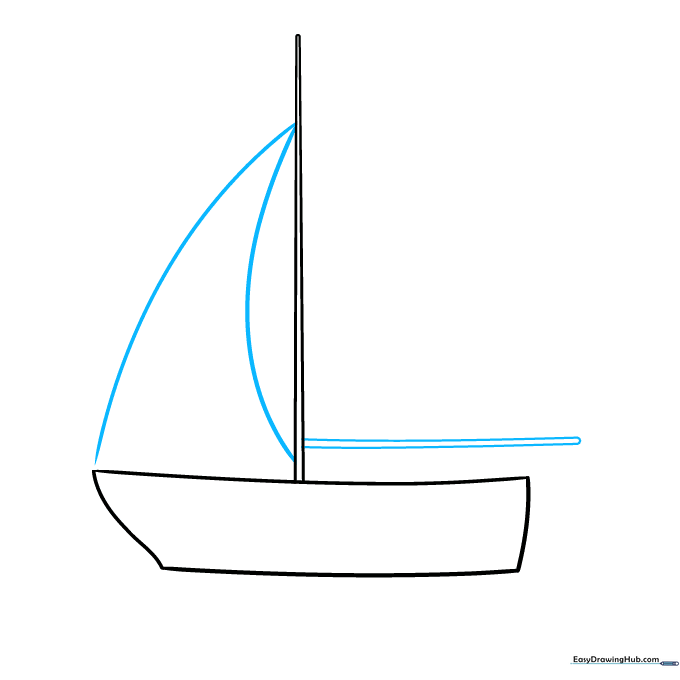
Draw the boom by extending two horizontal lines from the mast. Then, create the jib sail by drawing two long, slightly curved lines connecting the mast to the front of the hull. Tip: Think of the jib as a triangle shape that helps catch the wind.
Completing the Sails
Close the bottom of the jib with a curved line. Now, draw the mainsail between the mast and the boom using two curved lines. Tip: Make the sails look 'full' by giving the lines a slight outward curve, as if the wind is blowing them.
Adding the Tiller and Flag
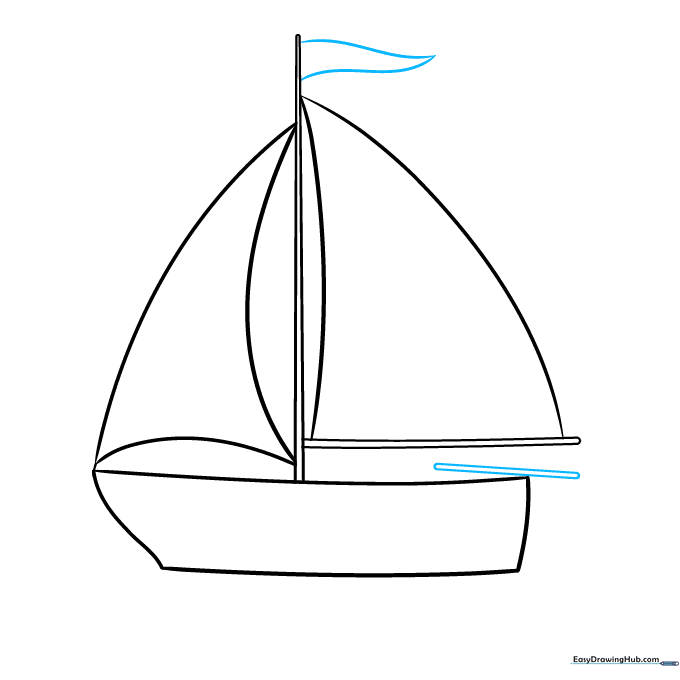
Draw the tiller at the back of the boat using two parallel diagonal lines. At the very top of the mast, add a small triangular flag. Tip: The tiller is like a steering wheel for a boat—keep it small so it doesn't look too heavy!
Drawing the Rudder
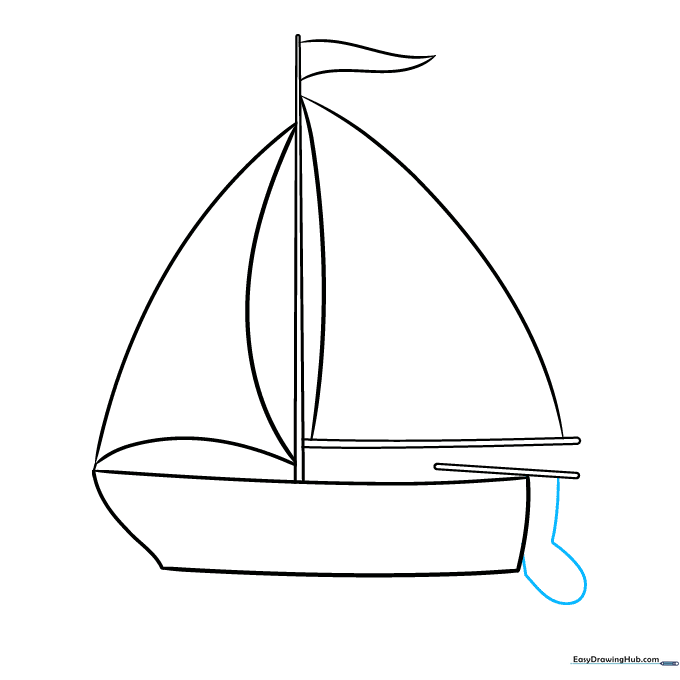
Add the rudder beneath the tiller at the back of the boat. It should look like a small, rounded fin. Tip: The rudder helps the boat turn in the water, so make sure it's pointing straight down.
Adding the Centerboard
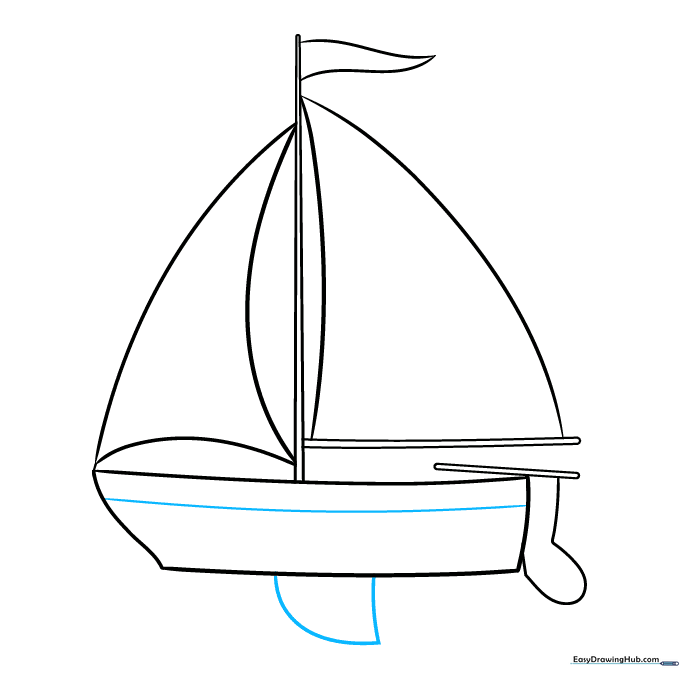
Draw a horizontal line across the hull, then add a triangular shape extending downward from the bottom. This is the centerboard. Tip: This part keeps the boat stable so it doesn't tip over in the wind!
Adding Waves and Labels
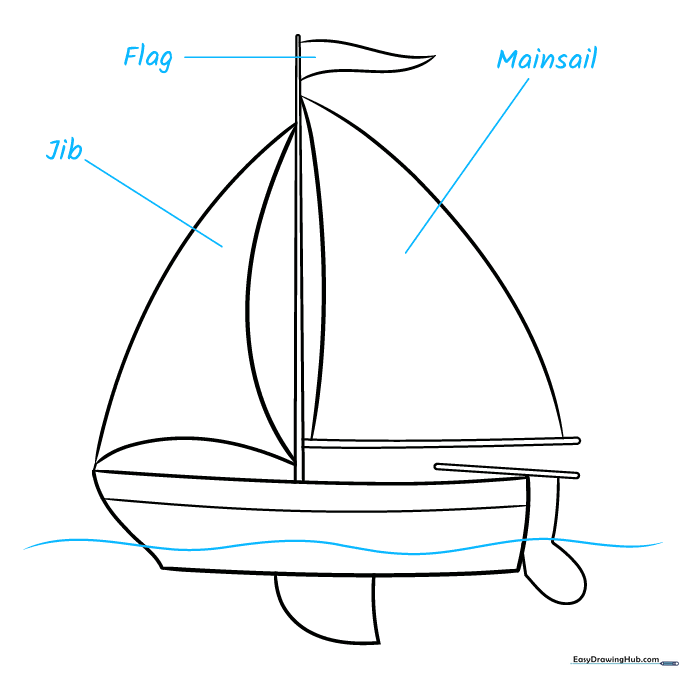
Draw a wavy line around the hull to show the water. Now, start labeling your drawing! Draw lines from the jib, flag, and mainsail to their names. Tip: Use a ruler for your label lines to keep your diagram looking professional.
Finalizing the Labels
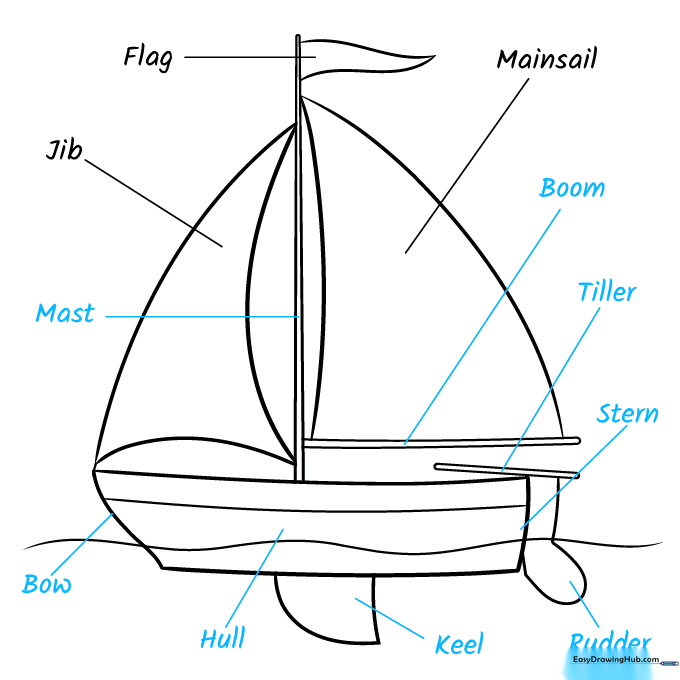
Finish labeling the remaining parts: boom, tiller, stern, rudder, keel, hull, bow, and mast. Tip: Make sure your handwriting is neat so your educational diagram is easy to read.
Coloring Your Sailboat
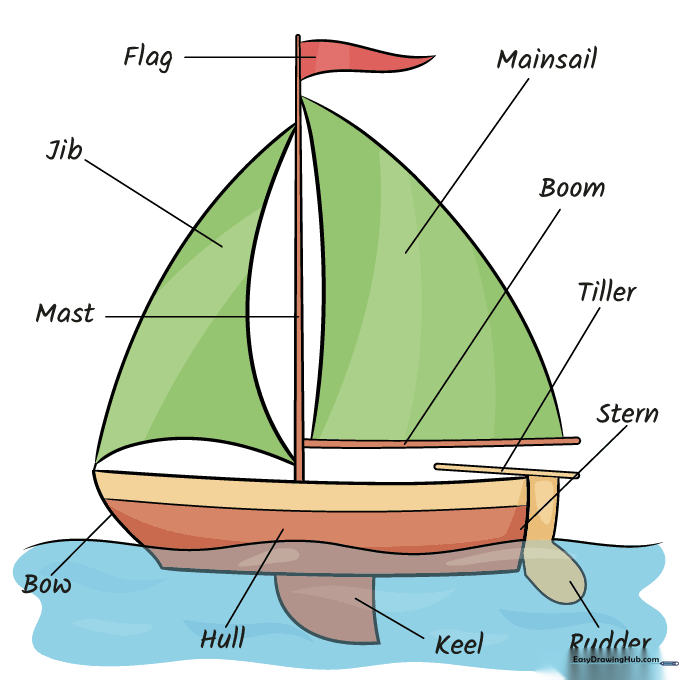
Time to bring your boat to life! Use bright colors for the sails and cool blues for the water. Tip: Try adding stripes or polka dots to your sails to give your boat a unique personality.
More Tutorials


