How to Draw Paella: Easy 9-Step Food Art Guide
Bring the flavors of Spain to your sketchbook! This tutorial is perfect for young artists ages 6+ who want to practice drawing complex textures like rice and seafood. You will need a pencil, an eraser, and your favorite markers or colored pencils to bring this vibrant dish to life.
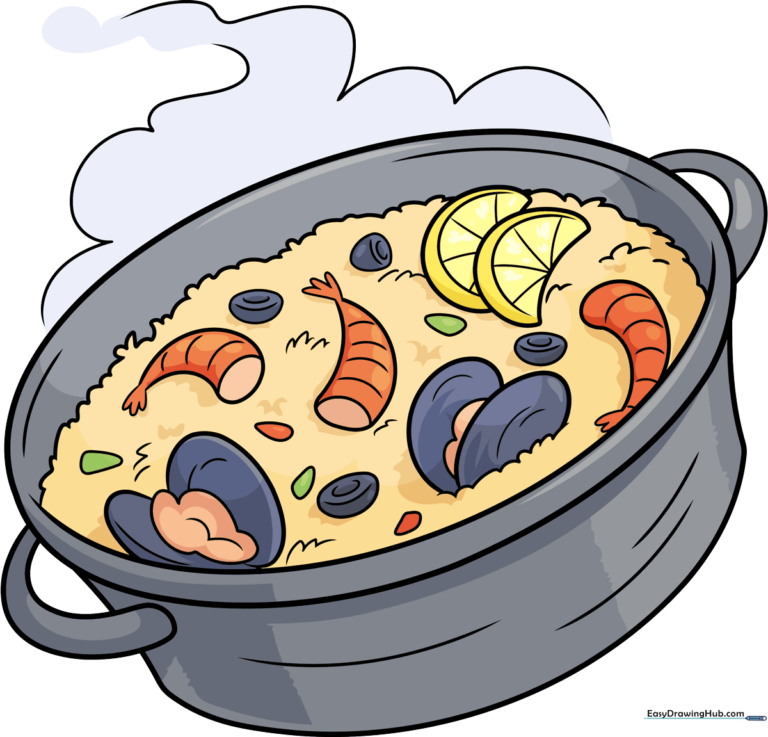
🎯 Final Result
Step-by-Step Instructions
Step 1: Sketching the Paella Pan
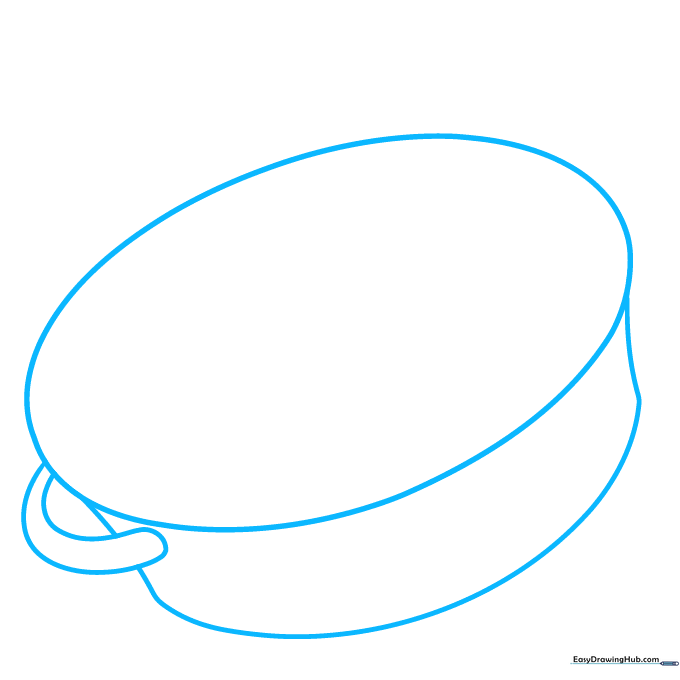
Start by drawing a wide, shallow oval for the pan's opening. Add a small 'C' shape on the left side for the handle. Tip: Keep your pencil lines light and loose so you can easily adjust the shape if the pan looks a bit lopsided.
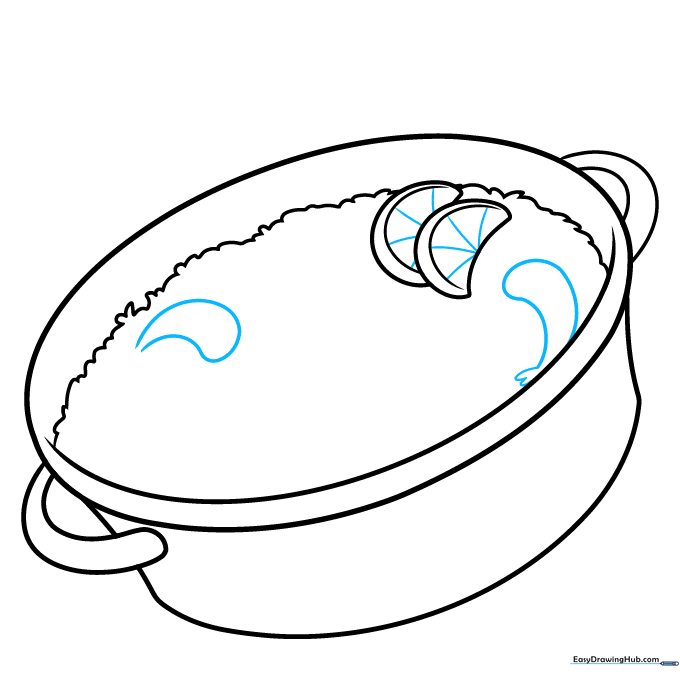
Step 2: Defining the Pan Edge
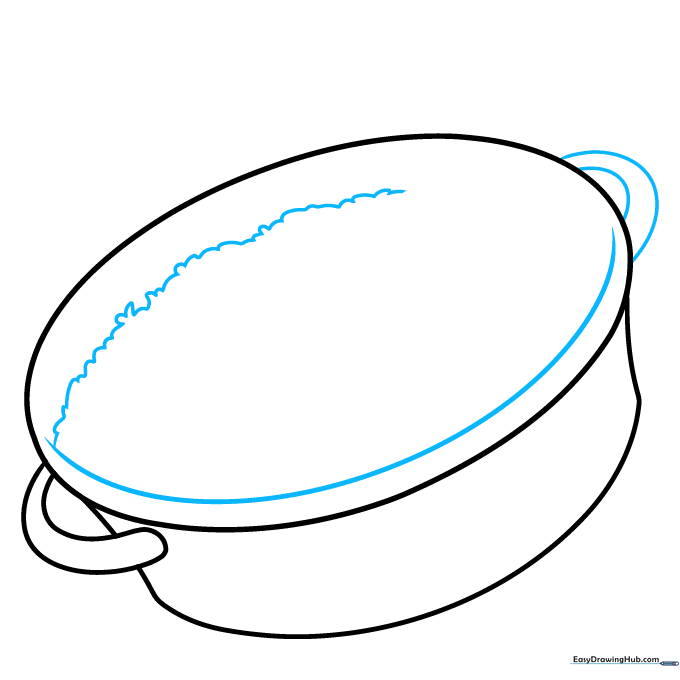
Draw a curved line parallel to the inside edge of the oval to give the pan thickness. Then, add short, bumpy, connected lines inside to represent the base layer of rice. Tip: Use a 'scalloped' motion with your wrist to make the rice look textured rather than flat.
Step 3: Adding Lemon Wedges
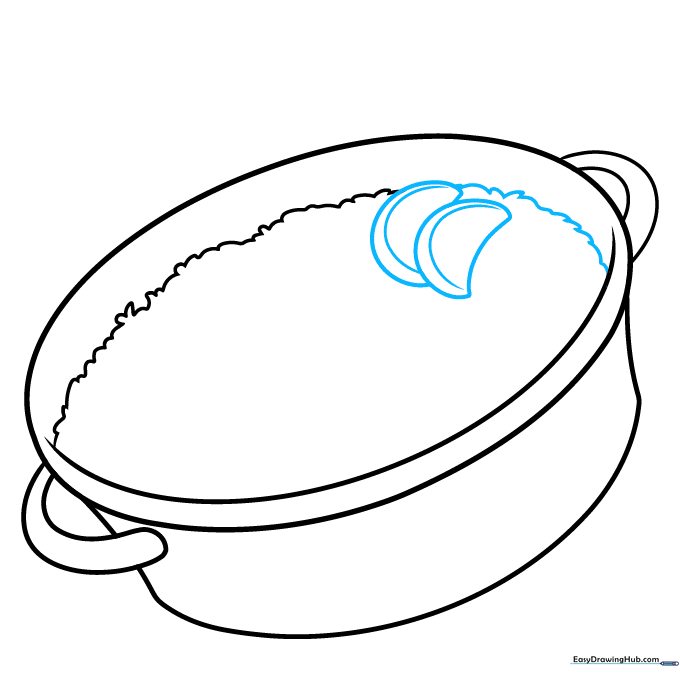
Draw two overlapping crescent moon shapes for lemon wedges. Add a 'C' shaped line on each to show the rind. Tip: Keep the wedges slightly tilted to make the composition look more natural and less like a static grid.
Step 4: Sketching the Shrimp
Draw the shrimp by creating a curved teardrop shape. Add a scalloped tail at the end. Tip: Draw small spokes inside the lemon wedges to show the segments—it’s a simple detail that adds a lot of realism!
Step 5: Adding Shellfish
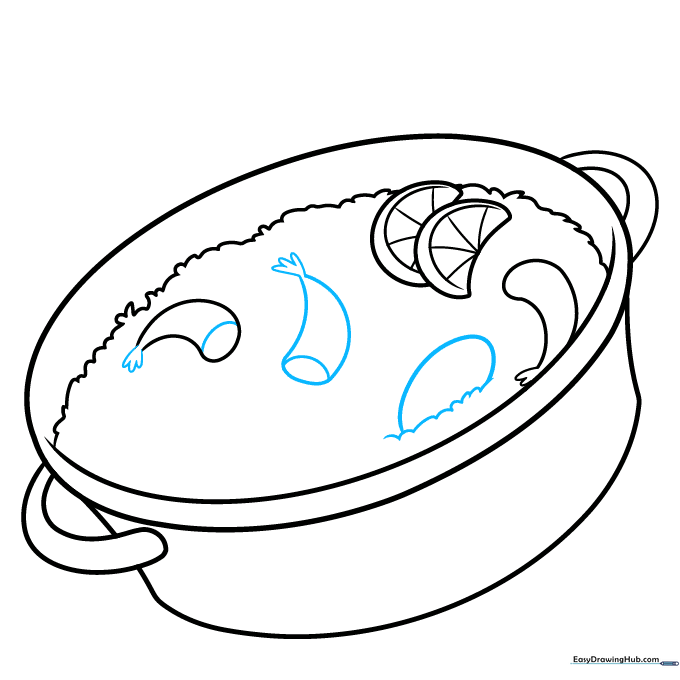
Complete your shrimp with a curved band near the head. Add an oval shape on top of the rice to represent a clam or mussel shell. Tip: Vary the size of your shellfish to make the dish look like a real, hearty meal.
Step 6: Detailing the Shells
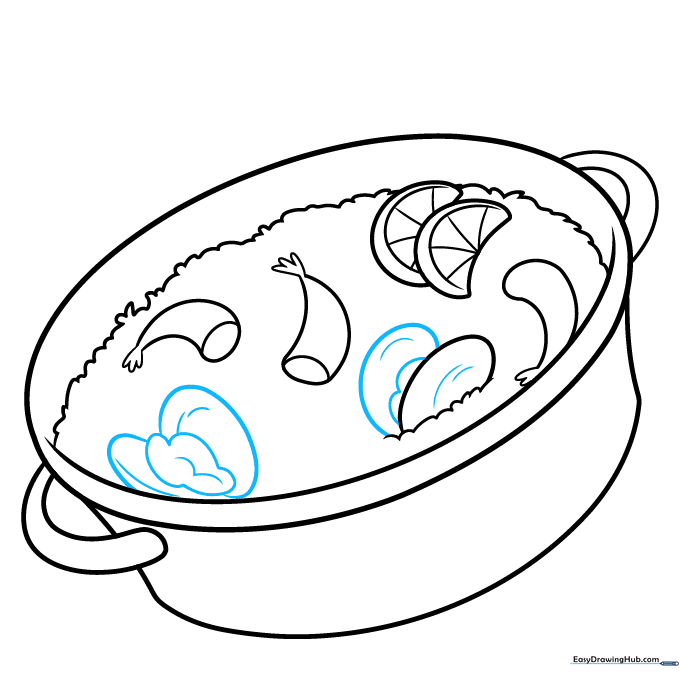
Refine the oyster shells by adding curved lines for texture and a small, irregular shape inside for the meat. Tip: Use short, quick strokes for the meat to make it look soft and organic.
Step 7: Adding Olives
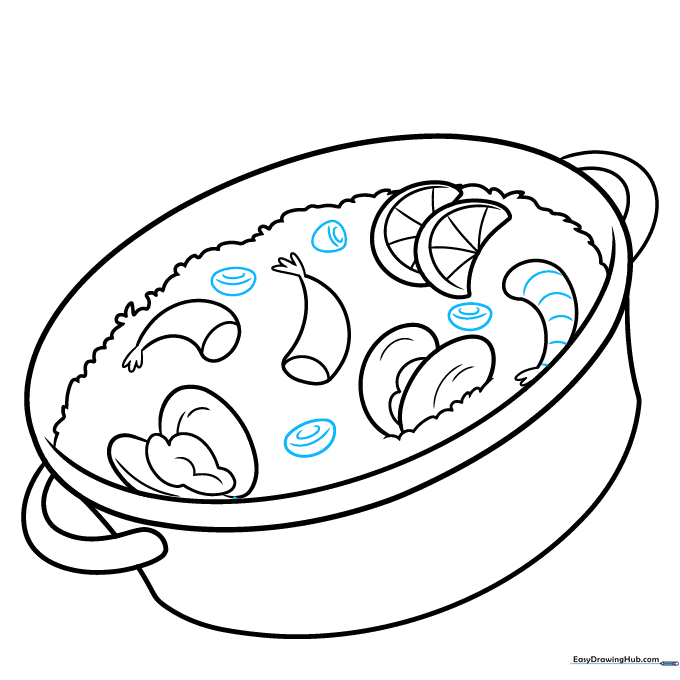
Draw a few irregular circles for olives. Add a small 'C' shape inside each to show where the pit was removed. Tip: Don't make the olives perfect circles—food looks more appetizing when it has natural, slight imperfections.
Step 8: Adding Vegetables
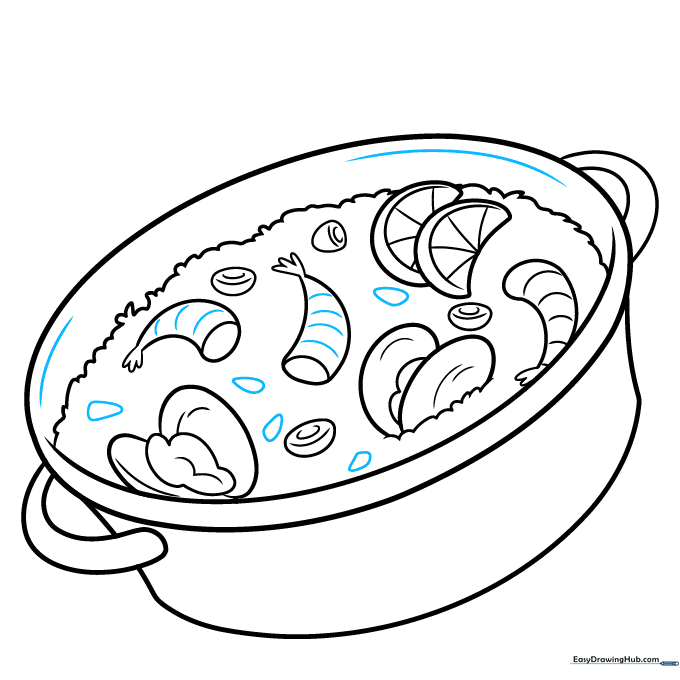
Add some rounded triangles on top of the rice to represent chopped vegetables like peppers. Tip: Keep these shapes small so they don't overpower the shrimp and shellfish.
Step 9: Final Details and Steam
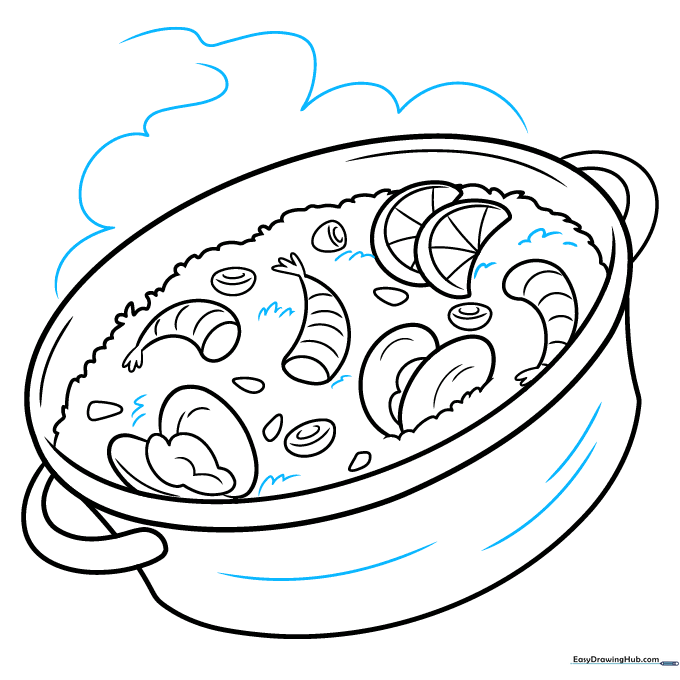
Add a few final curved lines to the rice for texture, and draw cloud-like shapes above the pan to show rising steam. Tip: Use a light touch for the steam so it looks airy and hot!
Step 10: Bring It to Life with Color
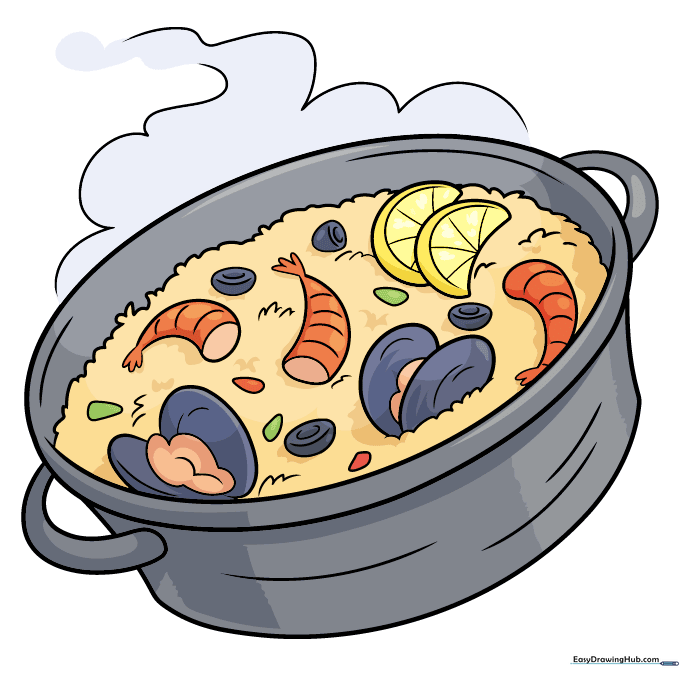
Time to color! Use a warm yellow for the saffron-infused rice, pink for the shrimp, and deep greens or blacks for the olives. Tip: Use a darker shade of yellow to add shadows under the shrimp for a 3D effect.
More Tutorials


