How to Draw Paddington Bear: Easy 10-Step Guide
Bring everyone's favorite marmalade-loving bear to life with this simple drawing guide. Designed for ages 5 and up, this activity requires only a pencil, paper, and an eraser. Follow these steps to build confidence and refine your fine motor skills while creating a classic storybook character.
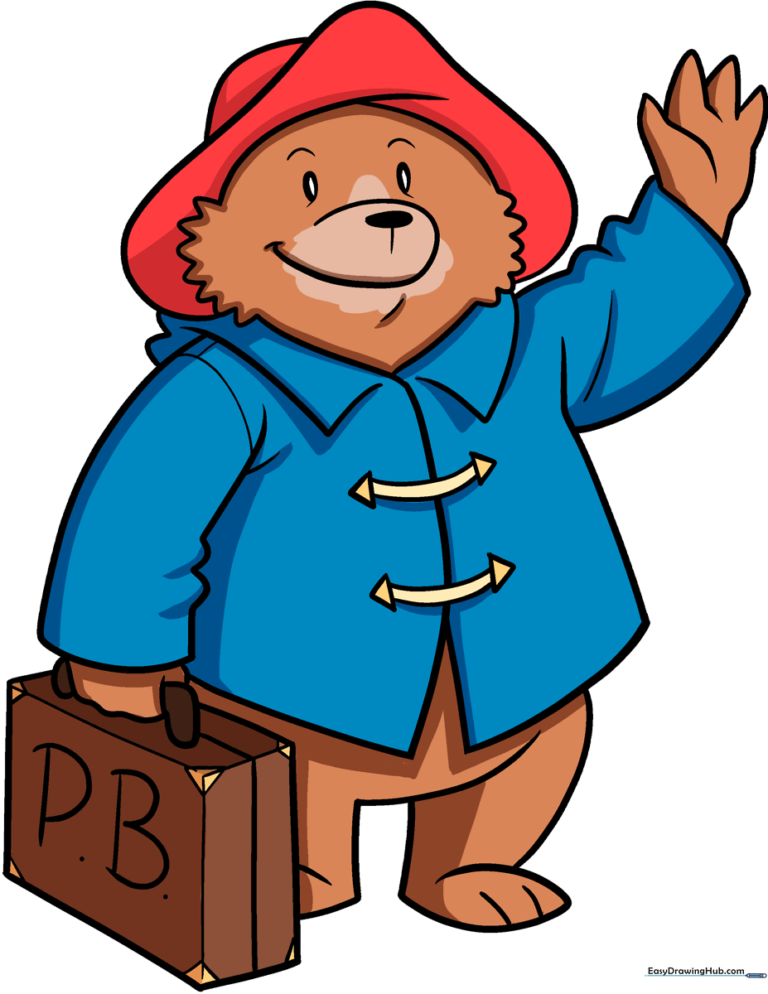
🎯 Final Result
Step-by-Step Instructions
Step 1: Sketching the Face

Start by drawing the snout, eyes, and nose. Use small ovals for the eyes and a larger one for the nose. Teacher's Tip: Keep the eyes close together to give him that sweet, curious Paddington expression.
Step 2: Adding Fur Texture

Outline the face using 'U' shaped lines to create fluffy cheek tufts. Teacher's Tip: Use short, quick strokes to make the fur look soft rather than stiff.
Step 3: Drawing the Hat

Draw a long curved line for the brim and a smaller crown on top. Teacher's Tip: Make sure the brim curves slightly downward to give the hat a realistic, worn-in look.
Step 4: Sketching the Coat and Paw
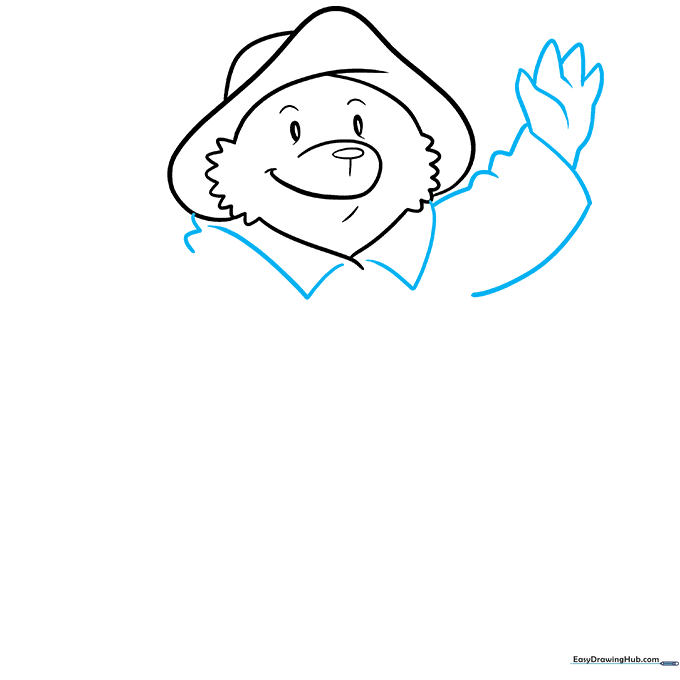
Add the coat collar and the waving paw. Teacher's Tip: Keep the collar lines sharp and triangular to contrast with the soft fur of the face.
Step 5: The Suitcase Handle
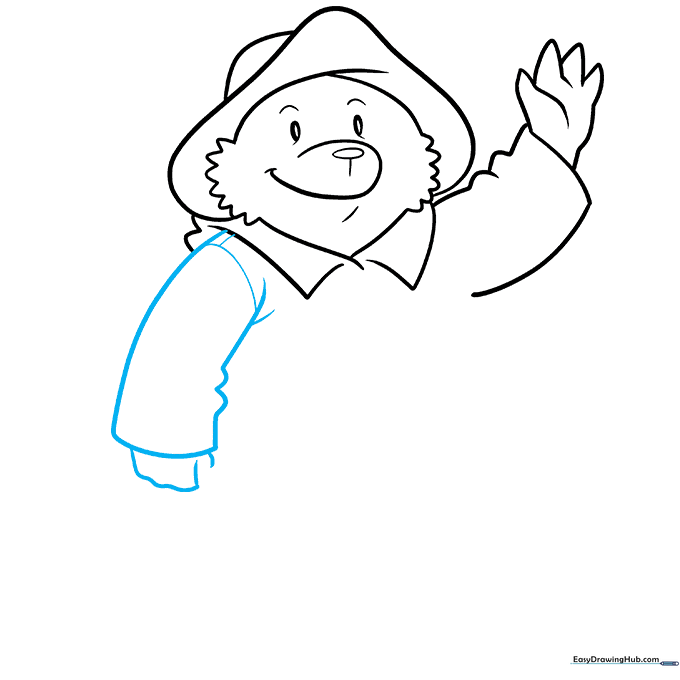
Draw the second sleeve and the hand gripping the suitcase handle. Teacher's Tip: Don't worry about drawing the whole hand; showing just the fingers wrapped around the handle is enough.
Step 6: Adding Coat Details
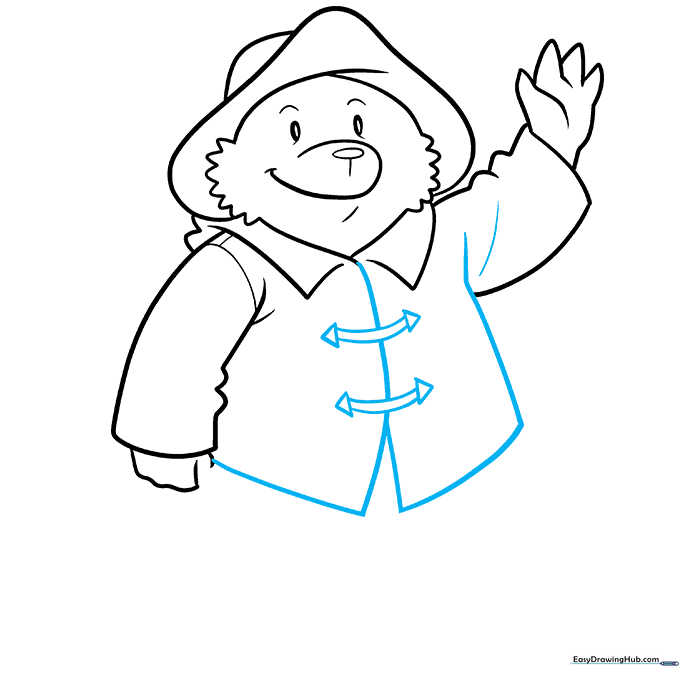
Draw the coat's front panels and the toggle buttons. Teacher's Tip: Use small triangles for the toggle fasteners to make them look like real wood or plastic.
Step 7: Drawing the Suitcase

Sketch the rectangular body of the suitcase. Teacher's Tip: Use a ruler if you want the lines perfectly straight, but freehand adds a nice, charming character to the drawing.
Step 8: Final Suitcase Touches
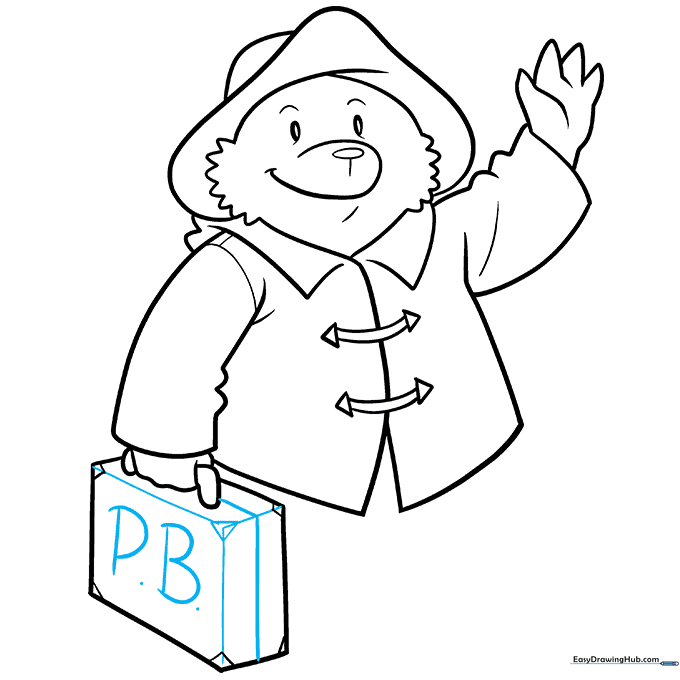
Give the suitcase depth by adding side panels and the initials 'P.B.' Teacher's Tip: Make the letters look like they are embossed on the leather.
Step 9: Legs and Feet
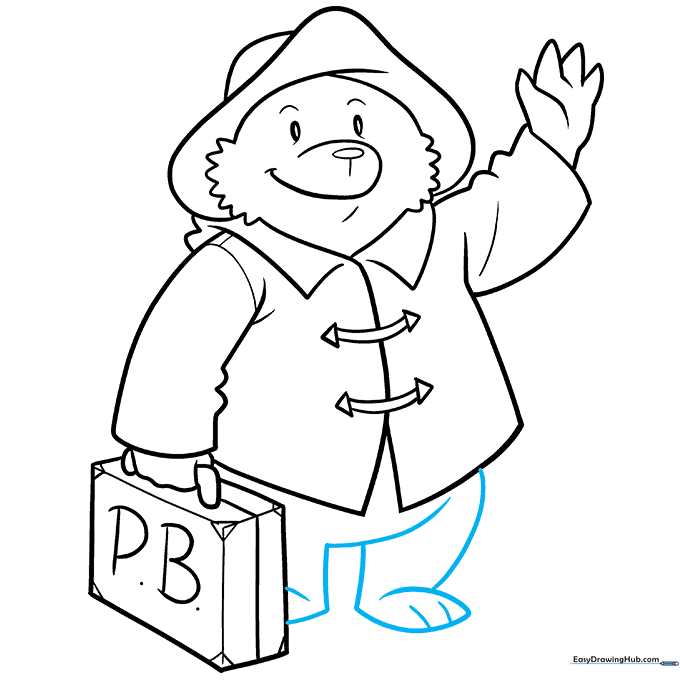
Complete the bottom of the coat and add the legs and feet. Teacher's Tip: Keep the feet slightly rounded to match the cartoon style of the character.
Step 10: Adding Color
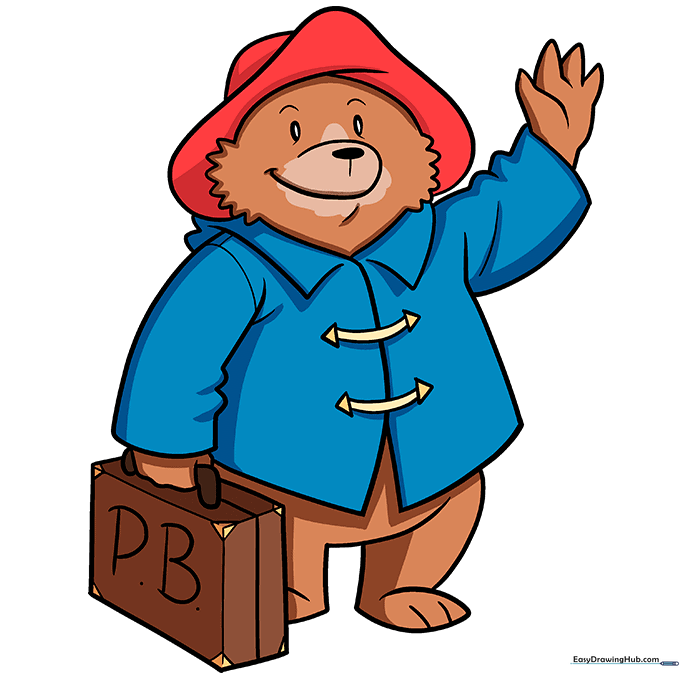
Bring your drawing to life with color! Use a classic blue for the coat, red for the hat, and warm browns for the fur. Teacher's Tip: Use light pressure with your pencils to blend the colors smoothly.
More Tutorials


