How to Draw Owlette: Easy 10-Step PJ Masks Guide
Ready to bring the PJ Masks hero to life? This tutorial is perfect for young fans ages 5 and up. All you need is a pencil, an eraser, and a piece of paper to start sketching your own Owlette.
🎯 Final Result

Step-by-Step Instructions
Step 1: Sketching the Eyes
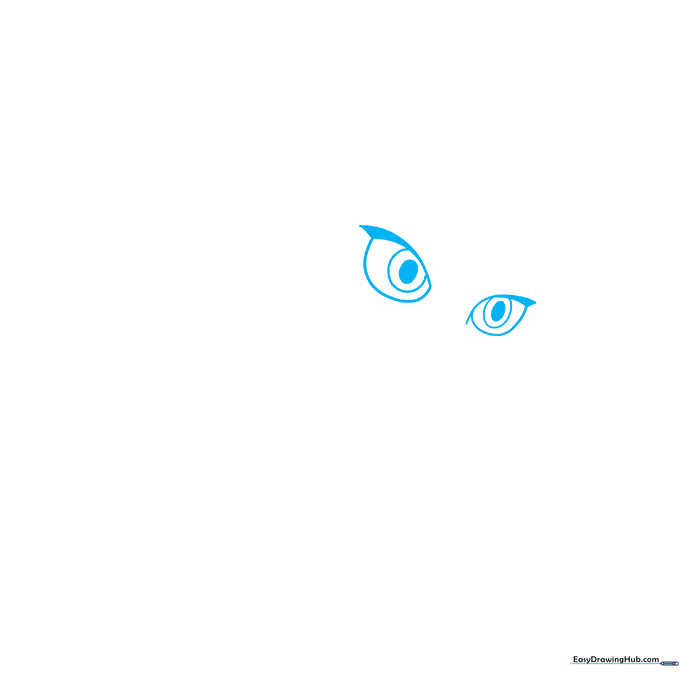
Start by drawing two large, curved shapes for the eyes. Add a thick line at the top of each to represent her mask's edge. Teacher's Tip: Keep your pencil pressure light so you can easily adjust the symmetry before you commit to the final lines.
Step 2: Defining the Face
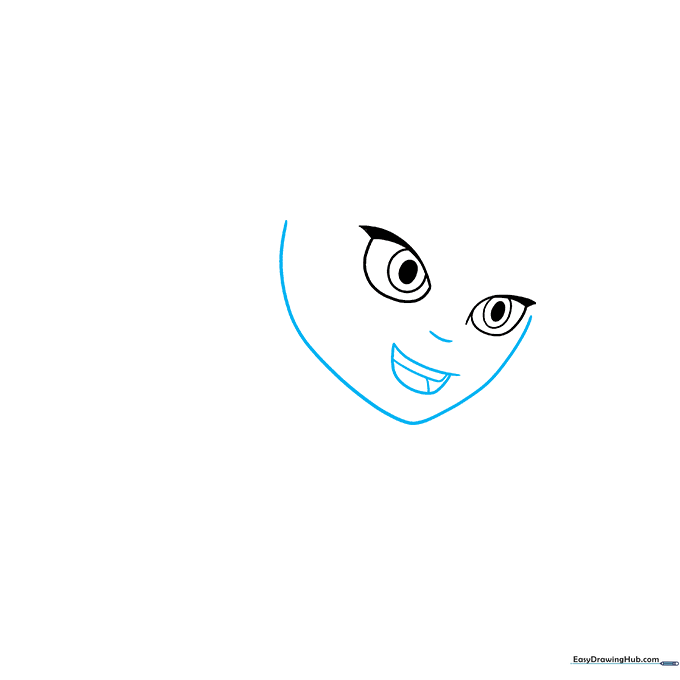
Draw a long, smooth curved line to create the chin and face shape. Add her nose and a cheerful open mouth. Teacher's Tip: Use a 'U' shape for the chin to keep it looking soft and cartoon-like.
Step 3: Adding the Mask Details
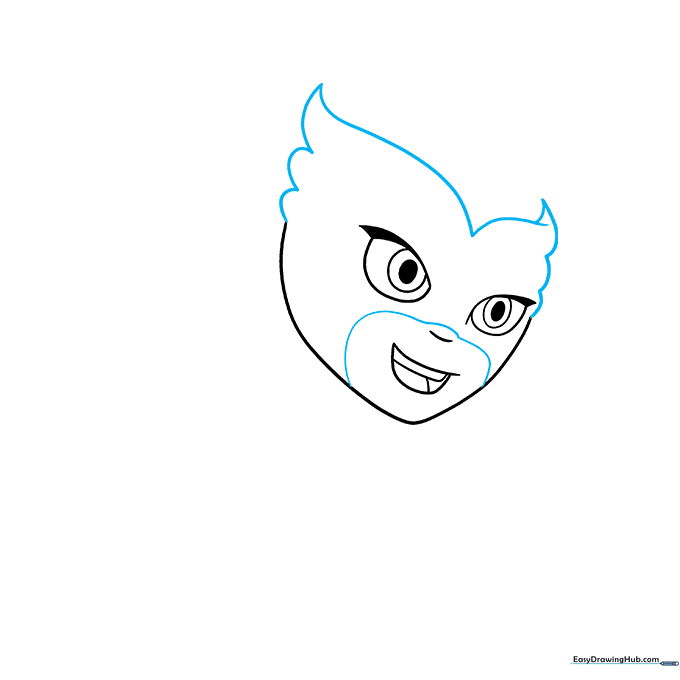
Sketch the wavy line around her mouth and the top of her mask. Add the 'U' shaped side details. Teacher's Tip: Overlapping your lines slightly here creates a sense of depth, making the mask look like it's actually sitting on her face.
Step 4: Drawing the Horns and Neck
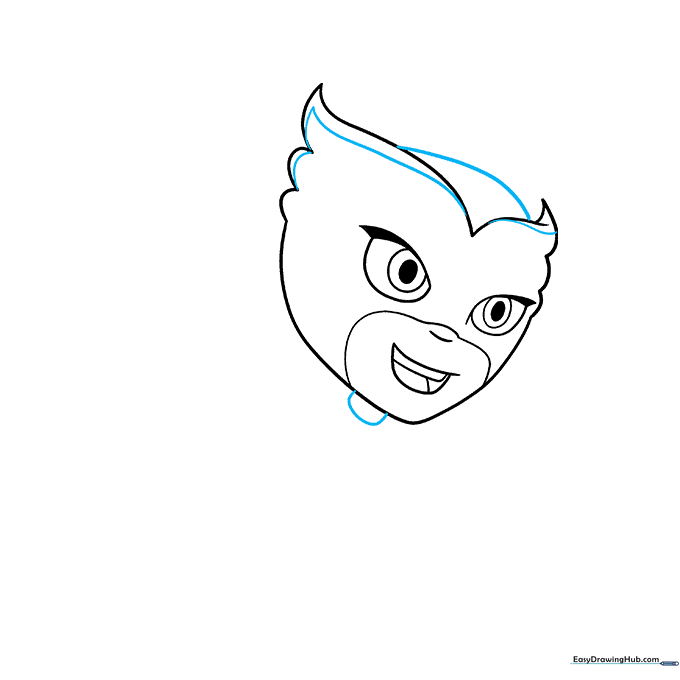
Draw the mask's horns using parallel curved lines and enclose the neck with a simple 'U' shape. Teacher's Tip: Keep the neck narrow so the head looks proportional to the body.
Step 5: Sketching the First Arm
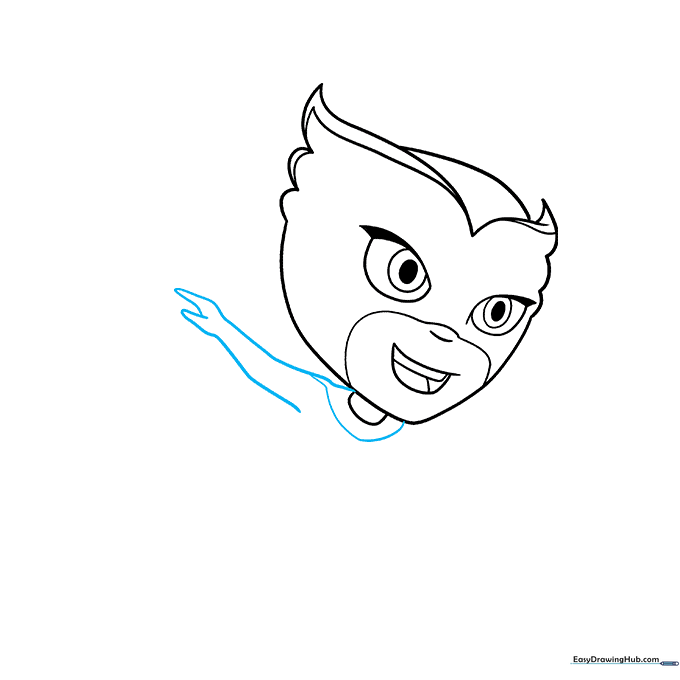
Use long and short lines to draw the outstretched arm. Teacher's Tip: Imagine the arm as a series of connected tubes to help get the shape right.
Step 6: Adding the Second Arm

Draw the remaining arm and extend lines downward to form the sides of her body. Teacher's Tip: Make sure the arms are balanced on both sides for a clean look.
Step 7: Legs and Chest Logo
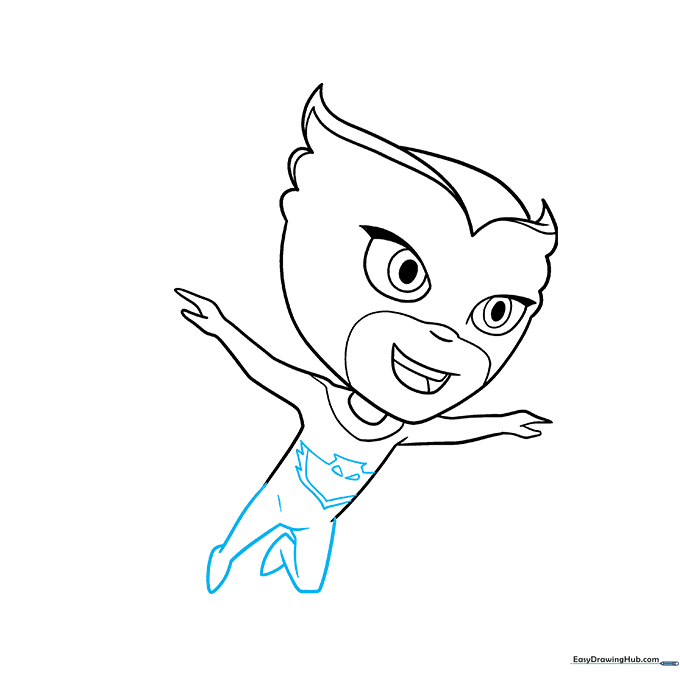
Draw the legs with overlapping lines at the knees and ankles. Add the owl logo on her chest. Teacher's Tip: Use a light touch for the logo so you can erase any mistakes before finalizing the shape.
Step 8: Wing Details
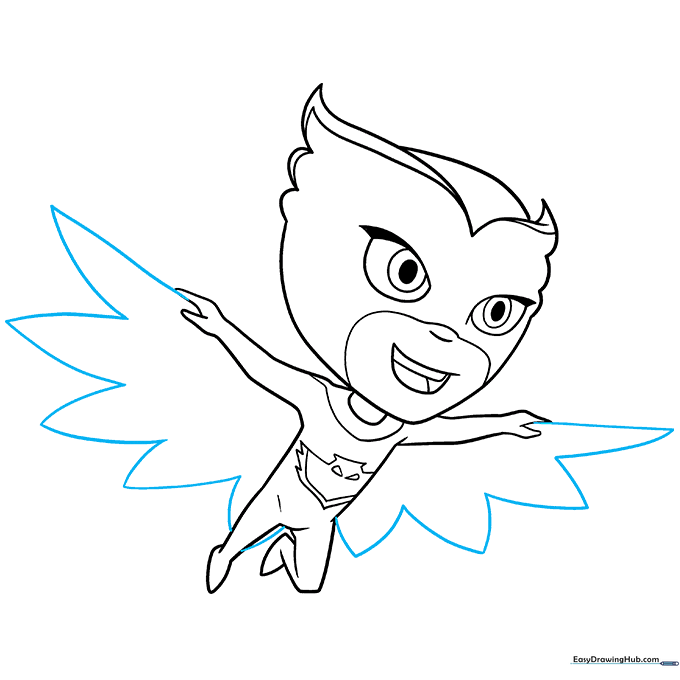
Use pairs of lines that meet at points to create the feather pattern on her wings. Teacher's Tip: Keep the spacing consistent to make the wings look uniform.
Step 9: Final Wing Patterns
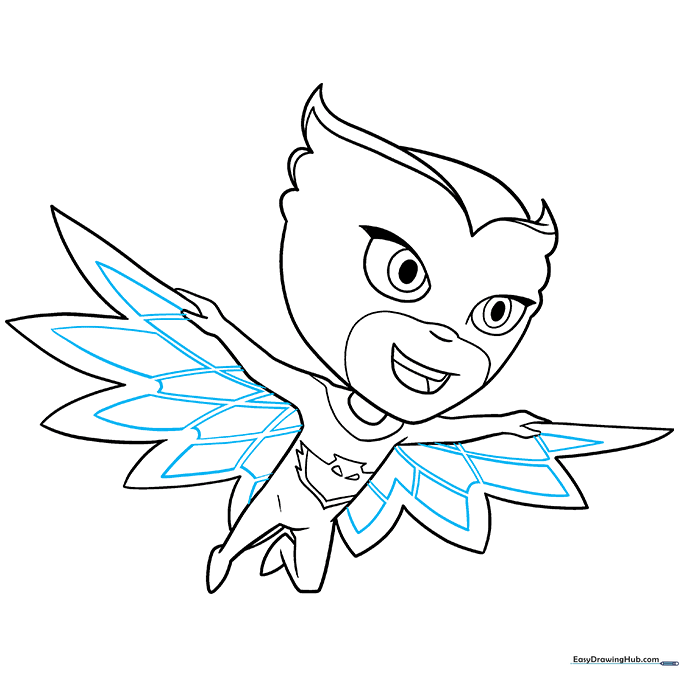
Add triangles and diamond shapes to the wings, leaving a cross-cross pattern in between. Teacher's Tip: This is a great way to practice steady hand control!
Step 10: Color Your Hero
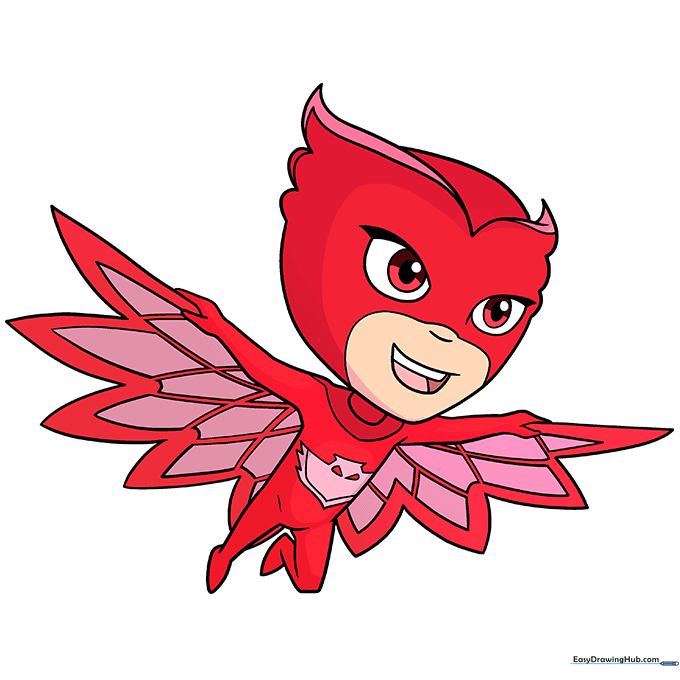
Your outline is done! Use red for the suit and pink for the logo and wing markings. Teacher's Tip: Use colored pencils for a smooth, vibrant finish that really makes your hero pop.
More Tutorials


