How to Draw Optimus Prime: Easy 10-Step Guide
Ready to bring the leader of the Autobots to life? This tutorial is perfect for young fans ages 7+ looking to practice their geometric drawing skills. Grab a pencil, an eraser, and some paper, and let’s build this legendary hero step-by-step.
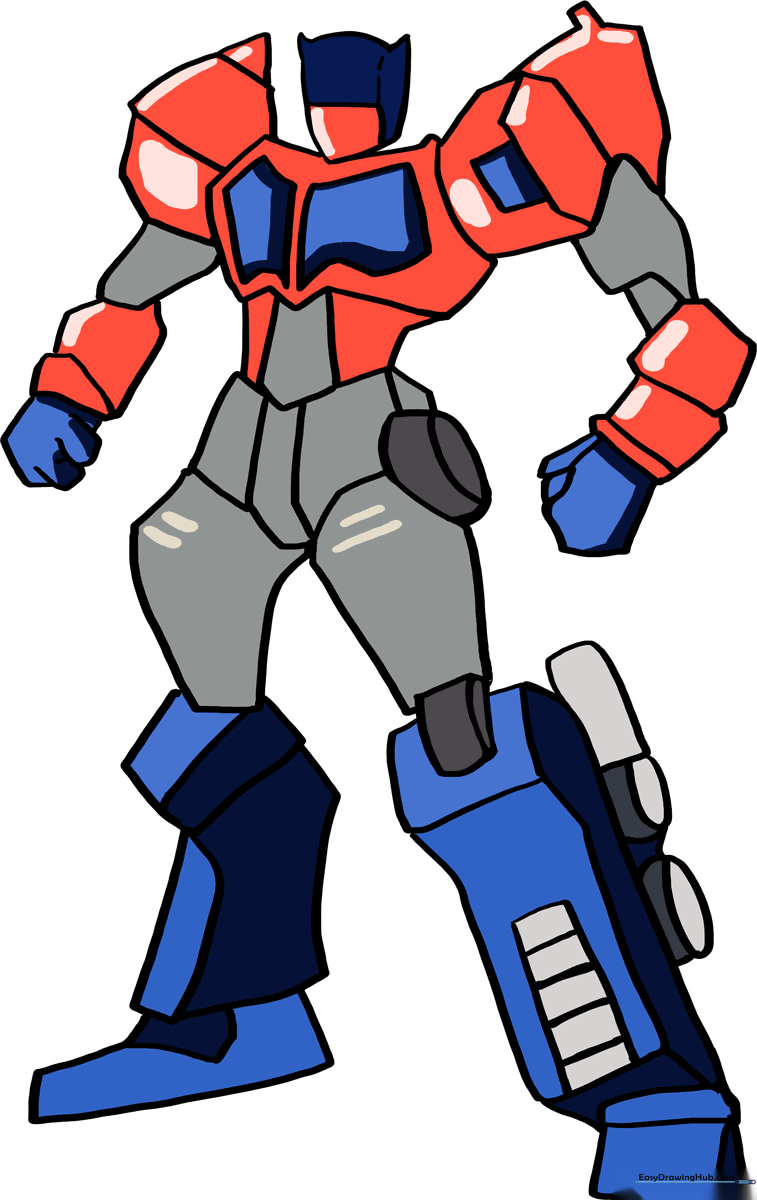
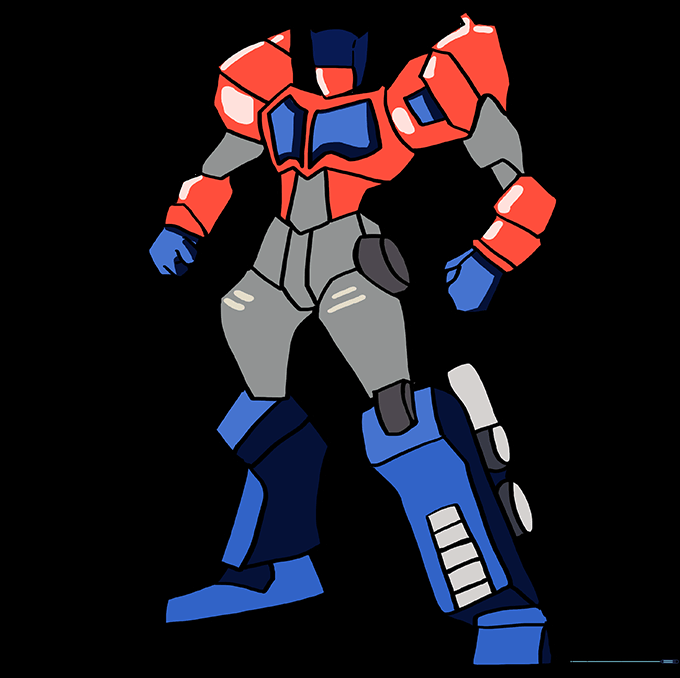
🎯 Final Result
Step-by-Step Instructions
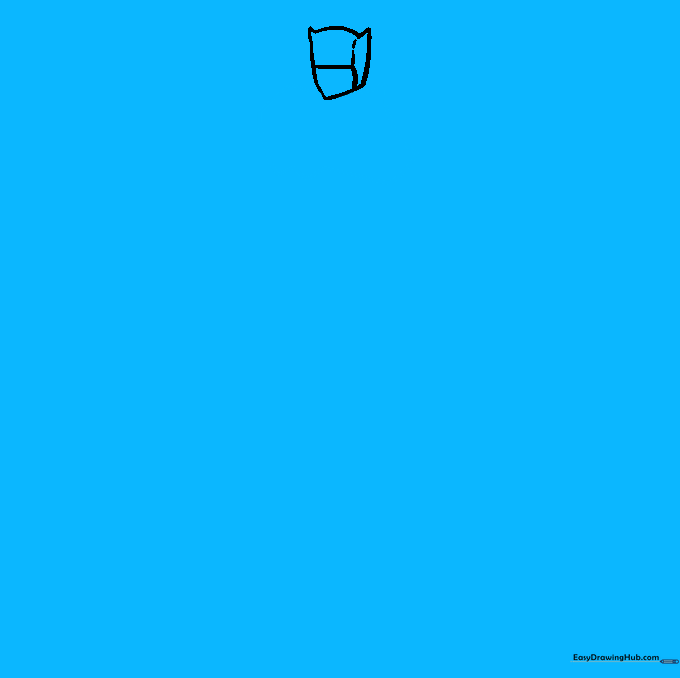
Step 1: Sketching the Helmet Base

Start by sketching the head. Draw an irregular shape with a pointed chin and two distinct points at the top for his helmet. Teacher's Tip: Use a light touch with your pencil so you can easily refine the lines later.
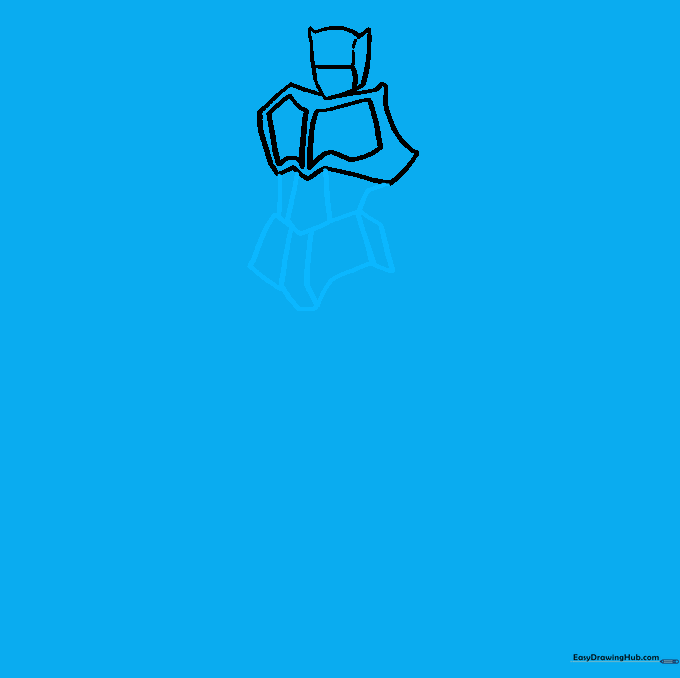
Step 2: Defining the Chest Plate
Use a series of curved lines to enclose the central chest plate. Teacher's Tip: Keep these lines symmetrical to give him that strong, heroic robot look.
Step 3: Adding Chest Details

Draw two irregular shapes inside the chest plate, keeping them parallel to the outer edges. Teacher's Tip: Think of these as the 'windows' of his truck form.
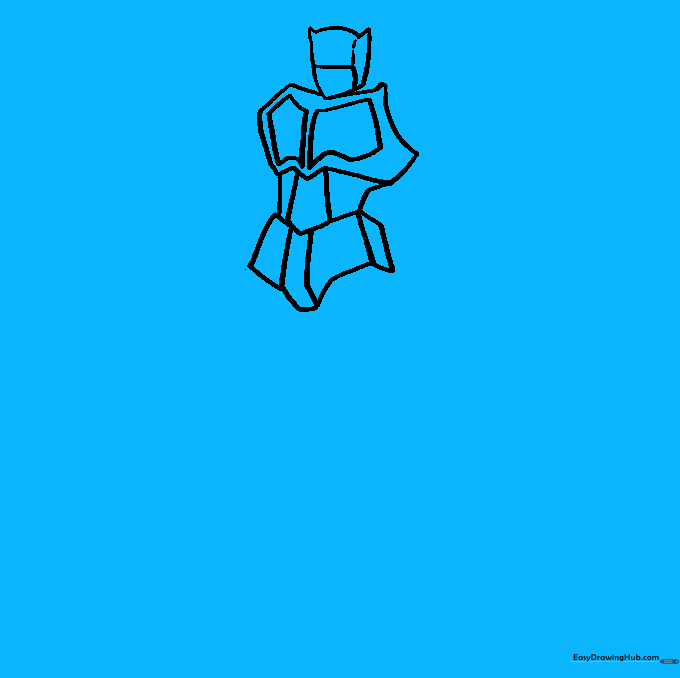
Step 4: Constructing the Torso
Outline the torso using straight and curved lines. Add a 'V' shape in the center with parallel lines above and below it. Teacher's Tip: Use a ruler if you struggle with straight lines, but freehand adds more character!
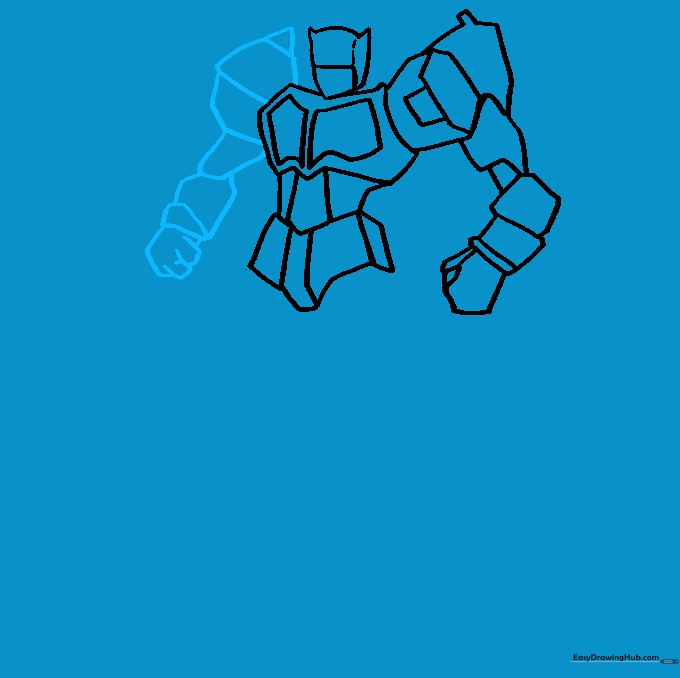
Step 5: Drawing the First Arm
Outline the arm using five irregular shapes. Add a rectangle for the wrist and detail the fist with a 'V' shape. Teacher's Tip: Focus on making the fist look compact and powerful.
Step 6: Adding the Second Arm
Mirror the process for the second arm. Add a small triangle near the shoulder and use curved lines to define the fingers. Teacher's Tip: Don't worry if it's not perfect; robots are made of many parts!
Step 7: Sketching the Upper Leg
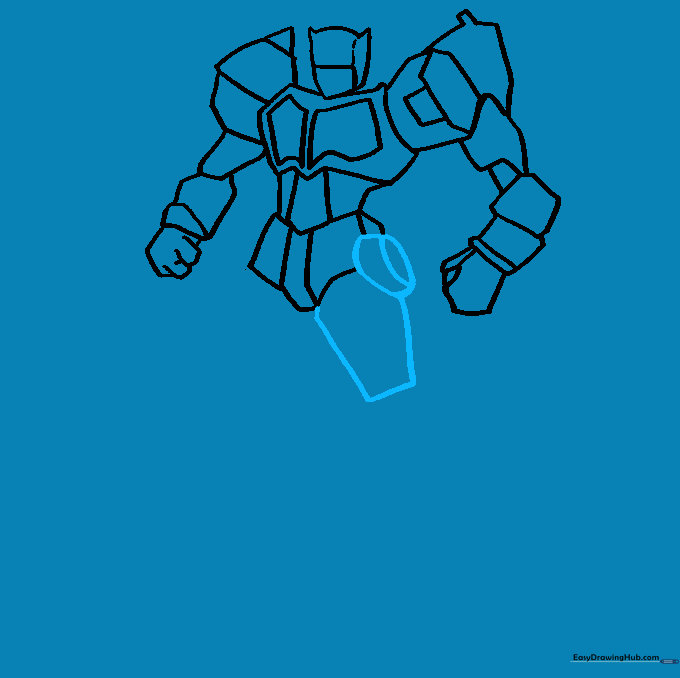
Draw the thigh using curved and straight lines. Add an oval where the leg meets the torso. Teacher's Tip: Erase any overlapping guide lines now to keep your drawing clean.
Step 8: Adding Leg Details
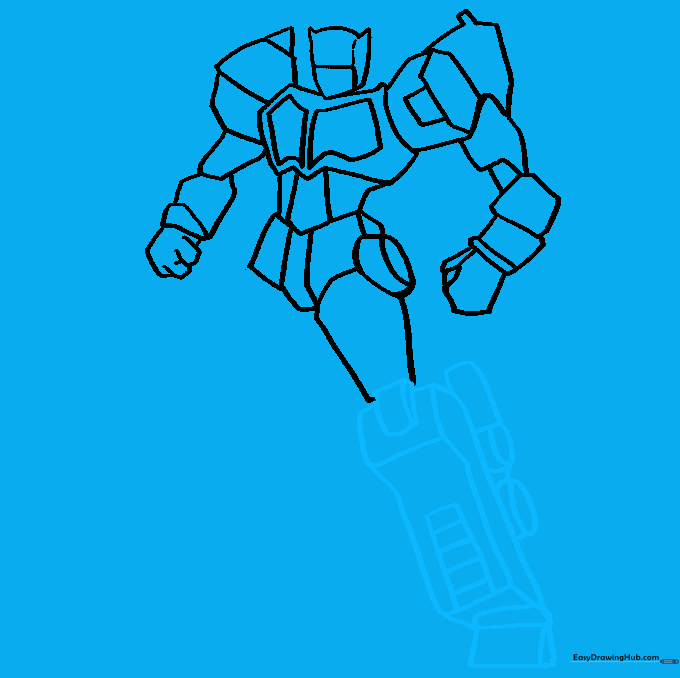
Outline the lower leg, adding a rectangle for the knee. Include ovals and rectangles on the side for mechanical detail. Teacher's Tip: Adding these small shapes creates a 3D effect.
Step 9: Completing the Outline
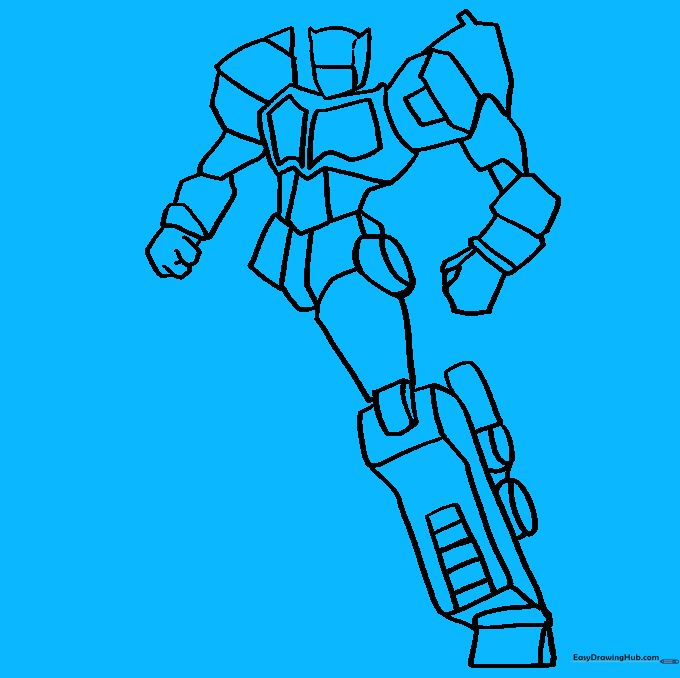
Use curved lines to finish the remaining leg and foot. Teacher's Tip: Ensure the feet look sturdy to support his large robot frame.
Step 10: Bringing Him to Life with Color
Time to color! Use bold red and blue to give Optimus his signature look. Teacher's Tip: Use a darker shade of blue for the shadows to make your drawing pop off the page.
More Tutorials


