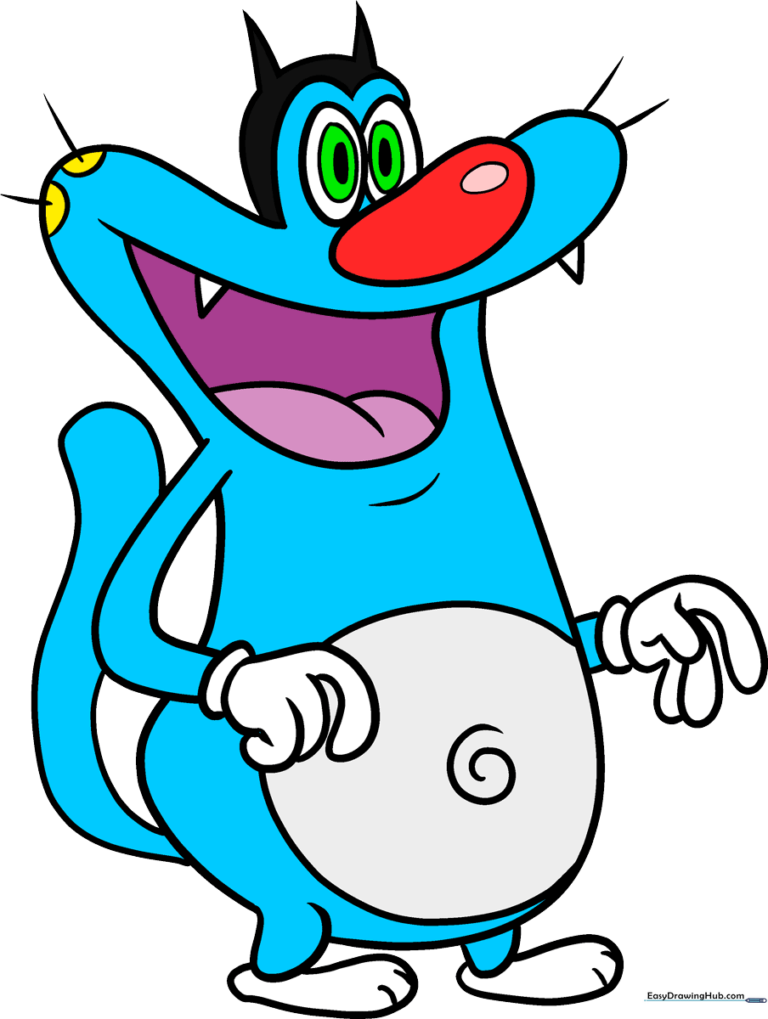
How to Draw Oggy: Easy 10-Step Cartoon Tutorial
Bring the lovable, blue cat Oggy to life with this beginner-friendly drawing guide. Designed for ages 5 and up, this activity requires only a pencil, paper, and an eraser to master his iconic cartoon features. Follow these steps to build confidence in your character sketching skills.
🎯 Final Result
Step-by-Step Instructions
Step 1: Sketching the Head Base

Draw a large bean shape for the head with an oval on the right side. Add two more ovals behind the bean to form the eyes. Teacher's Tip: Keep your pencil lines very faint so you can easily clean up the overlapping shapes later.
Step 2: Defining the Eyes and Head

Add smaller ovals inside the eyes for pupils and fill them in. Draw a heart-shaped frame around the eyes, then use curved lines to define the back of the head. Teacher's Tip: Use a steady hand to create the two points at the top of his head to give him that classic cartoon look.
Step 3: Drawing the Nose and Whiskers

Draw a wide curve under the nose area, connecting it to the head to form a hot dog shape. Add half-circles on the left for the cheek and straight lines for whiskers. Teacher's Tip: Keep the whisker lines quick and sharp to make them look energetic.
Step 4: Creating the Mouth
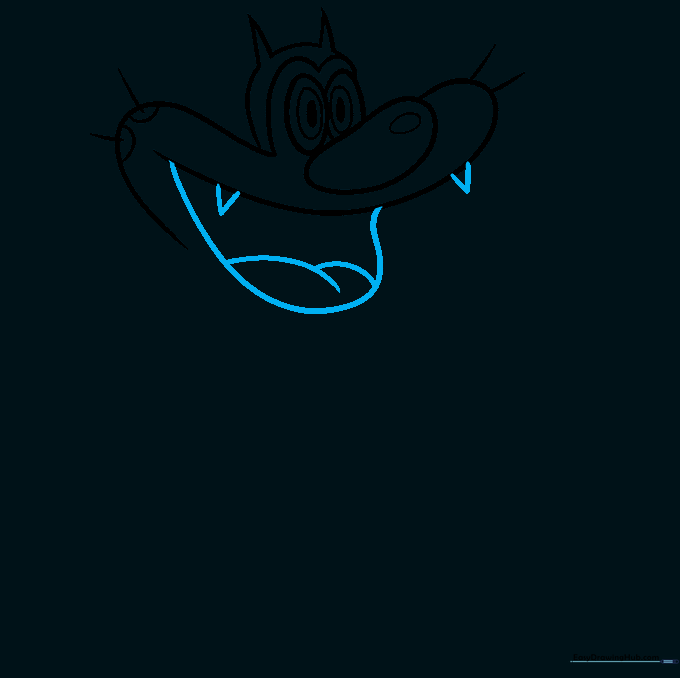
Draw two triangles for teeth and a sweeping curve for the open mouth. Add a small 'hillside' shape inside for the tongue. Teacher's Tip: Don't worry if the mouth isn't perfect; Oggy is a very expressive character, so a little asymmetry adds personality!
Step 5: Shaping the Body
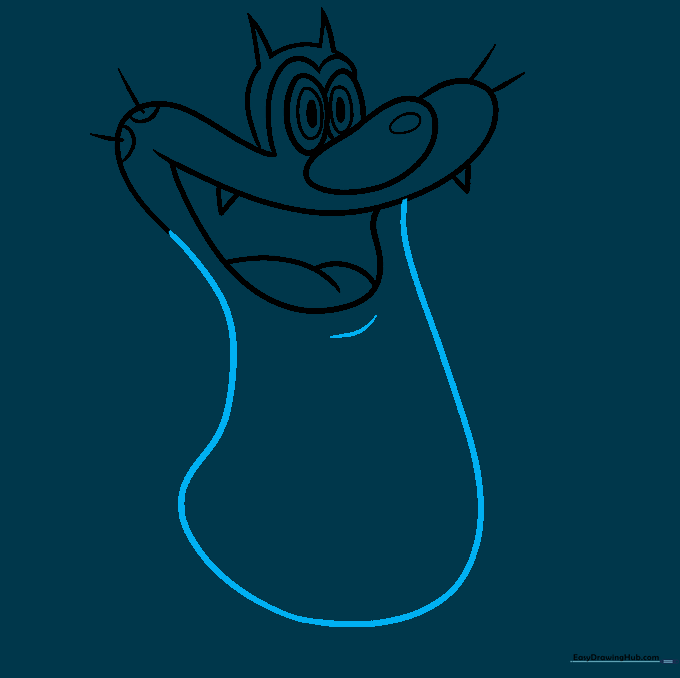
Add a small curved line under the mouth for depth. Then, draw a long, mushroom-like shape for the body. Teacher's Tip: Think of the body as a soft, rounded shape—avoid sharp corners to keep him looking cuddly.
Step 6: Drawing the First Arm
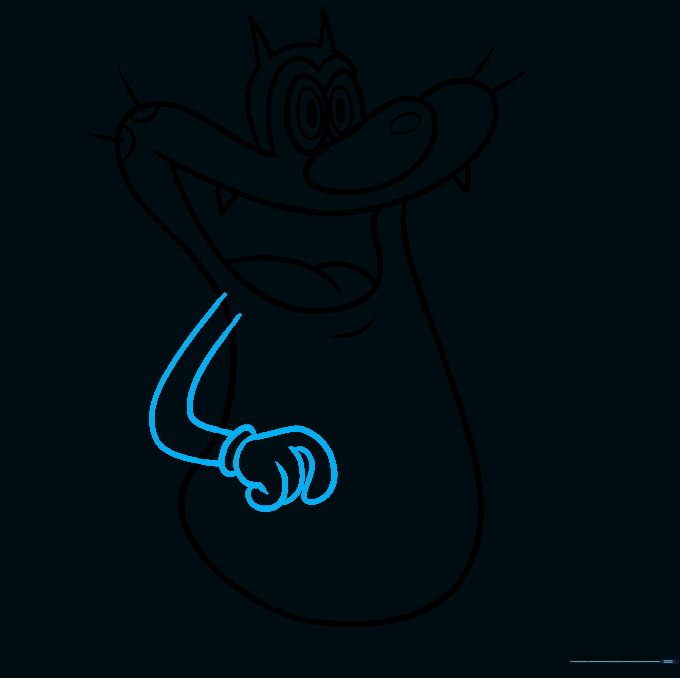
Sketch L-shaped lines for the arm and C-shapes for the wrist. Add fingers using overlapping loops. Teacher's Tip: Overlapping your lines is the secret to making the fingers look like they are actually holding something.
Step 7: Adding the Second Arm
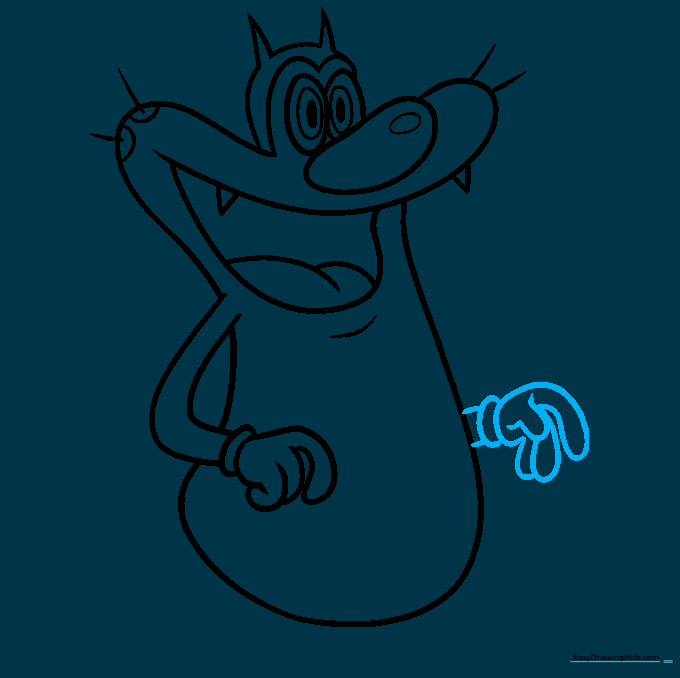
Repeat the process for the second arm on the right side using short lines and C-shapes for the wrist. Use overlapping loops for the fingers. Teacher's Tip: Keep the arms relatively short to maintain Oggy's proportions.
Step 8: Adding Stomach Details

Draw a swirl in the center of the stomach, framed by two broad curved lines. Teacher's Tip: This swirl helps define his belly area and adds a nice focal point for coloring later.
Step 9: Legs and Tail
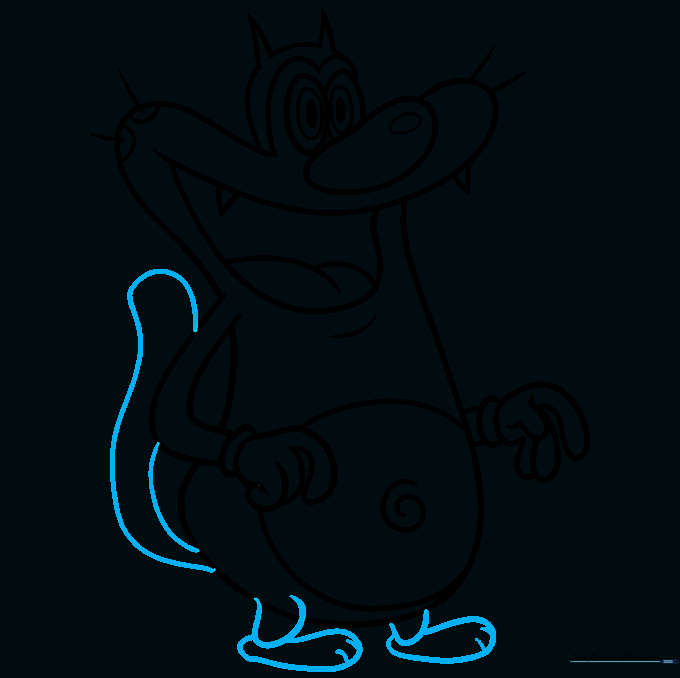
Draw two wide loops for legs and bean shapes for feet. Add a long, tapering tail using curved lines. Teacher's Tip: Make the tail look flexible by curving it slightly toward the body.
Step 10: Final Outline and Coloring
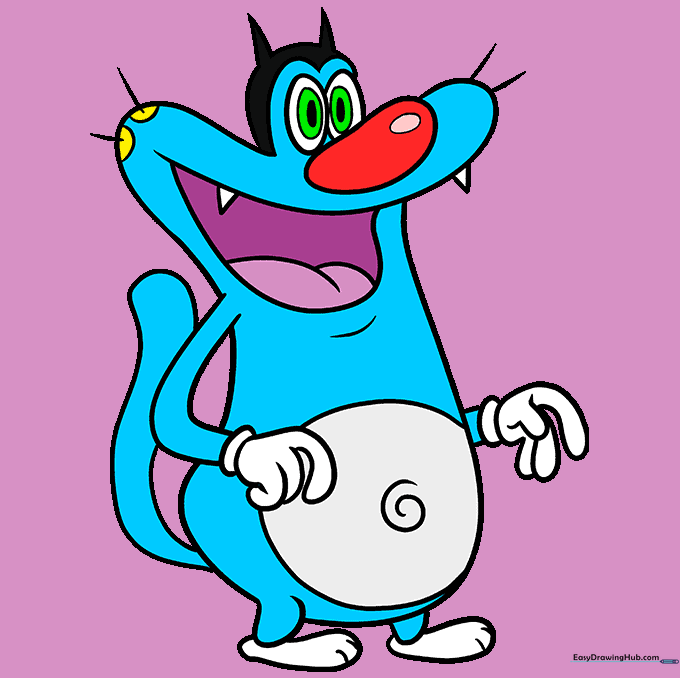
Erase your guide lines and outline with a black pen. Color the body blue, the mouth purple, the eyes neon green, and the nose bright red. Teacher's Tip: Use light, even strokes when coloring to keep the drawing looking professional.
More Tutorials


