How to Draw Ninja from Fortnite: Easy Step-by-Step Guide
Bring your favorite gaming icon to life with this beginner-friendly drawing tutorial. Designed for young artists and Fortnite fans, this guide uses basic shapes to build a character, helping to improve hand-eye coordination and spatial awareness. Grab your pencil, eraser, and paper, and let's start sketching!
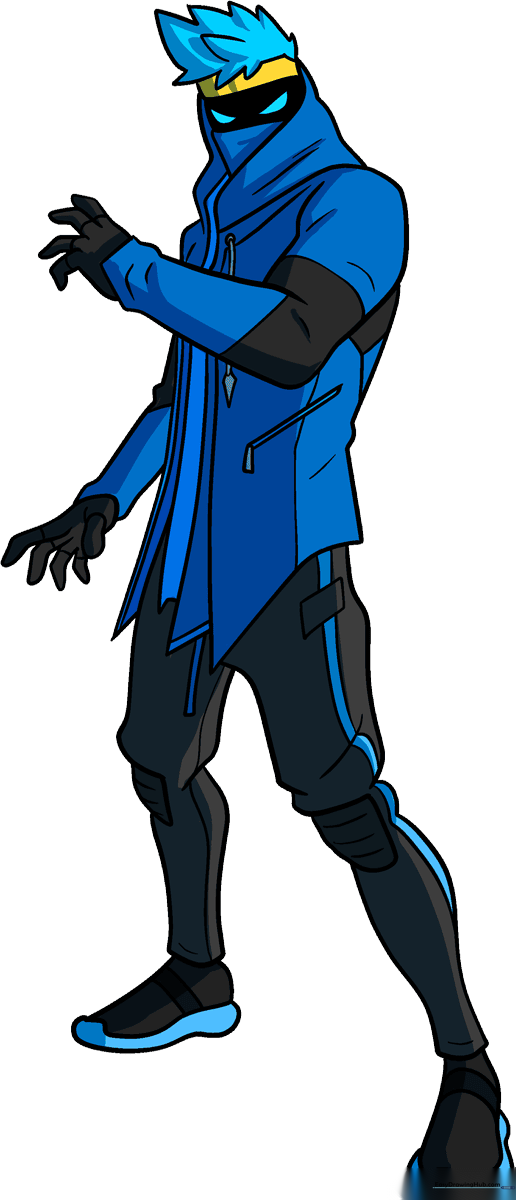
🎯 Final Result
Step-by-Step Instructions
Step 1: Sketching the Head Structure
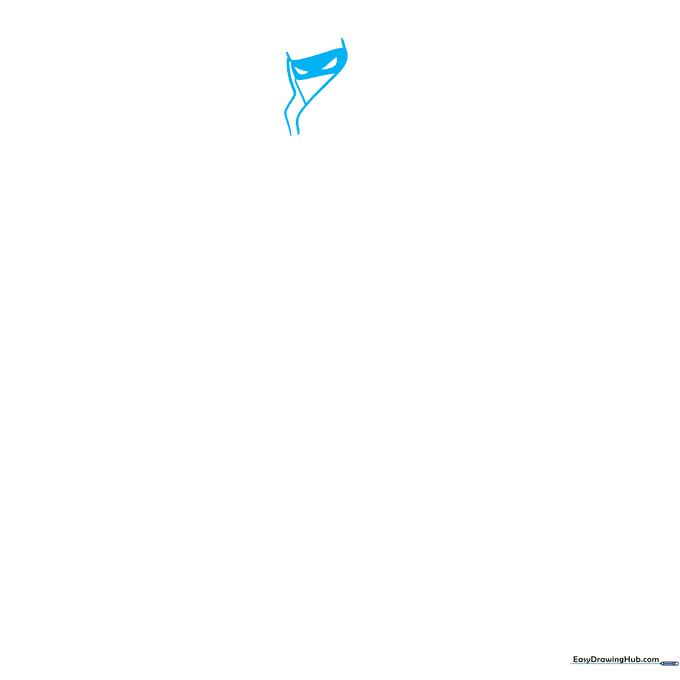
Draw two slightly curved lines and one vertical line near the top of your page, then connect them with a rectangle to form the mask area. Add small triangles inside to define the eye openings. Teacher's Tip: Keep your pencil pressure light so you can easily adjust the proportions if needed.
Step 2: Adding Hair and Collar
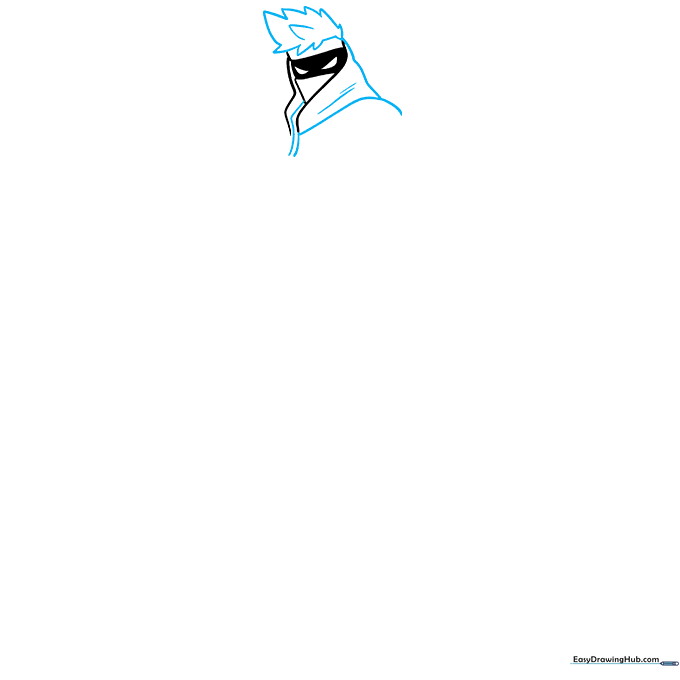
Outline the shoulder with a smooth curve and sketch a wavy line behind the head. Draw an upside-down L-shape for the collar and add small dashes for detail. Use loose, sketchy triangles to create the hair. Teacher's Tip: Use quick, flicking motions with your pencil to make the hair look spiky and energetic.
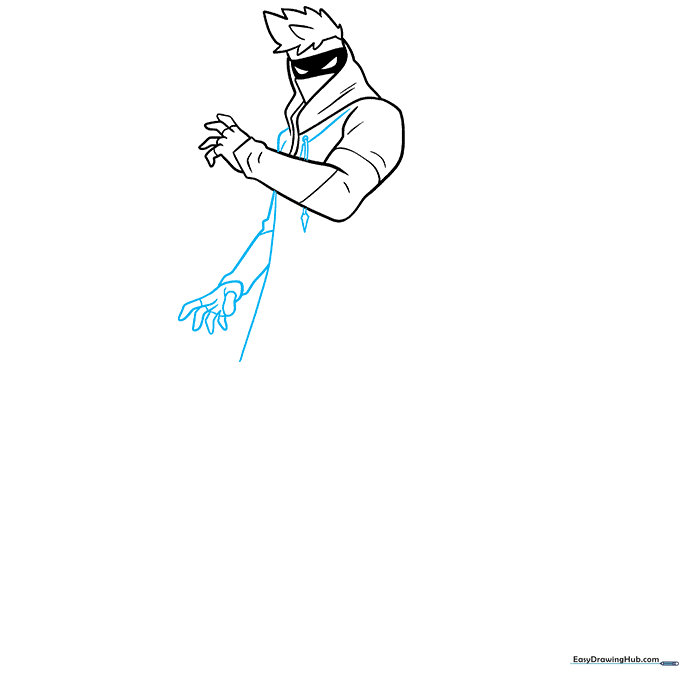
Step 3: Shaping the Arm and Hand
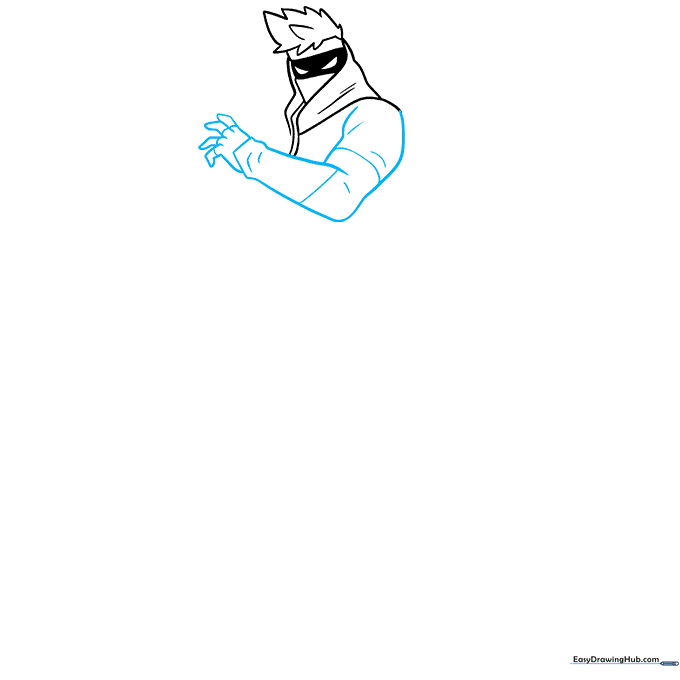
Draw two diagonal lines for the forearm and use soft curves for the upper arm. Add a triangle at the wrist and sketch the fingers using simple, wide cylinders. Teacher's Tip: Think of the fingers as small sausages; keep them rounded to make the hand look natural.
Step 4: Detailing the Torso
Sketch the left shoulder and add a small circle with lines on the right chest area. Draw a triangle below the sleeve for depth. Use bent, rounded shapes for the fingers on the second hand. Teacher's Tip: Check that your lines are parallel to keep the character looking symmetrical.
Step 5: Connecting the Arms
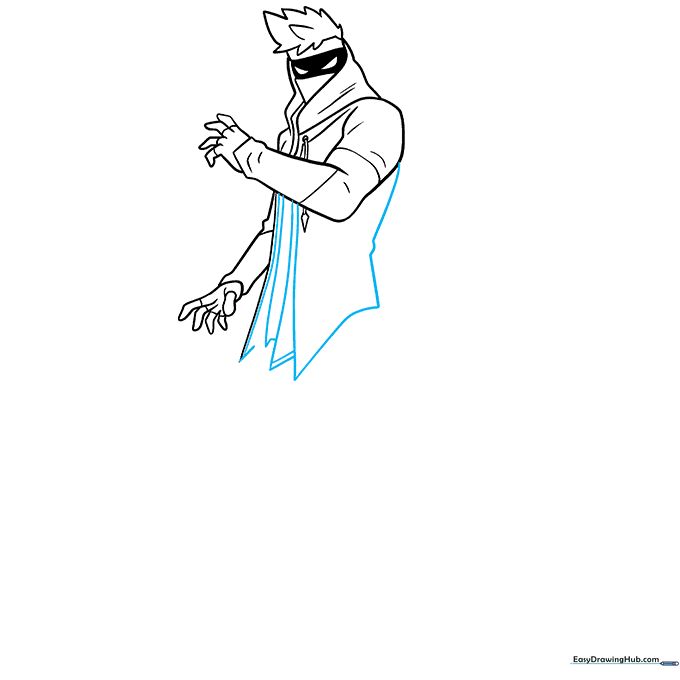
Draw two diagonal lines with a slight bump in the middle on the right side. Add vertical lines between the arms and connect them with diagonal strokes. Teacher's Tip: This creates the illusion of fabric folds in the character's clothing.
Step 6: Outlining the Pants
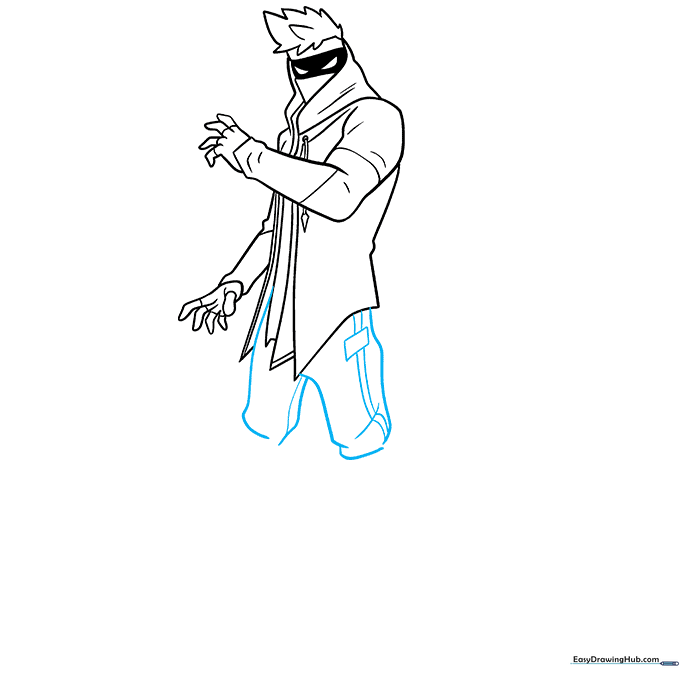
Use loose, wavy lines to define the pants. Sketch a rectangle and add three internal lines to create the look of tactical gear. Teacher's Tip: Don't worry about making the lines perfectly straight; fabric naturally bunches up.
Step 7: Drawing the Legs and Kneepads
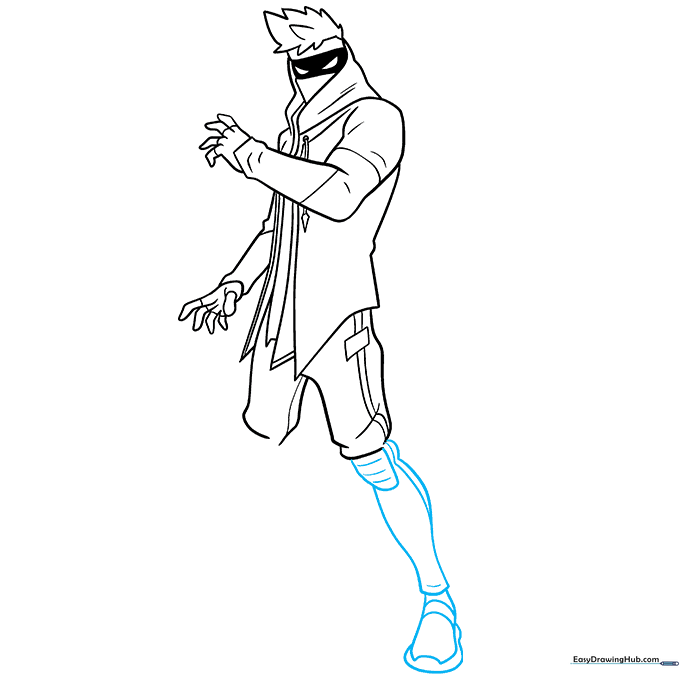
Draw the right leg using smooth curves, similar to the shape of a vase. Add a loose oval for the shoe and a sole around it. Include a semi-oval on the knee with small dashes. Teacher's Tip: The kneepad should sit slightly above the center of the leg.
Step 8: Completing the Second Leg
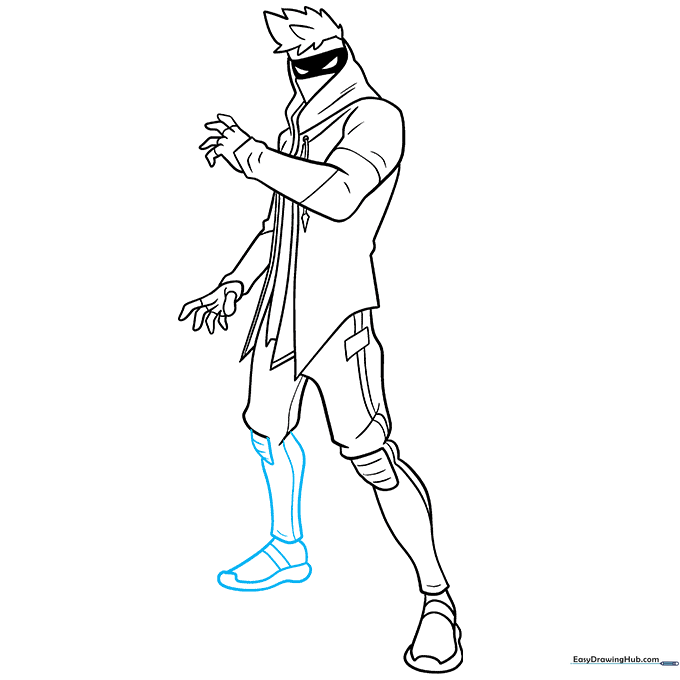
Repeat the process for the left leg, but make the foot slightly more triangular to show perspective. Teacher's Tip: Ensure the feet are level with each other so the character looks like they are standing firmly on the ground.
Step 9: Final Outlining

Add final details like narrow rectangles inside the coat to represent straps or armor. Once you are happy with your sketch, go over your lines with a black pen or marker. Teacher's Tip: Use a steady hand and slow, deliberate strokes for the best results.
Step 10: Adding Color

Bring your Ninja to life! Use bright blue for the hair, coat, and shoe soles. Use dark blue for the pants, gloves, and elbows. Finish with a yellow headband and bright blue eyes. Teacher's Tip: Use light, circular motions when coloring to keep the texture smooth and even.
More Tutorials


