How to Draw Nezuko Kamado: Easy Anime Tutorial
Bring Nezuko Kamado to life with this beginner-friendly drawing guide. Designed for fans ages 8+, this tutorial focuses on capturing her iconic expression and kimono details using basic shapes. You will only need a pencil, an eraser, and a piece of paper to get started.
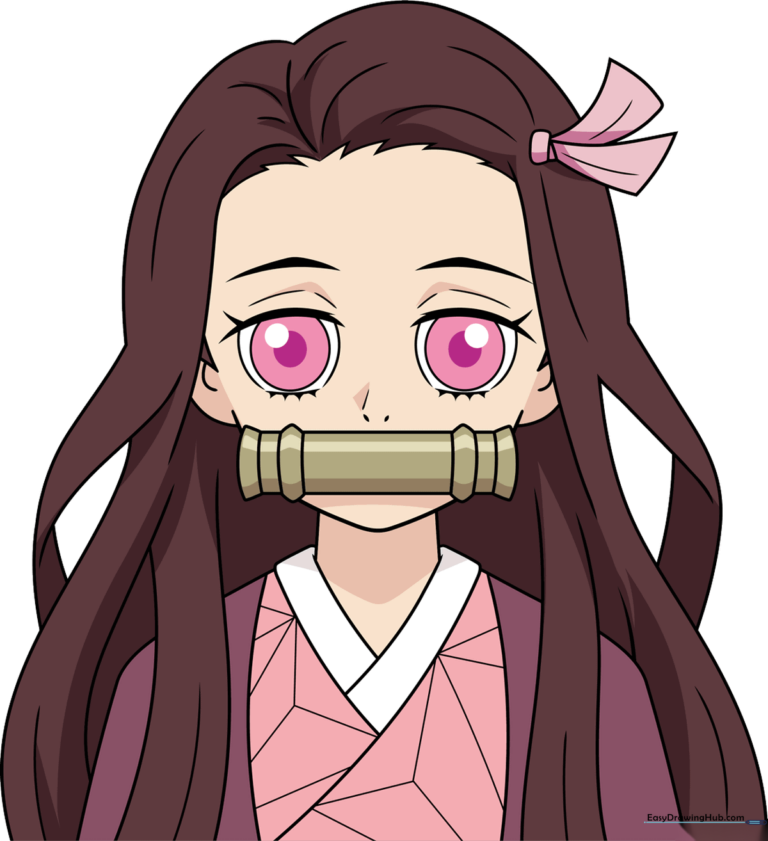
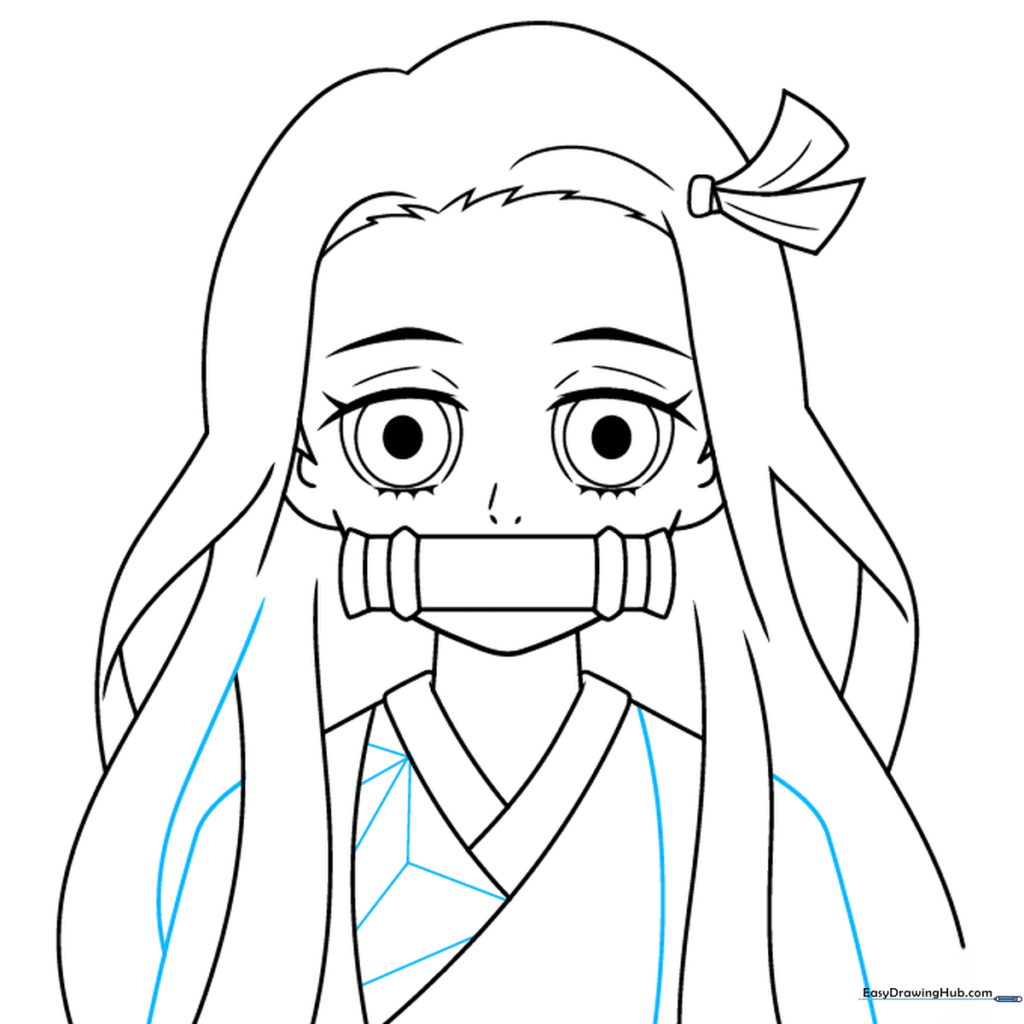
🎯 Final Result
Step-by-Step Instructions
Step 1: Sketching the Expressive Eyes
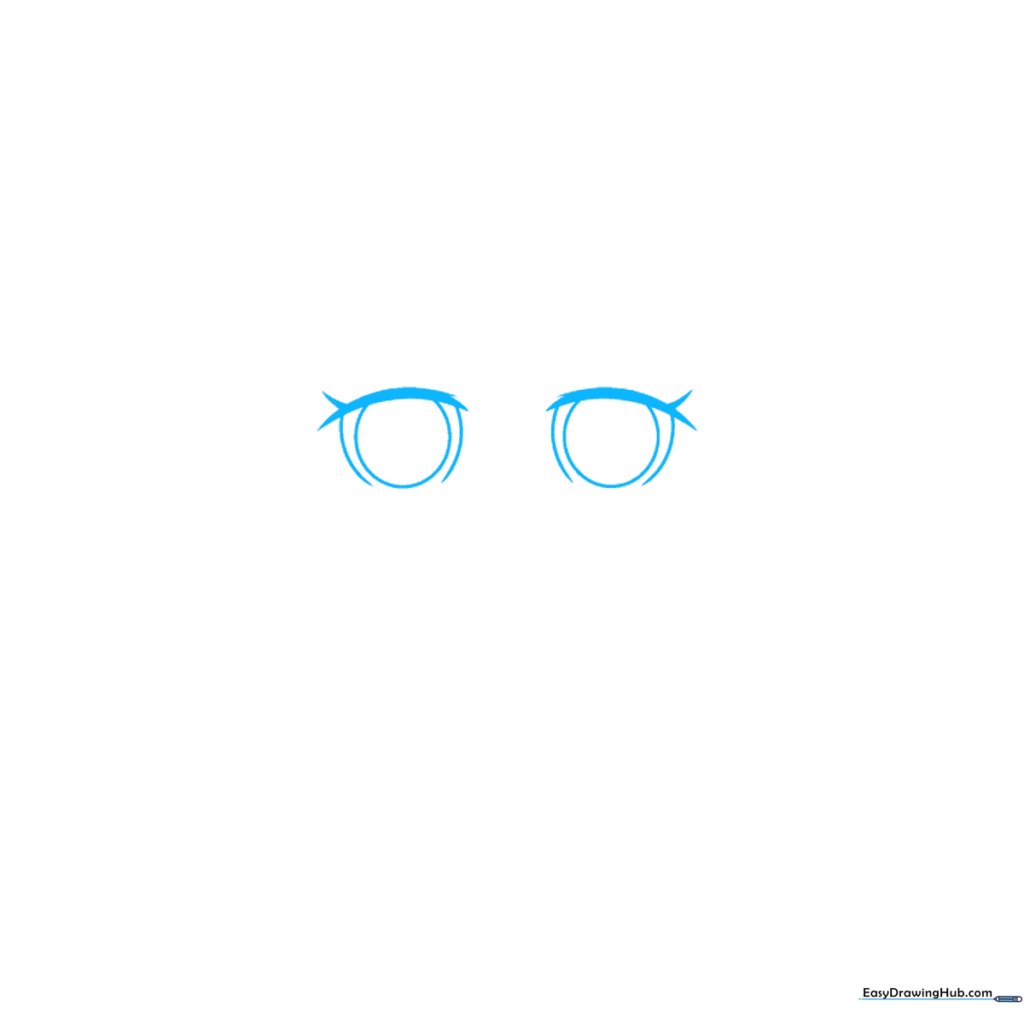
Start by drawing Nezuko's large, expressive eyes using three curved lines. The top lash line should be thick and bold with a small 'Y' shape at the outer corner. Tip: Keep your pencil pressure light so you can easily adjust the symmetry before committing to dark lines.
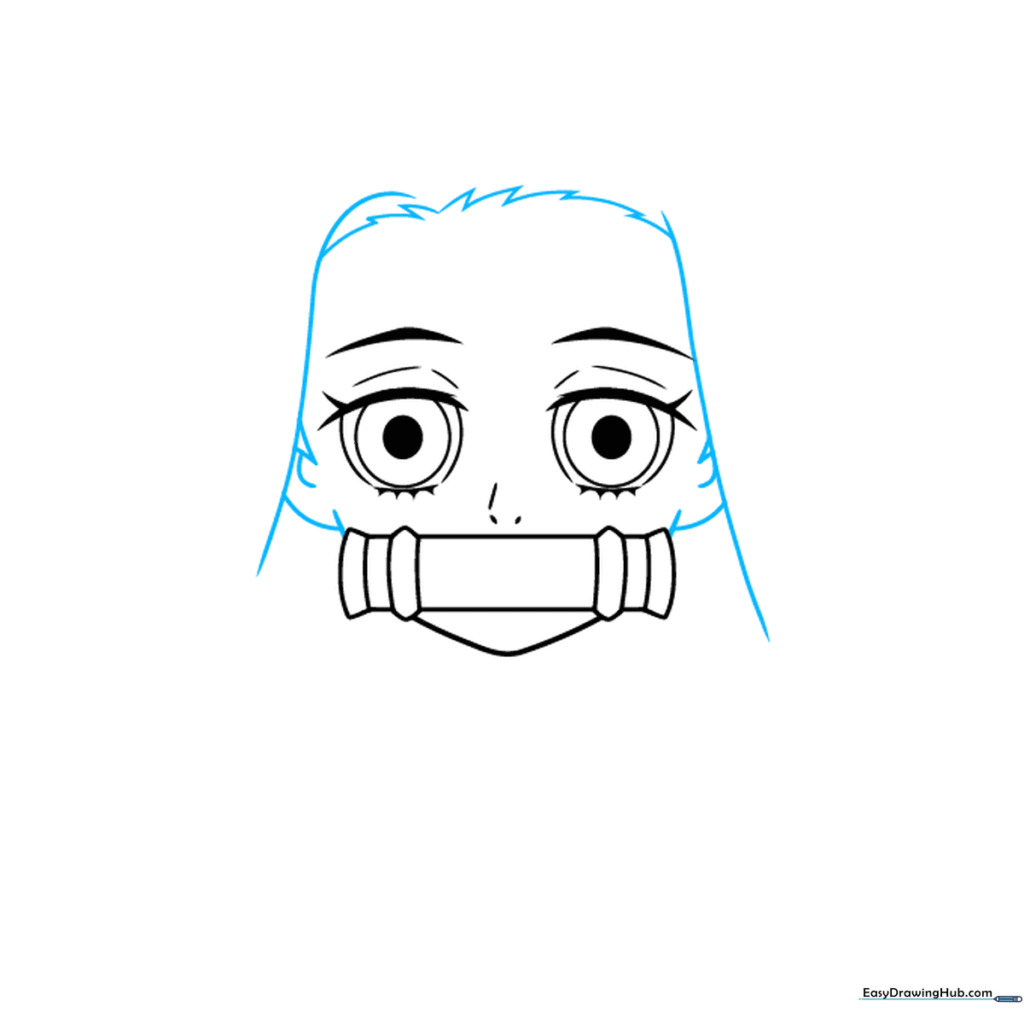
Step 2: Adding Facial Features
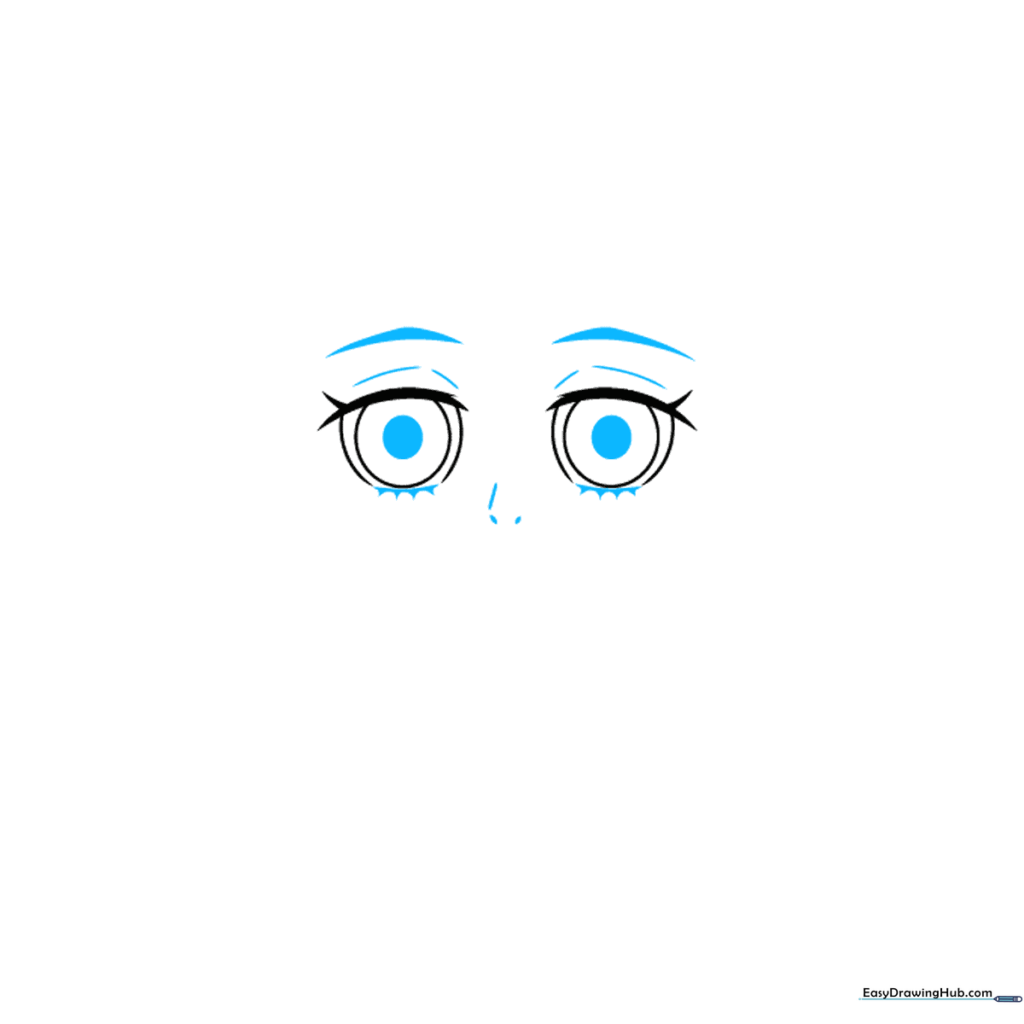
Add round pupils inside the irises and use short, delicate curves for the nose and lower lashes. Draw the eyebrows as sharp, angled strokes to give her that determined look. Tip: Use a sharp pencil point to keep the eyebrow lines clean and precise.
Step 3: Drawing the Bamboo Mouthpiece
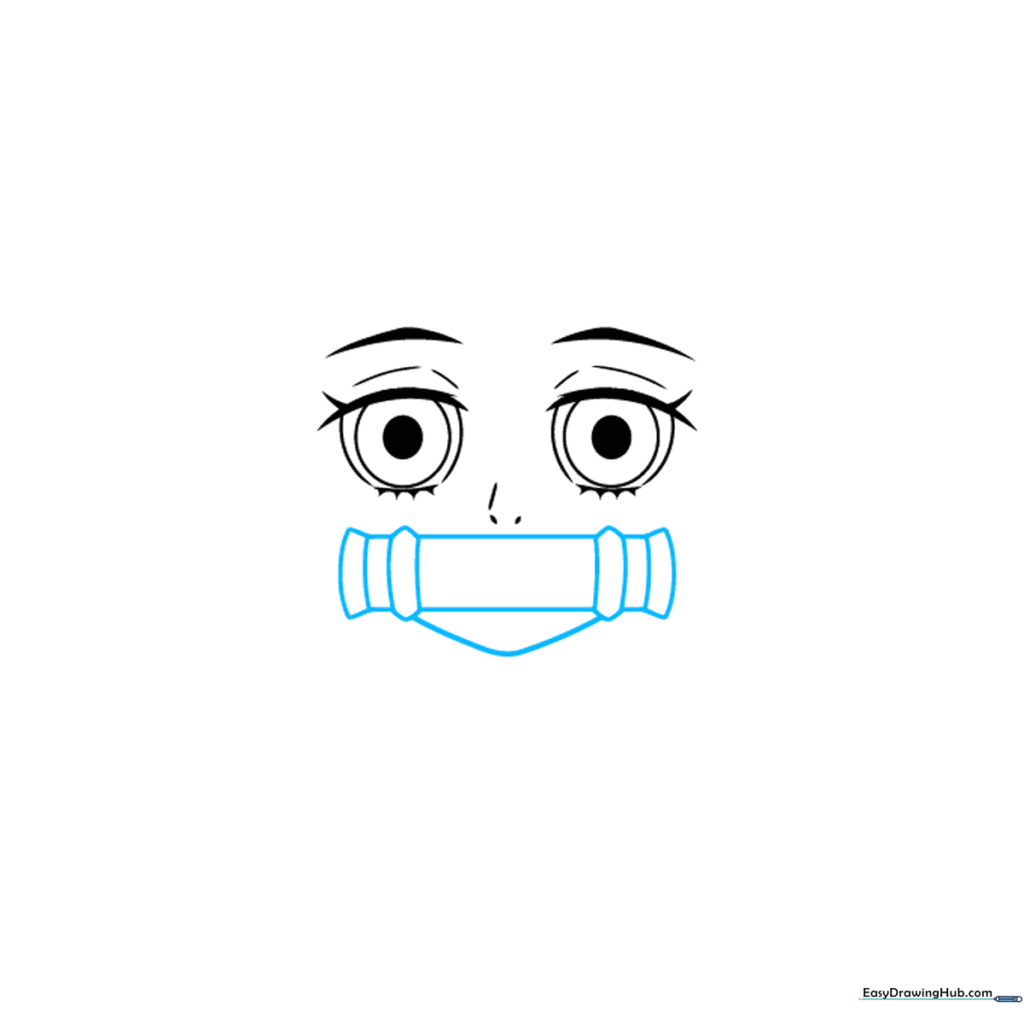
Draw a rectangle directly under the nose to represent the bamboo mouthpiece, adding smaller curved rectangles on the sides for texture. Finish this step by sketching a simple triangle shape below the mouthpiece to define her chin. Tip: Ensure the chin is centered to keep the face balanced.
Step 4: Framing the Face with Hair
Frame the face with long, flowing curved lines for her hair. Connect these at the top with jagged, pointed strokes to create a natural hair texture. Add small curved lines for the ears. Tip: Vary the length of your hair strokes to make the hair look more realistic and less stiff.
Step 5: Adding the Hair Bow
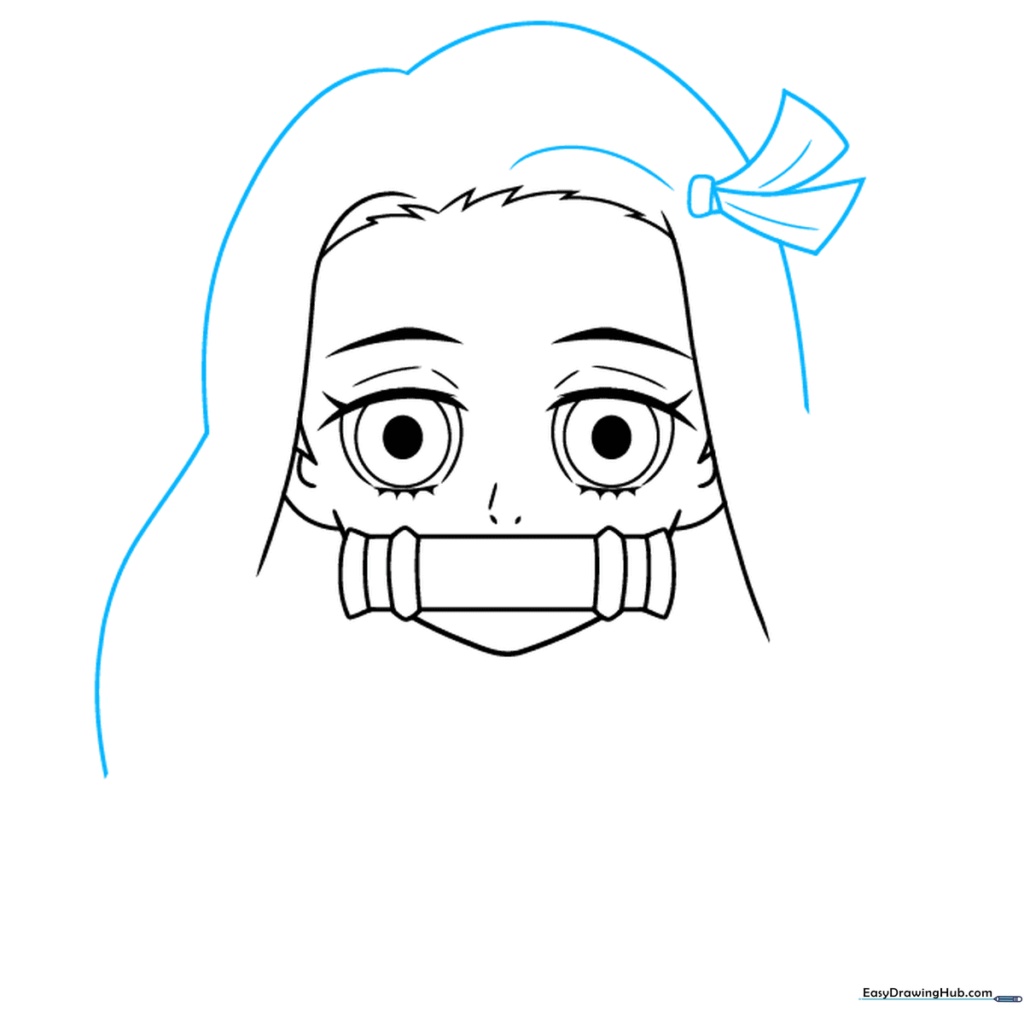
Draw the top of the head with long, sweeping curves. On one side, add three curved rectangles to form her signature bow. Tip: Use light, overlapping lines to give the bow a soft, fabric-like appearance.
Step 6: Drawing Long Hair Locks
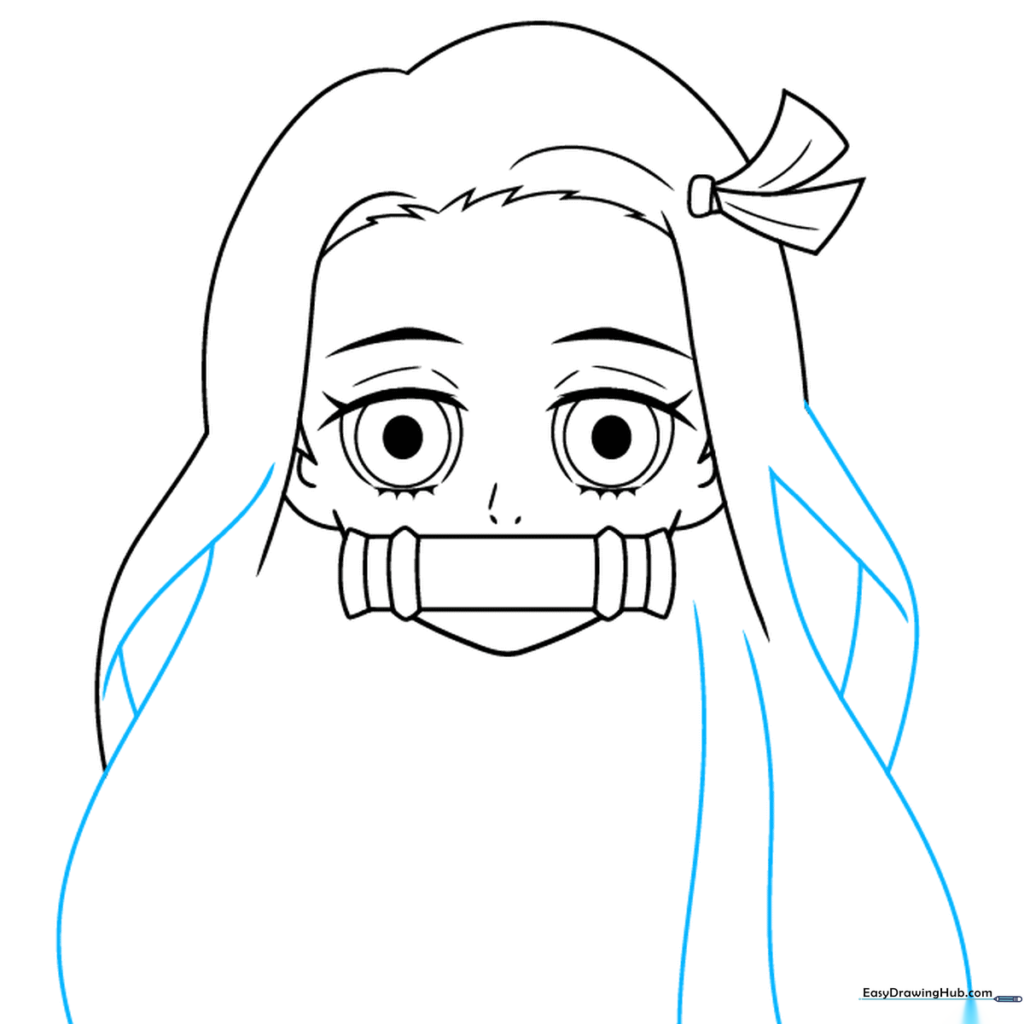
Use long, overlapping lines to draw the cascading locks of her hair. Tip: Don't worry about making every line perfect; hair is naturally messy and flowing, so fluid, confident strokes work best.
Step 7: Adding the Kimono Collar
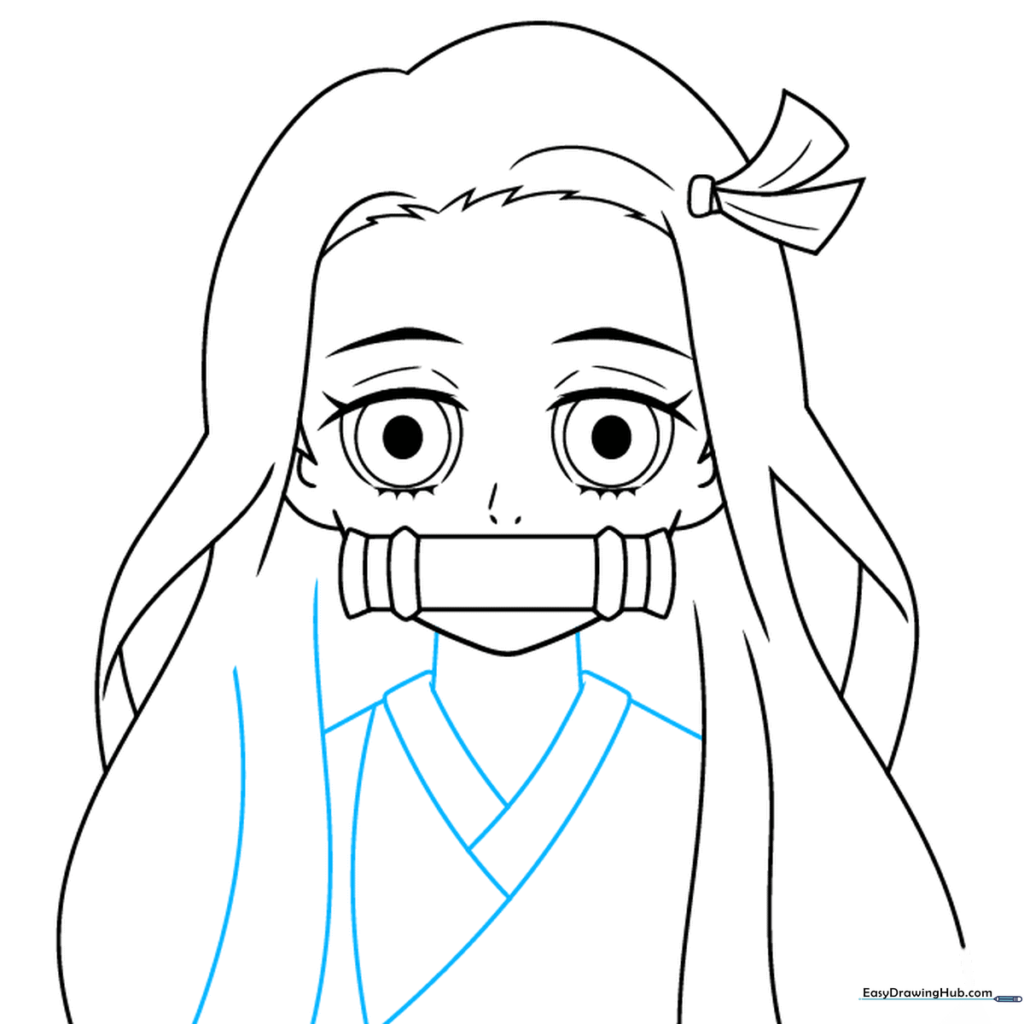
Extend two lines from the head to form the neck. Draw two rectangles in a 'V' shape for the kimono collar, then add curved lines for the shoulders. Tip: Keep the 'V' shape symmetrical to ensure the kimono looks properly draped.
Step 8: Adding Kimono Patterns
Use straight lines to create a geometric triangle pattern on the kimono. Add more curved lines for the arms and additional hair details. Tip: Use a ruler if you struggle with straight lines, but freehand adds a nice, organic touch.
Step 9: Finalizing the Outline
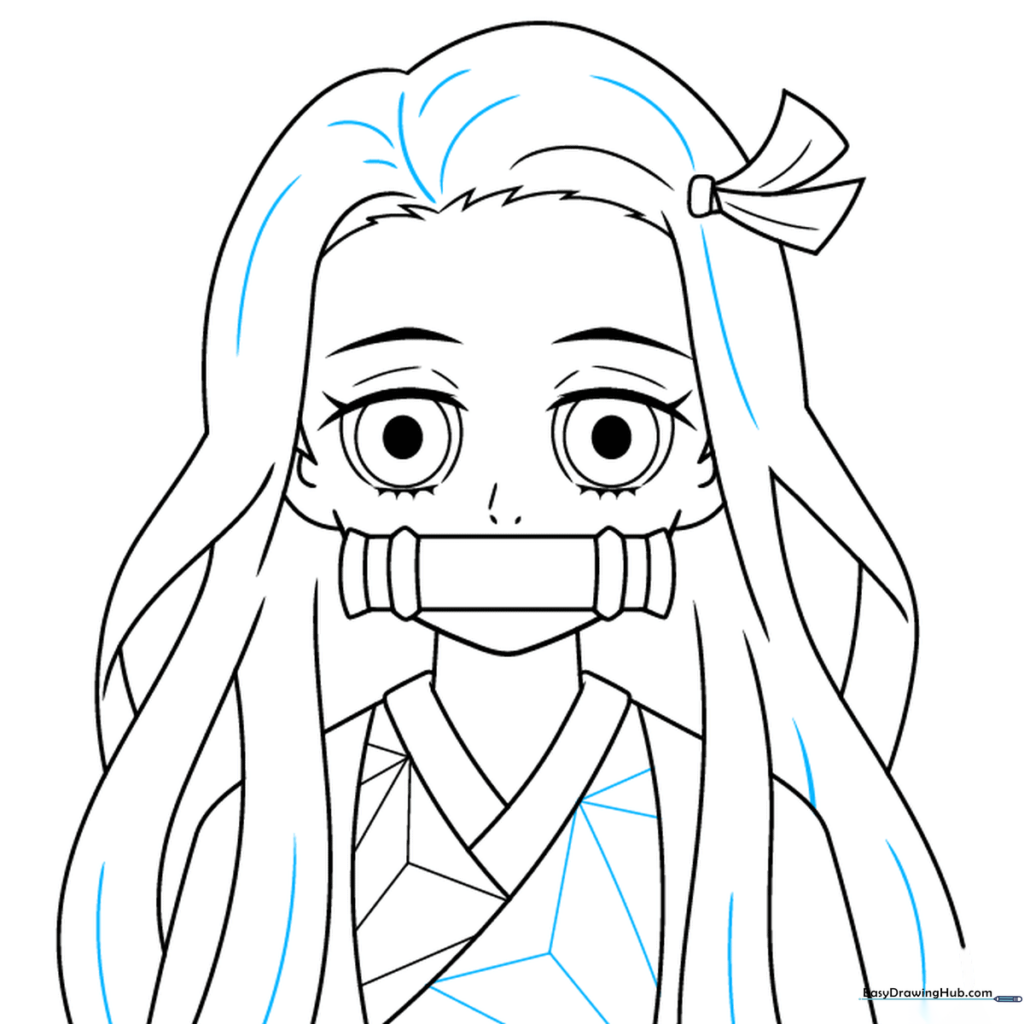
Refine the hair with final curved contours and complete the geometric pattern on the robe folds. Tip: Go over your final lines with a darker pencil or pen to make the drawing pop before you start coloring.
Step 10: Bringing Nezuko to Life with Color
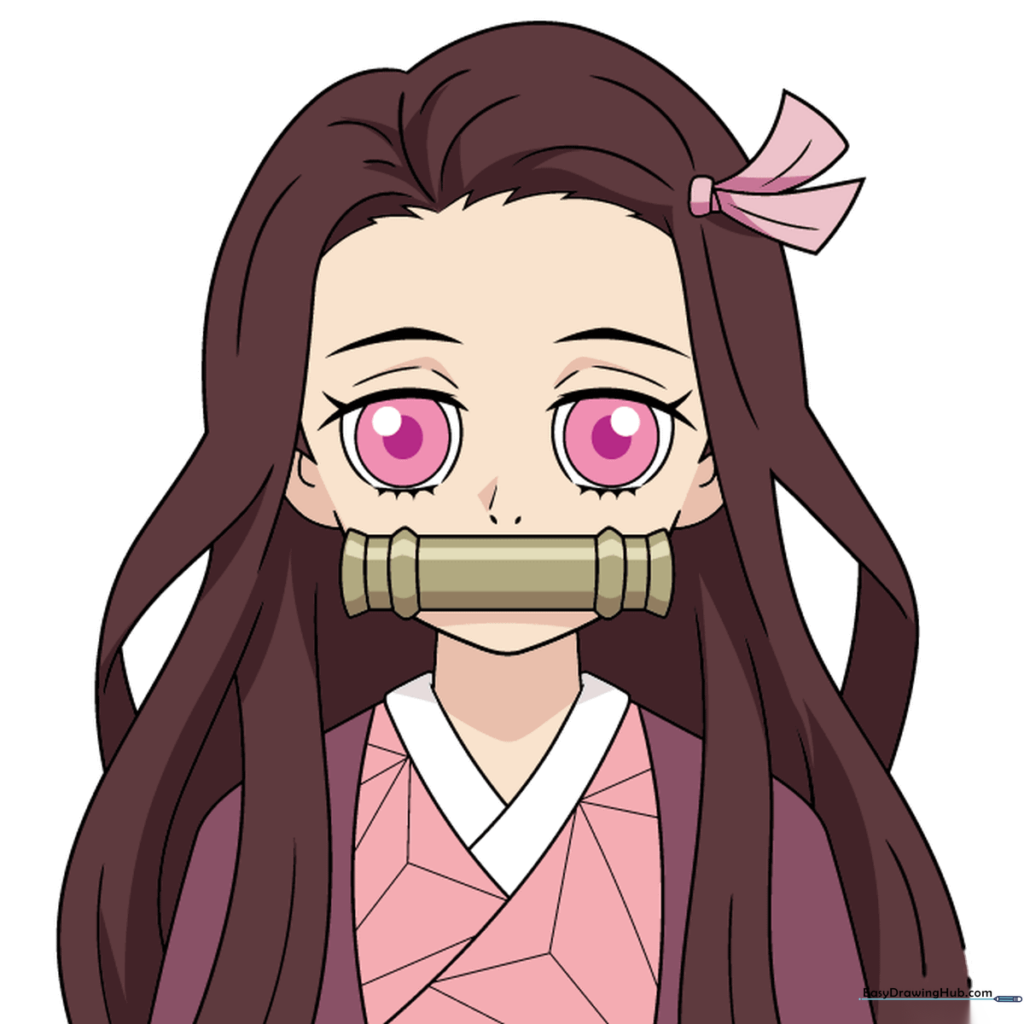
Time to color! Use black for her hair with orange tips, and soft pink for her eyes, bow, and kimono. Tip: Use light pressure for the pink areas to keep the colors soft and vibrant.
More Tutorials


