How to Draw Neptune: Easy 10-Step Space Art Guide
Ready to explore the outer solar system? This tutorial is perfect for young astronomers ages 5+ looking to draw our windiest planet. All you need is a pencil, an eraser, and some blue crayons to bring this icy giant to life on your paper.
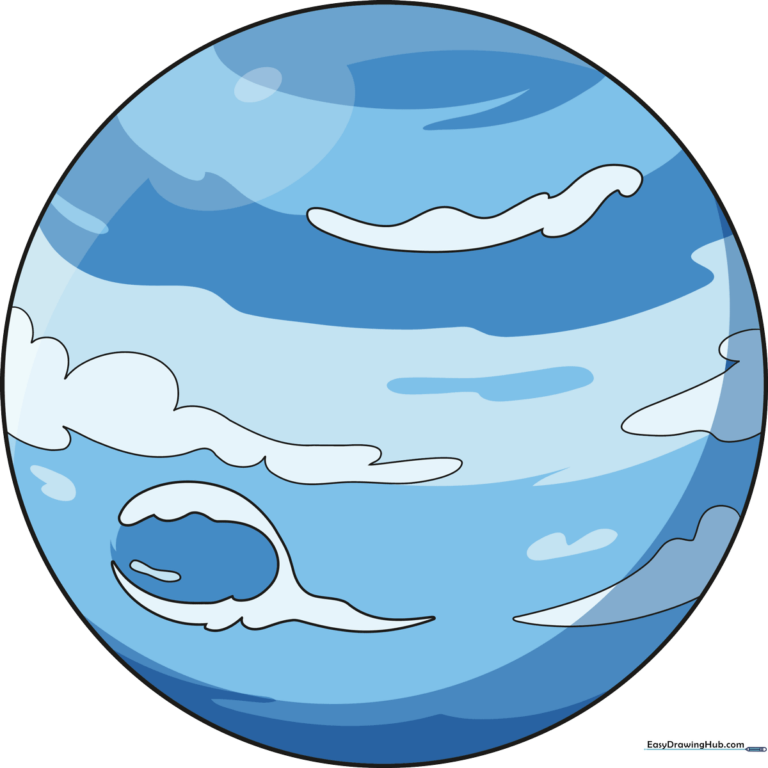
🎯 Final Result
Step-by-Step Instructions
Step 1: Sketching the Planetary Base
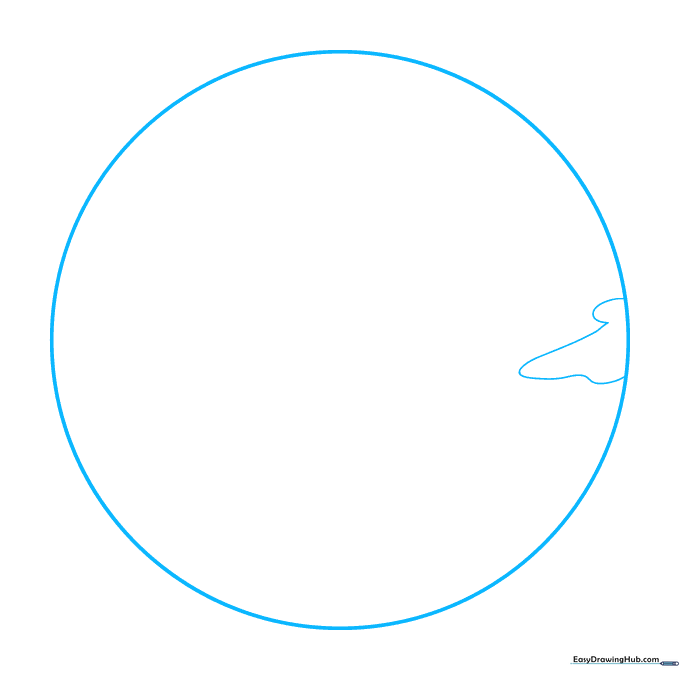
Draw a large, light circle to form the body of Neptune. Tip: Use a circular object like a cup to trace if you need help, but remember to keep your pencil lines faint so they are easy to erase later!
Step 2: Adding Equatorial Clouds
Draw long, flowing curved lines across the middle of your circle to represent Neptune's famous high-altitude clouds. Tip: Make these lines look wispy and soft, not rigid, to mimic the appearance of gas.
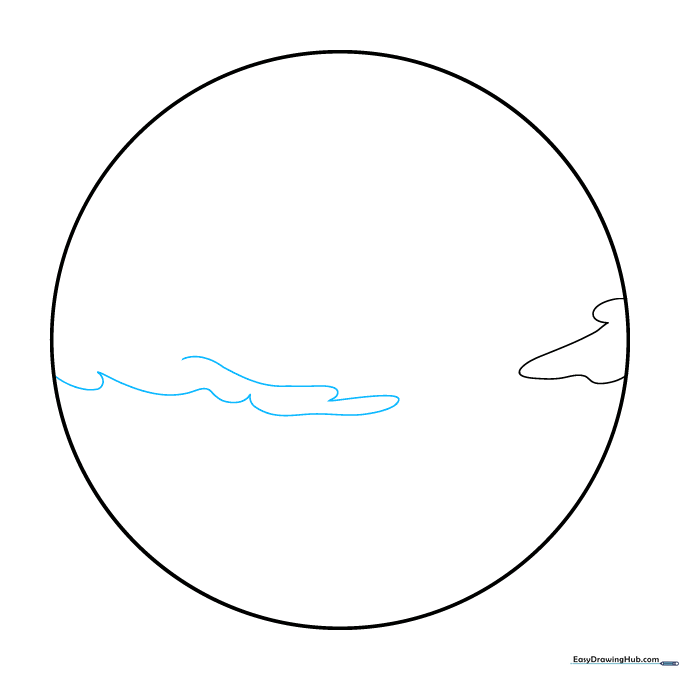
Step 3: Defining Cloud Shapes
Close off your equatorial clouds and add a smaller, pointed cloud shape near the edge of the planet. Tip: Neptune’s clouds are irregular, so don't worry about making them perfectly symmetrical!
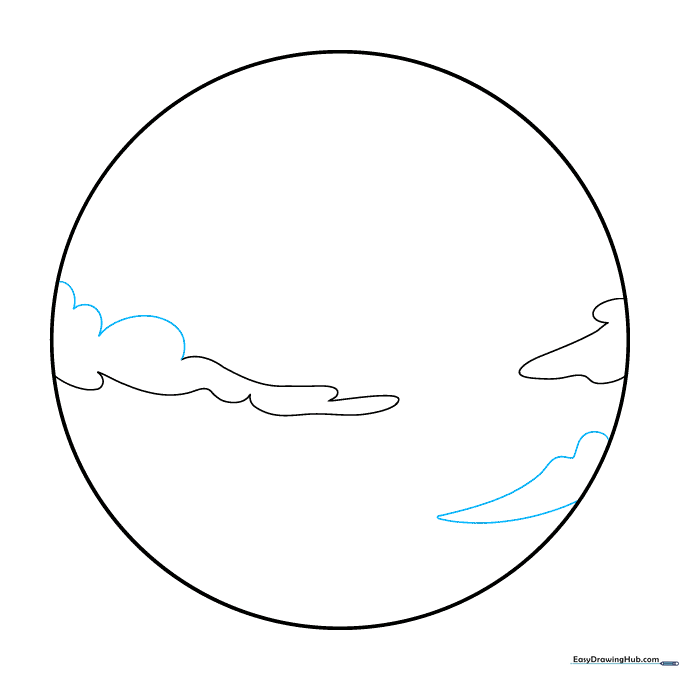
Step 4: Sketching Storm Patterns
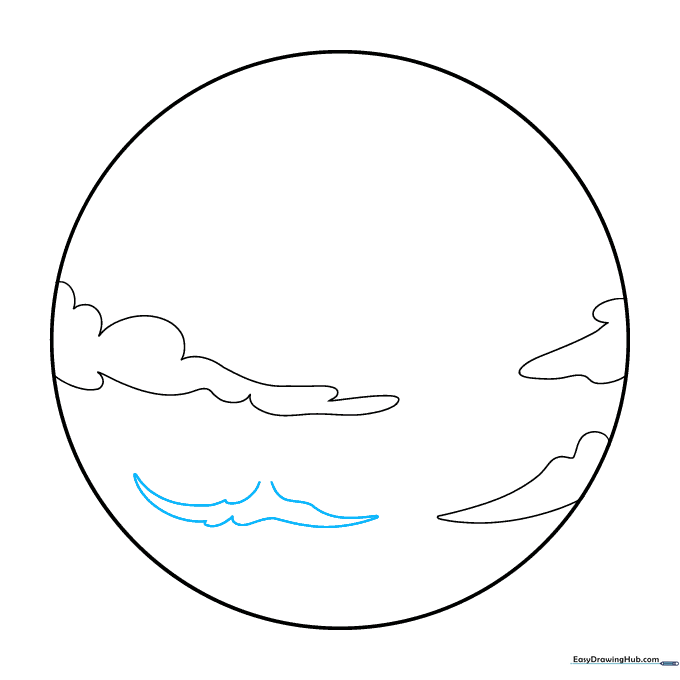
Use curved lines to start a new cloud formation, leaving the top slightly open. Tip: Think of these as 'weather patterns'—Neptune is the windiest planet in our solar system!
Step 5: Creating the Great Dark Spot
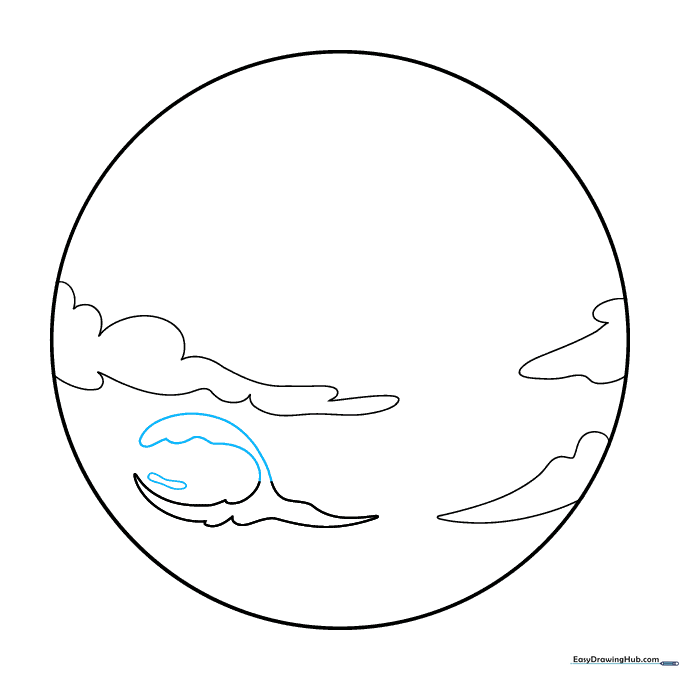
Extend a curved line from your previous cloud to create a swirling hurricane shape, and add a small circle inside. Tip: This represents the famous 'Great Dark Spot'—a massive storm on the planet.
Step 6: Adding Northern Hemisphere Clouds
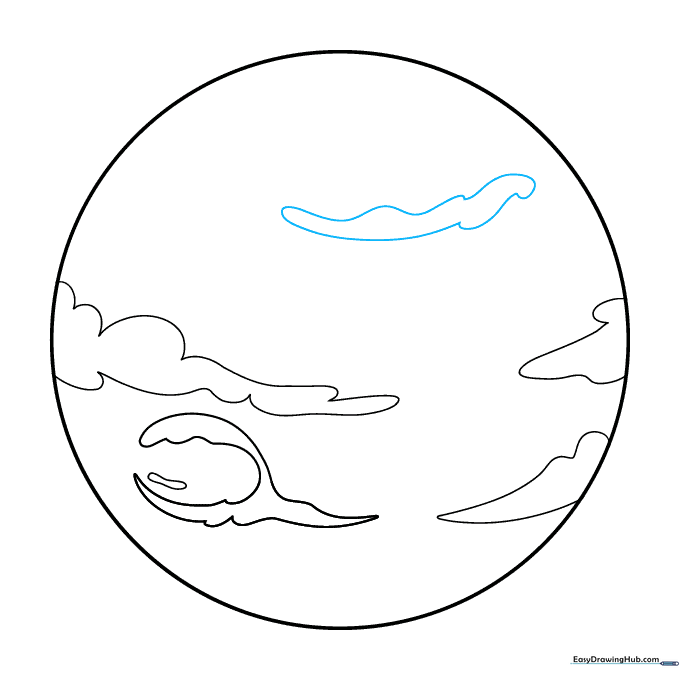
Sketch an elongated, oval-like cloud in the upper section of the planet. Tip: Vary the pressure of your pencil to make these clouds look like they are floating at different depths.
Step 7: Adding Atmospheric Texture
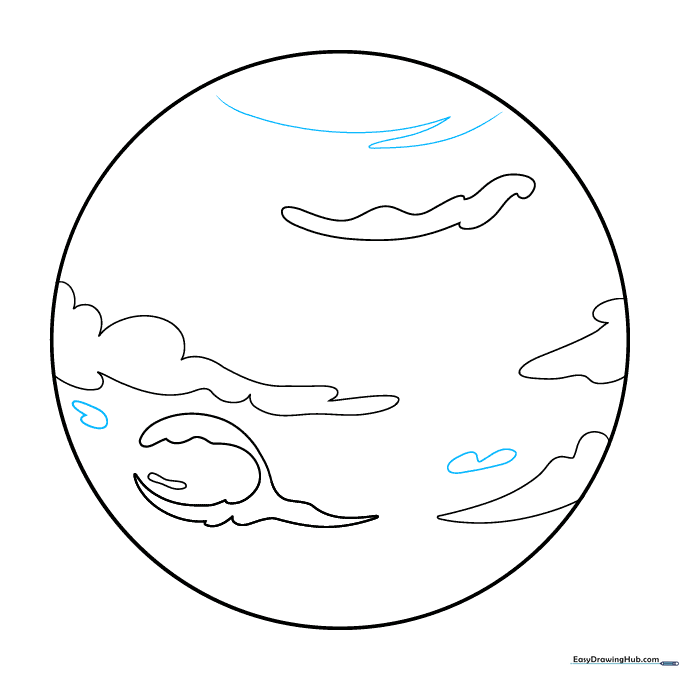
Draw a 'Z' shaped line near the north pole and add smaller cloud clusters in the south. Tip: These small details add a sense of scale to your planet.
Step 8: Refining the Atmosphere
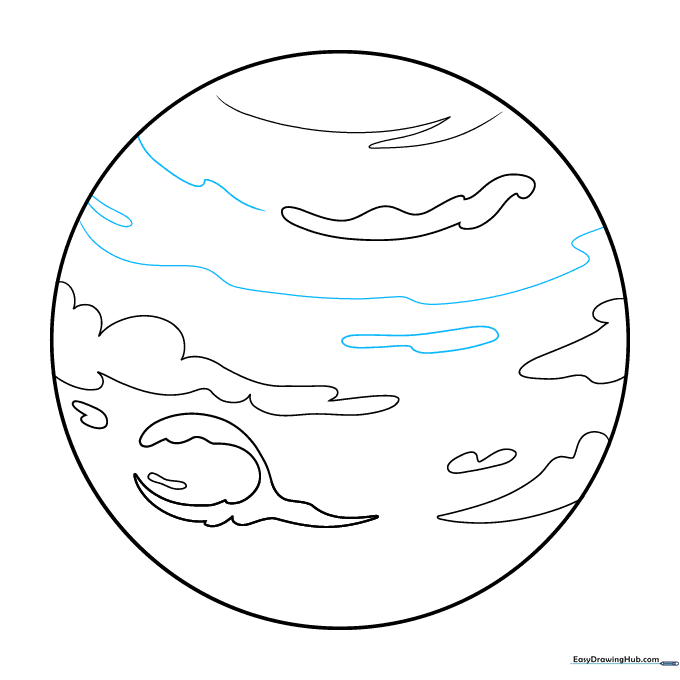
Add wavy lines across the northern hemisphere to show wind movement. Tip: Keep your lines fluid and continuous to represent the high-speed winds of Neptune.
Step 9: Finalizing Details
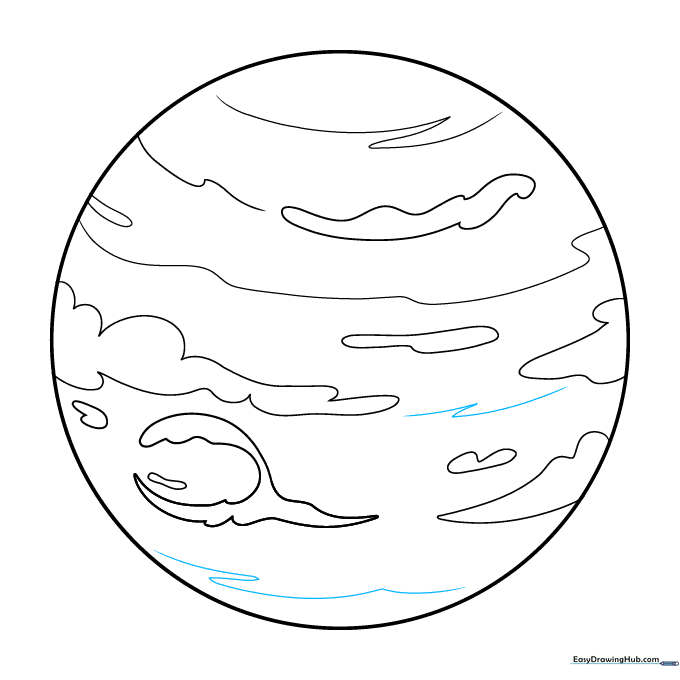
Add final wavy and 'Z' shaped lines to the southern hemisphere to complete your planet's surface. Tip: Step back and look at your drawing—do the clouds look balanced?
Step 10: Bringing Neptune to Life with Color
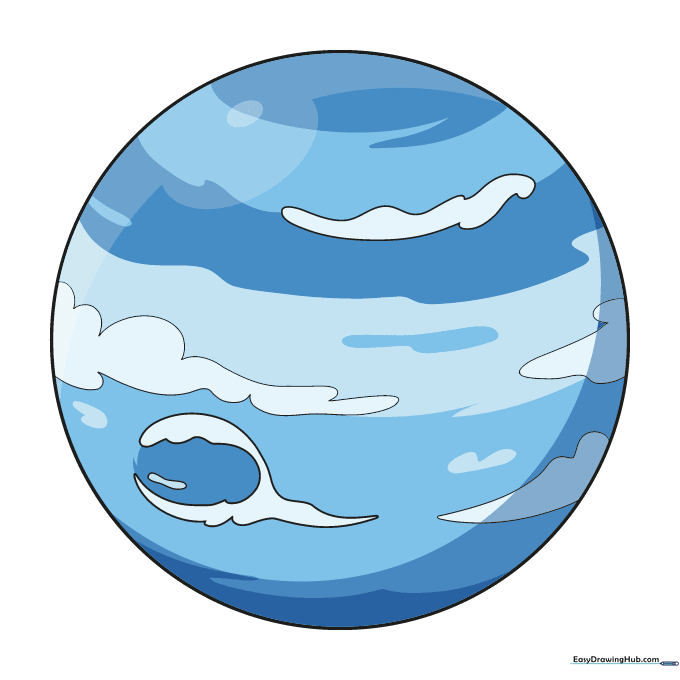
Time to color! Use various shades of blue—from deep ocean blue to light sky blue—to fill in your planet. Tip: Use a white pencil or leave small gaps to create the look of bright, icy clouds.
More Tutorials


